A big probiotic boost and delicious salty, sour bite from your fresh spring asparagus!
 Product links in this post are affiliate links. It does not cost you anything and helps maintain the free information on this site, as well as answer the questions of “what brand do you use?” Please know I never personally recommend any product I wouldn’t use on my own family.
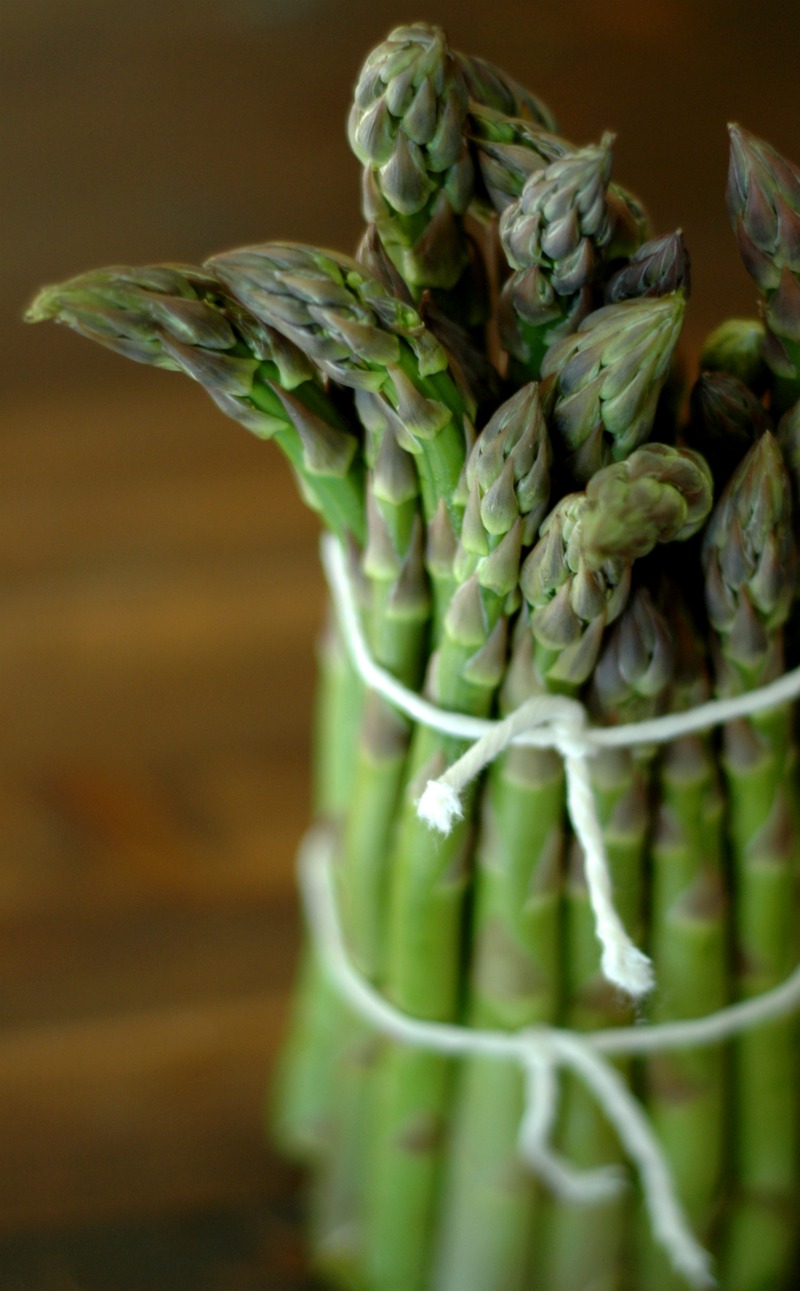
We’ve been jarring up some yummy Michigan asparagus over the last couple weeks!
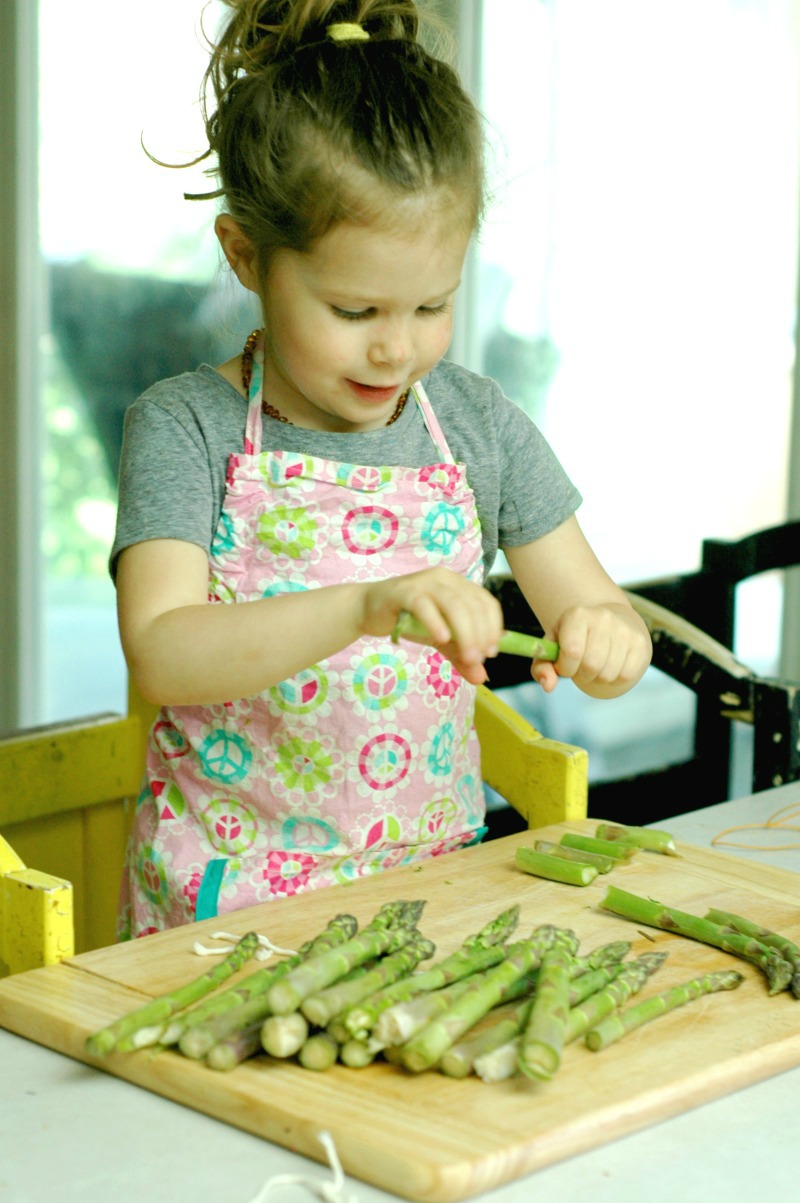
This is a fun project to get the kids in on. The steps are so easy that even a toddler can follow along! (And said toddler will probably be more willing to eat them if he gets to help!)
 Little helpers and seasonal produce!
 Little helpers and seasonal produce!
My littlest helper in the house has been eager to hone her asparagus snapping skills, and she makes a really good jar stuffer too, packing those spears of asparagus in like a pro does!
Here are some great tips for including little ones in your kitchen tasks (without losing your ever loving mind 😉 )
-
- Show them first. Literally do each step you want them to do. Break it down momma. They haven’t done this before!
- Hand over hand next. For the really little guys, get your hands over theirs and show them how to do what you are asking them to do. Whether that is stirring, cracking an egg, or snapping some beans. They need to feel it.
- Let them try with you narrating the steps. Slow down. Yes I know that is so hard when there is so. much. to. do., but it is worth it when they will be able to do it independently. I promise you will be more frustrated if they are doing it the “wrong way” over and over again because you didn’t show them the proper way to do something. (Please learn from my experience!)
- Tell them the why! If you are snapping the ends off the asparagus, tell them why. If you are slicing the stems off the strawberries, let them know why! Giving them purpose and a reason will help them remember how to do what they are doing better instead of just blinding doing a task.
- Keep it positive. Spills happen. Mistakes will happen. You’ll see that I even let an asparagus go into the jar that is right here in this post that Caitlyn forgot and snapped the wrong end so it ended up really short! Go over the steps again and show them. You’ll frustrate them and tear them down if you get angry or frustrated with them. If it turns out they can’t handle a task, simply let them know we’ll try something else, and maybe we will try this task again another time.
 Sooo…Asparagus “Pickles?!”
 Sooo…Asparagus “Pickles?!”
Yep! I brine these babies just like I would pickling cucumbers, and they disappear just as fast as regular pickles around these parts! A little sour and salty bite, I use the same dilly, mustardy, garlicy blend I do with cucumbers and add a bit of heat with red pepper flakes. It leaves a perfectly kid friendly taste, and I even make a jar just for momma with a little extra heat for my liking 😉
2 birds…1 stone!
 2 birds…1 stone!
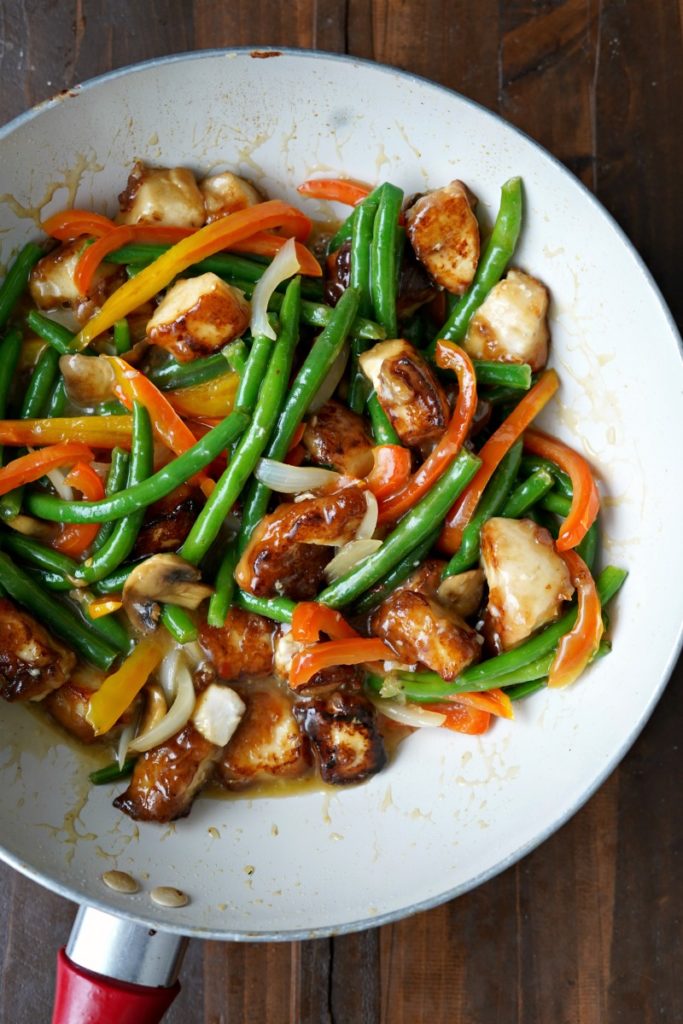
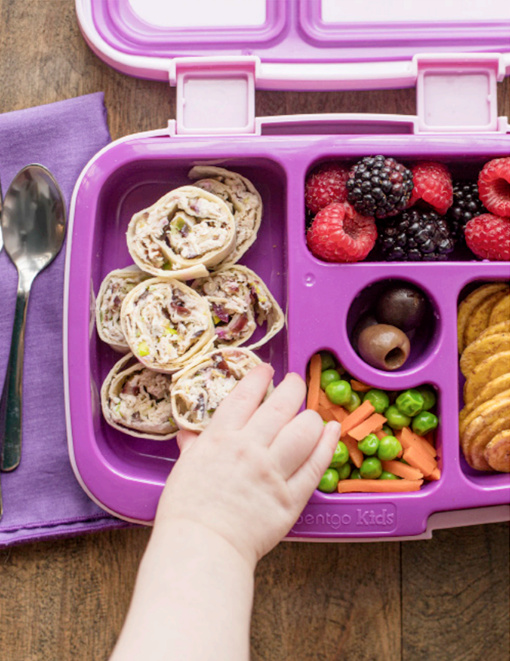
Not only do pickled asparagus taste amazing, they are loaded with beneficial bacteria for our guts too! The salty brine keeps the bad bacteria at bay, and allows the naturally good bacteria in the vegetable to proliferate and grow. Adding a spear or 2 of pickled asparagus to that lunchtime salad or wrap will not only get your veggie minerals in, but it will nourish the gut with the most cost effective source of probiotics around!
 Fermenting tools
 Fermenting tools
While you can definitely get your ferments going today with just glass jar and a plastic lid (metal lids will corrode over time so plastic is recommended), as you get going you may want to take a look at fermenting tools that make the process even easier and stress free.
Vegetable ferments do best in an anaerobic environment (that is, “no oxygen” using an air tight seal). Plastic lids work fine, though some air does get through, and as the gasses build up in the ferment you need to “release” them by opening the lid here and there. The air that gets through also makes it easier for stray airborne microbes and molds to get in which can make the whole jar go bad.
There are a couple of sealing options you can choose from, and I really have found these to give the best fermenting results. The one that I use is the first recommendation, the Pickle Pipe.
-
- The Pickle Pipe :: I am convinced a busy, “every day” mom invented this fermenting tool! Talk about zero fuss, *easy to clean,* and affordable! The Pickle Pipe creates a seal with a simple (easy to wash!) silicone disk, and the metal ring your jar comes with. The “pipe” part of the silicone disk has a special opening that only pressures open when the gasses build up in the jar and need to be released. So basically…set it and forget it! You don’t have to check for pressure everyday at all. I also am in love with their Pickle Pebbles which weight down the ferment at the top so you don’t have to worry about molding or the tips of the veggies going bad from being out of the brine. Invaluable! I have never had a ferment go bad or mold using my Pickle Pipes and Pebbles.
- Fido Jar :: Fido jars create an incredible anaerobic sealed environment and are super easy to clean and take care of. No crazy parts to clean, and they are beautiful lined up in the kitchen to ferment! You will need to “burp” these every day or so to let the gasses out but they work very well! They are pricier than mason jars (especially if you already have a lot of mason jars at home, and can just get some Pickle Pipes to top them off), but they will last forever and, again, they are beautiful!
- Traditional Fermentation Crock :: I have to be honest…I love these! I really do! They are on my foodie dream list and when I can afford a really beautiful new fermenting crock I really, really want one for my kitchen! They are gorgeous, easy to clean and work fantastic. They come with a weight to keep the veggies down to prevent molding and they create a perfect anaerobic environment.
- Air-Lock Lids :: These are a really great, inexpensive option – especially if you already have a lot of mason jars at home. I think the Pickle Pipes are easier to clean and use, but if you have some of these lying around don’t let them go to waste – they work great!


Probiotic Rich Asparagus Pickles (Fermented Asparagus!)
Ingredients
- 2 cups warm water
- 1 1/2 to 2 tbsp sea salt
- 3 cloves of garlic smashed
- 2 tsp mustard seeds

- 1 tbsp fresh dill OR 1 ½ tsp dried dill
- ½ tsp red pepper flakes
- 1 bunch of asparagus woody ends discarded (spears should fit into a quart mason jar with a good inch of headspace at the top. Trim up the ends if you need to accommodate this)
Instructions
- Dissolve the sea salt into the warm water and set aside. This is your brine to pour over the asparagus later.
- Put the garlic, mustard seeds, dill, and red pepper flakes into a clean, 1 quart mason jar. Then the pack the asparagus spears into the jar as tightly as you can.
- Pour the salt water brine over the packed in asparagus and spices, leaving 1 inch of headspace at the top. Be sure the asparagus is completely submerged under the brine (I like to use a weight, like this Pickle Pebble to keep the veggies down).
- Seal your jar with your fermenting seal of choice. I use these Pickle Pipes<. See the above section about sealing options.
- Let the sealed jar sit at room temperature until the taste is to your liking, anywhere from 1-3 weeks. You can taste them every few days to see where they are at. Remember that if you live in a warm climate, the fermenting will go faster. It is still quite chilly up here, and so my veggie ferments take more like 2-3 weeks to get to where we like them.


This is such a great idea! I don’t think I’ve ever had fermented asparagus before but I know I would love it. I can’t believe how big your baby is getting too! Where does the time go?
She is getting so big!!
I really look forward to making these! I love asparagus and love it pickled. On my TO DO list now. Also, I think it’s time I get the glass weights and easy tops. I’ll use your links. Yay!
Thank you Megan! Enjoy them!
I love pickles, ferments and your super easy step by step instructions! Thanks Renee!
Whoa, I never thought to pickle asparagus, and these look amazing! I’ll definitely have to try this.
Anything fermented makes my heart skip a beat! This is a lovely way to preserve the spring harvest, and also a wonderful way to get the kids in the kitchen and excited to eat fermented food. Can’t wait to try xx
It’s so great that you are making this a family experience rather than something you are just doing as your own project. This will be something your daughter looks at in the future when she is older and talks about how her mom would spend time fermenting with her! I love it! Thank you for this recipe, I have yet to try fermented asparagus!
Thank you Billy!
These look and sound so good! I love all your tips for little ones- so helpful!
These pickled asparagus looks so crunchy and wonderfully delicious ! Thanks so much for sharing this wonderful recipe !
Such a genius idea to pickle asparagus! And you have the cutest little sous chef ever 🙂
Can’t wait to make these!!!! I bet they are PERFECT on salads!
What a great idea! Love the sound of these. Very inspiring!
Now that asparagus is still in season here, this is a great idea and great photos too! Thanks for posting.
What an awesome idea, I’ve never had pickled asparagus before, but since it’s my favorite veggie I love the idea of keeping it around for and extra few weeks!
Wow! I’m loving this recipe, so creative! I love asparagus, and this is a great way to preserve their goodness!
What a great idea!!! I will have to try this, I bet I will love them <3
I love making fermented asparagus and they’re such a great prebiotic too. The spices you’ve added sound amazing..
I didn’t know about them being a pre-biotic too Vanessa…hmm! Cool!
I am SO excited to try these! I am such a sucker for fresh asparagus, and pickled? Even better!! Looks easy! If I do not have the lids to recommend, what would be something I could use I have on hand? Cheesecloth?
You are a GOOD Mommy!
These are absolutely delicious! We made them and had a 9 day ferment. They are bright green, crisp and full of great asparagus flavor. We can’t wait to make them again!
So glad you enjoyed them!
I have never cared much for asparagus but tried this recipe and loved it! About 1 week fermentation transformed the asparagus into a softer but still slightly crunchy treat with delicious garlic snd dill flavor. Thanks!
So glad you enjoyed it Barbara!
Do I have to sterilize the mason jars I use even if I’m not storing it for long term? How do I know when it’s truly spoiled not fermented?
Hi Melissa, Yes I would make sure the jars are clean because the actual fermenting process is done on the counter and if there is anything left on the jar it will spoil the food. You will see fuzzy mold at the top if it is spoiled 🙂
I’m going to try this recipe tomorrow. Really excited! After fermentation, how long can these be stored for and I’m assuming only in the fridge?
Hi Isabella! You can store these in the fridge for months – up to 6 months I would say.
If my room temperature is between 80 and 85 degrees F, how many days should it ferment?
Hi Dana! I would taste it every few days until it tastes to your liking.
Looks awesome great momma! …The photography is captivating and pulls on heartstrings. Your explantion of fementing procedures/options is SPOT ON and VERY easy to follow!
Please note that your REST 4 days in the PREP TIME section, mentioned in your INSTRUCTIONS part. NEWBIES might be a little confused if they want to know where the 4 days come into play. (Please do not take that as me being critical. I am just anal due to trying to teach my OLDER children who have many questions and want to forward your excellent article to them.)