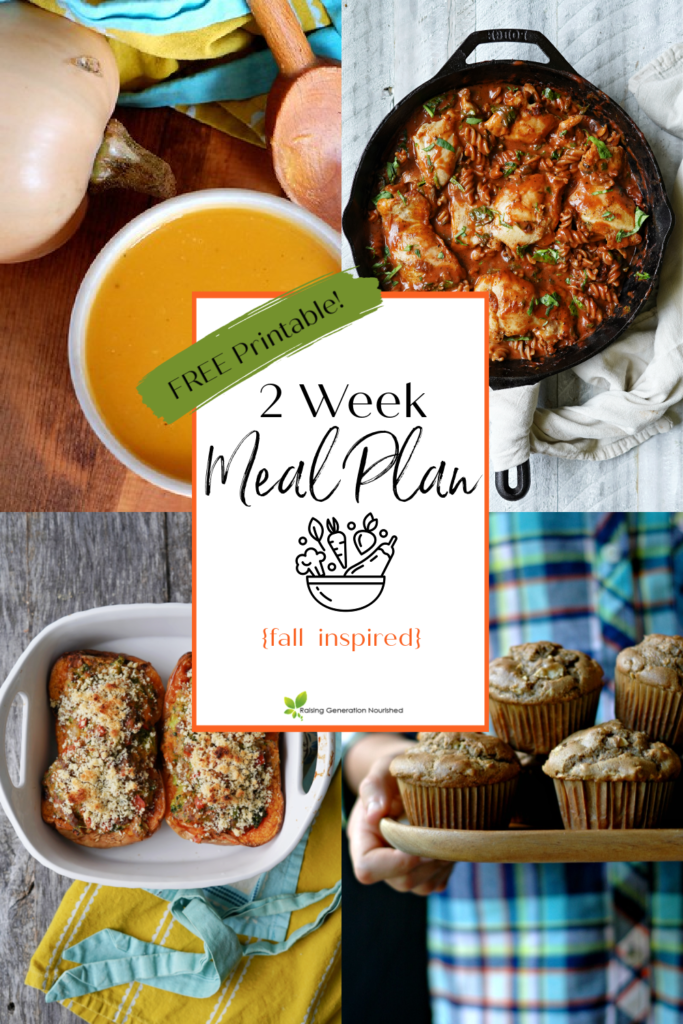
Healthy comfort food for your dinner rotation! Stuffed Butternut Squash packed with flavor, and creamy without the dairy or gluten!

Product links in this post are affiliate links. It does not cost you anything, and helps maintain the free information on this site, as well as answer the questions of “what brand do you use?” Please know I never personally recommend any product I wouldn’t use on my own family.
Happy new year!
How about a new dinner idea for your menu rotation this winter? We’ve been enjoying these stuffed butternut squashes all fall long, and my girls have devoured enough of them that I thought it about time to share the recipe with you!
Fancy presentation, easy peasy prep!
I know the idea of a stuffed squash seems time consuming, but it really is very little hands-on time. The oven does most of the work for you, and you can get so much done while dinner is in the oven! You could even roast the squash on a prep day if you do that, so that it is ready to go during the week. This also makes the perfect weekend comfort dinner when you do have a bit more time at home!

The Method :: The Roasted Squash
A simple slice down the length of the butternut squash is all the cutting you need to do for this squash dinner. No peeling or dicing – my kind of dinner prep! After you scoop the seeds out, rub some olive oil over the flesh and sprinkle salt and pepper and you’ll be hands free while the squash caramelizes and sweetens in the oven.

The Method :: The Filling
While your squash is roasting, the filling can be made in about 15 minutes. That gives you plenty of time to clean up the kitchen, help with homework, or tend to kiddos while the squash finishes roasting! To make the filling you’ll sweeten your aromatics before adding some grassfed ground beef. The nutritional yeast adds a cheesy flavor to the cream sauce without cheese! Heaven! Once the veggies and beef are cooked, you’ll coat them in potato starch so that the coconut milk will thicken once it hits the pan. You can swap an starchy flour you like here from tapioca to arrowroot. I leave the broccoli to add until the end so it doesn’t get too mushy. If you prefer your broccoli very soft you could add it earlier. The creamy filling is just so decadent and flavorful!

The Method :: Assembling and Roasting the Stuffed Squash
Once your squash is finished roasting, you’ll easily be able to scoop little spoonful’s of the soft squash into your skillet filling. This does 2 things – it makes a perfect little well for the skillet filling to stuff into the squash, and secondly it stirs into the skillet filling, making it even creamier and buttery in taste! After stirring the squash into the filling, you can “stuff” the squash! A little sprinkle of the almond flour based topping and the stuffed squash is ready for the oven!

An Important Note on Squash Size and Doubling!
Most of the time when I am grocery shopping, I pick out the short, fat little butternut squashes. I would consider them to be “small” butternut squashes. The recipe as written uses a small butternut squash, and feeds my family of 5 for one meal. If you need more servings, this recipe doubles very easily. You could use 2 small butternut squashes, or one large. I feel like the large butternut squashes take longer to roast, so when I do want more leftover, I tend to just make 2 small butternut squashes in a large, 9×13 baking pan, so they cook faster. And let me tell you, the leftovers are *ahhh-mazing* for breakfast the next day, dear momma!

Can I Use Dairy or Cheese If I Tolerate It?
Absolutely! I know many, like myself, find too much dairy to be inflammatory, so typically this time of year, my body is ready for a little dairy break after the holidays. If you tolerate cheese, that makes such a yummy topping for the stuffed squash. We did that a couple times this fall with some Manchego, a sheep’s milk cheese that my dairy sensitive daughter and I tolerate very well. You could also sub real milk or cream for the coconut milk if you have access to that.


Creamy Paleo Stuffed Butternut Squash
Ingredients
For the Roasted Squash
For the Filling
- 1 tbsp olive oil to cook in if you tolerate butter you can use that here too
- 1 small onion diced
- ½ red bell pepper diced
- 2 cloves of garlic minced
- ½ lb grassfed ground beef
- ½ tsp Italian Seasoning
- ½ tsp sea salt
- ¼ tsp pepper
- 1 tbsp coconut aminos optional, though if you have it, use it! The depth is so yummy!
- 2 tbsp nutritional yeast
- 1-2 tbsp potato starch
- 1 cup coconut milk
- 2 cups chopped broccoli
For the topping
- 2 tbsp almond flour
- 1-2 tsp olive oil
- Sea salt and pepper to taste
Instructions
For the Roasted Squash
- Pre-heat the oven to 425 degrees.
- Rub the olive oil over the 2 halves of squash, and sprinkle with salt and pepper. Roast in a baking dish for 40 minutes at 425 degrees until soft. You can make the filling while the squash roasts.
For the filling
- Warm the olive oil in a skillet over medium high heat, and add the onion and pepper. Sprinkle some sea salt and cook over medium high heat for 5-7 minutes until fragrant and soft.
- Add the garlic and cook for a minute
- Add the ground beef, Italian seasoning, salt, pepper, and coconut aminos and cook until the beef is browned. Stir and break up the meat into small pieces as it cooks.
- Once the beef is browned, stir the nutritional yeast and potato starch into the mixture, and combine until everything is coated well. Pour the coconut milk and broccoli into the pan and stir until the coconut milk thickens, a couple of minutes. The broccoli will still have some bite to it, but it will cook more in the oven – if you add too early it will get too mushy.
Assemble the stuffed squash
- Once the squash is done roasting, scoop some of the flesh into the filling mixture in the skillet and stir to combine. Make enough room in the squash to be able to “stuff” it, leaving some squash around the sides and bottom.
- Once the squash has been stirred into the filling mixture, scoop the ground beef mixture into the squash to stuff it.
- Mix the topping ingredients with a fork in a small dish, and sprinkle over the top of the squash. Bake in a 425 degree oven for 12-14 minutes, until the topping is golden.
Notes
- If you need more servings, this recipe doubles very easily. You could use 2 small butternut squashes, or one large. I feel like the large butternut squashes take longer to roast, so when I do want more leftover, I tend to just make 2 small butternut squashes in a large, 9×13 baking pan, so they cook faster.
- If you tolerate cheese, that makes a delicious topping too!


This was amazing! So many flavors that complement each other, and so good for you! It’s definitely comforting food for us paleo people! Thanks for this one. Eating leftovers tonight. Can’t wait!
The leftovers of this one are my favorite! I’m glad you enjoyed it!
Such a great recipe! My kids loved the salmon! I put the Spinach stuffing on top of the salmon instead of in the middle, sauteed the stuffing at the end with garlic and butter.
Such a yummy idea! I’m glad the kids enjoyed it!
What could I use instead of potato starch?
Hi Kristen! Tapioca starch or arrowroot would work well. Regular flour or GF Flour would be fine too.