Skip to content
Get the newsletter - sign up here
Facebook
Twitter
Instagram
Pinterest
Home
Recipes
Expand
Breakfast Ideas
Lunch Ideas
Dinner Ideas
Snack Ideas
Occasional Treats
Cookbooks
Expand
Nourished Beginnings
The Little Lunchbox Cookbook
Nourished Mornings Cookbook
About
Contact
Search
Search
Toggle Menu
Author: Renee Kohley
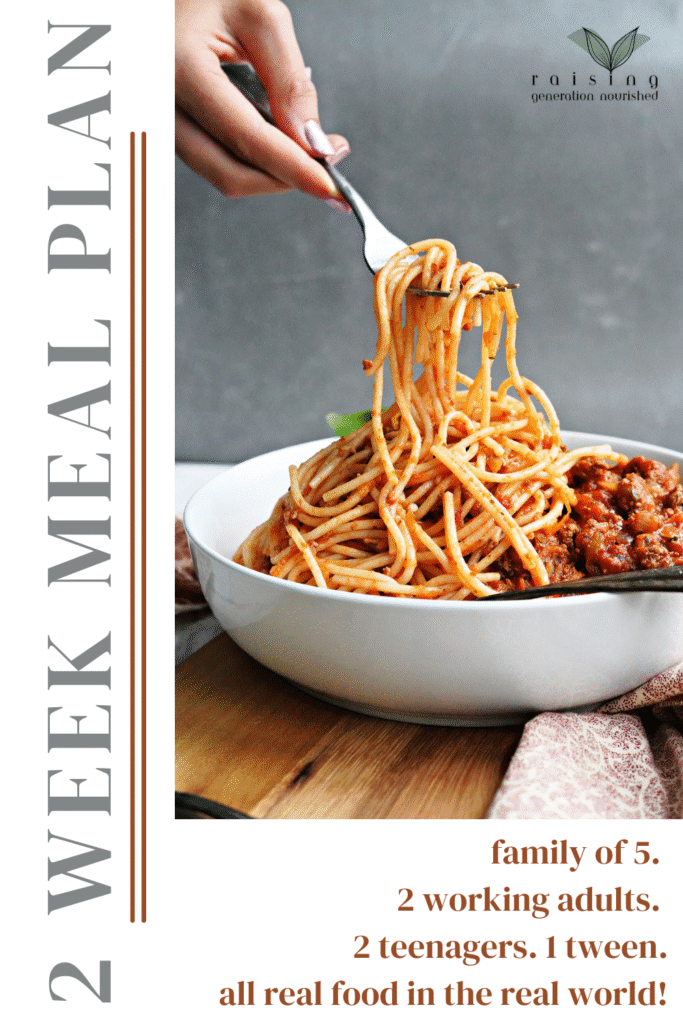
2 Week Meal Plan :: Family of 5 Winter Edition
Slow Cooker Ragu
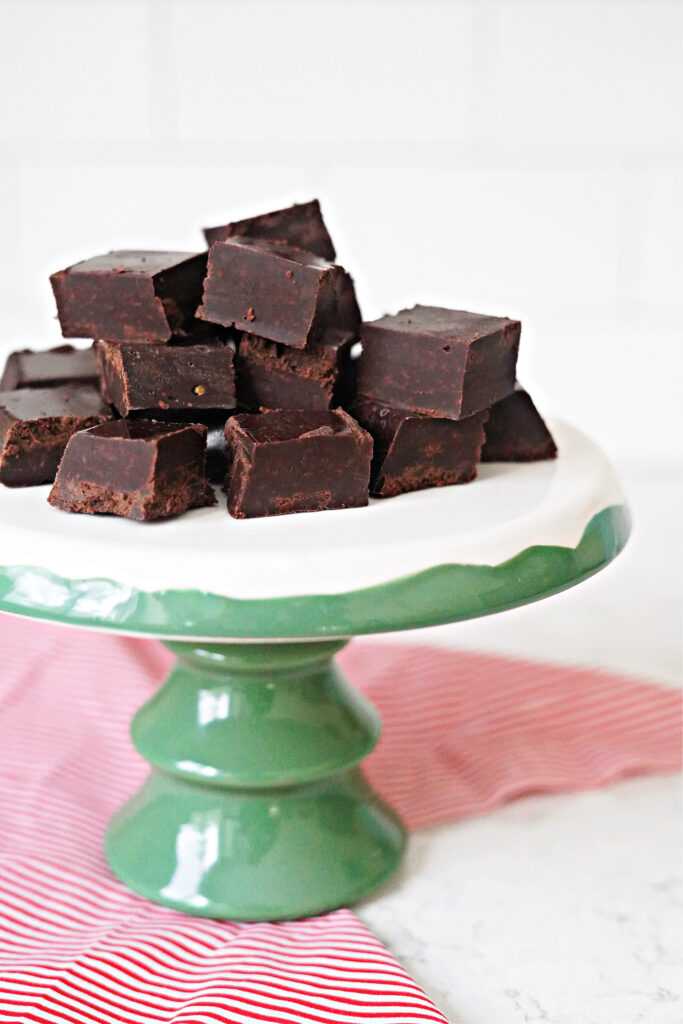
Fast & Easy 5 Minute Fudge!
A Cozy Christmas Morning Breakfast
Our Popcorn Night Favorites!
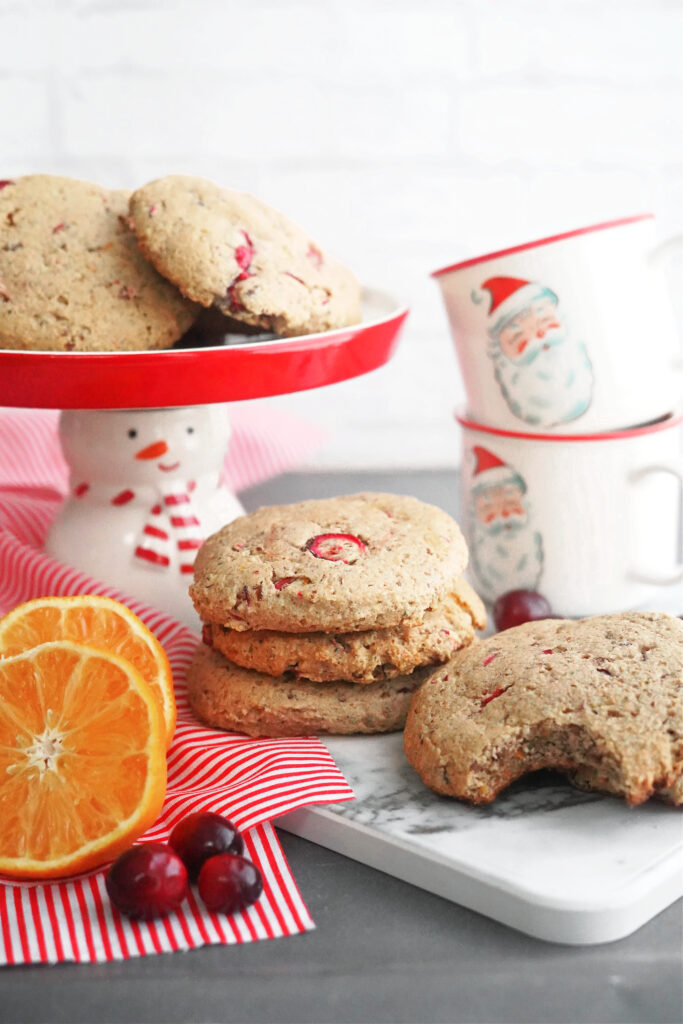
Blender Batter Date Sweetened Cranberry Breakfast Cookies
The Best Flank Steak Fajitas
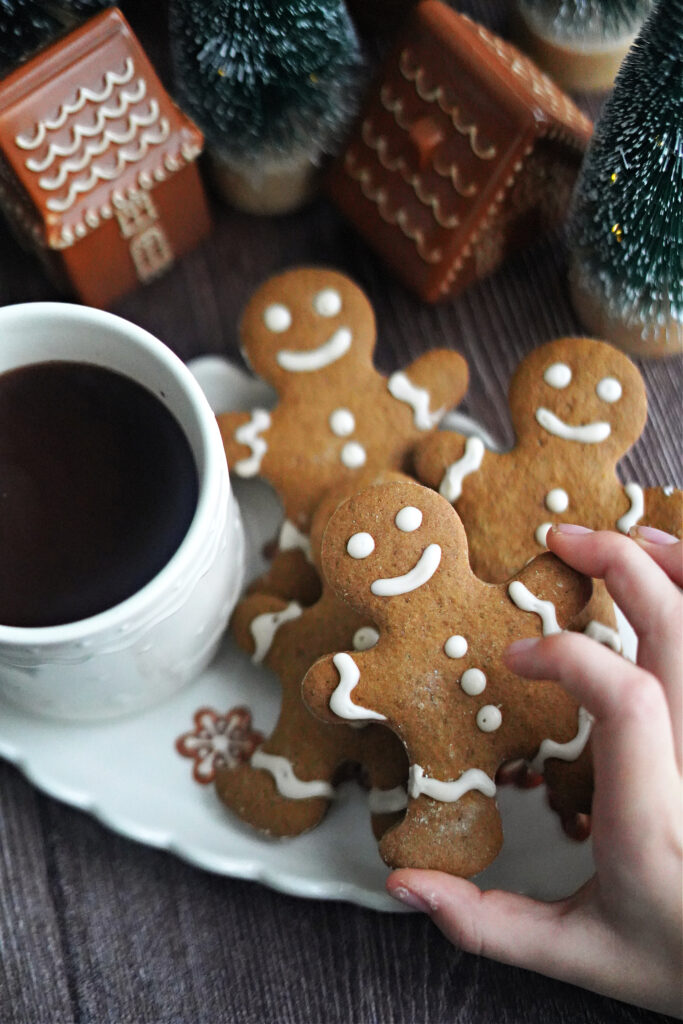
Gluten Free Gingerbread Cookies
Non-Toxic Skin Care
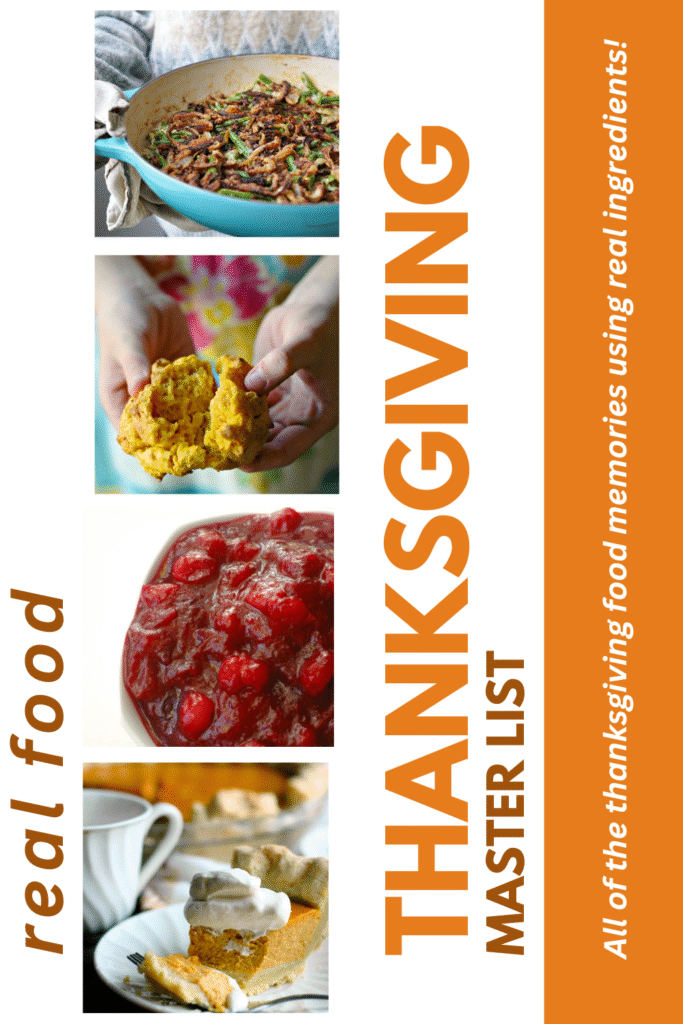
Real Food Thanksgiving Menu Master List!
Mom to Mom :: My Favorite Natural Remedies for Sick Kids
The Most Delicious Pumpkin Cake
2 Week Meal Plan :: Family of 5 Fall Edition
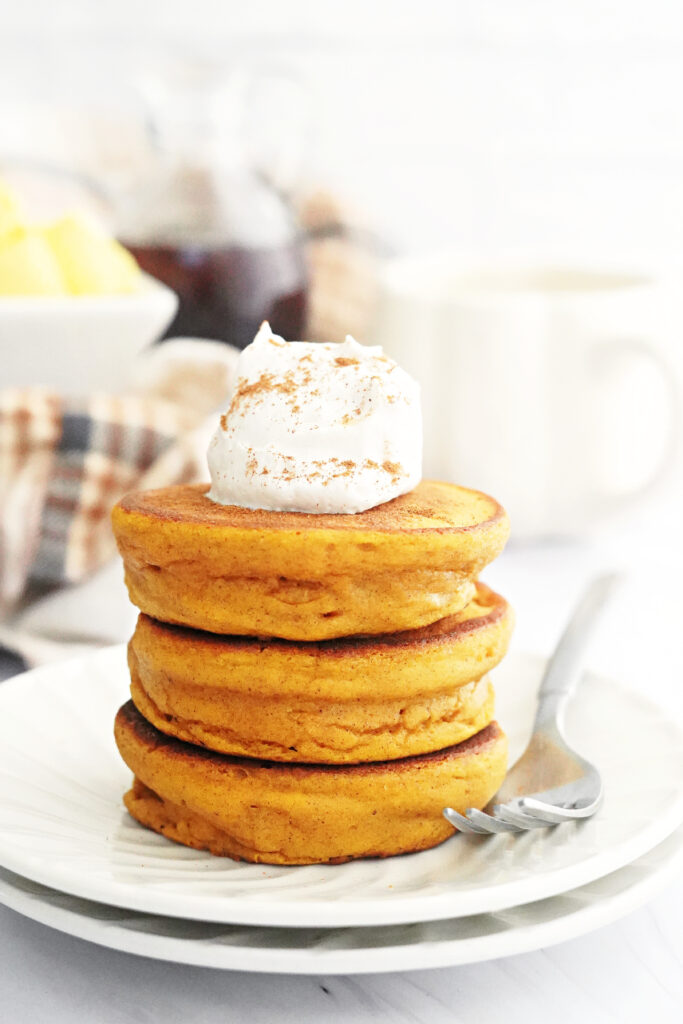
Super Fluffy Blender Batter Pumpkin Pancakes
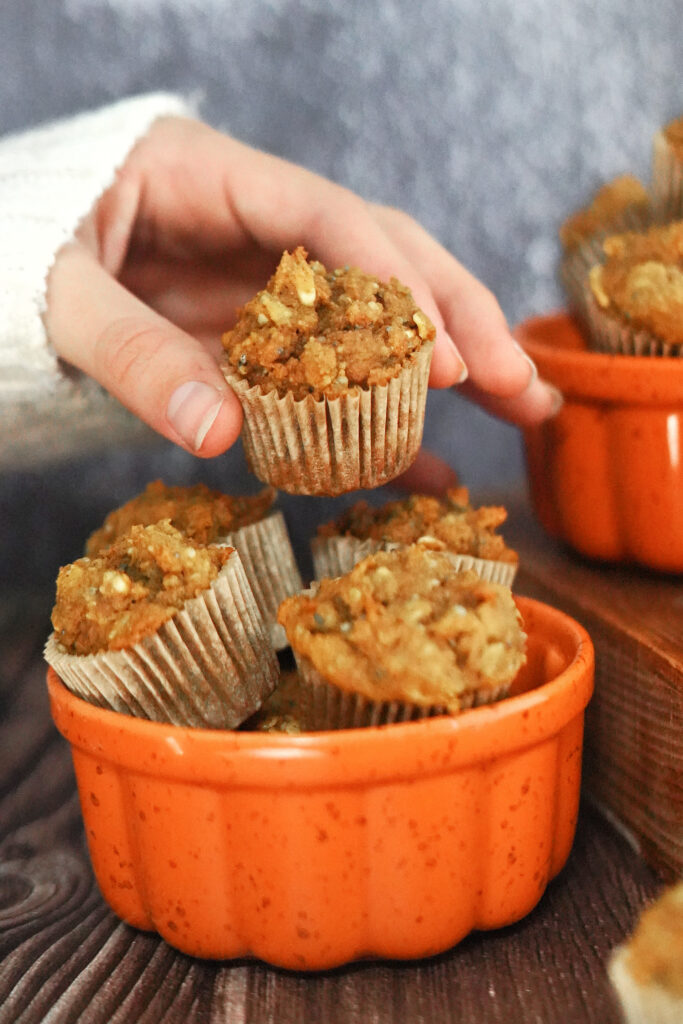
Kid Friendly Power Packed Pumpkin Snack Bites
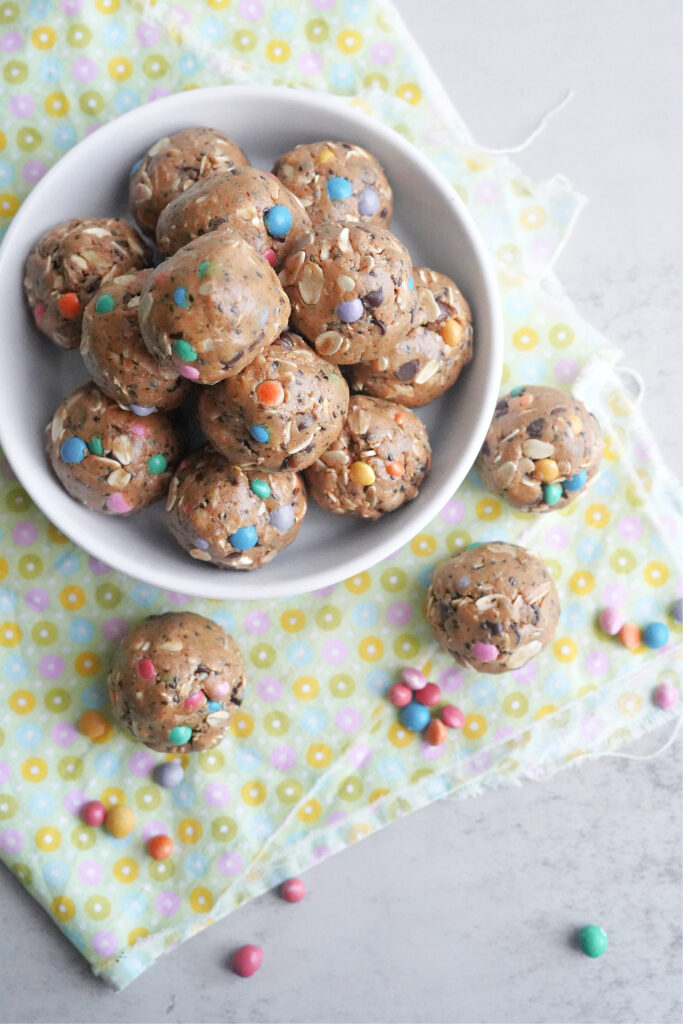
Naturally Dyed Monster Cookie Energy Bites!
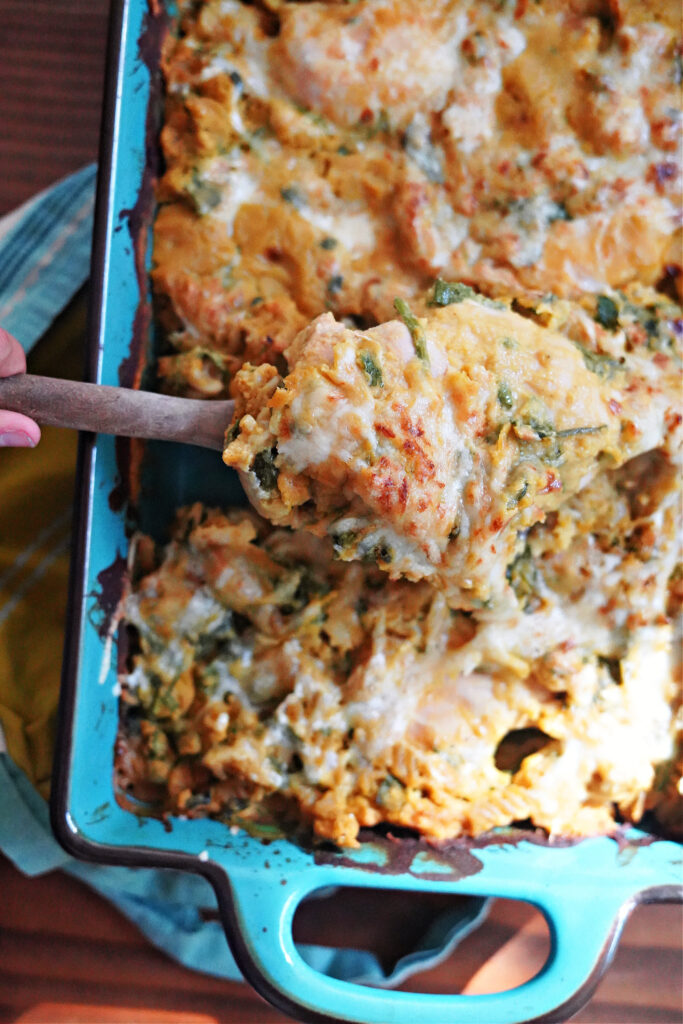
One Pan Baked Chicken Pumpkin Pasta
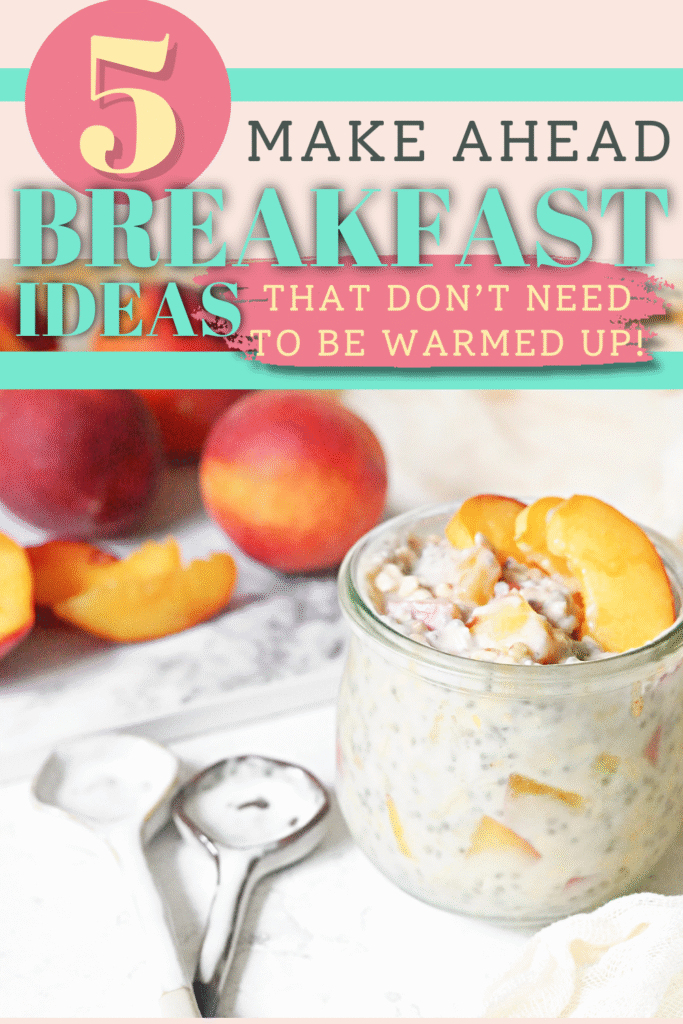
5 Make Ahead Breakfast Ideas That Don’t Need To Be Warmed Up!
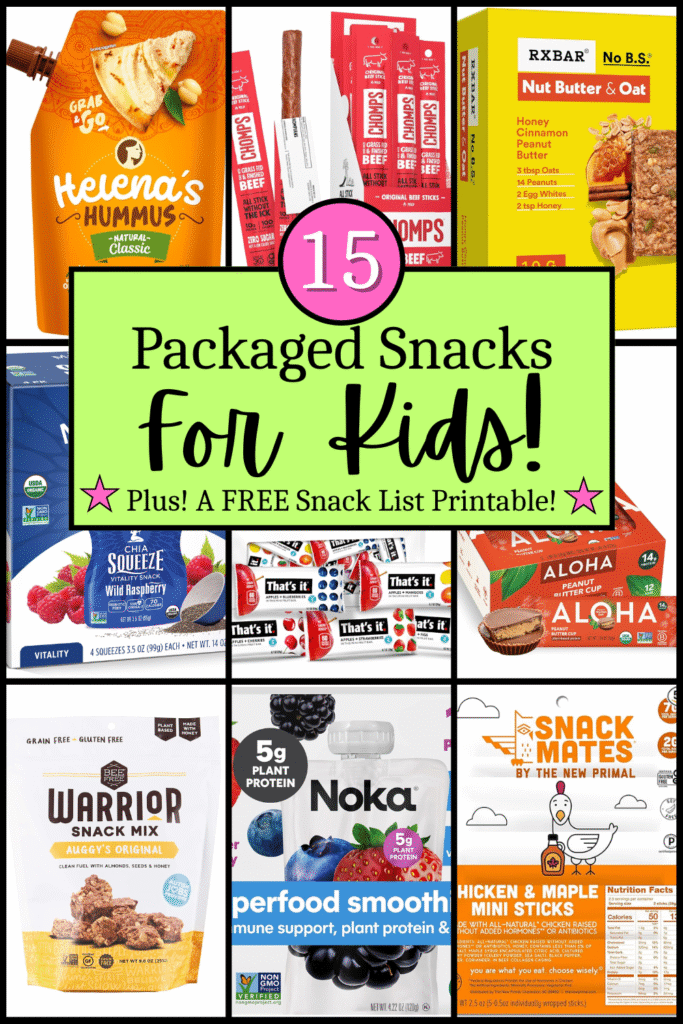
15 Packaged Snacks for Busy Kids! :: And a FREE Snack Pantry Printable!
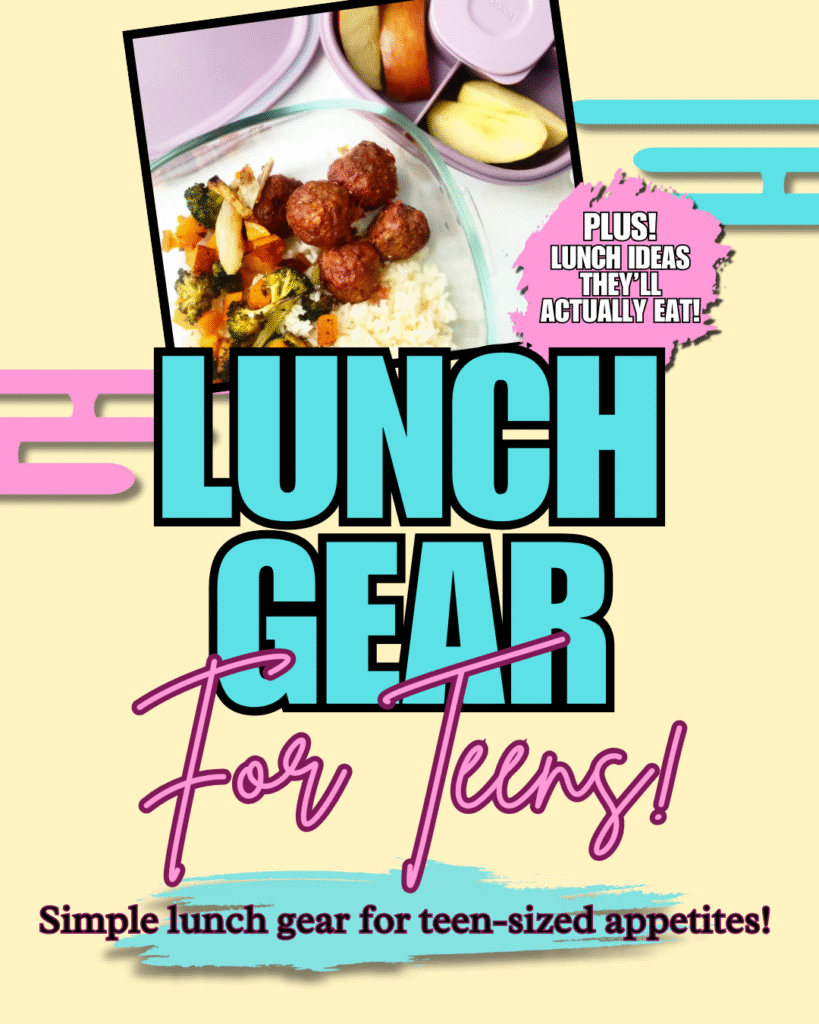
Our Favorite Lunch Gear For Teens!
My Costco Shopping List!
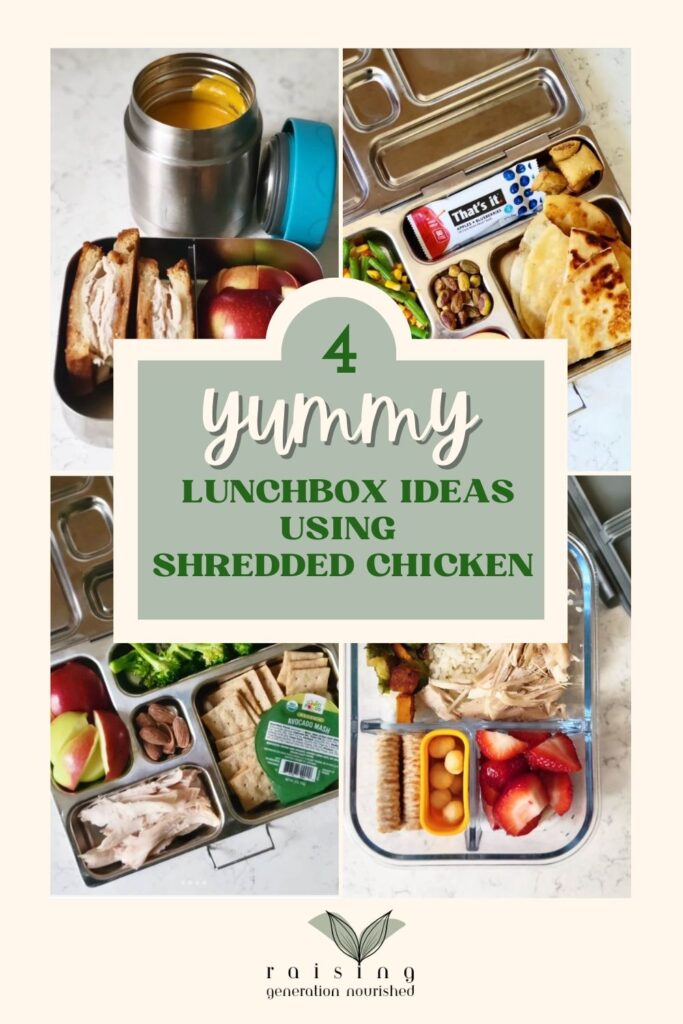
4 Yummy Lunchbox Ideas Using Shredded Chicken
How to Make Ice Cream Floats
Tips for Smooth Morning Breakfasts {and getting kids excited about coming to the breakfast table!}
Page navigation
Previous Page
Previous
1
2
3
4
…
24
Next Page
Next
Scroll to top
Scroll to top
Home
Recipes
Toggle child menu
Expand
Breakfast Ideas
Lunch Ideas
Dinner Ideas
Snack Ideas
Occasional Treats
Cookbooks
Toggle child menu
Expand
Nourished Beginnings
The Little Lunchbox Cookbook
Nourished Mornings Cookbook
About
Contact
Toggle Menu Close
Search for:
Search