Skip to content
Get the newsletter - sign up here
Facebook
Twitter
Instagram
Pinterest
Home
Recipes
Expand
Breakfast Ideas
Lunch Ideas
Dinner Ideas
Snack Ideas
Occasional Treats
Cookbooks
Expand
Nourished Beginnings
The Little Lunchbox Cookbook
Nourished Mornings Cookbook
About
Contact
Search
Search
Toggle Menu
Breakfast Ideas
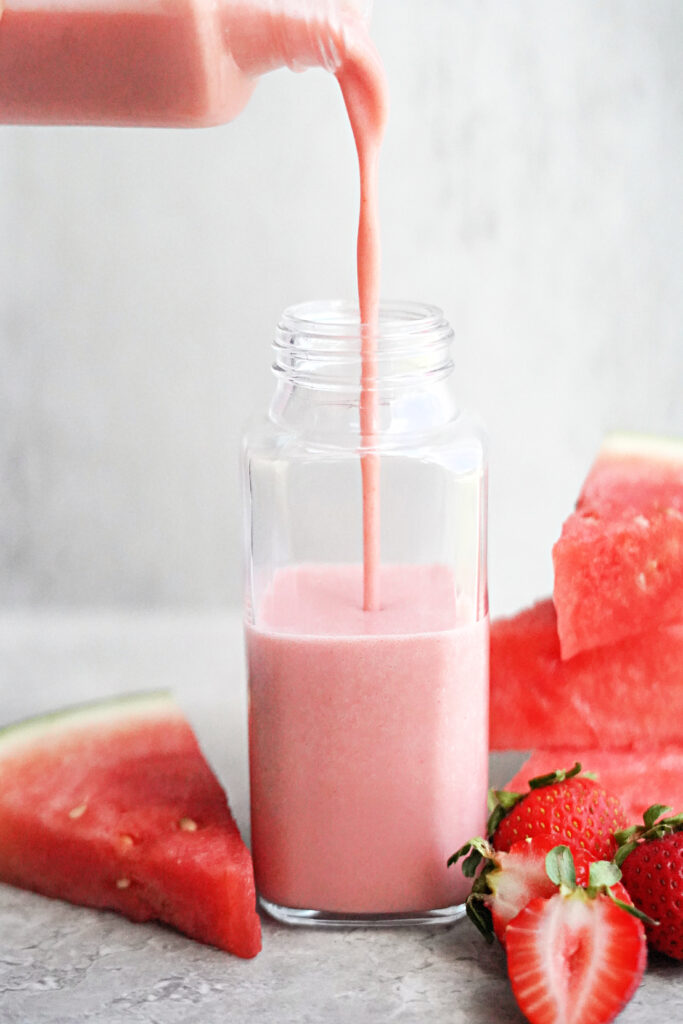
Real Food Electrolyte Drinkable Yogurt
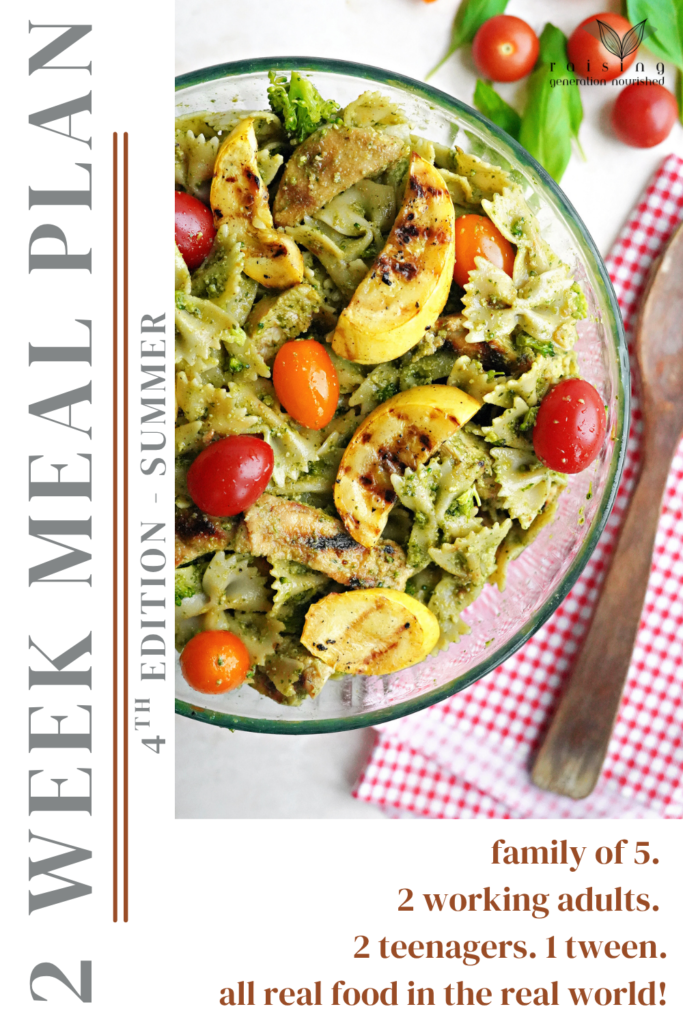
2 Week Meal Plan :: Family of 5 Summer Edition
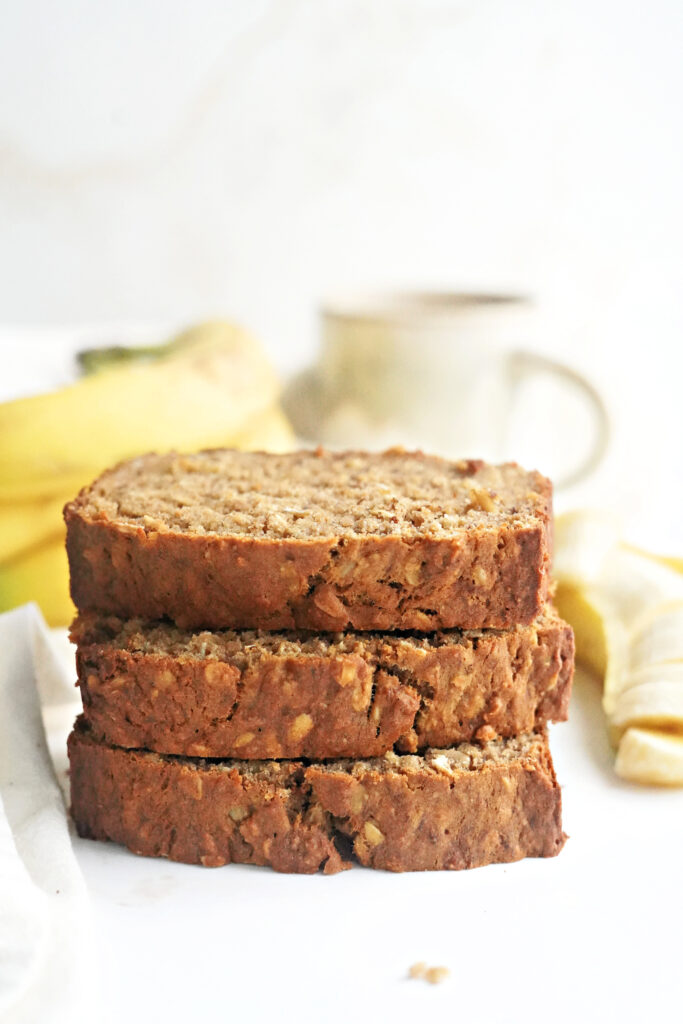
Power Packed Oatmeal Banana Bread
Nutrient Loaded Real Food Brown Sugar Cinnamon Baked Oatmeal
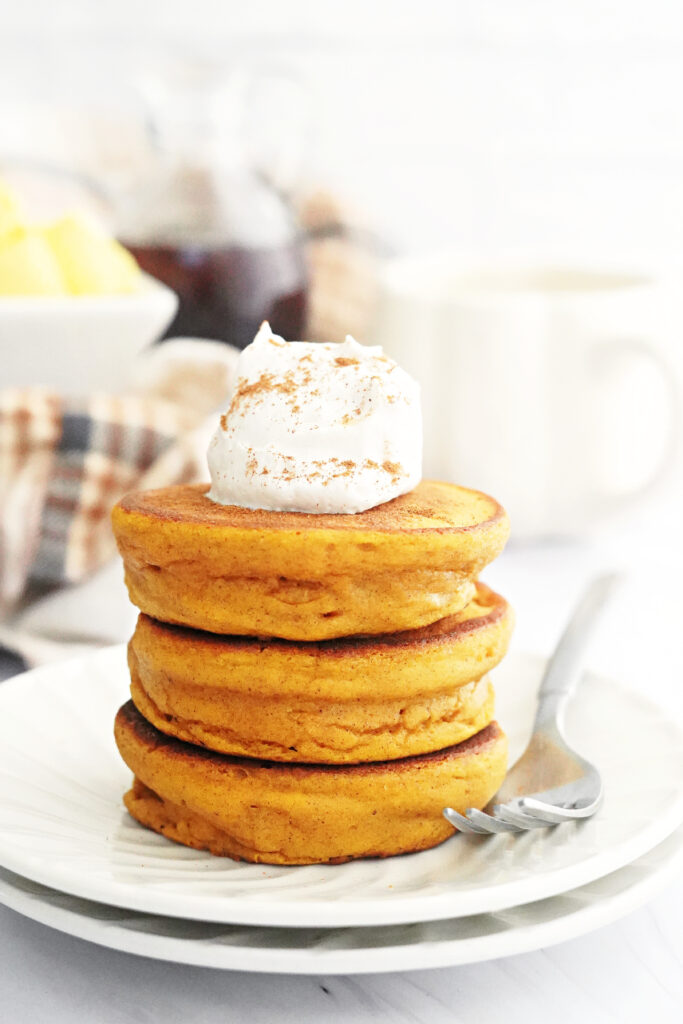
Super Fluffy Blender Batter Pumpkin Pancakes
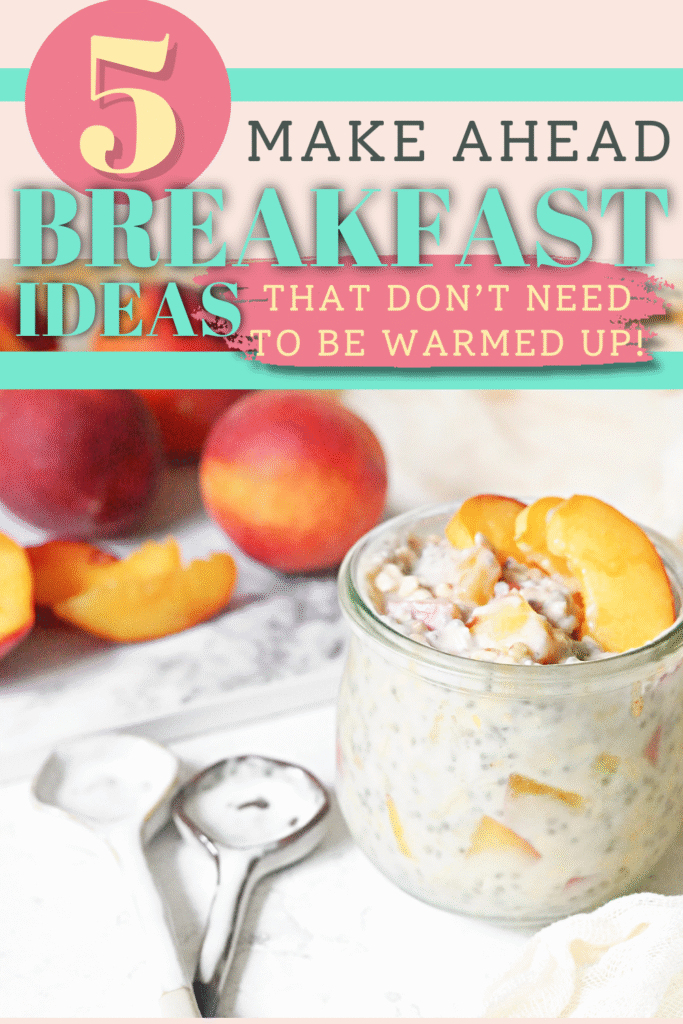
5 Make Ahead Breakfast Ideas That Don’t Need To Be Warmed Up!
Tips for Smooth Morning Breakfasts {and getting kids excited about coming to the breakfast table!}
Fruit Sweetened Protein Cookies
Peaches and Cream Overnight Oats
Sausage and Broccoli Cheese Egg Muffins
Soft & Fluffy Cinnamon Raisin Zucchini Muffins Using Cassava Flour!
Healthy Copycat Clif Kid® ZBar
Hot Cocoa Oatmeal
Apple Oat & Buckwheat Porridge
Healthy Apple Quick Bread
Protein Packed Strawberries & Cream Overnight Oats
Chocolate Peanut Butter Overnight Oats {AKA “Claire’s Overnight Oats!”)
Pumpkin Apple Baked Oatmeal
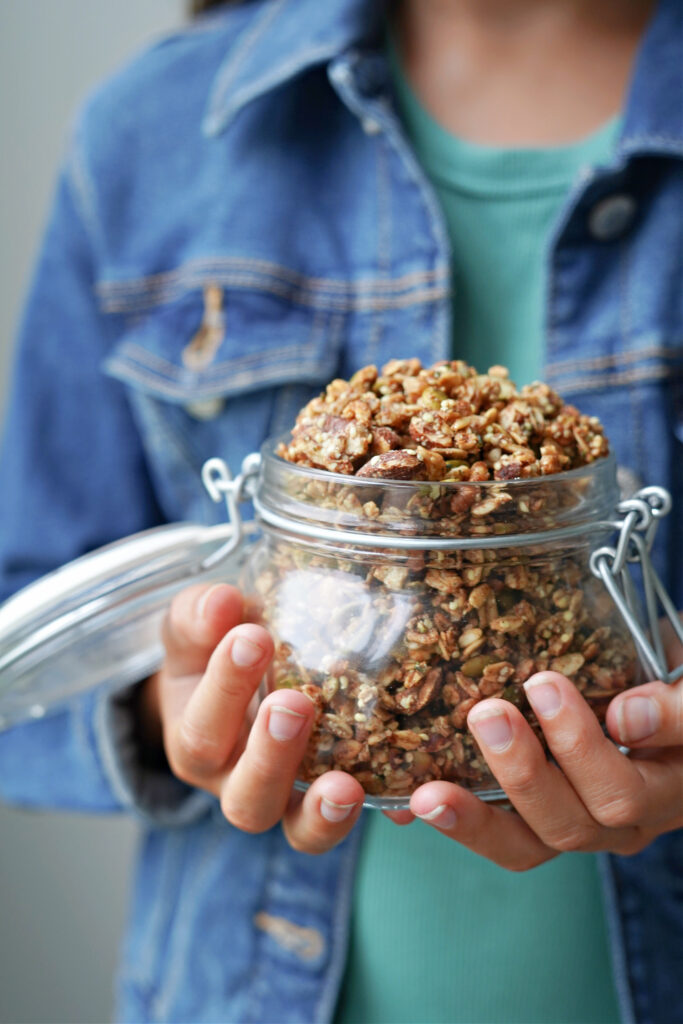
Gluten Free Pumpkin Pie Granola
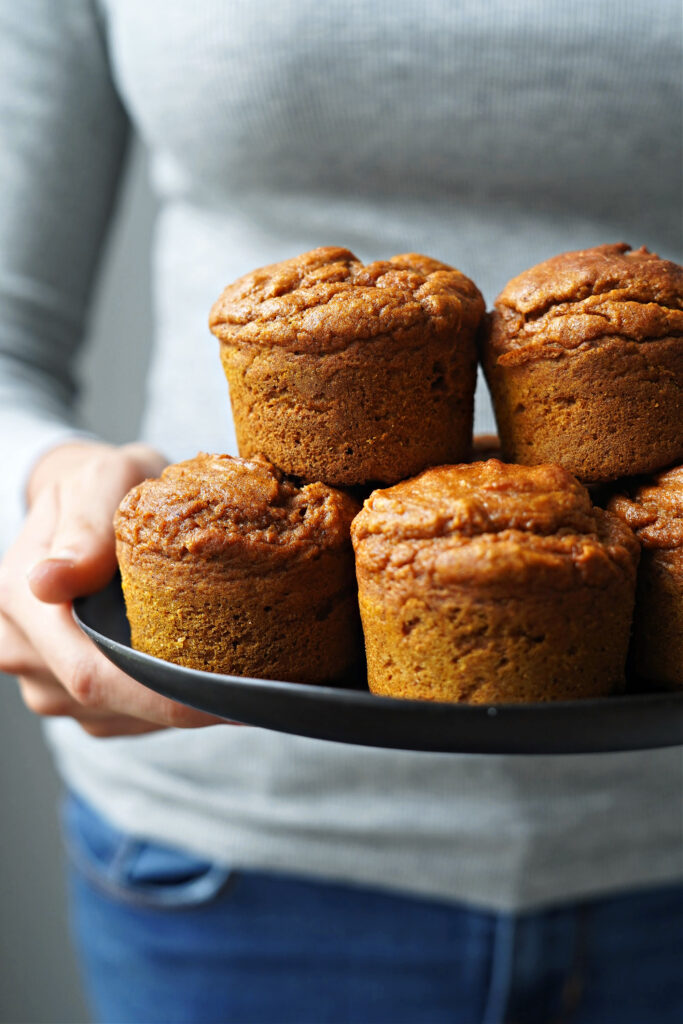
Softest Ever Gluten Free Pumpkin Muffins!
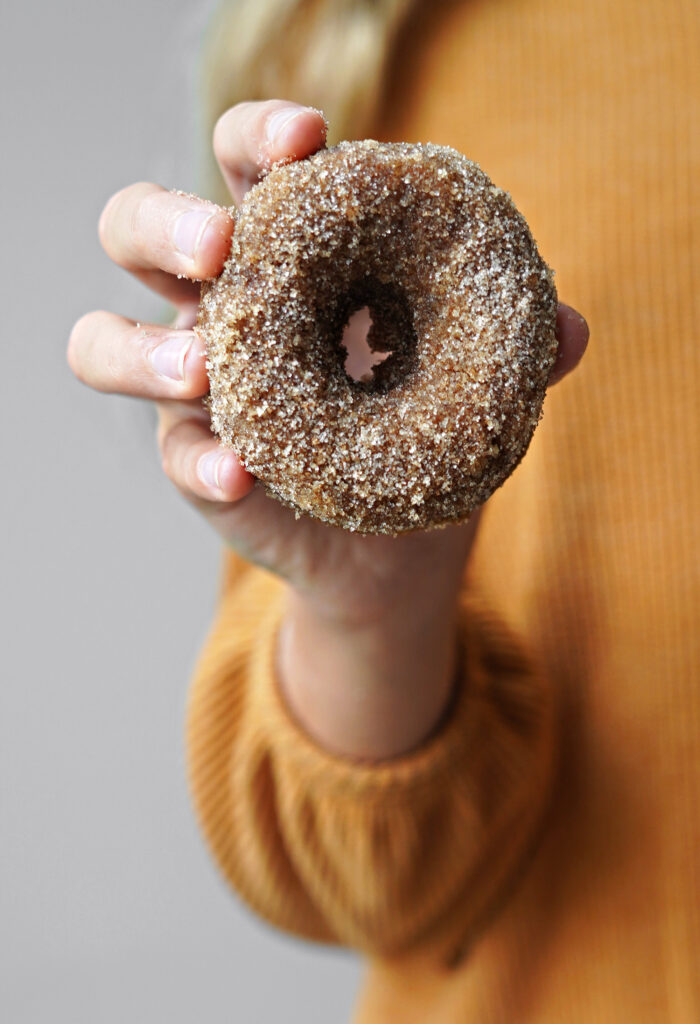
Gluten Free Apple Donuts :: Gluten, Dairy, Nut, & Egg Free!
Bone Broth Chocolate Protein Bites :: Gluten, Dairy, Egg, Nut, & Bean Free!
The Breakfast Meal Planner from Raising Generation Nourished
One Pan Breakfast Casserole Even Your Teen Can Meal Prep!
Page navigation
1
2
3
…
6
Next Page
Next
Scroll to top
Scroll to top
Home
Recipes
Toggle child menu
Expand
Breakfast Ideas
Lunch Ideas
Dinner Ideas
Snack Ideas
Occasional Treats
Cookbooks
Toggle child menu
Expand
Nourished Beginnings
The Little Lunchbox Cookbook
Nourished Mornings Cookbook
About
Contact
Toggle Menu Close
Search for:
Search