Skip to content
Get the newsletter - sign up here
Facebook
Twitter
Instagram
Pinterest
Home
Recipes
Expand
Breakfast Ideas
Lunch Ideas
Dinner Ideas
Snack Ideas
Occasional Treats
Cookbooks
Expand
Nourished Beginnings
The Little Lunchbox Cookbook
Nourished Mornings Cookbook
About
Contact
Search
Search
Toggle Menu
Cold & Flu Season
Mom to Mom :: My Favorite Natural Remedies for Sick Kids
Homemade Chicken and Stars Soup
Roasted Mushroom Broth
Gluten Free Ginger and Leek Chicken Noodle Soup :: Grain Free Options
How To Make Elderberry Tincture
Tips For Keeping Kids Healthy All School Year
Post Tummy Bug Recovery Smoothie
Instant Pot Bone Broth
Nettle Infusions For Kids!
Vitamin C Gummies :: And The Truth About Vitamin C Supplements
Rehydrating Eletrolyte Popsicles
How To Make An Onion Poultice For Kids
Naturally Healing Ear Infections In Kids
DIY Electrolyte Drink :: Natural rehydration for colds, flu, food poisoning, & physical exertion
Tips To Keeping Kids Healthy During The Holidays
Autumn Harvest Chicken Stew
Immune Booster Smoothie
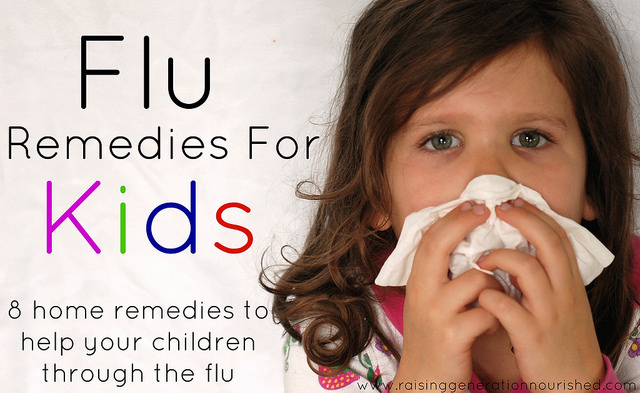
Flu Remedies For Kids :: 8 Natural Home Remedies To Help Your Children Through The Flu
Scroll to top
Scroll to top
Home
Recipes
Toggle child menu
Expand
Breakfast Ideas
Lunch Ideas
Dinner Ideas
Snack Ideas
Occasional Treats
Cookbooks
Toggle child menu
Expand
Nourished Beginnings
The Little Lunchbox Cookbook
Nourished Mornings Cookbook
About
Contact
Toggle Menu Close
Search for:
Search