Skip to content
Get the newsletter - sign up here
Facebook
Twitter
Instagram
Pinterest
Home
Recipes
Expand
Breakfast Ideas
Lunch Ideas
Dinner Ideas
Snack Ideas
Occasional Treats
Cookbooks
Expand
Nourished Beginnings
The Little Lunchbox Cookbook
Nourished Mornings Cookbook
About
Contact
Search
Search
Toggle Menu
Drinks
Real Food Electrolyte Drinkable Yogurt
Fuss Free Hot Cocoa Bombs Using Coconut Sugar!
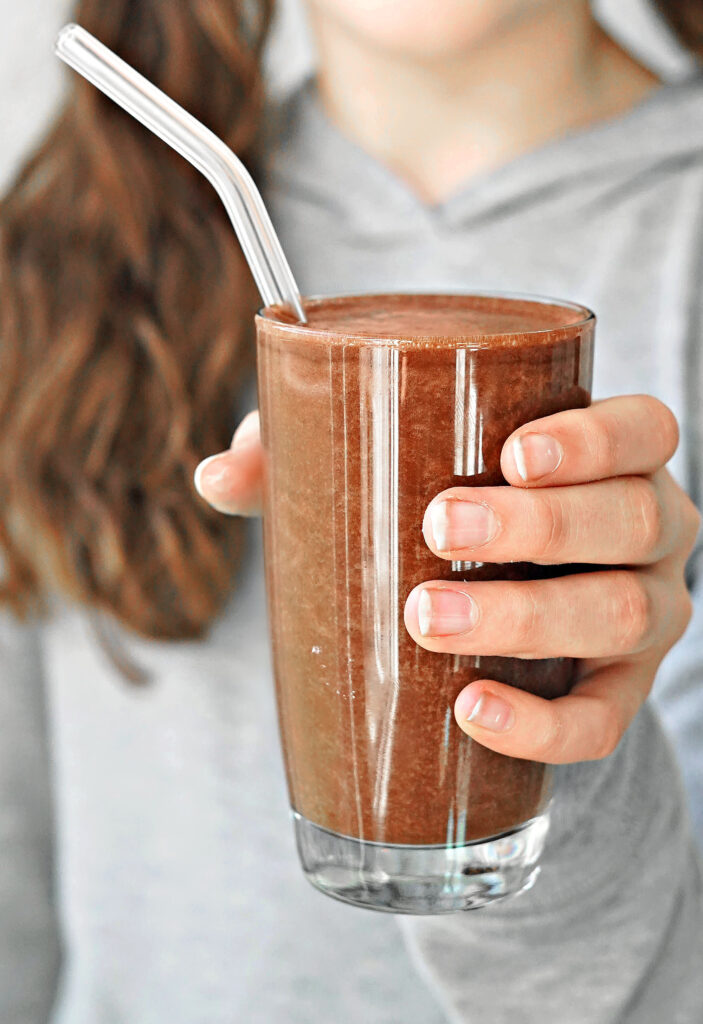
Chocolate Electrolyte Protein Shake
Our Favorite Herbal Tea for Kids
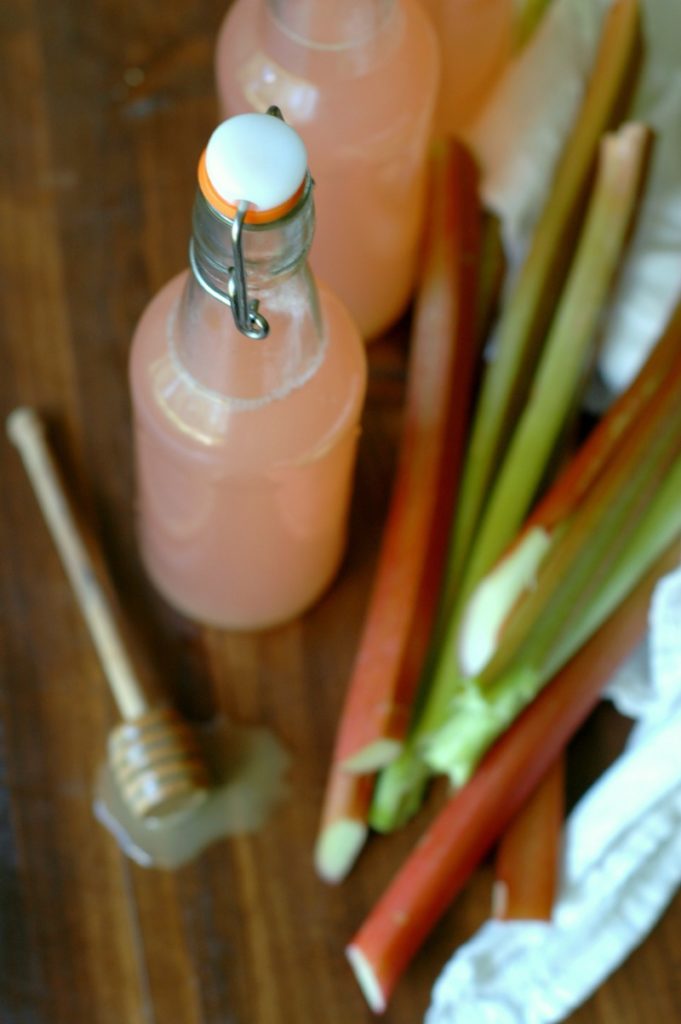
Honey Rhubarb Water Kefir Soda :: A naturally probiotic rich fizzy, fun drink for the whole family!
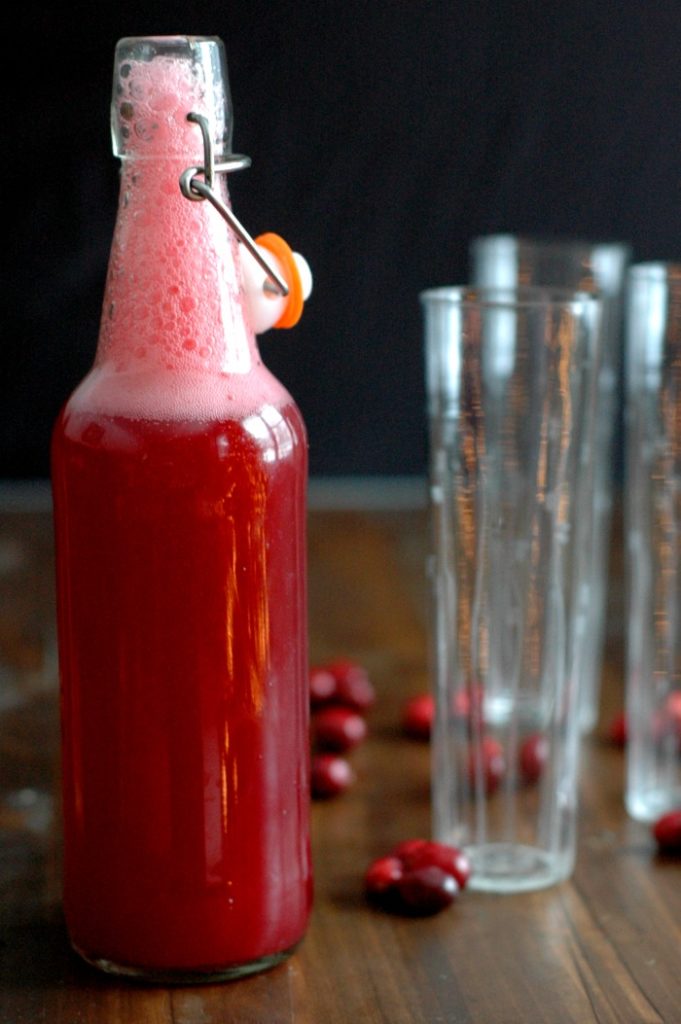
Fermented Cranberry Soda :: A naturally probiotic rich, kid friendly, real food soda!
Water Kefir Basics
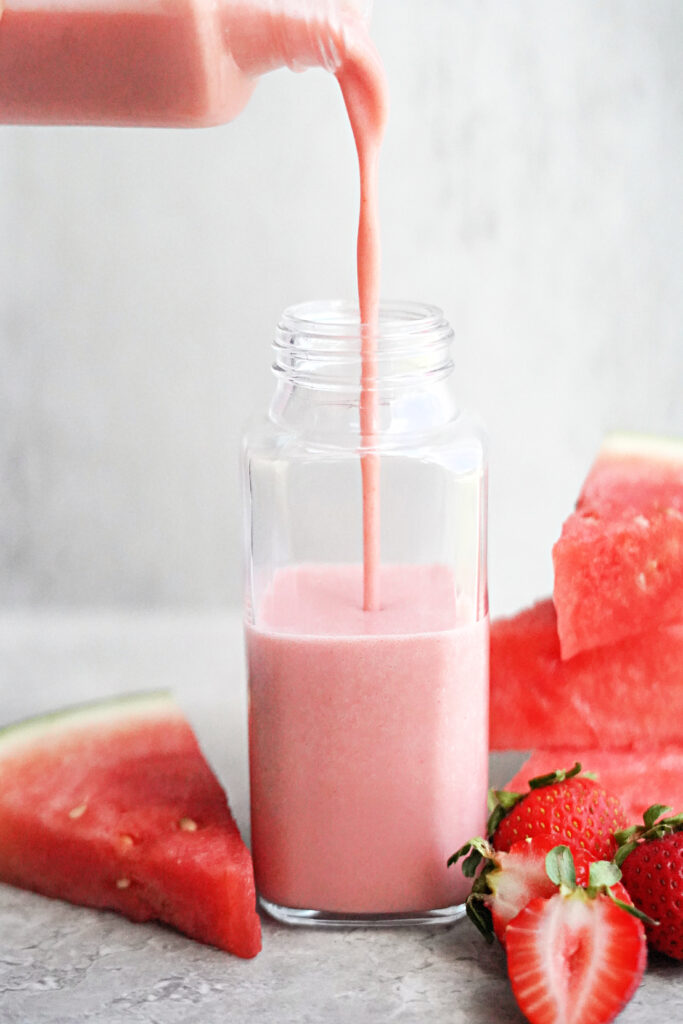
Post Tummy Bug Recovery Smoothie
Nettle Infusions For Kids!
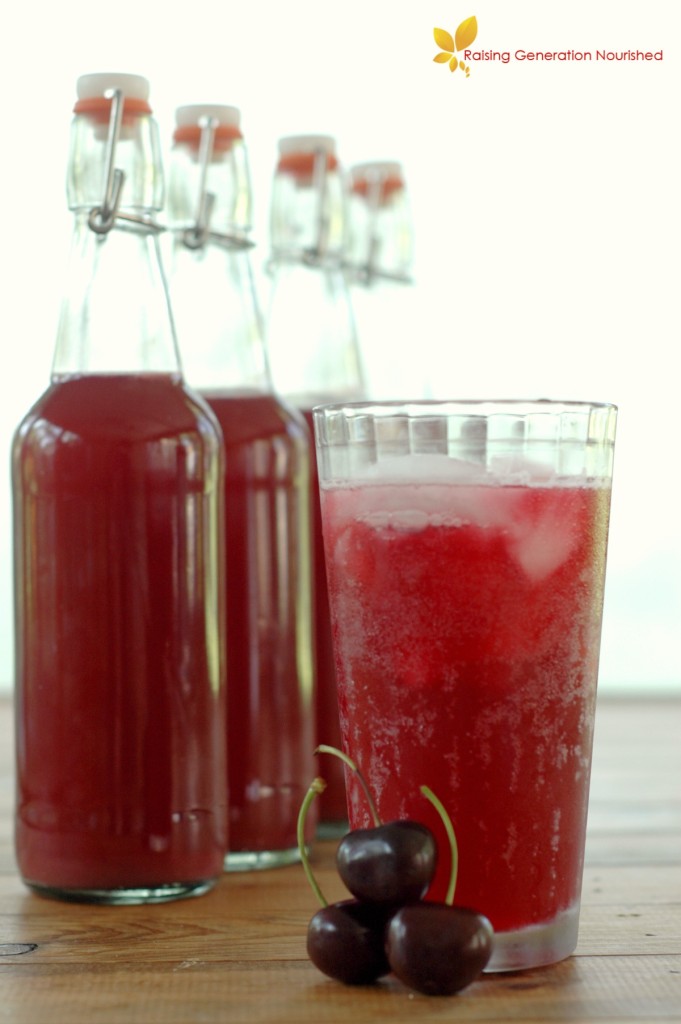
Fermented Cherry Almond Soda
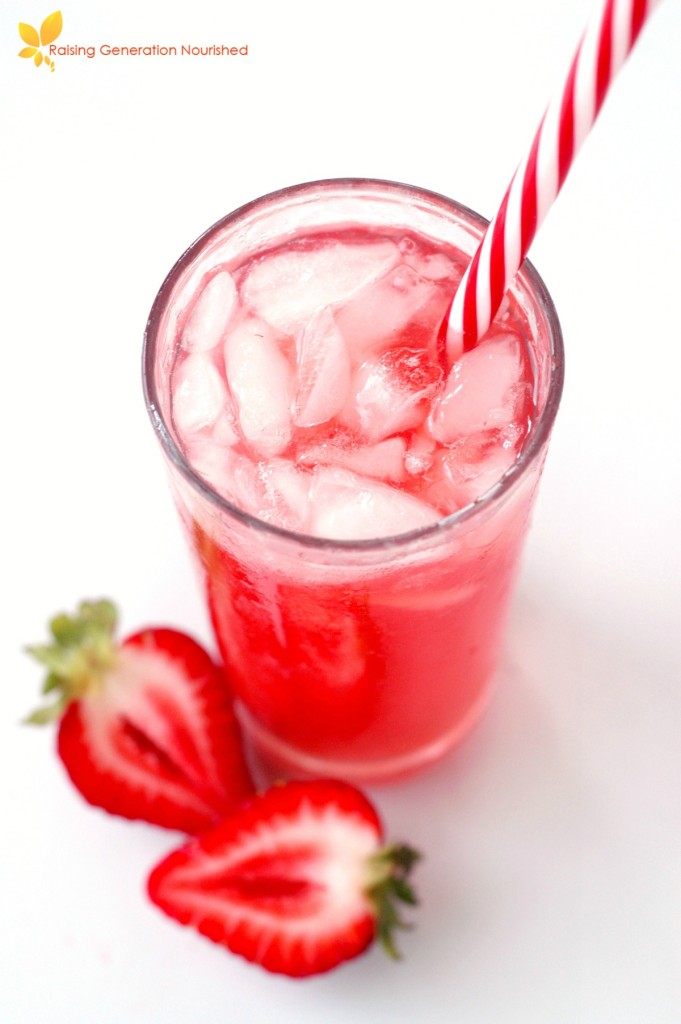
Fermented Strawberry Soda
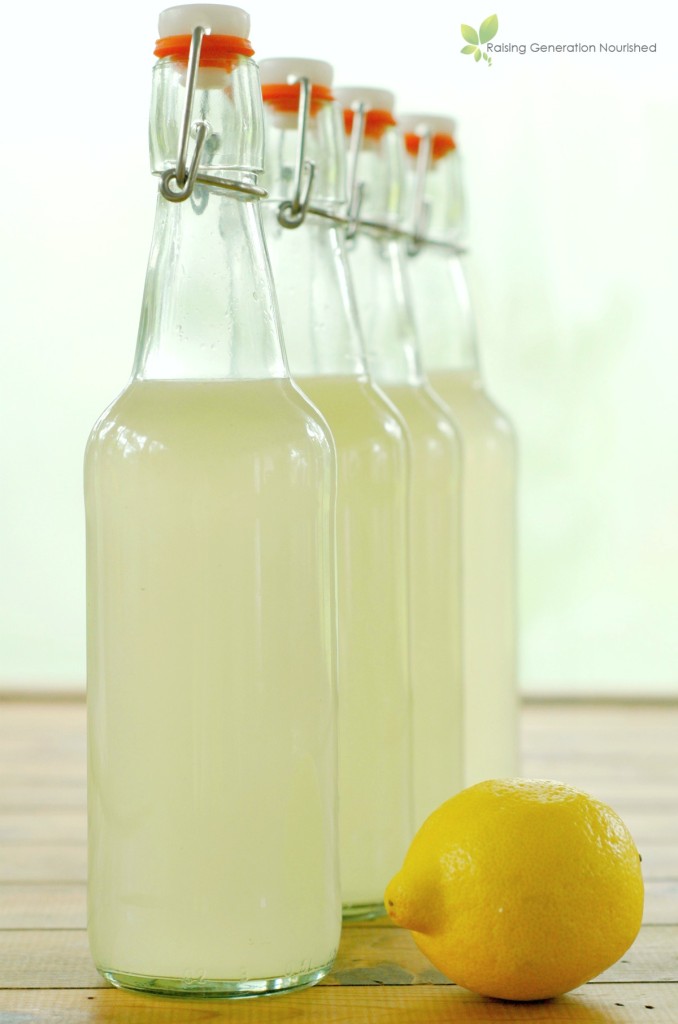
Simple Fermented Lemonade
DIY Coconut Milk :: No Gums, Fillers, Or Sweeteners
DIY Electrolyte Drink :: Natural rehydration for colds, flu, food poisoning, & physical exertion
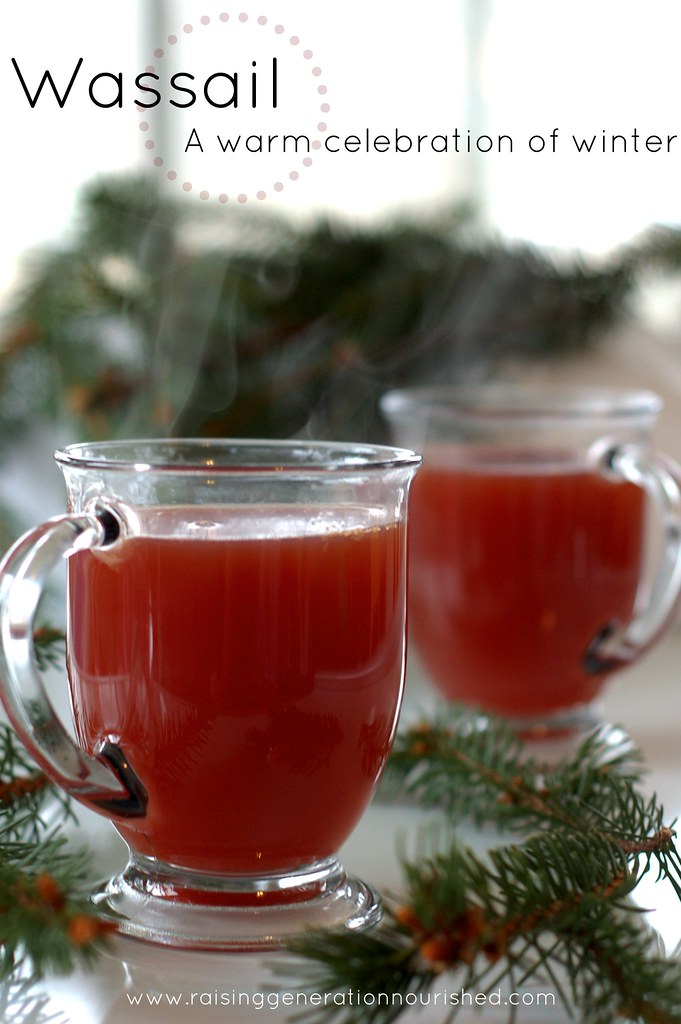
Winter Wassail
Simple & Quick Eggnog :: Dairy Free Option & Date Sweetened or with Natural Sweeteners!
Immune Booster Smoothie
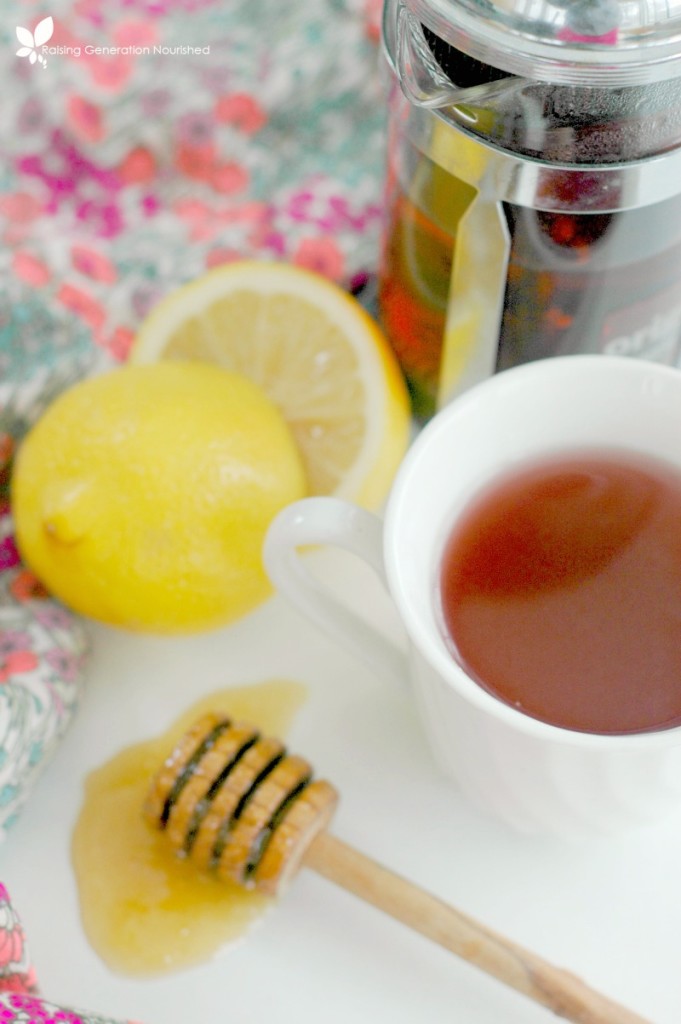
Momma’s Honey Lemon Rejuvenation Tea
Scroll to top
Scroll to top
Home
Recipes
Toggle child menu
Expand
Breakfast Ideas
Lunch Ideas
Dinner Ideas
Snack Ideas
Occasional Treats
Cookbooks
Toggle child menu
Expand
Nourished Beginnings
The Little Lunchbox Cookbook
Nourished Mornings Cookbook
About
Contact
Toggle Menu Close
Search for:
Search