Skip to content
Get the newsletter - sign up here
Facebook
Twitter
Instagram
Pinterest
Home
Recipes
Expand
Breakfast Ideas
Lunch Ideas
Dinner Ideas
Snack Ideas
Occasional Treats
Cookbooks
Expand
Nourished Beginnings
The Little Lunchbox Cookbook
Nourished Mornings Cookbook
About
Contact
Search
Search
Toggle Menu
Feeding Babies
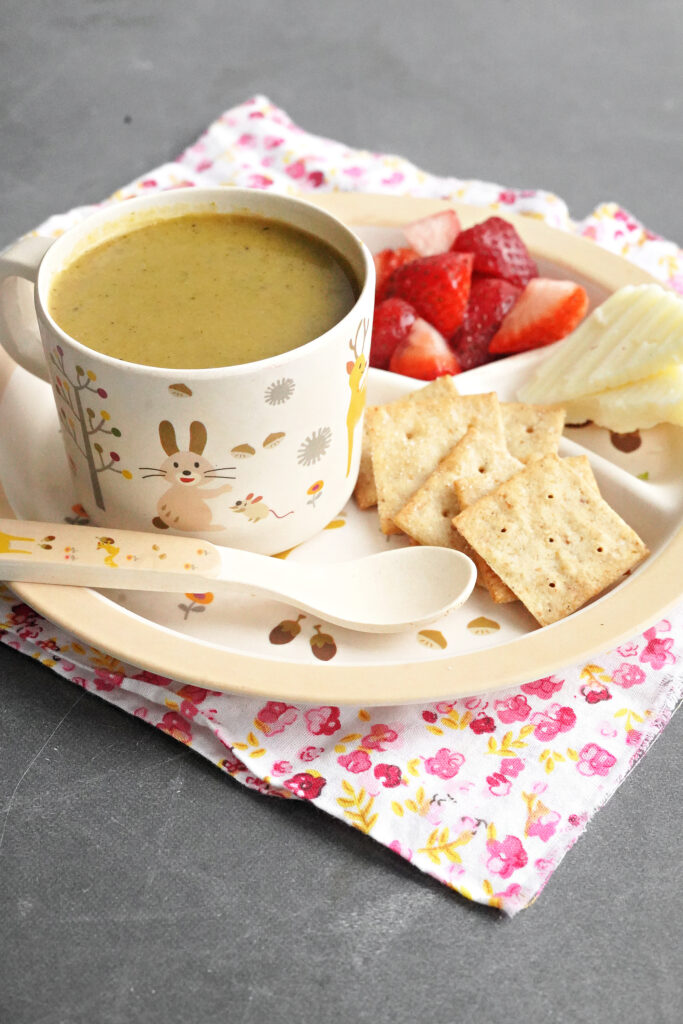
Kid Favorite Nourishing Broccoli Soup
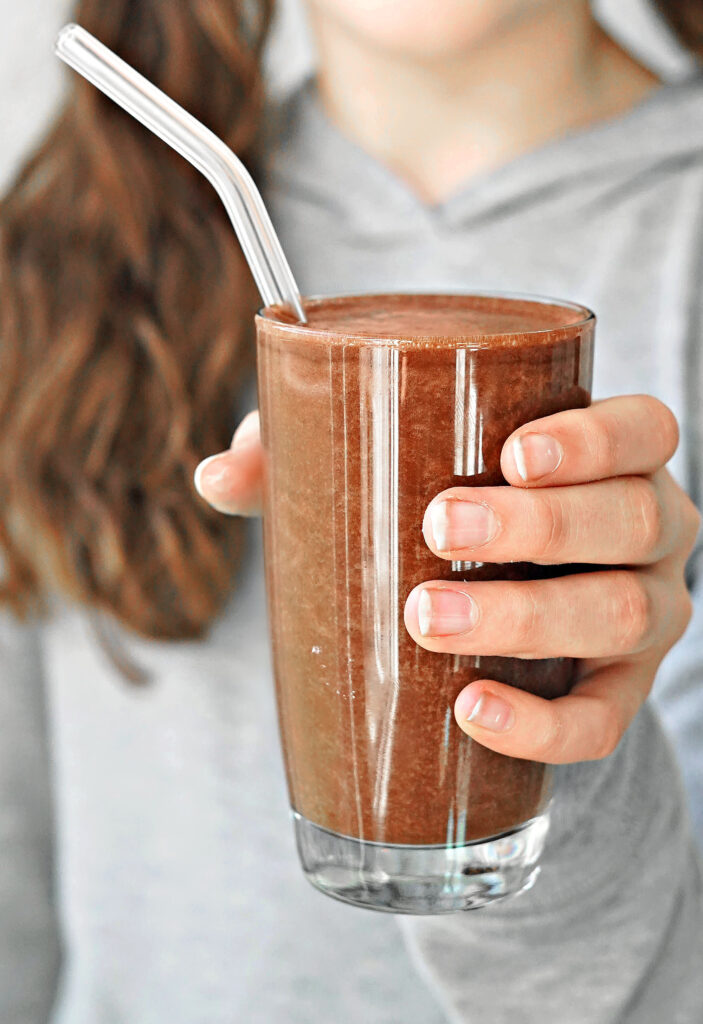
Chocolate Electrolyte Protein Shake
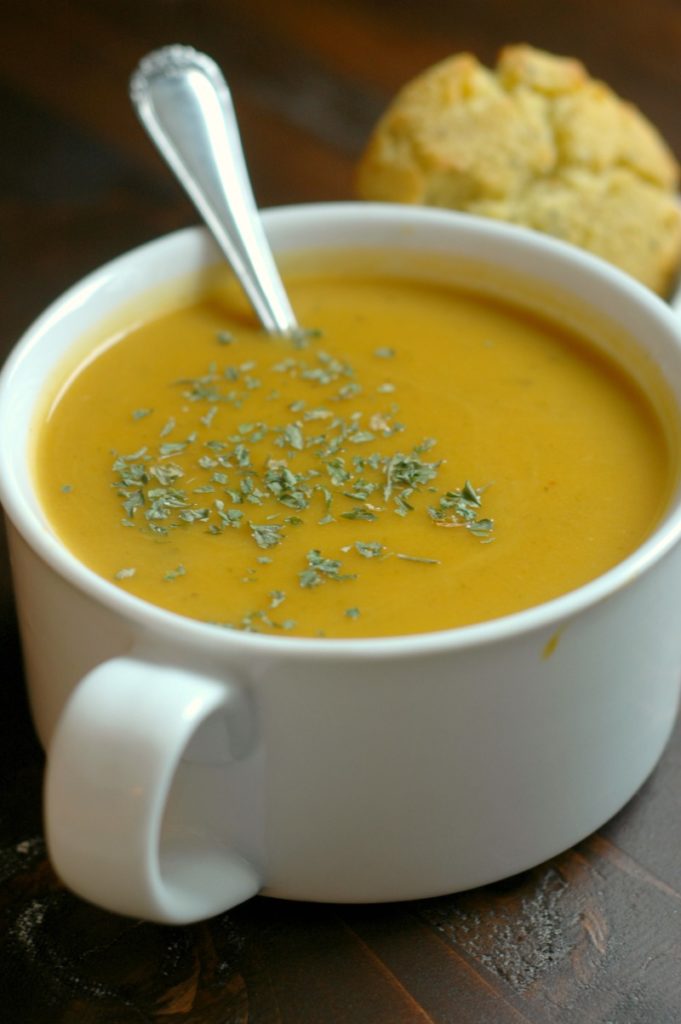
Creamy Roasted Rutabaga Soup :: Gluten & Dairy Free
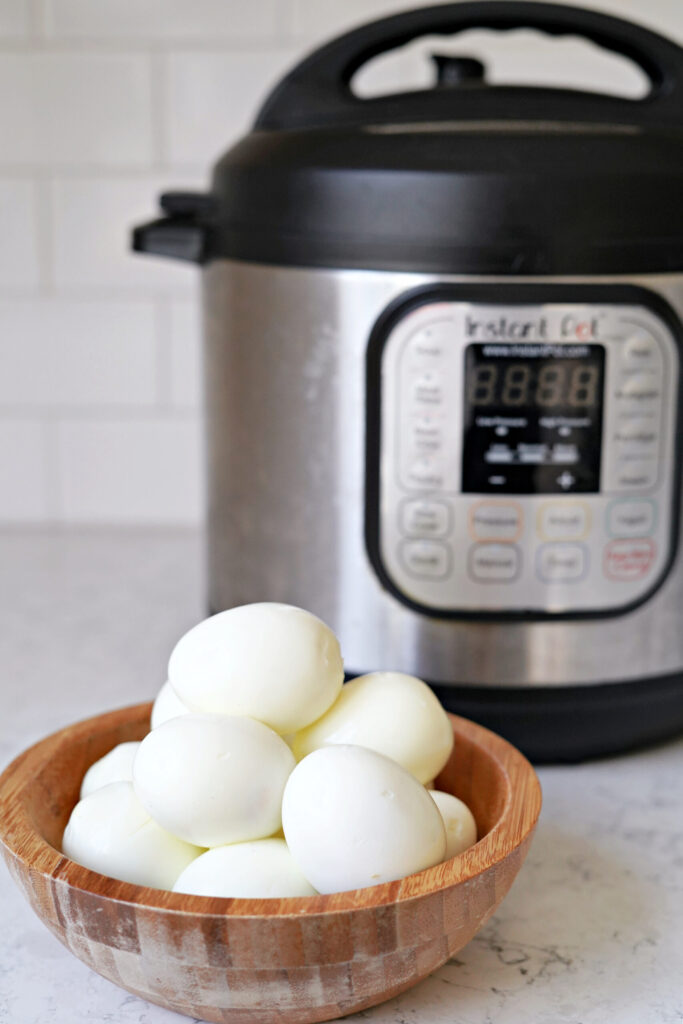
Simple Instant Pot Hard Boiled Eggs
Creamy Cabbage Soup
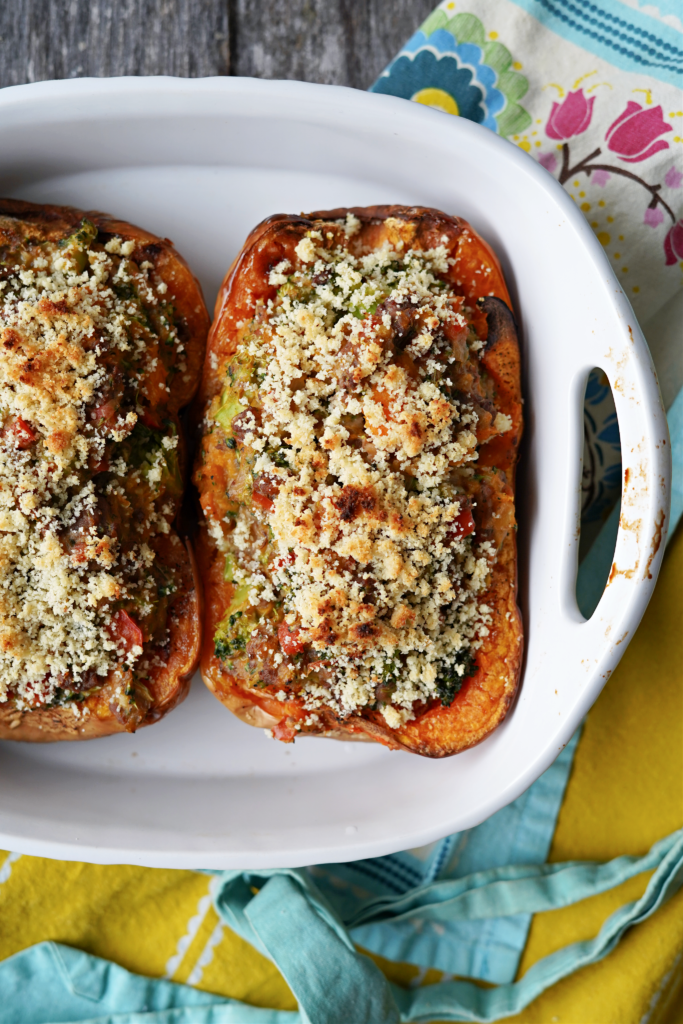
Creamy Paleo Stuffed Butternut Squash :: Gluten & Dairy Free!
How To Make Kid Approved Creamed Vegetables With Any Veggie!
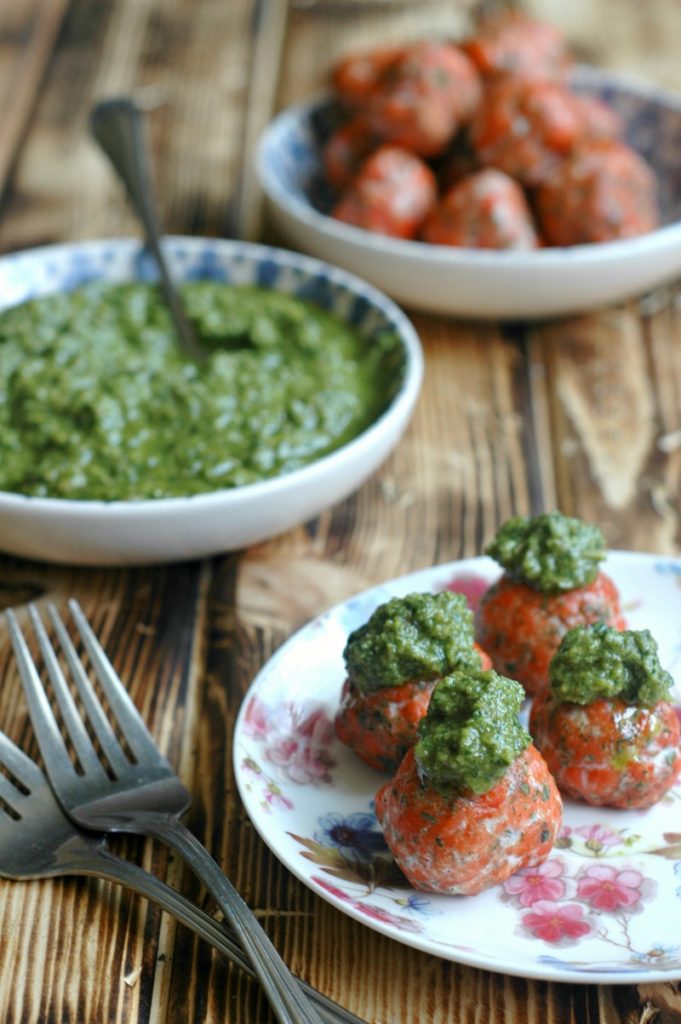
Wild Caught Salmon Meatballs with Simple Pesto
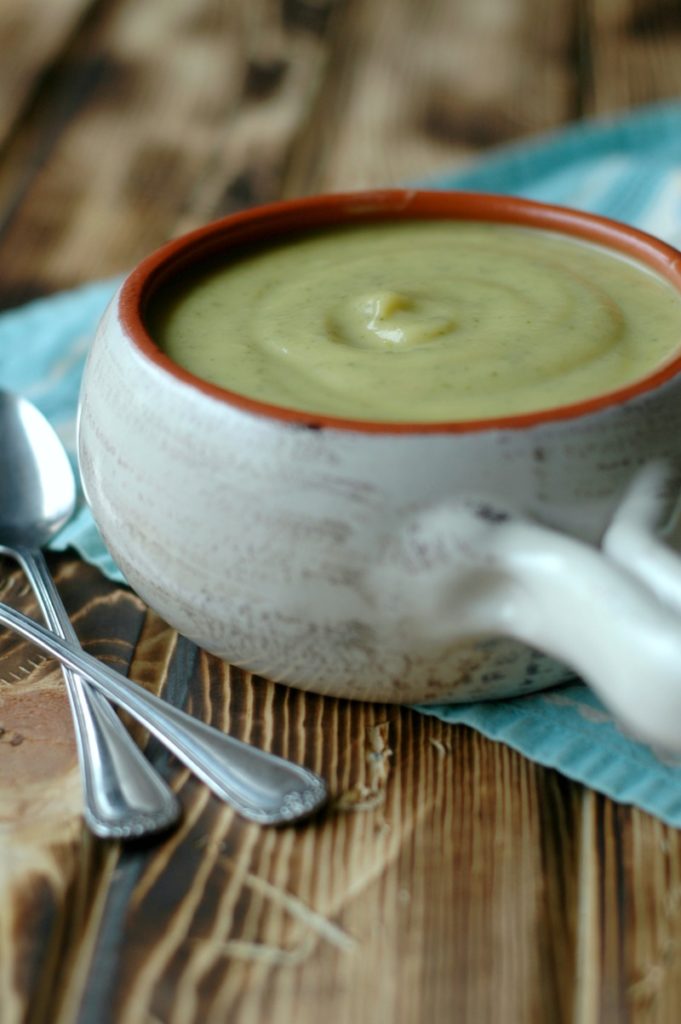
Instant Pot Cauliflower and Kale Soup :: Stovetop Directions Included! :: Gluten and Dairy Free!
Mashed Acorn Squash and Parsnips :: Oven Roasted or Instant Pot Method
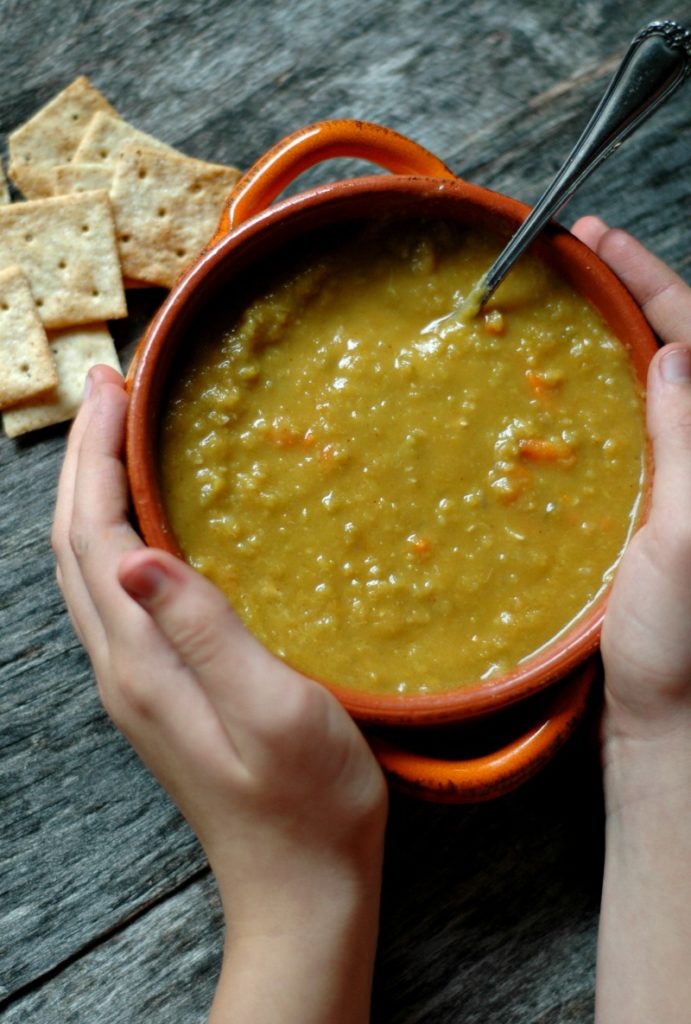
Healthy Instant Pot Split Pea Soup :: Stovetop Directions Included Too!
Kid Friendly Roasted Acorn Squash and Sweet Potato Soup
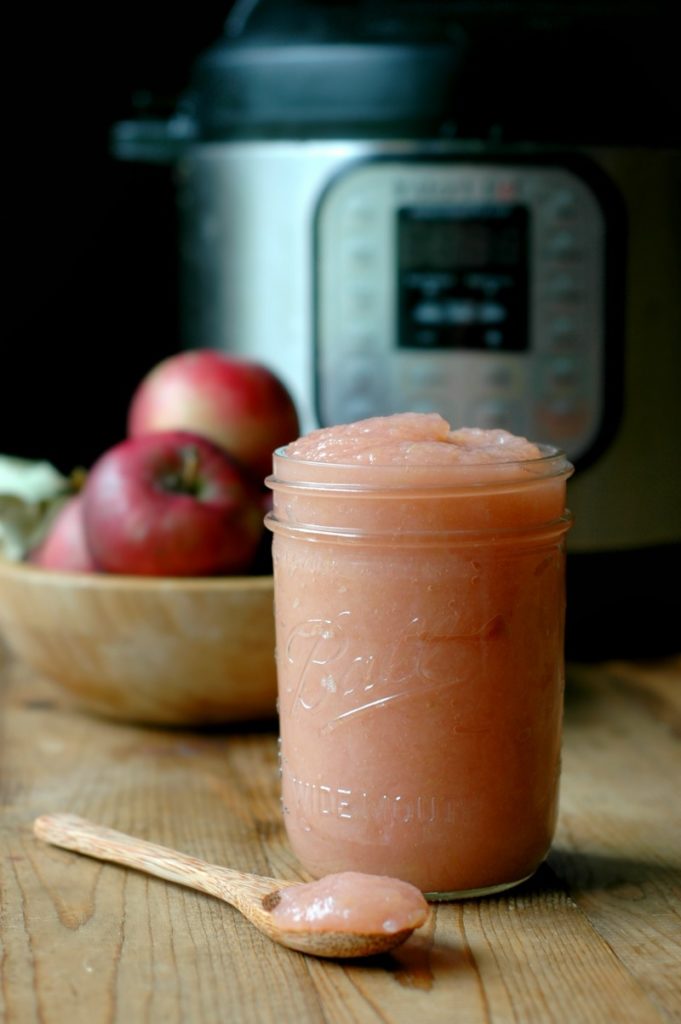
Kid Prep Instant Pot No Peel Applesauce! :: Let Them Make It Start To Finish!
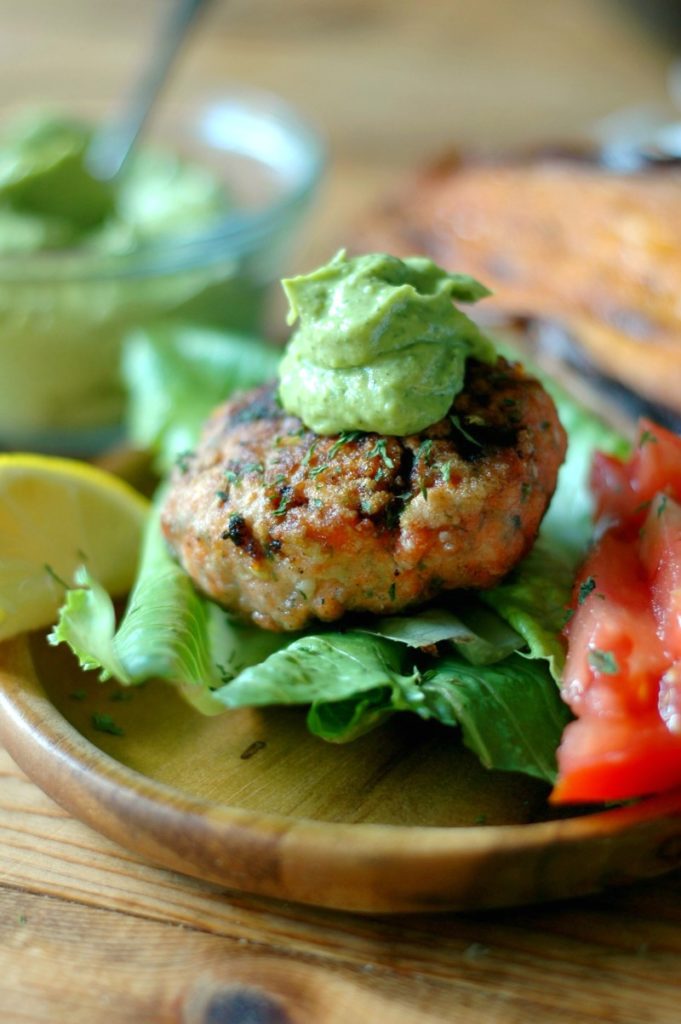
Paleo Wild Caught Salmon Burgers With Dairy Free Garlic Aioli
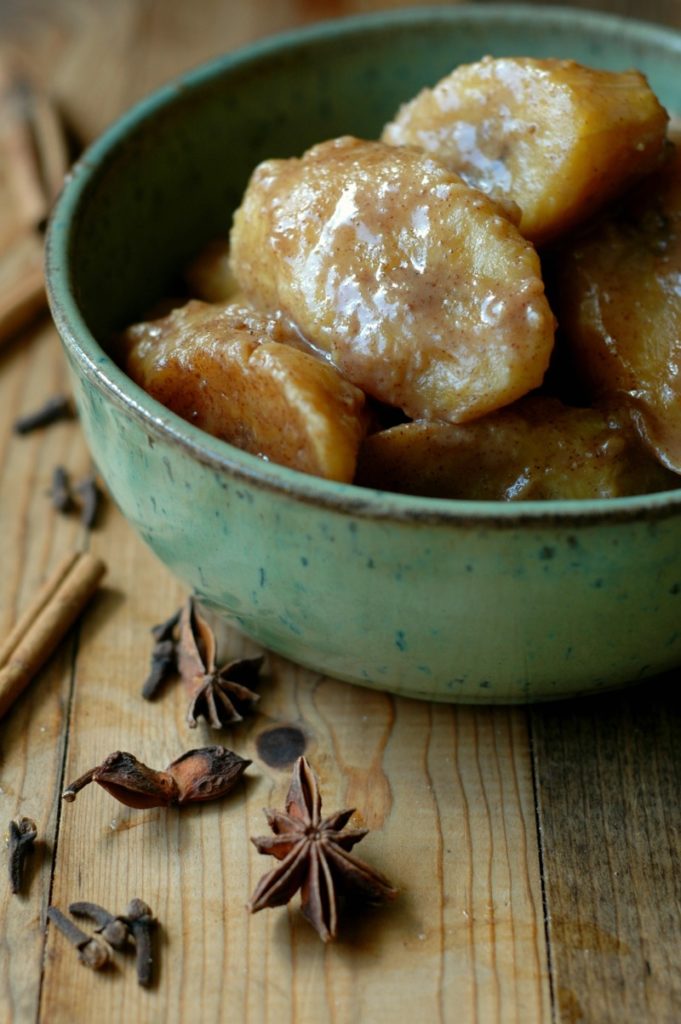
Paleo Plátanos Calados :: Stewed Spiced Ripe Plantains
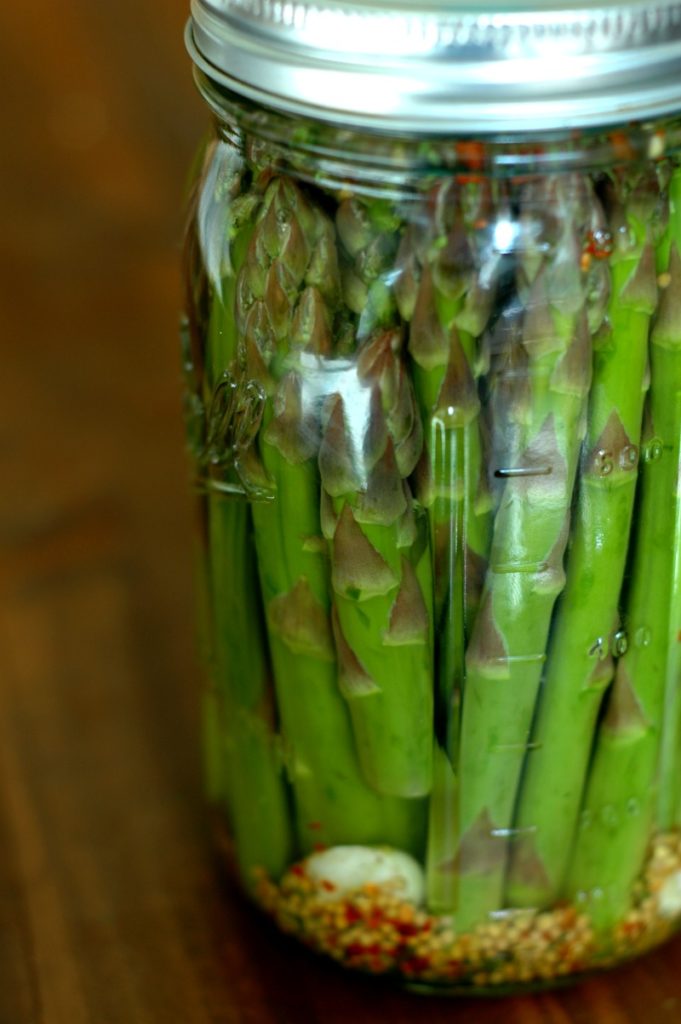
Probiotic Rich Asparagus Pickles (Fermented Asparagus!)
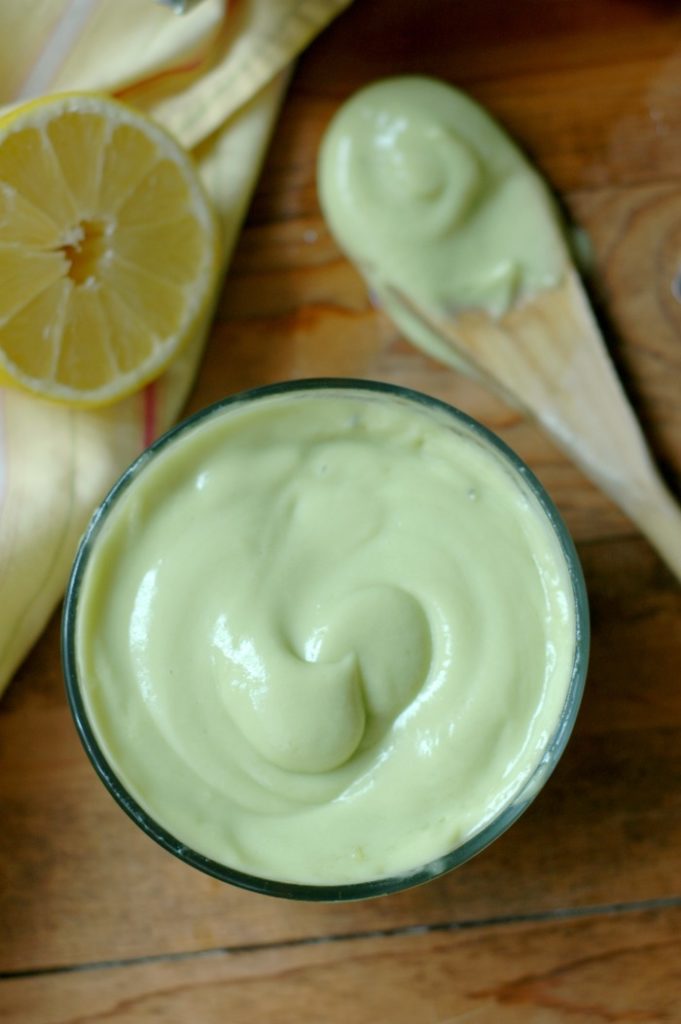
Homemade Paleo Mayonnaise :: Free from common allergens! {Egg, Dairy, Soy, & Gluten Free!}
Paleo Fish ‘N Chips :: Quick Sheet Pan Prep!
Paleo Herb Roasted Grassfed Meatballs and Brussel Sprouts with Butternut Squash Noodles
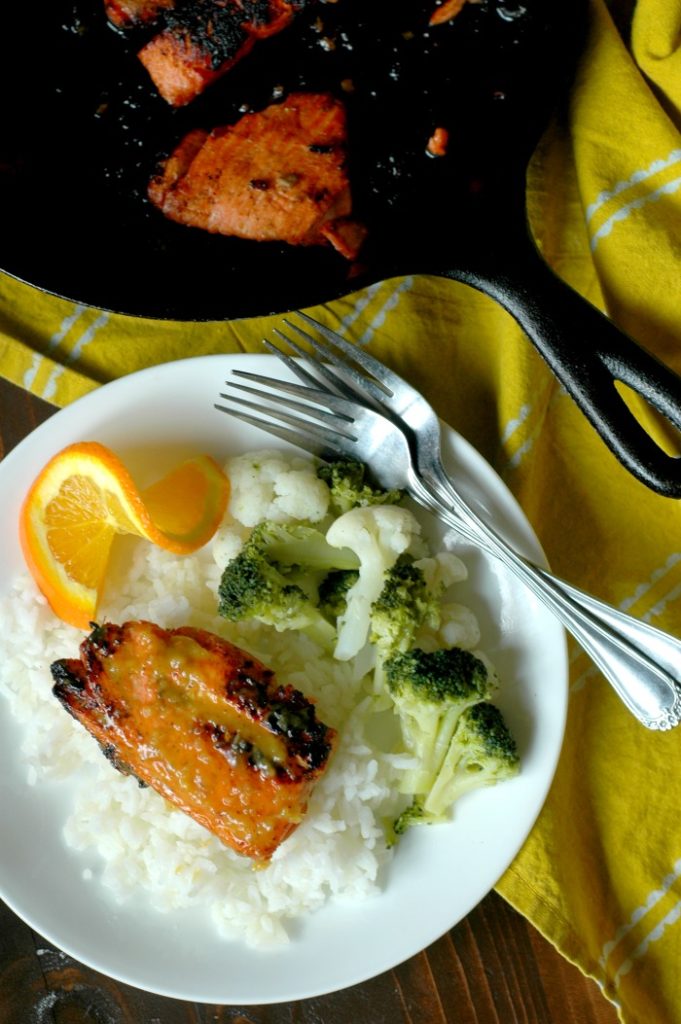
Kid Friendly Orange Ginger Salmon :: Gluten Free & Soy Free!
Classic Vegetable Soup
Probiotic Rich Homemade Sauerkraut {Fermented Cabbage} :: 2 Ingredients, Quick Prep, Real Food!
Instant Pot Winter Vegetable Soup {With Stovetop Instructions Too!}
Fermented Carrots {that kids will actually eat!} & The Benefits of Fermented Vegetables
Page navigation
1
2
3
Next Page
Next
Scroll to top
Scroll to top
Home
Recipes
Toggle child menu
Expand
Breakfast Ideas
Lunch Ideas
Dinner Ideas
Snack Ideas
Occasional Treats
Cookbooks
Toggle child menu
Expand
Nourished Beginnings
The Little Lunchbox Cookbook
Nourished Mornings Cookbook
About
Contact
Toggle Menu Close
Search for:
Search