Skip to content
Get the newsletter - sign up here
Facebook
Twitter
Instagram
Pinterest
Home
Recipes
Expand
Breakfast Ideas
Lunch Ideas
Dinner Ideas
Snack Ideas
Occasional Treats
Cookbooks
Expand
Nourished Beginnings
The Little Lunchbox Cookbook
Nourished Mornings Cookbook
About
Contact
Search
Search
Toggle Menu
Holiday Recipes
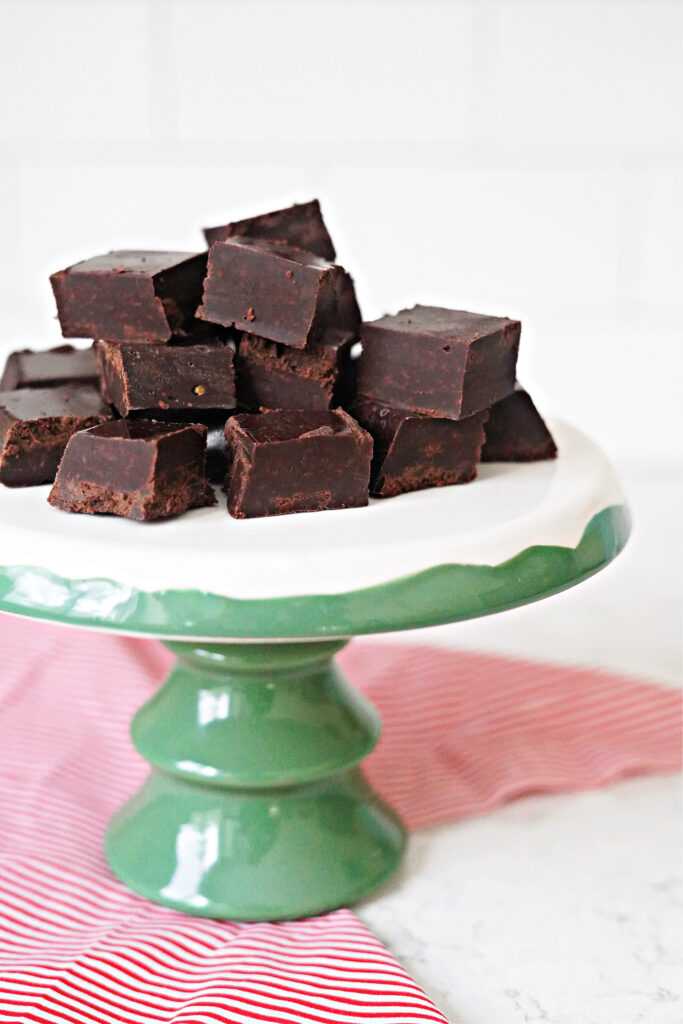
Fast & Easy 5 Minute Fudge!
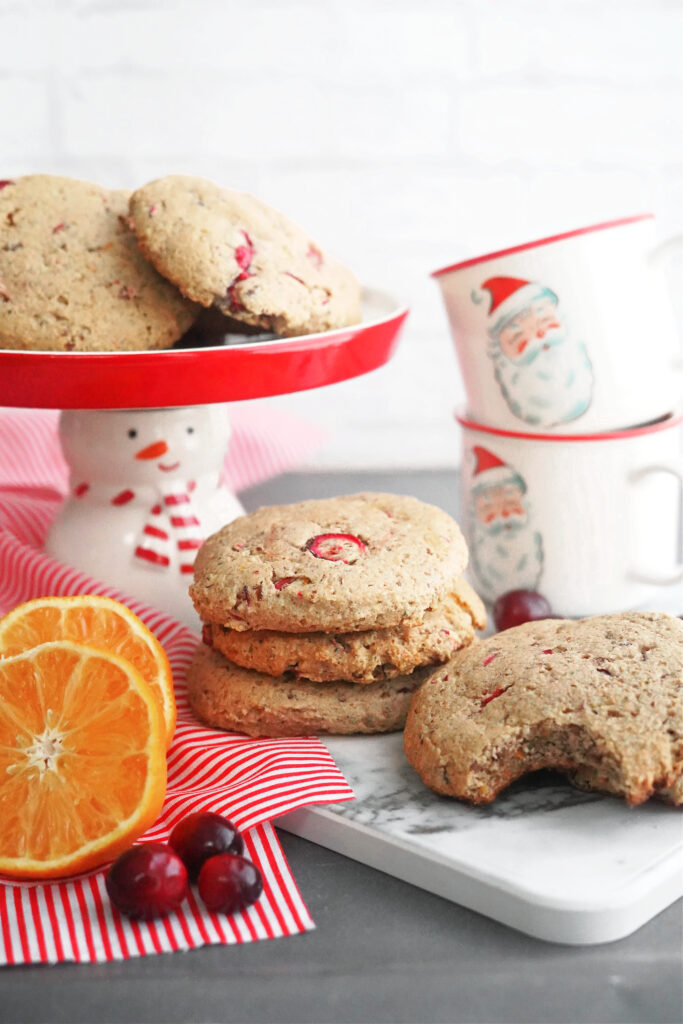
Blender Batter Date Sweetened Cranberry Breakfast Cookies
Gluten Free Gingerbread Cookies
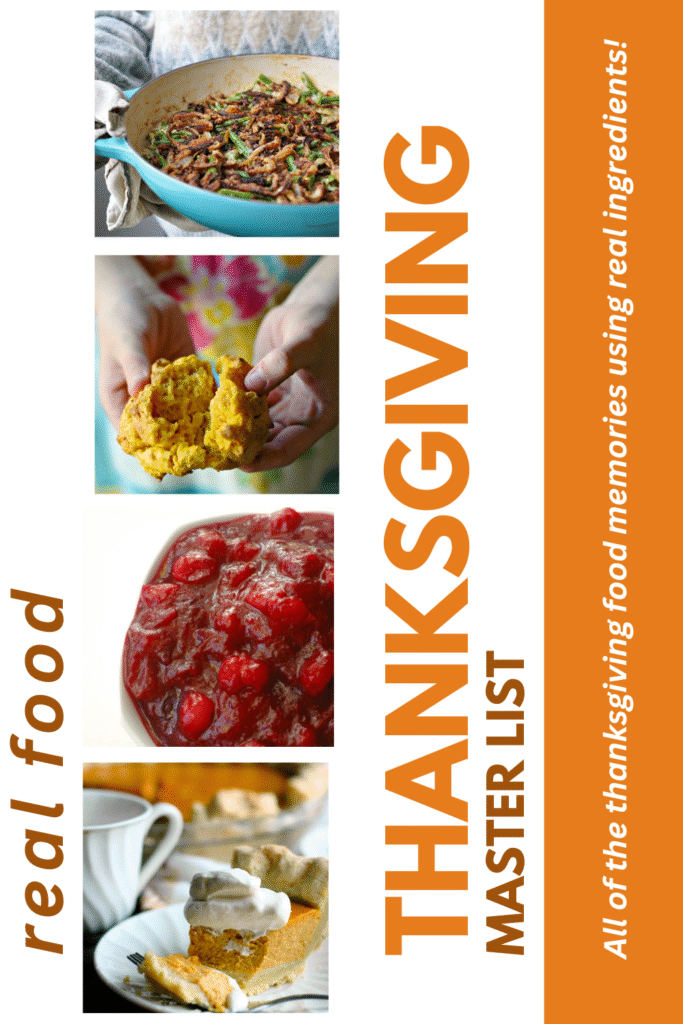
Real Food Thanksgiving Menu Master List!
The Most Delicious Pumpkin Cake
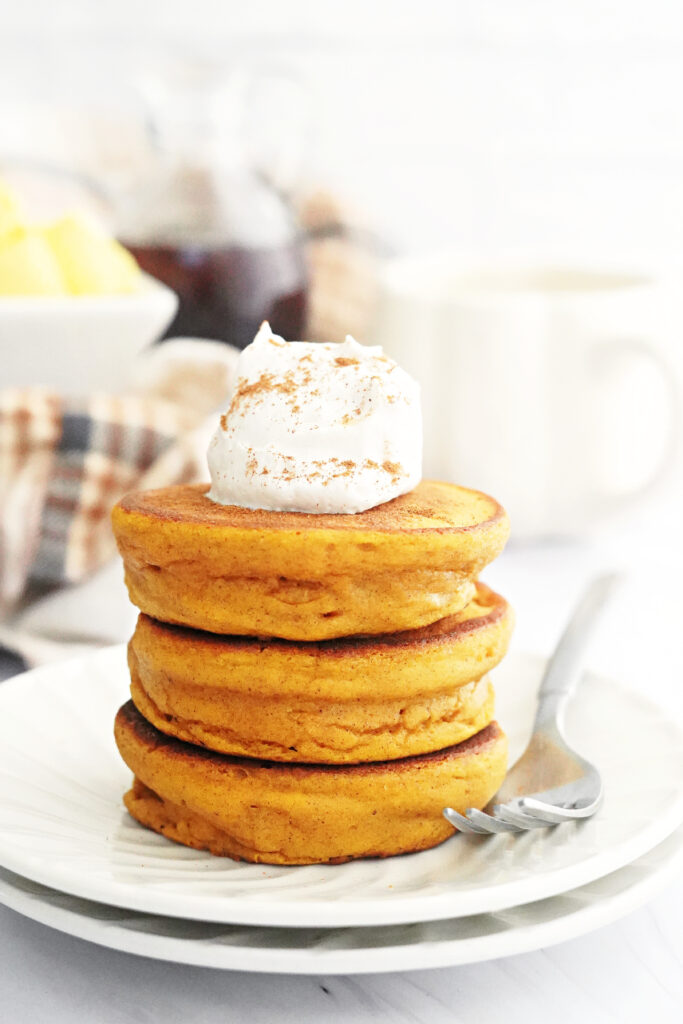
Super Fluffy Blender Batter Pumpkin Pancakes
Fuss Free Hot Cocoa Bombs Using Coconut Sugar!
Hot Cocoa Oatmeal
Copycat Little Debbie® Christmas Tree Cakes
Our Favorite Sunday Dinner Apple Crisp Dessert
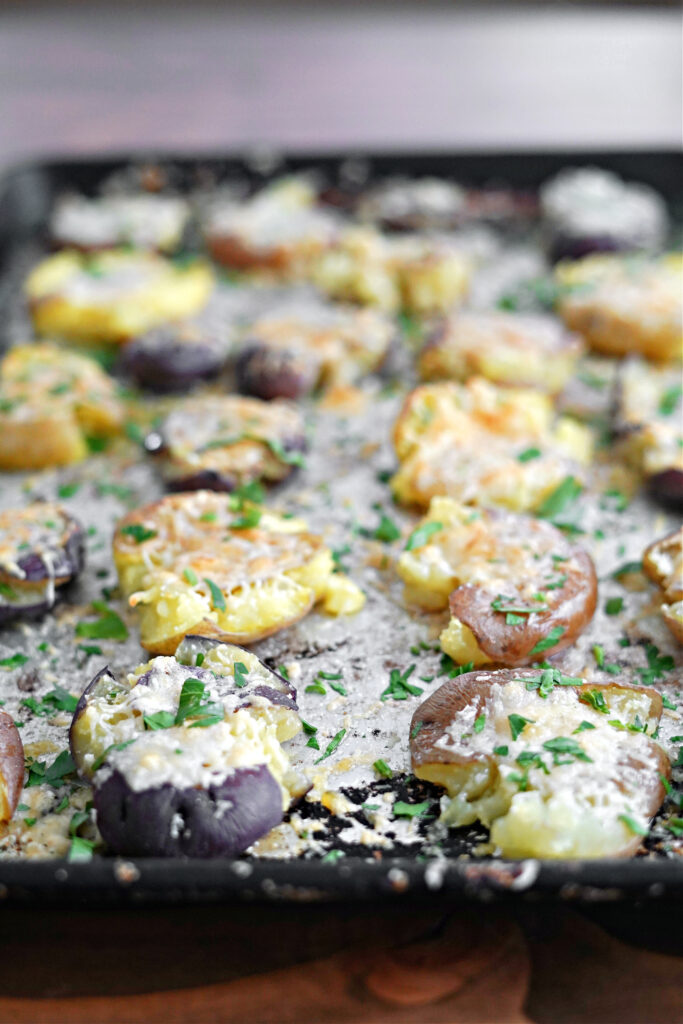
Easy Sheet Pan Parmesan Smashed Potatoes
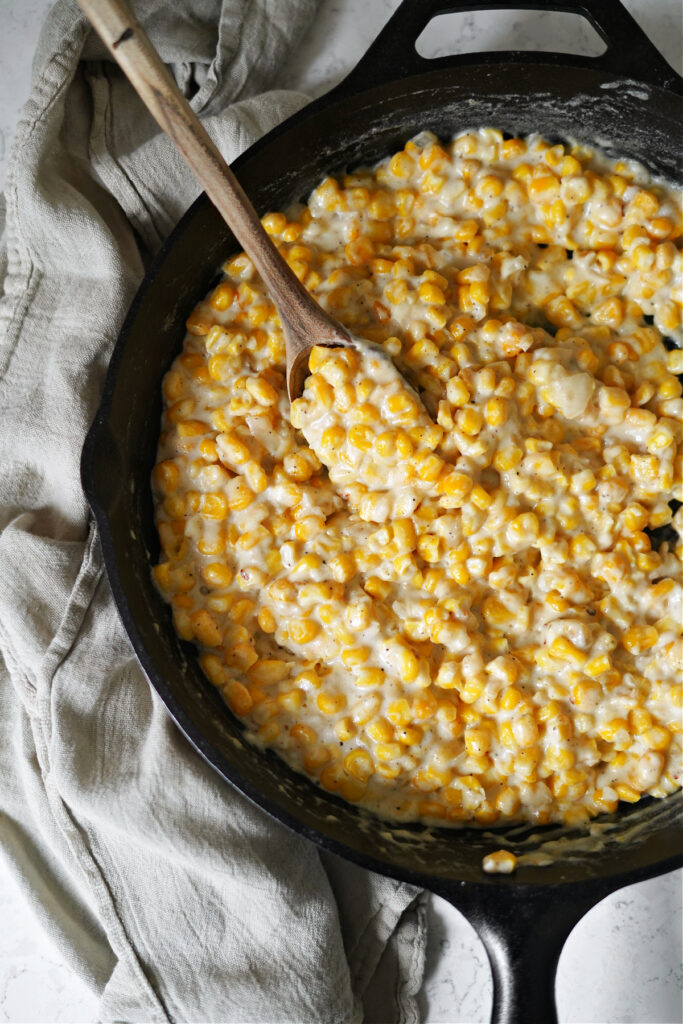
Simple Creamed Corn
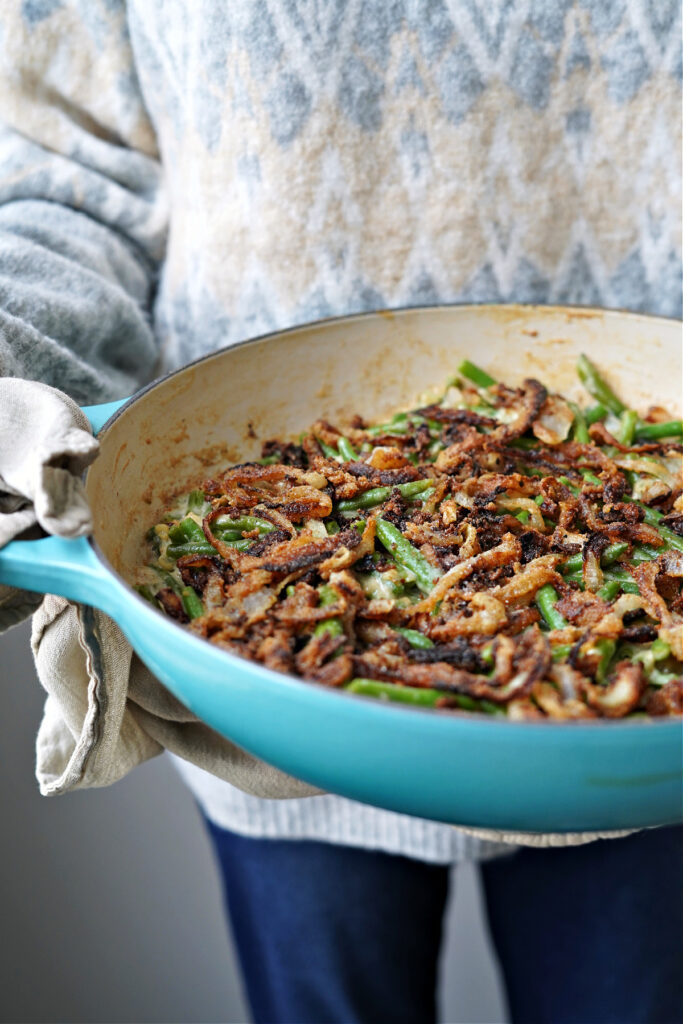
Easy Green Bean Casserole with Crunchy Fried Onions
Gluten Free One Skillet Halloween Pot Pie
Pumpkin Apple Baked Oatmeal
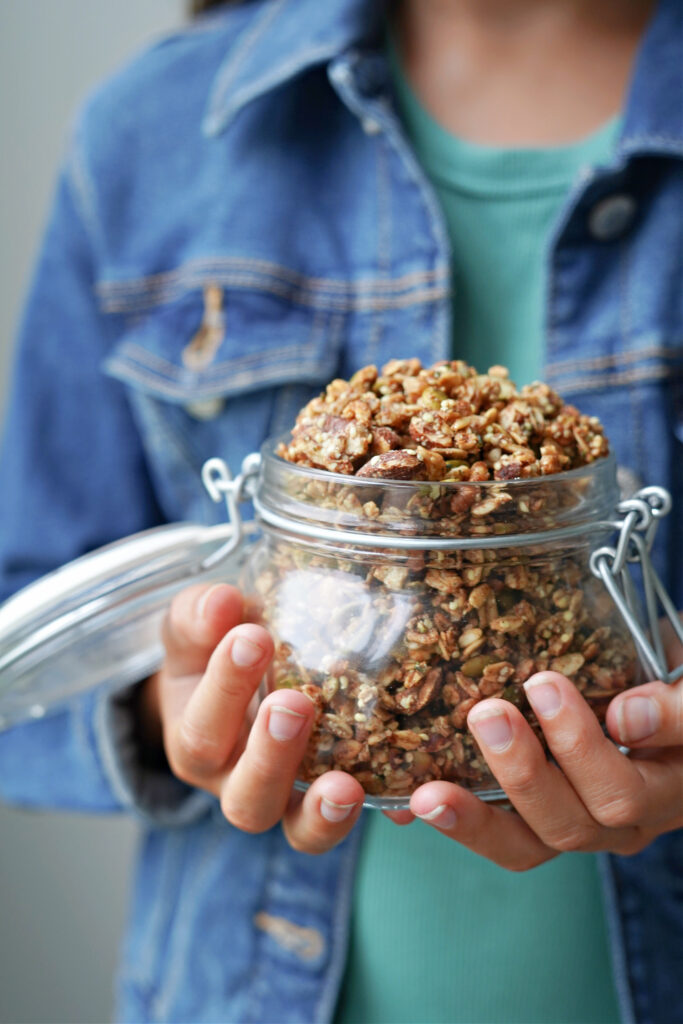
Gluten Free Pumpkin Pie Granola
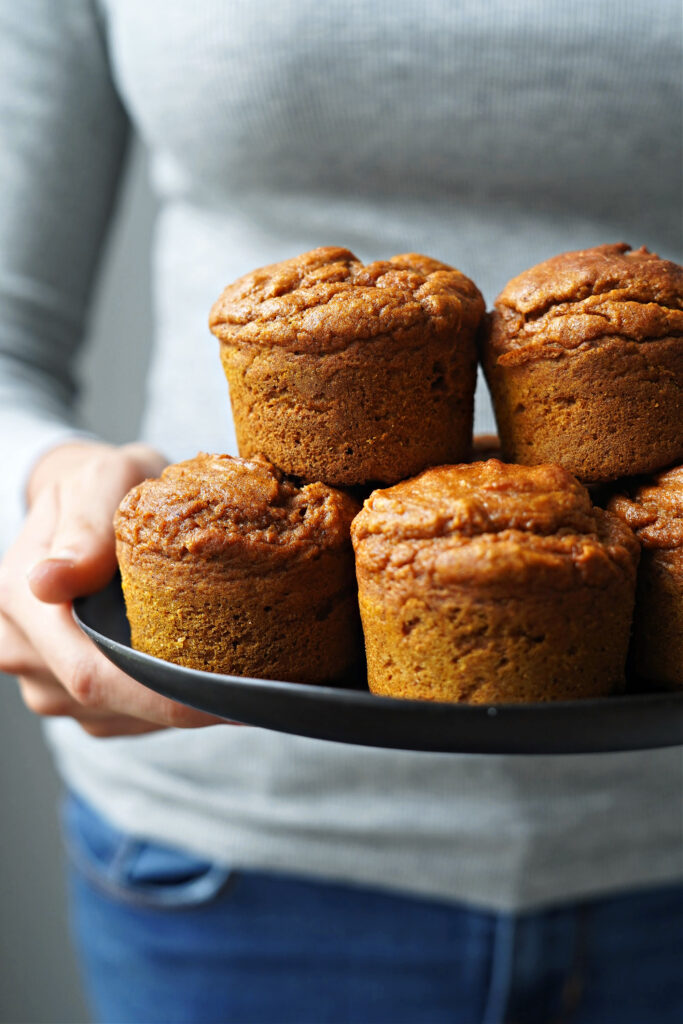
Softest Ever Gluten Free Pumpkin Muffins!
Gluten Free Apple Donuts :: Gluten, Dairy, Nut, & Egg Free!
Red, White, & Blue Popsicles! :: A Patriotic Fourth of July Tradition!
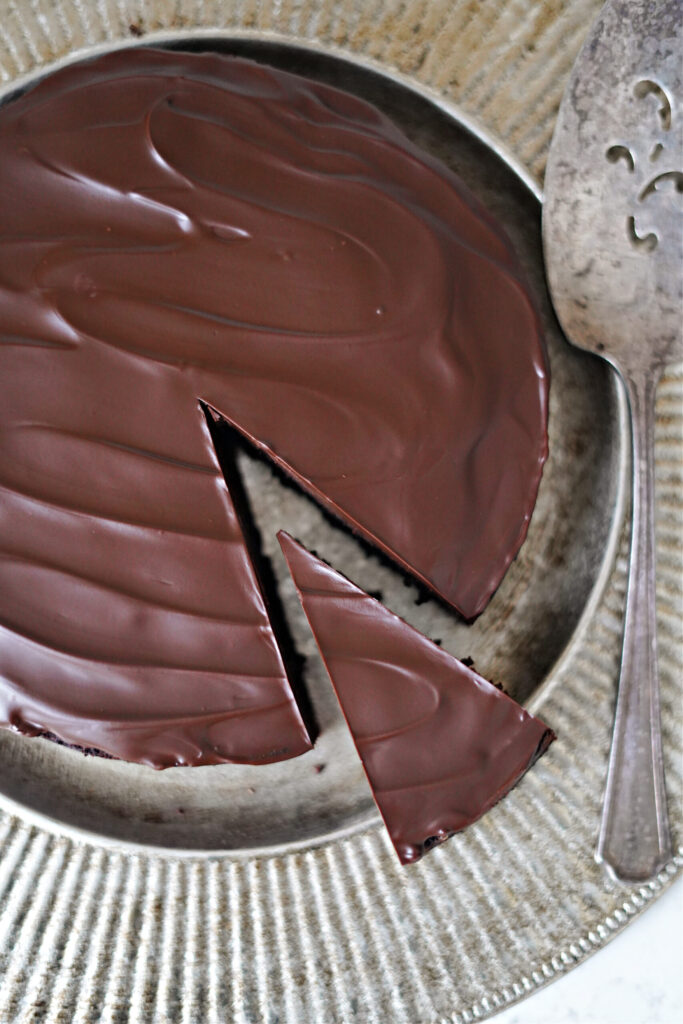
Gluten Free Flourless Chocolate Cake
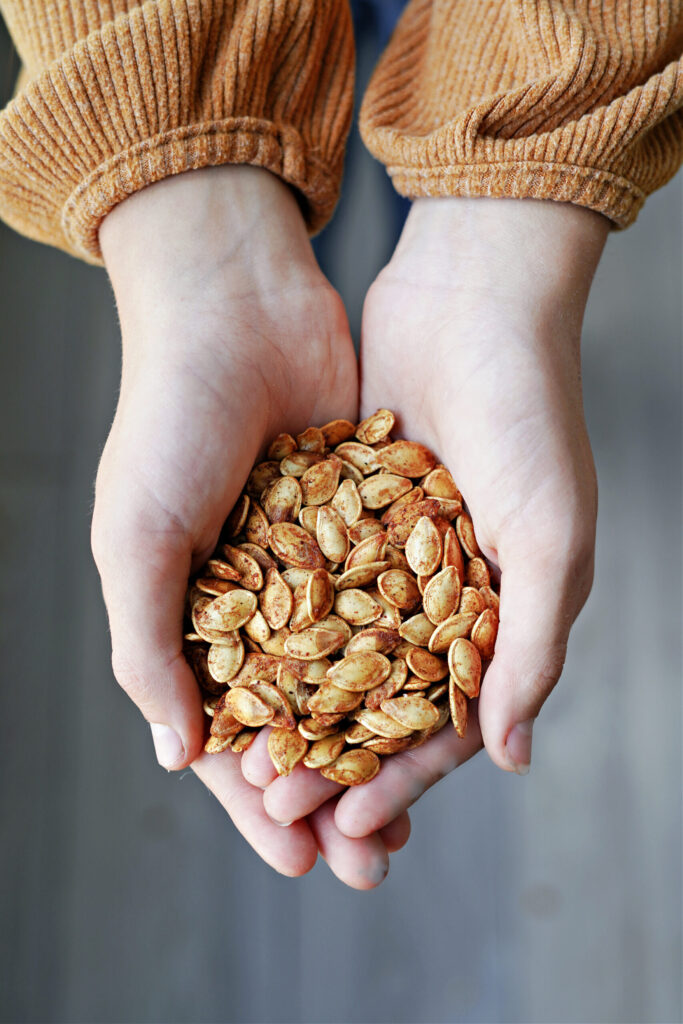
How To Roast Crispy Pumpkin Seeds :: Plus 6 Different Flavor Variations!
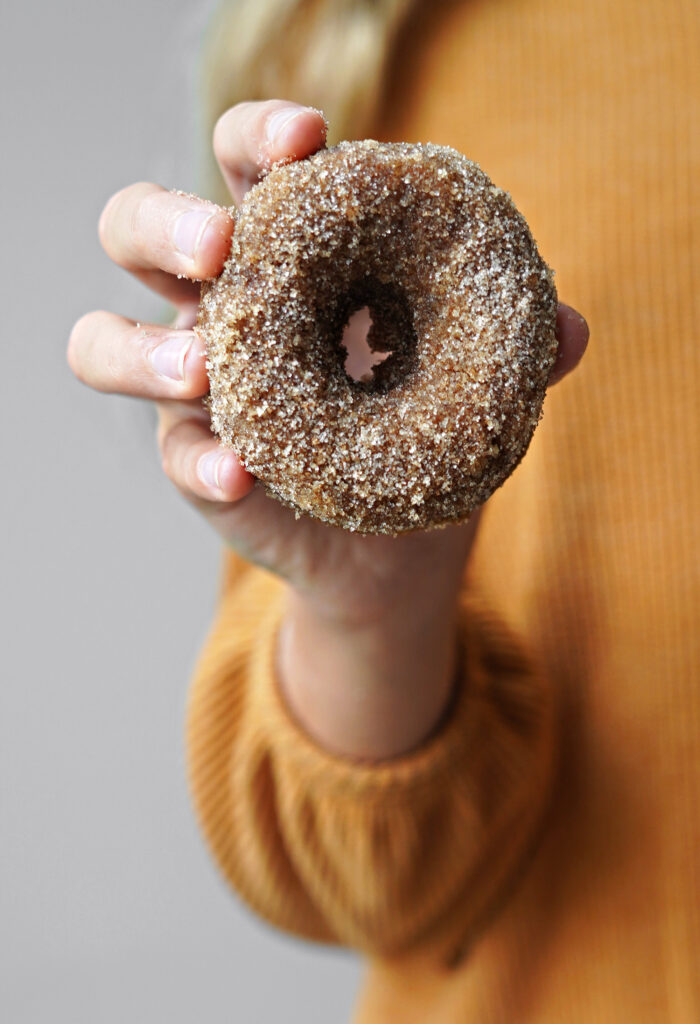
Fresh Pumpkin Donuts :: Gluten Free, Dairy Free, Nut Free, Egg Free
Sausage & Potato Breakfast Casserole :: Gluten Free, Dairy Free, Egg Free
Strawberry Valentine’s Day Waffles :: Gluten & Dairy Free and Naturally Flavored!
Page navigation
1
2
3
…
5
Next Page
Next
Scroll to top
Scroll to top
Home
Recipes
Toggle child menu
Expand
Breakfast Ideas
Lunch Ideas
Dinner Ideas
Snack Ideas
Occasional Treats
Cookbooks
Toggle child menu
Expand
Nourished Beginnings
The Little Lunchbox Cookbook
Nourished Mornings Cookbook
About
Contact
Toggle Menu Close
Search for:
Search