On-The-Go Instant Pot® Mini Frittatas :: 5 Minute Pressure Cook Time, Freezer Friendly, and Dairy Free!
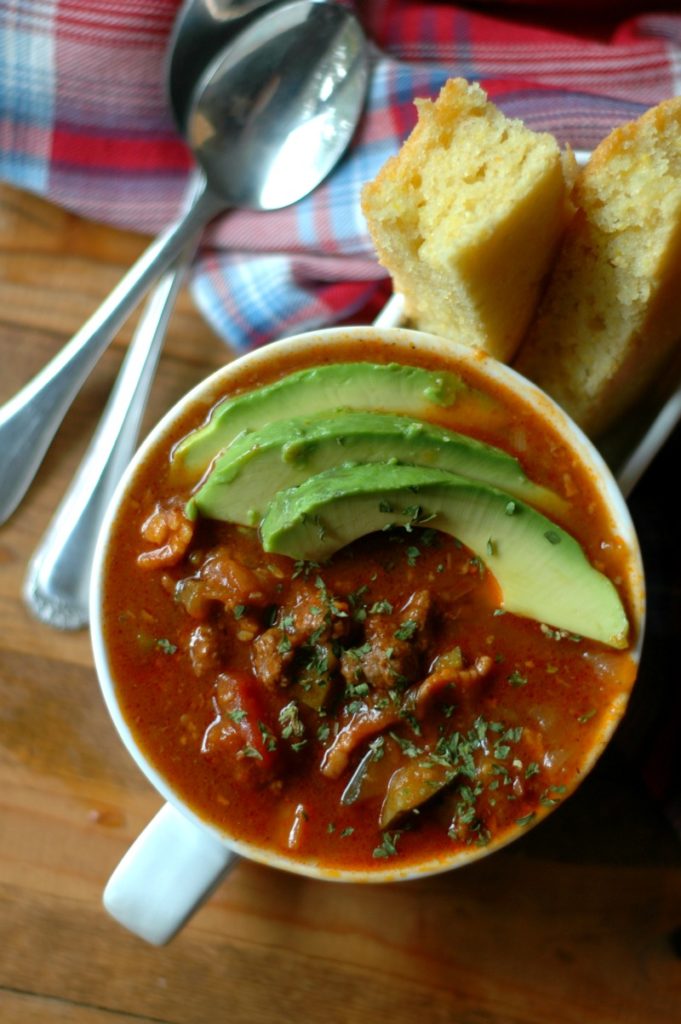
Instant Pot Chipotle Chili :: Stove Top & Slow Cooker Directions Included! Bean free & Paleo friendly too!
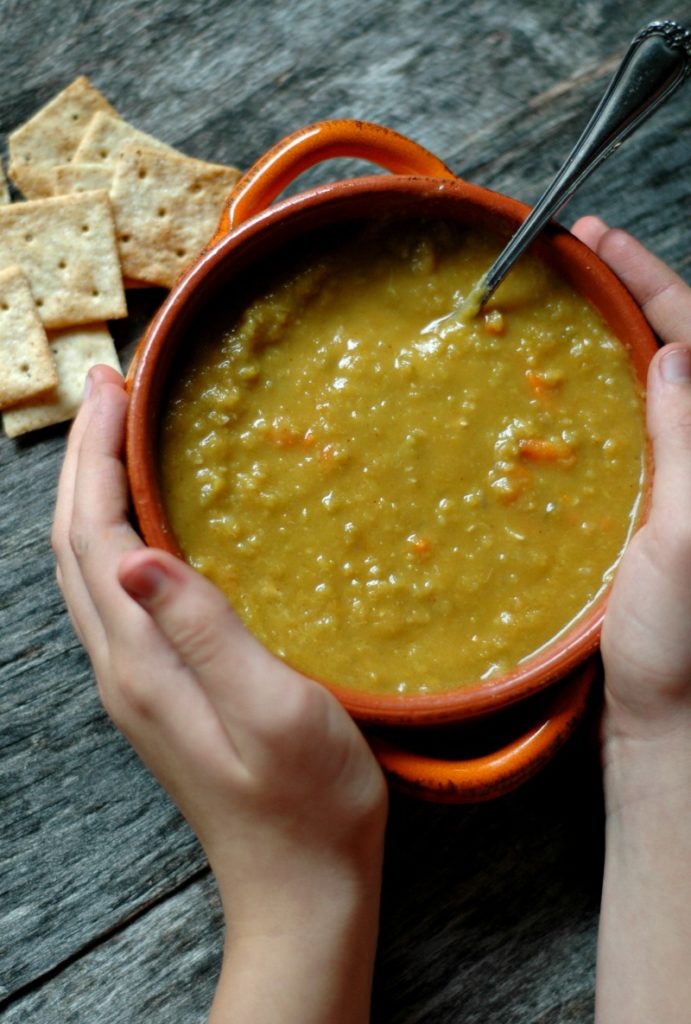
Instant Pot Chipotle Chicken and Vegetable Soup :: Dairy Free and Gluten Free :: Stovetop Directions Included Too!