Skip to content
Get the newsletter - sign up here
Facebook
Twitter
Instagram
Pinterest
Home
Recipes
Expand
Breakfast Ideas
Lunch Ideas
Dinner Ideas
Snack Ideas
Occasional Treats
Cookbooks
Expand
Nourished Beginnings
The Little Lunchbox Cookbook
Nourished Mornings Cookbook
About
Contact
Search
Search
Toggle Menu
Lunch Ideas
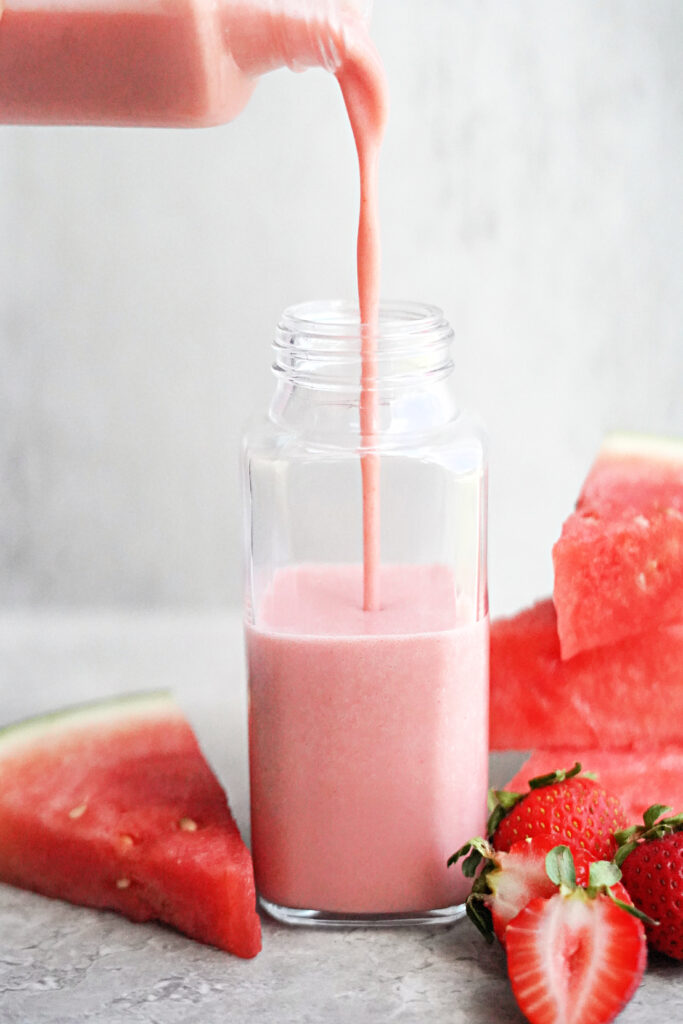
Real Food Electrolyte Drinkable Yogurt
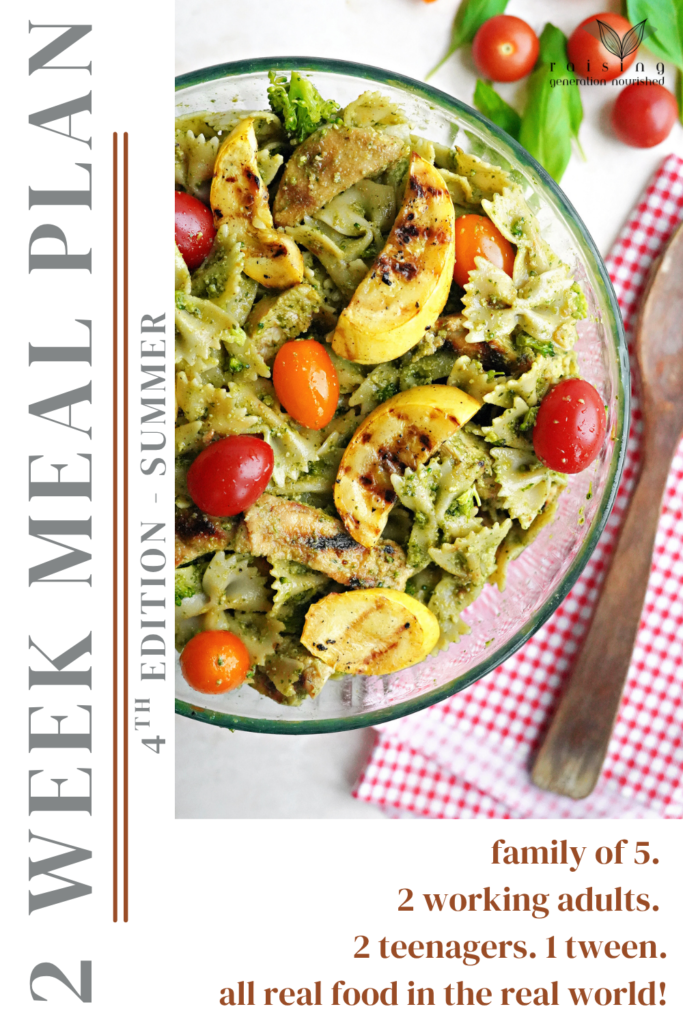
2 Week Meal Plan :: Family of 5 Summer Edition
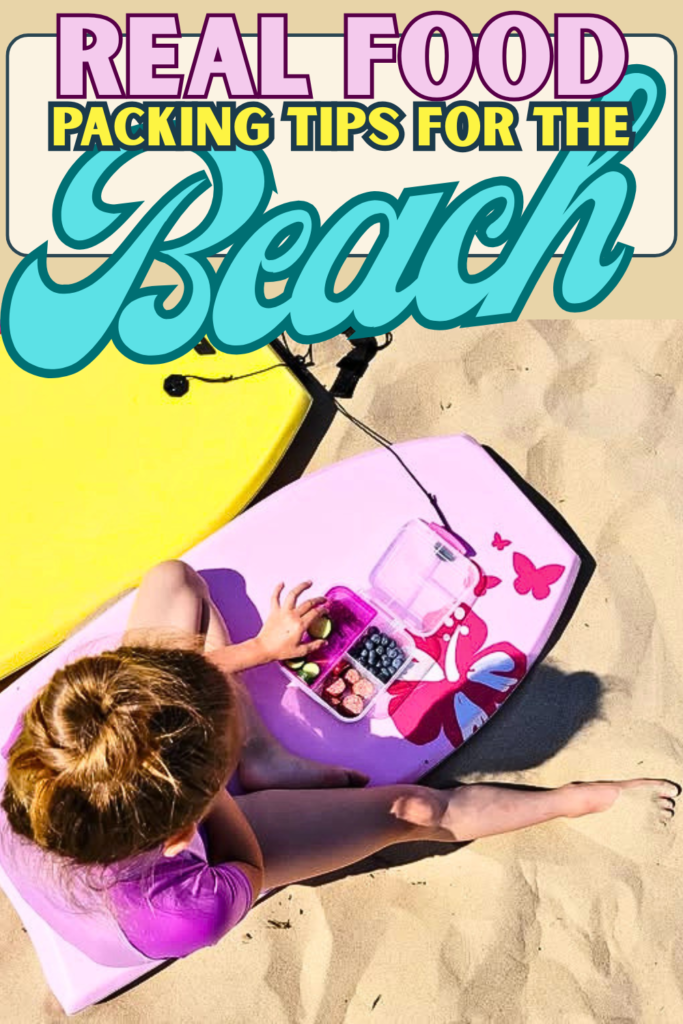
Real Packing Tips for the Beach
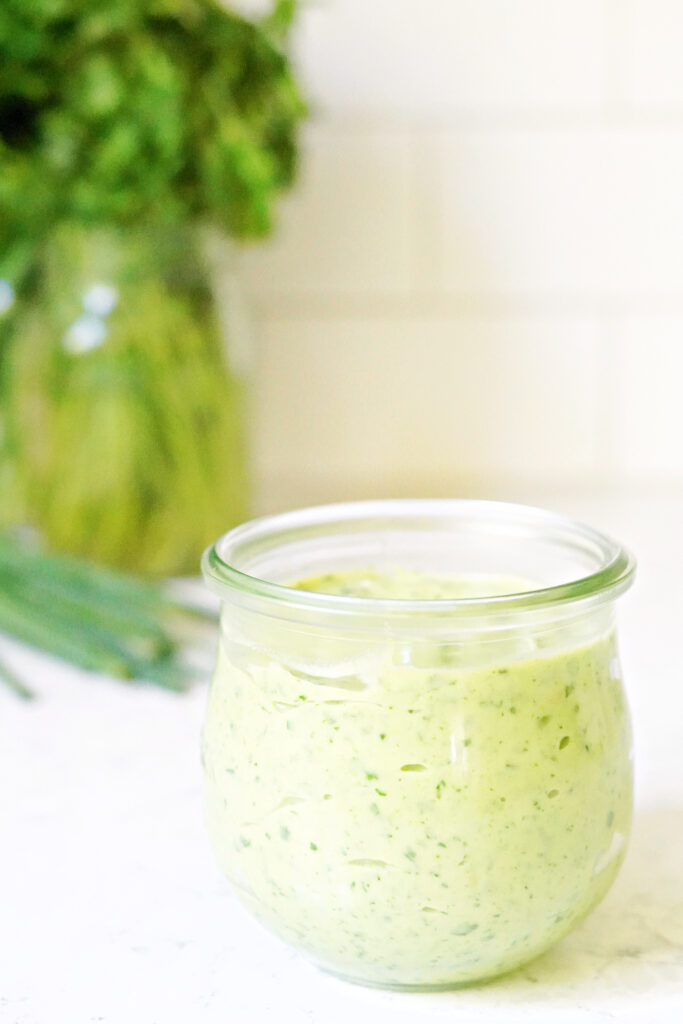
5 Minute Kid Friendly Green Goddess Dressing & Dinner Bowl Sauce
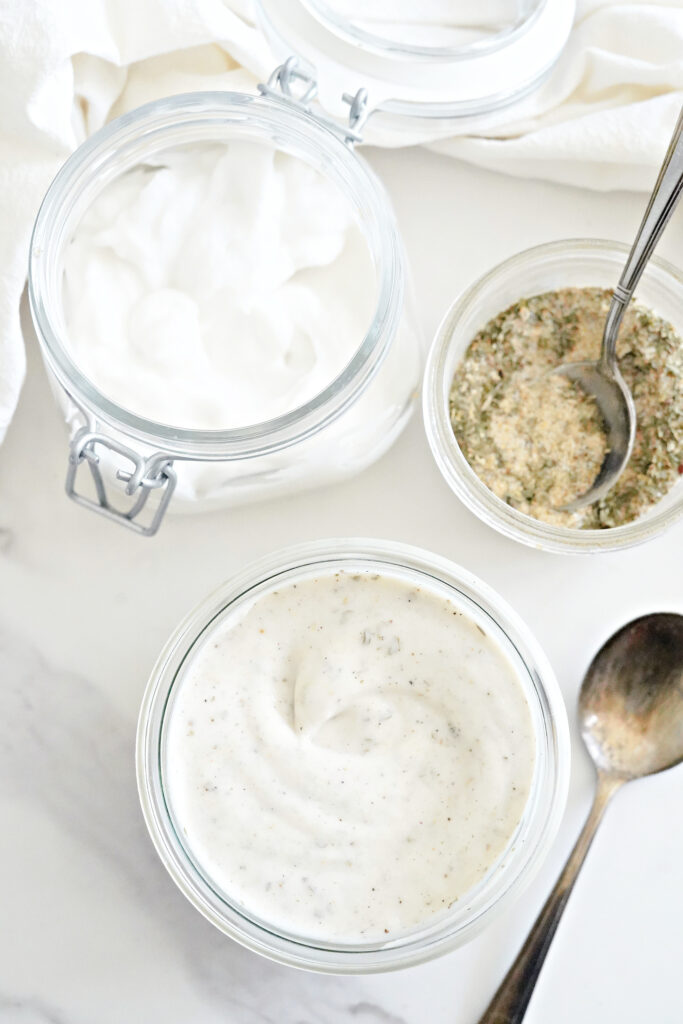
5 Minute Ranch Dressing and Dip
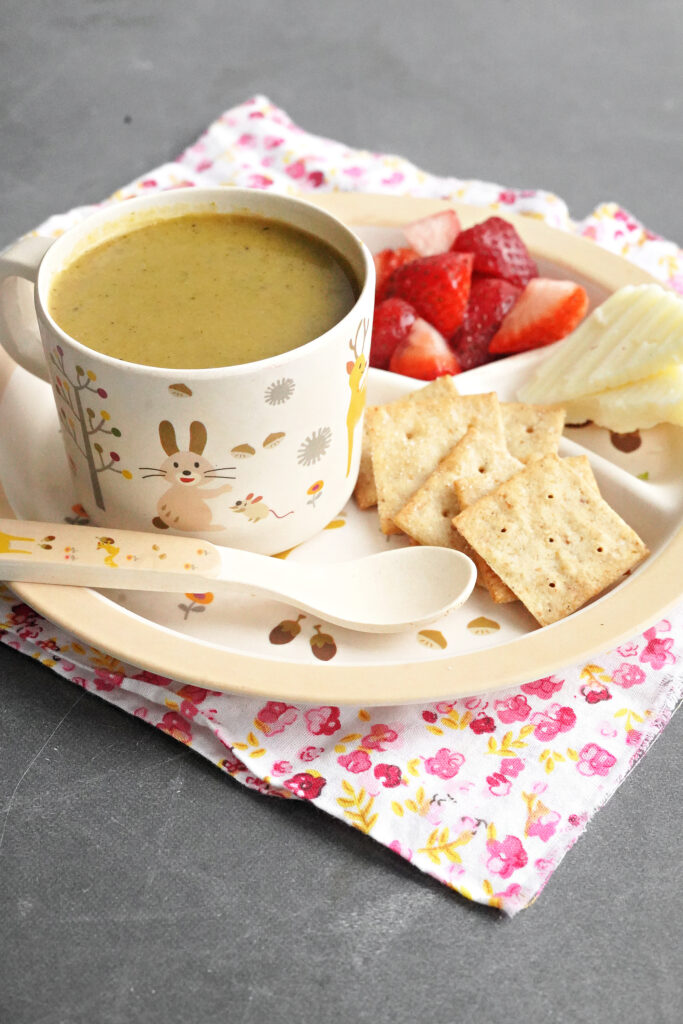
Kid Favorite Nourishing Broccoli Soup
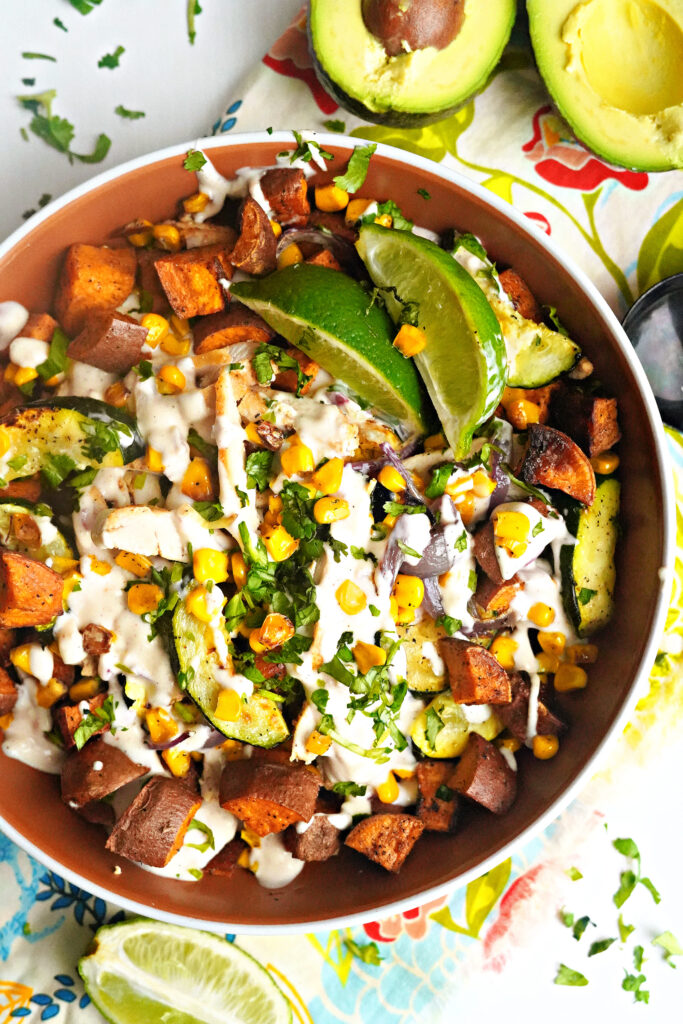
Sheet Pan Mexican Street Corn Chicken Dinner Bowls
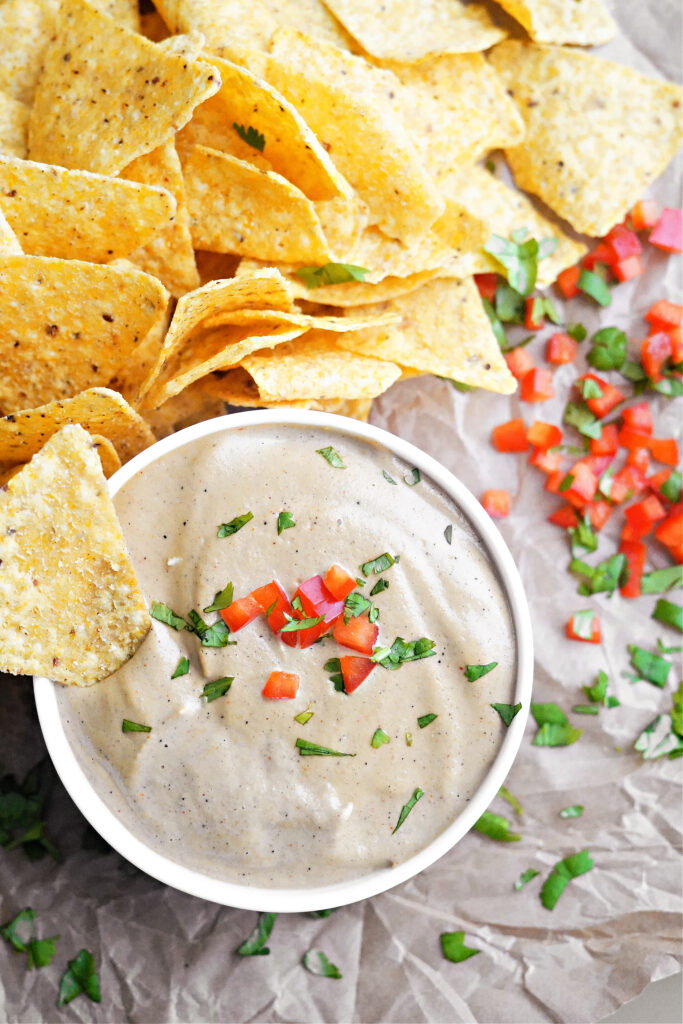
5 Minute Prep Dairy Free Blender Queso
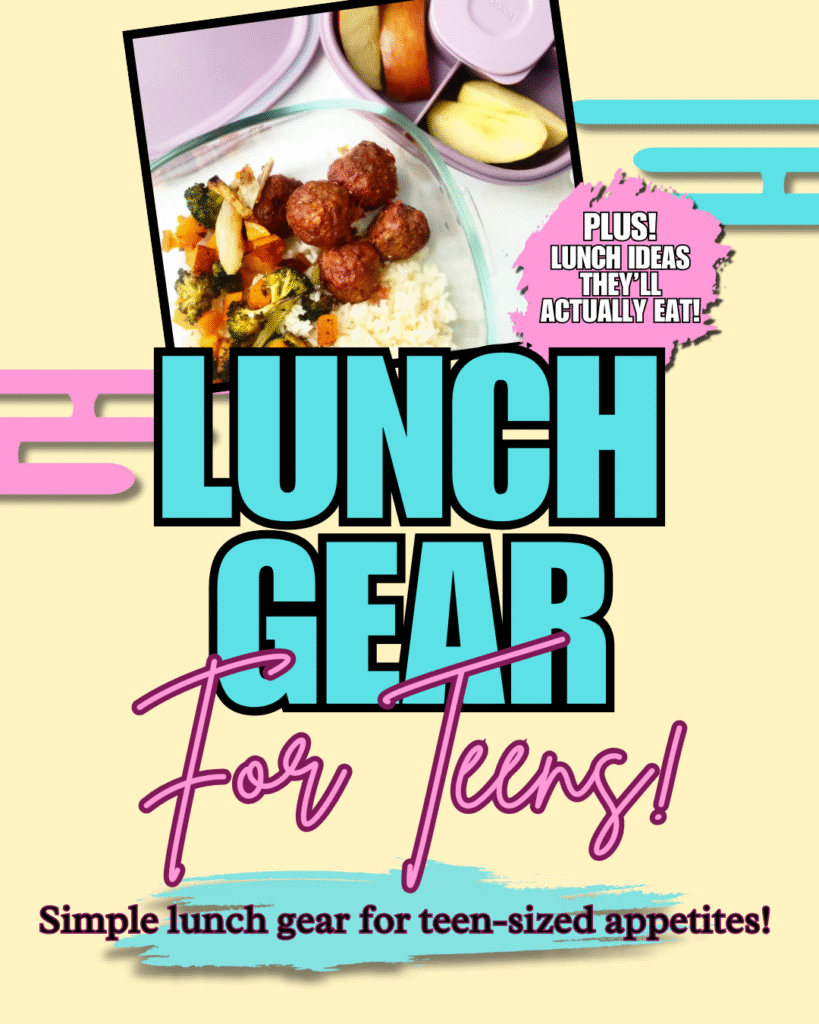
Our Favorite Lunch Gear For Teens!
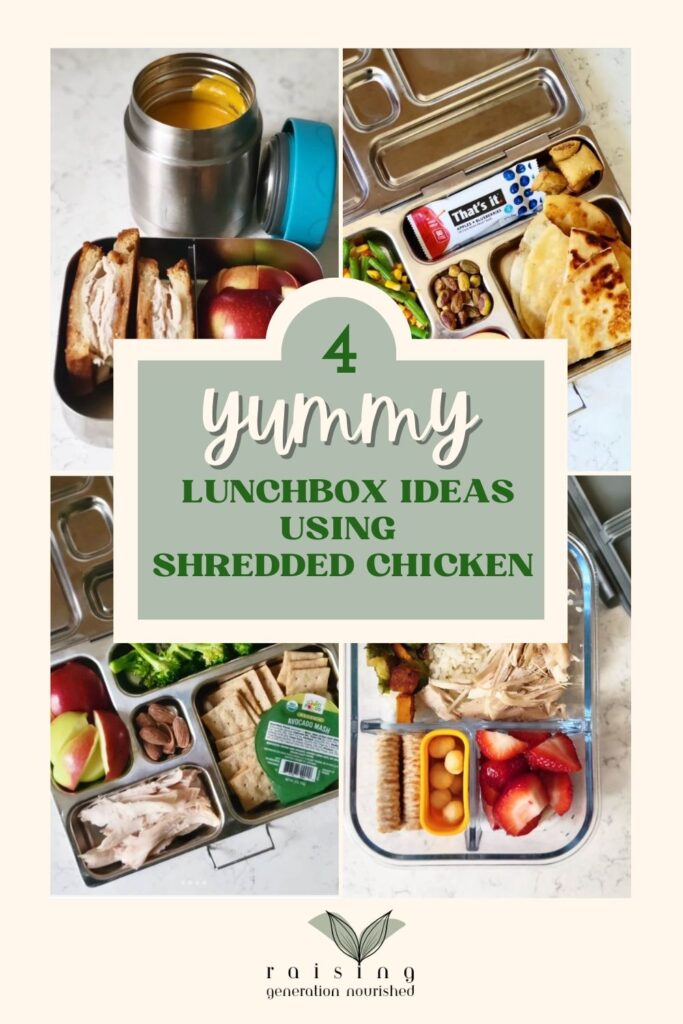
4 Yummy Lunchbox Ideas Using Shredded Chicken
Homemade Tomato Soup
Grilled Chicken Pesto Pasta Salad
One Pan Sloppy Joes :: Compare To Manwich® but with better choice ingredients!
Soft & Fluffy Cinnamon Raisin Zucchini Muffins Using Cassava Flour!
Clean Ingredient Chipotle Lime Sauce & Dinner Bowl Recipe!
Quick & Nourishing Beef Ramen
Healthy Copycat Clif Kid® ZBar
From Dinner to Thermos :: Meals that double as dinner and school lunch!
Homemade Chicken and Stars Soup
One Pan Creamy Chicken & Broccoli Rice
Grilled Chicken Caesar Pasta Salad
Sheet Pan Cashew Chicken Dinner
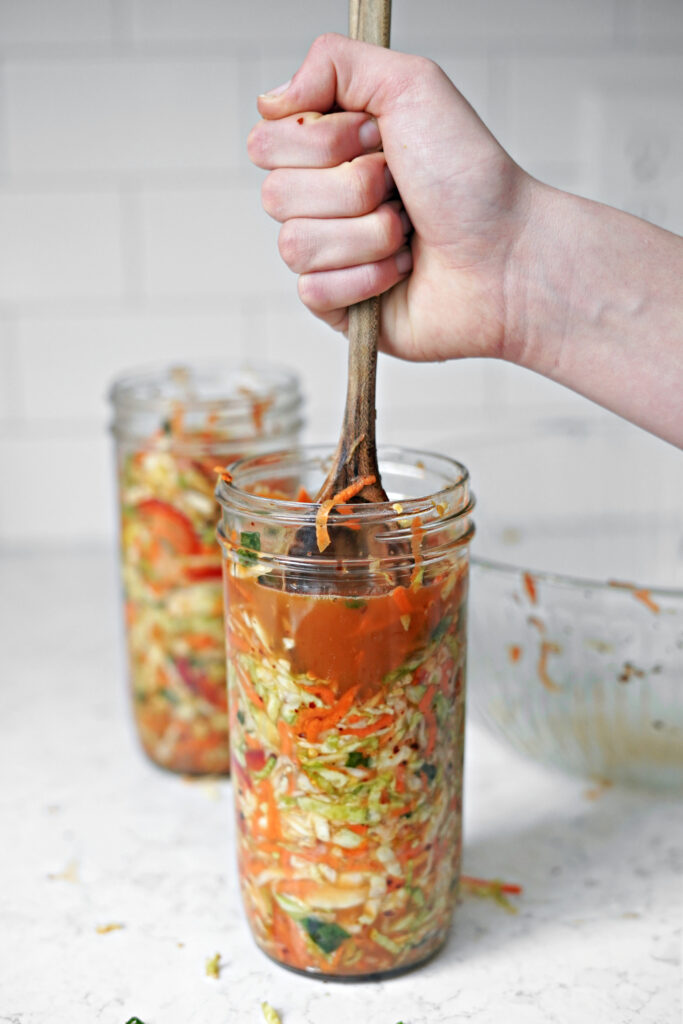
Fermented Vegetables – Kimchi Style!
How To Make Simple, Homemade Corn Tortillas
Page navigation
1
2
3
…
9
Next Page
Next
Scroll to top
Scroll to top
Home
Recipes
Toggle child menu
Expand
Breakfast Ideas
Lunch Ideas
Dinner Ideas
Snack Ideas
Occasional Treats
Cookbooks
Toggle child menu
Expand
Nourished Beginnings
The Little Lunchbox Cookbook
Nourished Mornings Cookbook
About
Contact
Toggle Menu Close
Search for:
Search