Skip to content
Get the newsletter - sign up here
Facebook
Twitter
Instagram
Pinterest
Home
Recipes
Expand
Breakfast Ideas
Lunch Ideas
Dinner Ideas
Snack Ideas
Occasional Treats
Cookbooks
Expand
Nourished Beginnings
The Little Lunchbox Cookbook
Nourished Mornings Cookbook
About
Contact
Search
Search
Toggle Menu
Occasional Treats
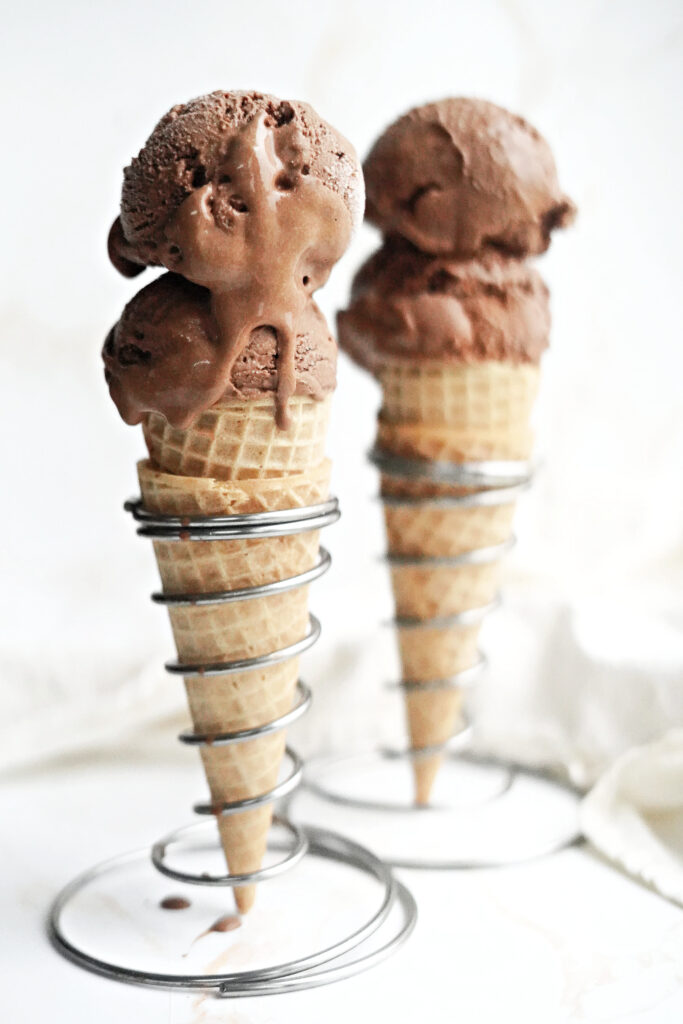
Homemade Chocolate Ice Cream
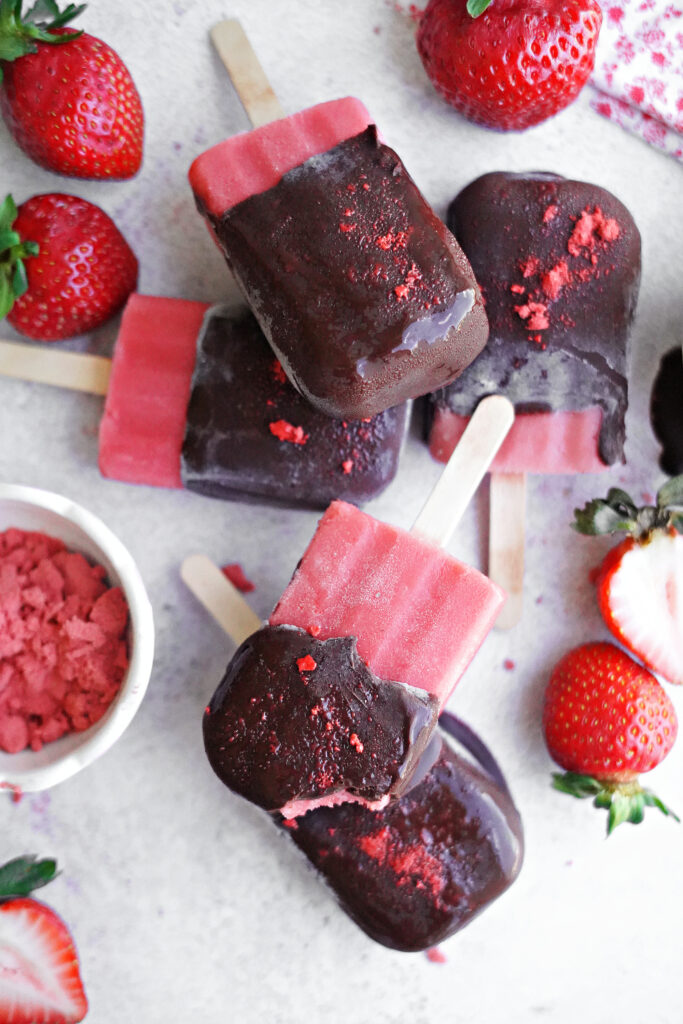
Chocolate Covered Strawberry Popsicles
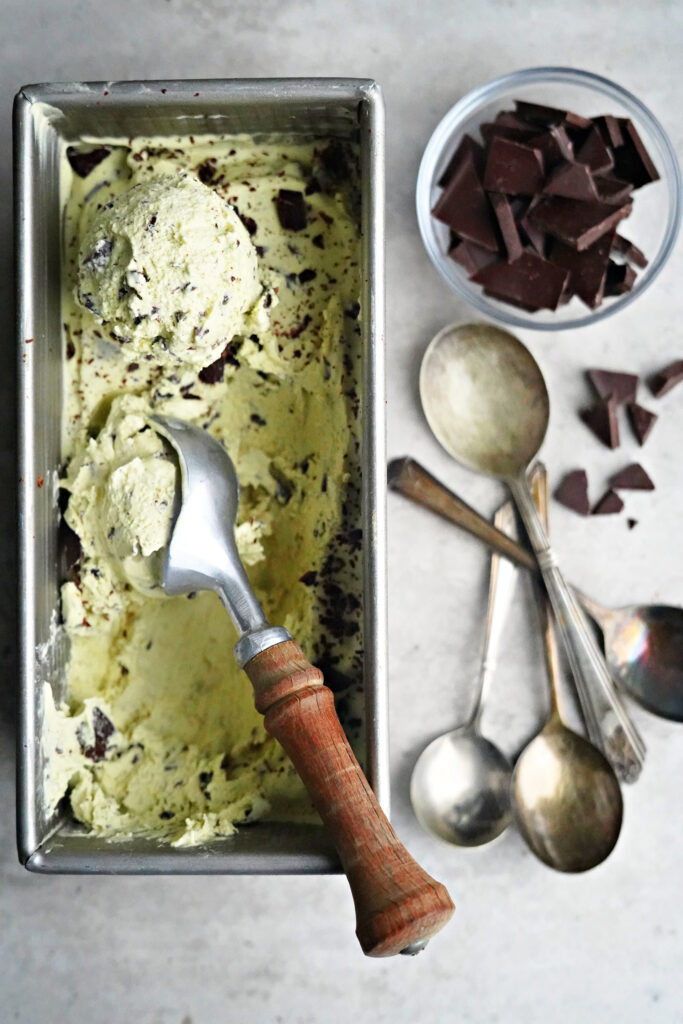
Homemade Mint Chocolate Chip Ice Cream
Copycat Shamrock Shake {Using Real Food Ingredients!}
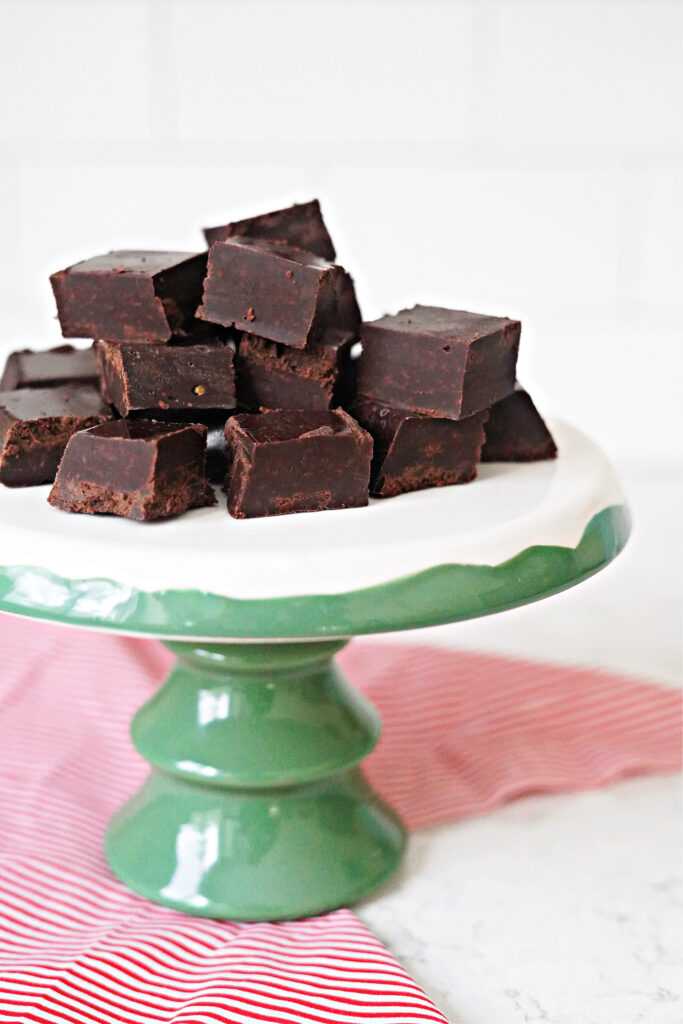
Fast & Easy 5 Minute Fudge!
Our Popcorn Night Favorites!
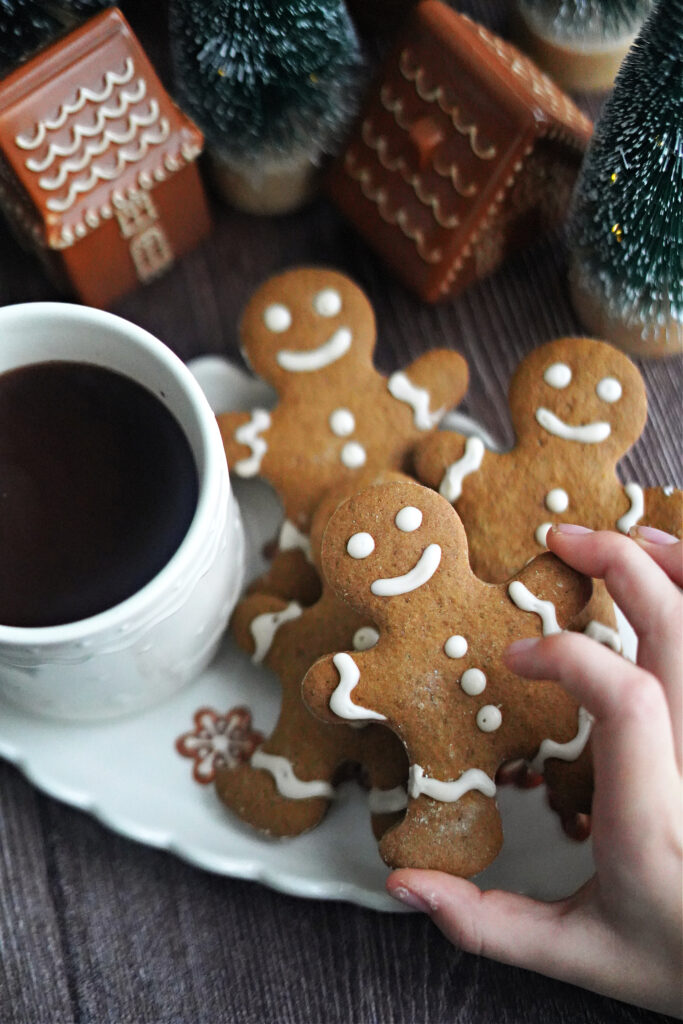
Gluten Free Gingerbread Cookies
The Most Delicious Pumpkin Cake
How to Make Ice Cream Floats
How to Make Cherry Pie
Rich & Creamy Fudgsicles Using Real Food Ingredients!
Yummiest Strawberry Fruit Dip
Valentine’s Day Hot Cocoa Bombs
Fuss Free Hot Cocoa Bombs Using Coconut Sugar!
Copycat Little Debbie® Christmas Tree Cakes
Our Favorite Sunday Dinner Apple Crisp Dessert
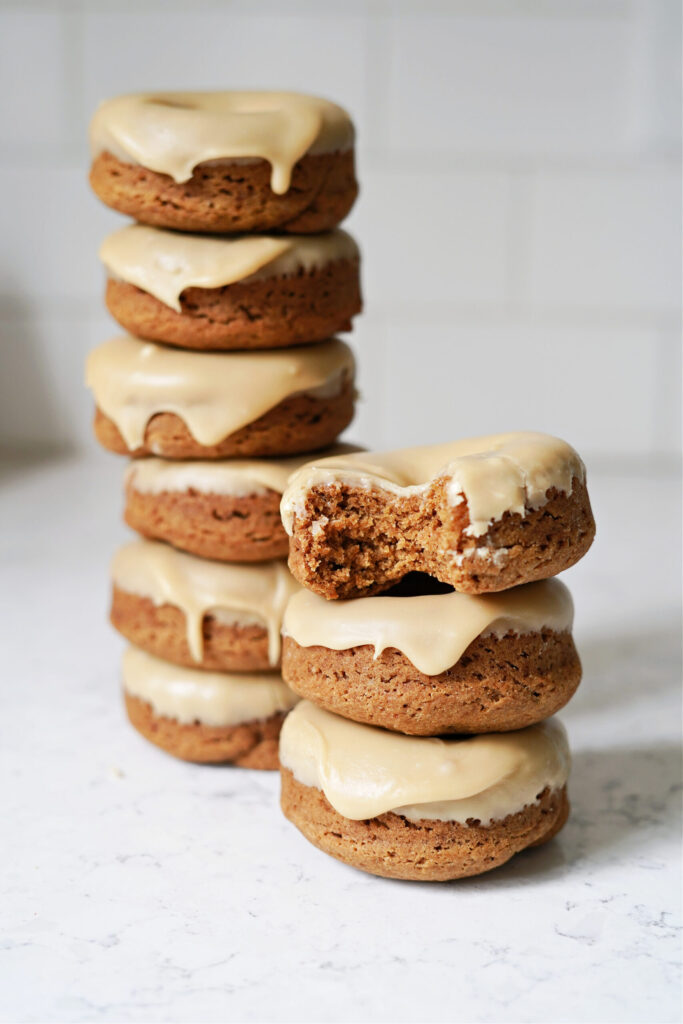
Gluten Free Apple Donuts :: Gluten, Dairy, Nut, & Egg Free!
Dairy Free Pumpkin Ice Cream
Red, White, & Blue Popsicles! :: A Patriotic Fourth of July Tradition!
Simple Homemade Ice Cream :: An e-book for every family!
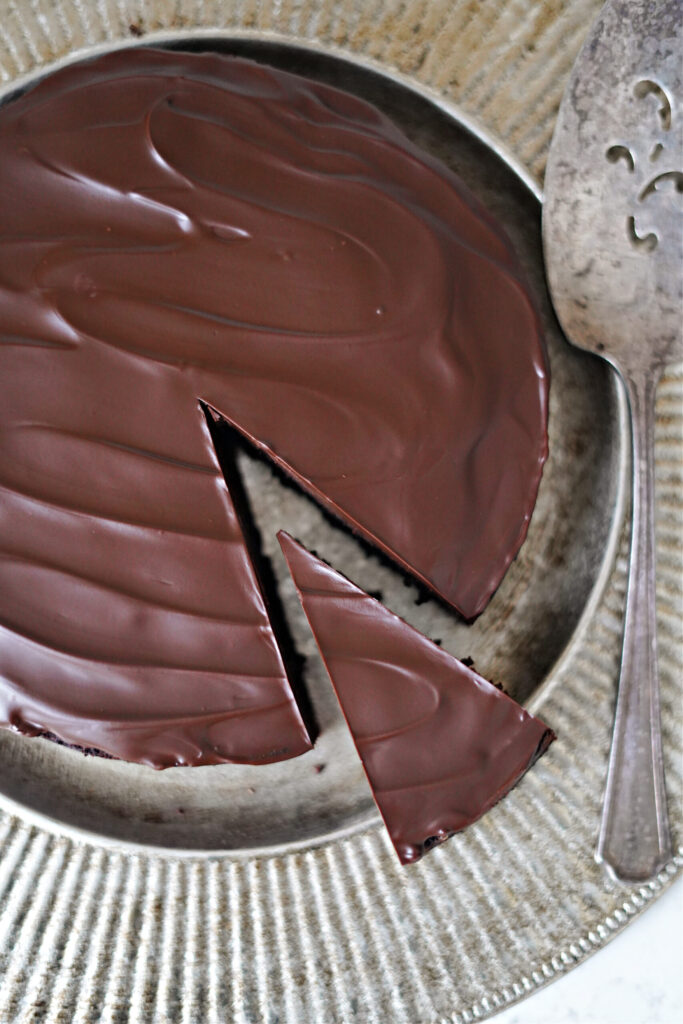
Gluten Free Flourless Chocolate Cake
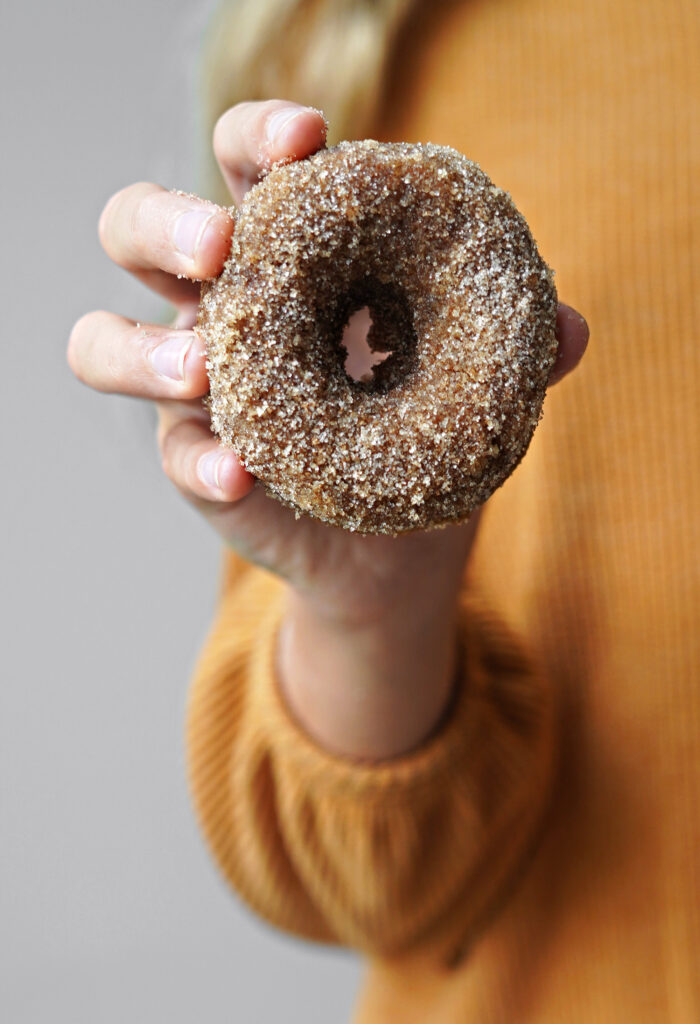
Fresh Pumpkin Donuts :: Gluten Free, Dairy Free, Nut Free, Egg Free
Homemade Dairy Free Mackinac Island Fudge Ice Cream
Strawberry Banana Ice Cream :: Dairy Free & Fruit Sweetened – No Added Sugar!
Page navigation
1
2
3
4
Next Page
Next
Scroll to top
Scroll to top
Home
Recipes
Toggle child menu
Expand
Breakfast Ideas
Lunch Ideas
Dinner Ideas
Snack Ideas
Occasional Treats
Cookbooks
Toggle child menu
Expand
Nourished Beginnings
The Little Lunchbox Cookbook
Nourished Mornings Cookbook
About
Contact
Toggle Menu Close
Search for:
Search