Skip to content
Get the newsletter - sign up here
Facebook
Twitter
Instagram
Pinterest
Home
Recipes
Expand
Breakfast Ideas
Lunch Ideas
Dinner Ideas
Snack Ideas
Occasional Treats
Cookbooks
Expand
Nourished Beginnings
The Little Lunchbox Cookbook
Nourished Mornings Cookbook
About
Contact
Search
Search
Toggle Menu
Real Food Tips
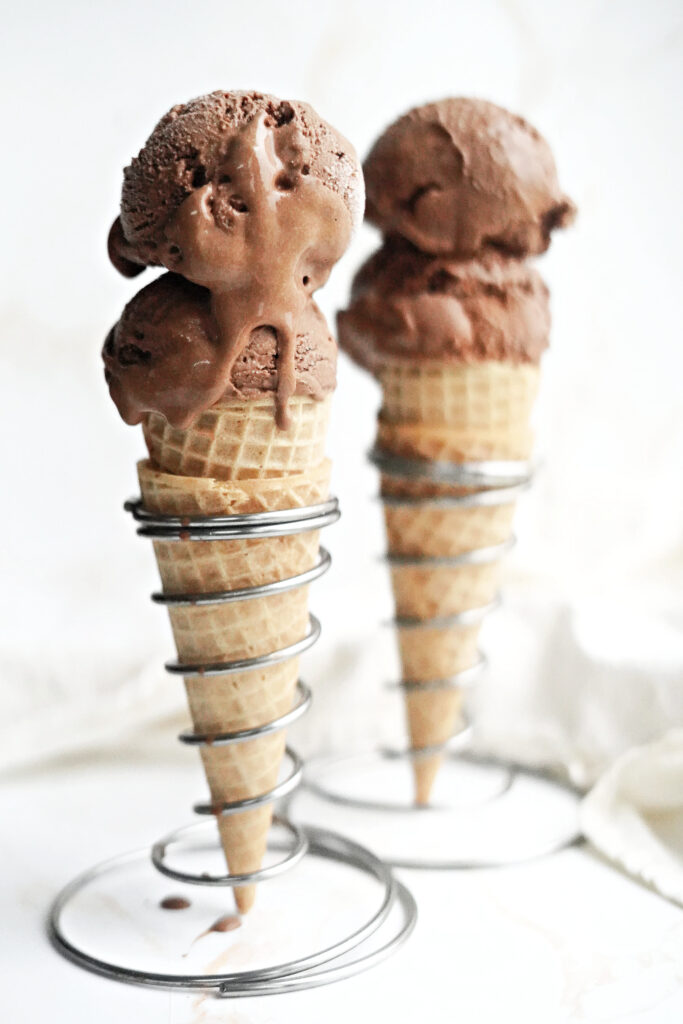
Homemade Chocolate Ice Cream
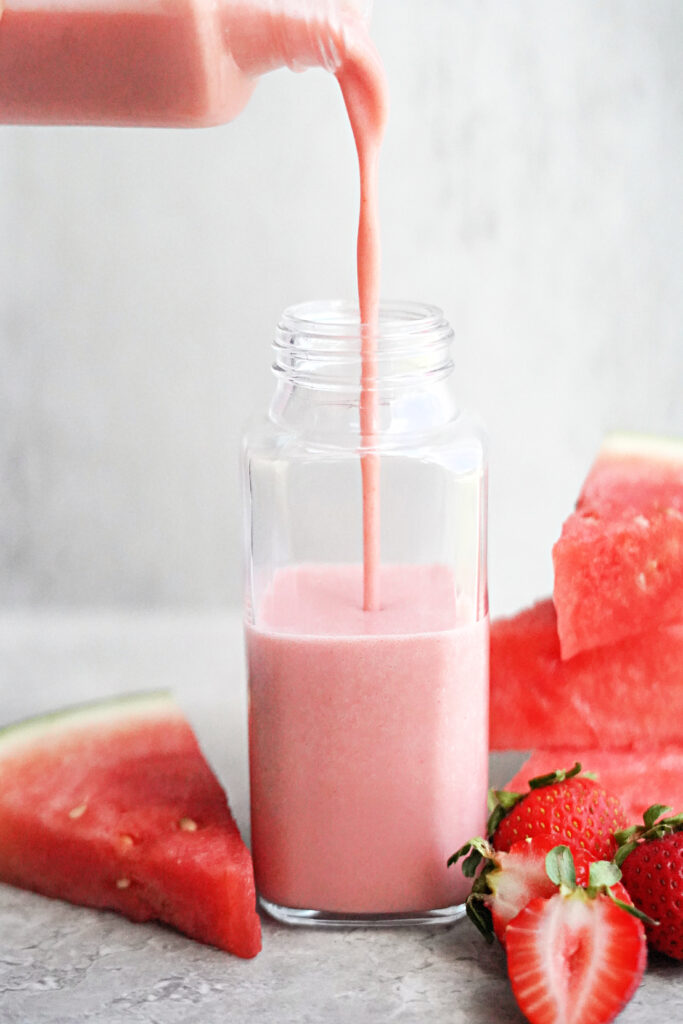
Real Food Electrolyte Drinkable Yogurt
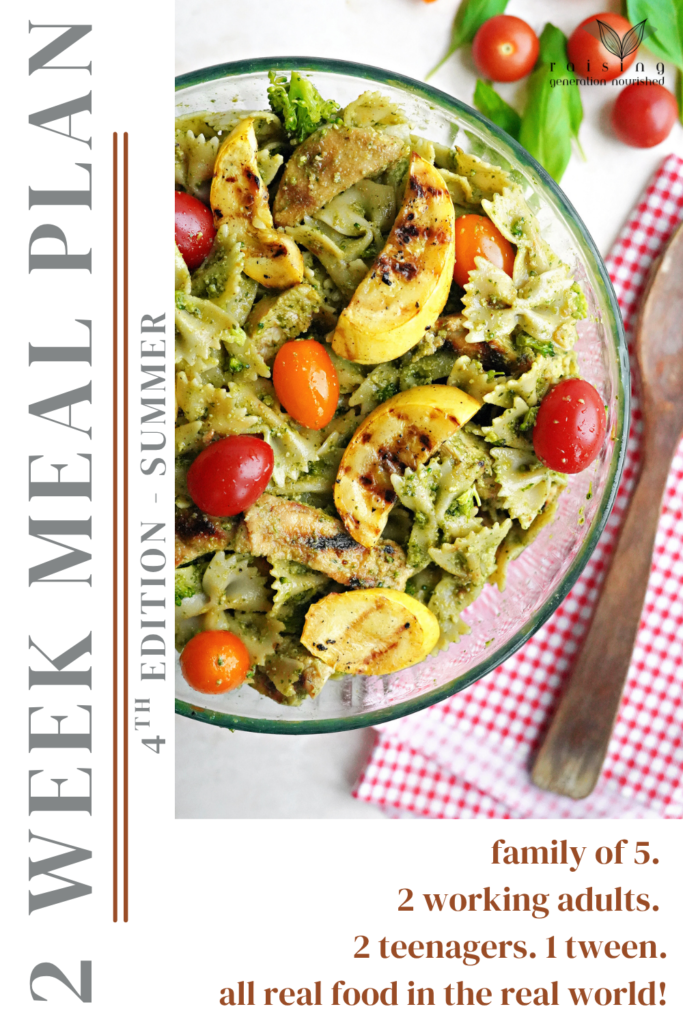
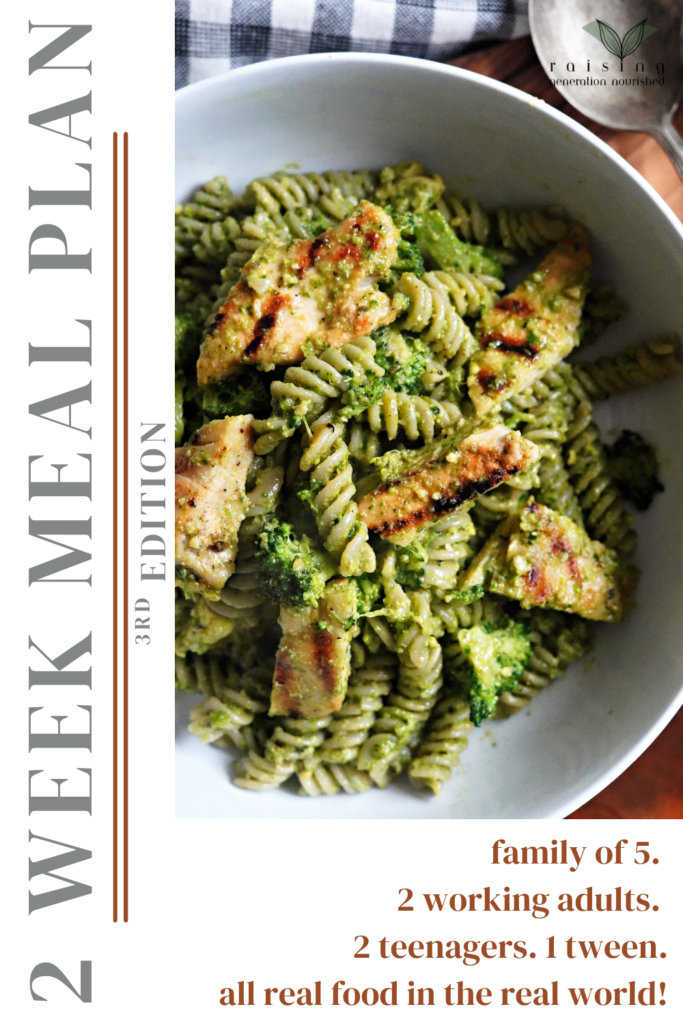
2 Week Meal Plan :: Family of 5 Summer Edition
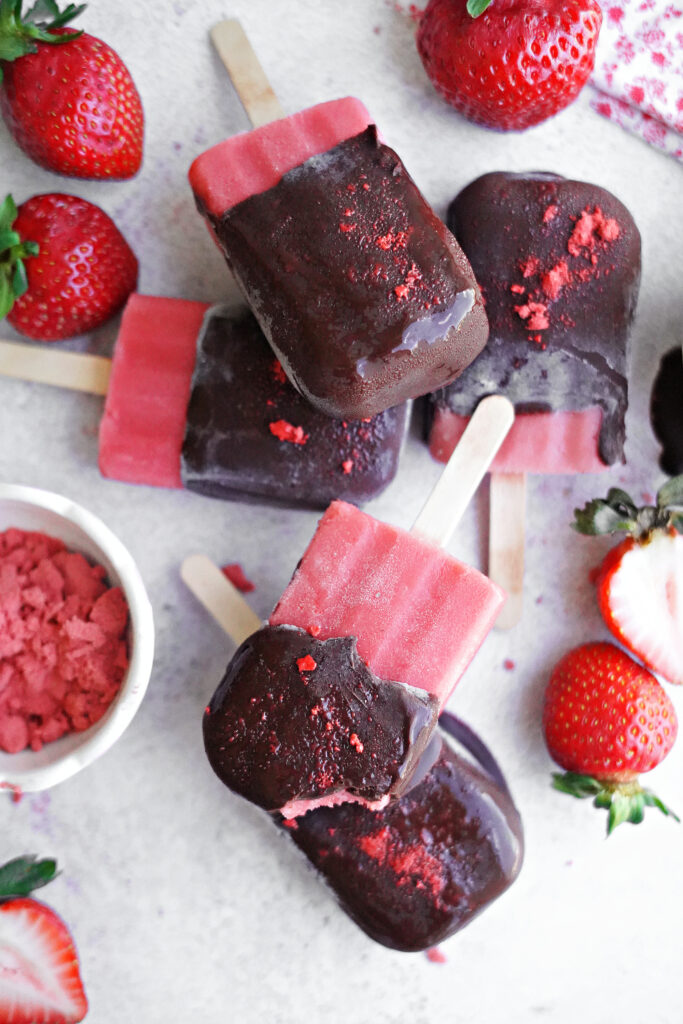
Chocolate Covered Strawberry Popsicles
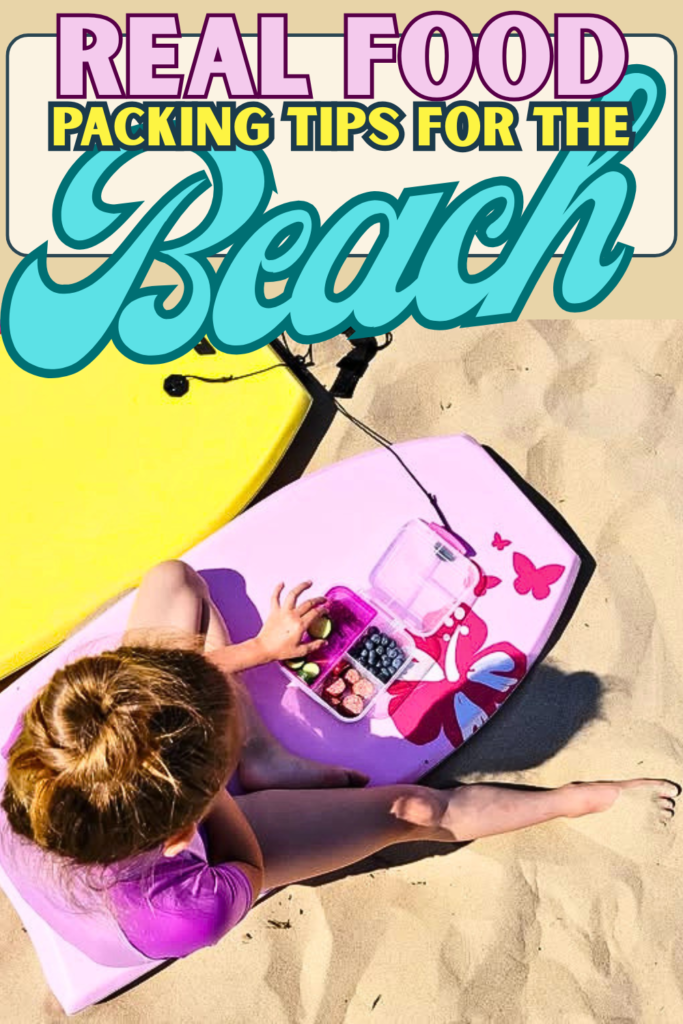
Real Packing Tips for the Beach
Sheet Pan Dinner BBQ Meatballs & Fresh Green Goddess Sauce
5 Minute Kid Friendly Green Goddess Dressing & Dinner Bowl Sauce
5 Minute Ranch Dressing and Dip
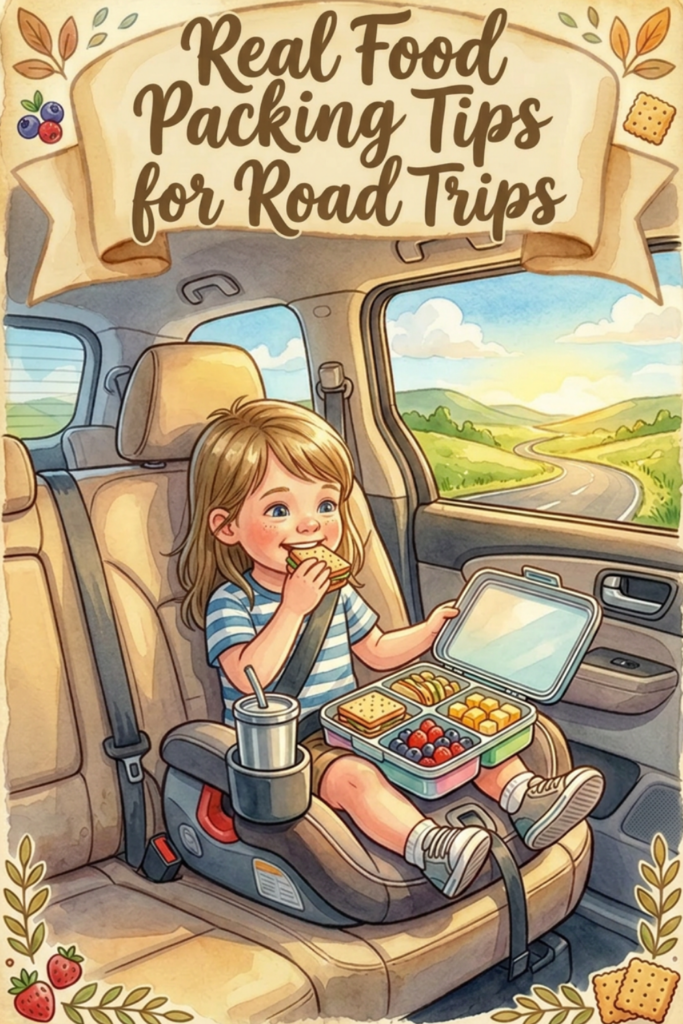
Real Food Packing Tips for Road Trips
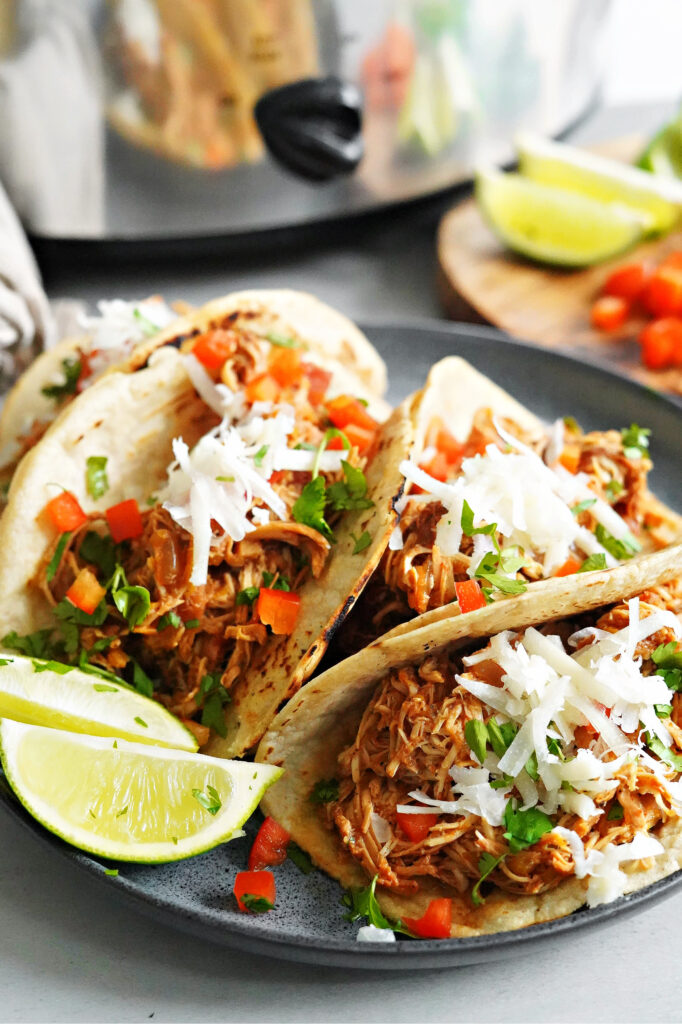
Fiber & Protein Packed Slow Cooker Chicken Tacos
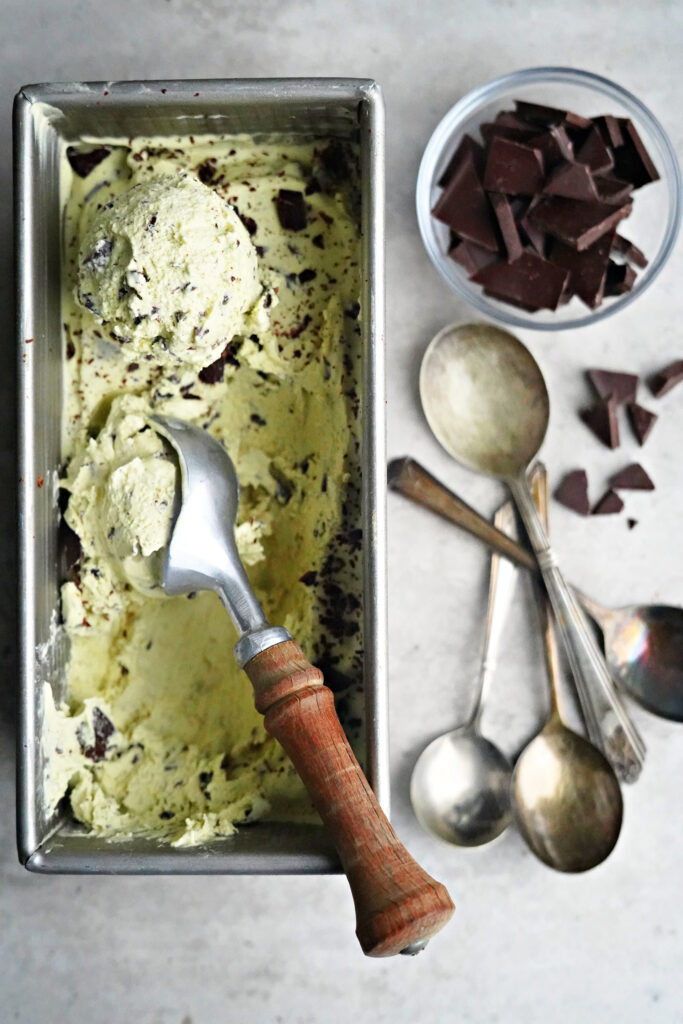
Homemade Mint Chocolate Chip Ice Cream
30 Minute Sheet Pan Mango Chicken
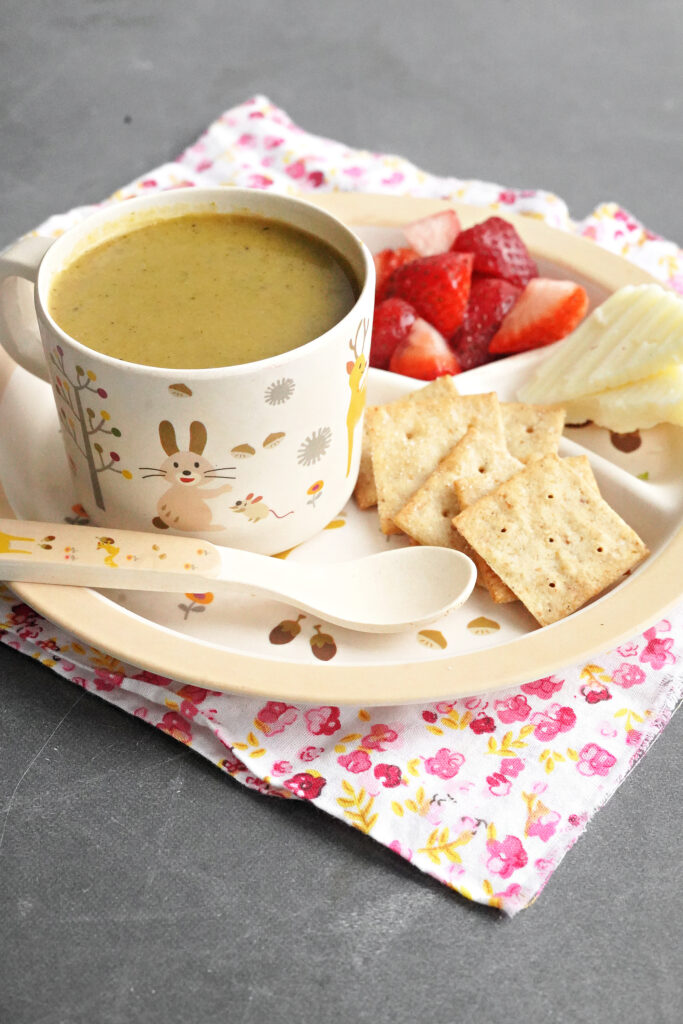
Kid Favorite Nourishing Broccoli Soup
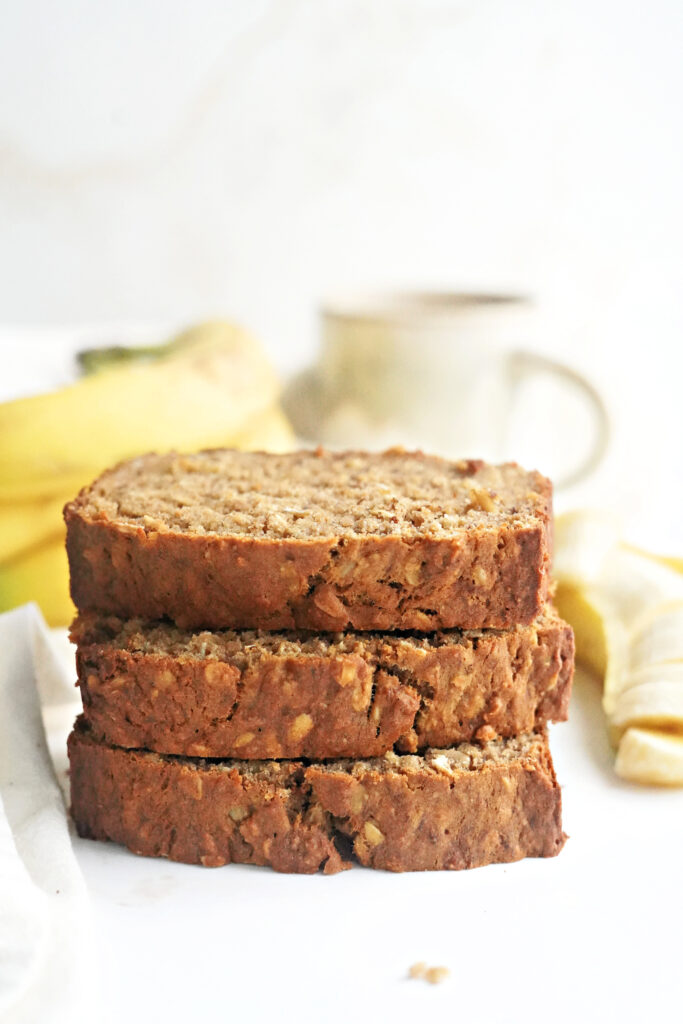
Power Packed Oatmeal Banana Bread
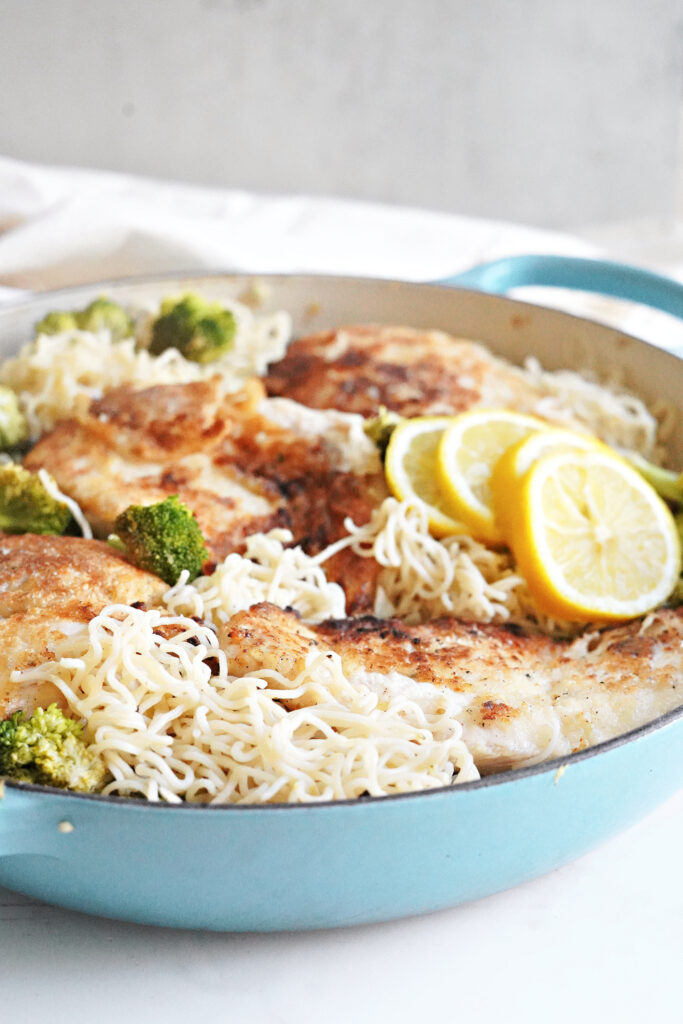
30 Minute Chicken & Lemon Pasta Dinner
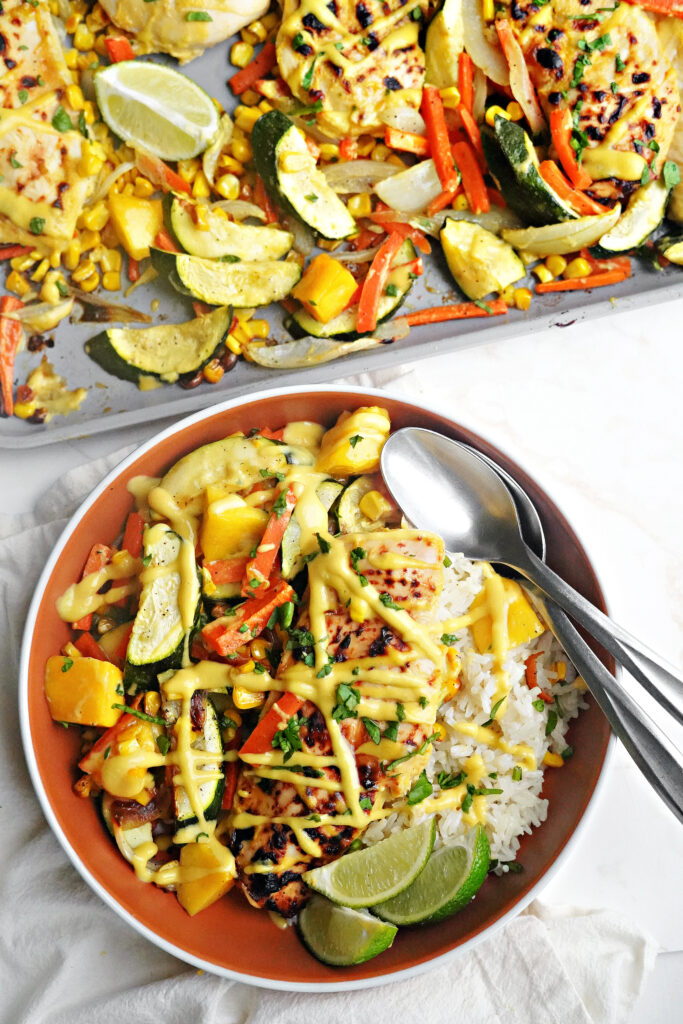
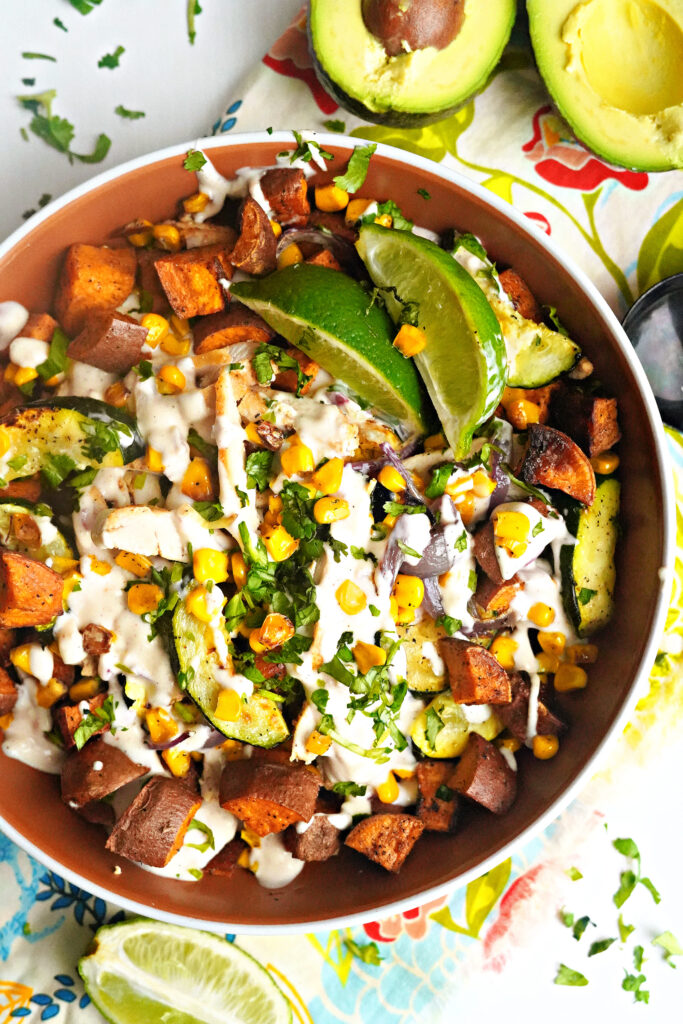
Sheet Pan Mexican Street Corn Chicken Dinner Bowls
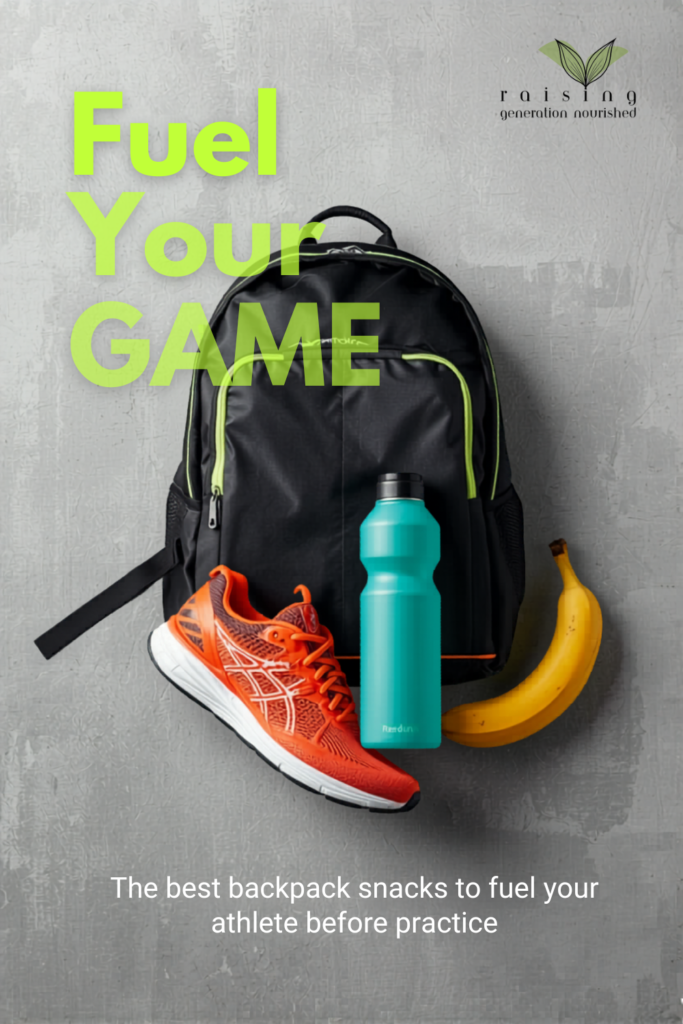
The Best Real Food Pre Practice Backpack Snacks To Fuel Your Athlete
2 Week Meal Plan :: Family of 5 Spring Edition
Copycat Shamrock Shake {Using Real Food Ingredients!}
Quick & Easy Sheet Pan Thai Peanut Chicken Dinner
Nutrient Loaded Real Food Brown Sugar Cinnamon Baked Oatmeal
Slow Cooker Fiesta Soup
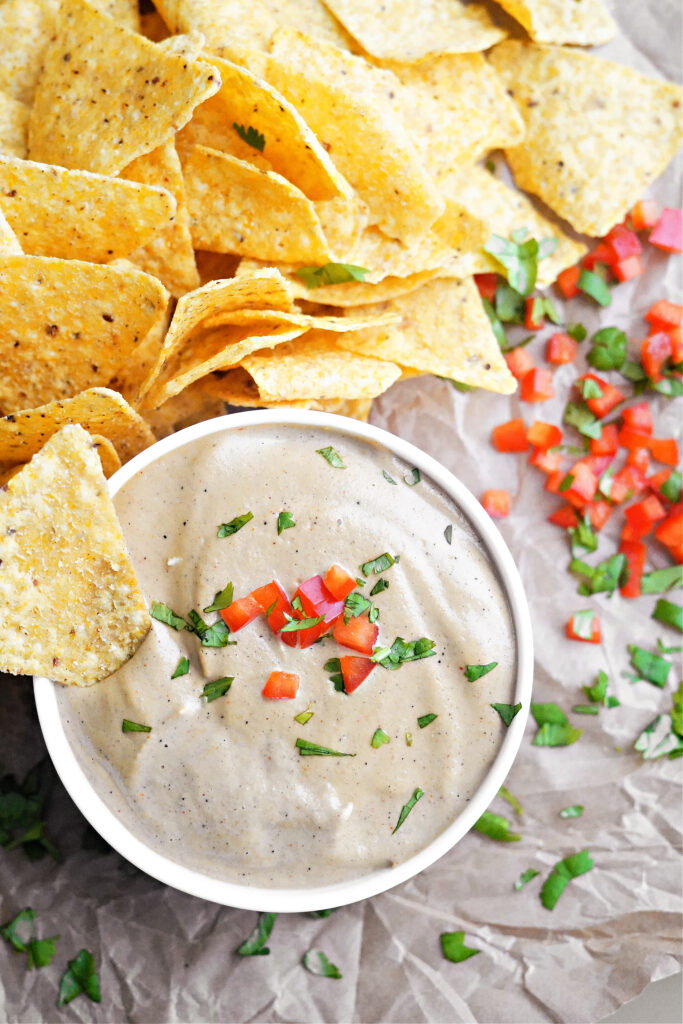
5 Minute Prep Dairy Free Blender Queso
How to Make Pesto Pasta with Dried Basil!
Page navigation
1
2
3
…
20
Next Page
Next
Scroll to top
Scroll to top
Home
Recipes
Toggle child menu
Expand
Breakfast Ideas
Lunch Ideas
Dinner Ideas
Snack Ideas
Occasional Treats
Cookbooks
Toggle child menu
Expand
Nourished Beginnings
The Little Lunchbox Cookbook
Nourished Mornings Cookbook
About
Contact
Toggle Menu Close
Search for:
Search