Skip to content
Get the newsletter - sign up here
Facebook
Twitter
Instagram
Pinterest
Home
Recipes
Expand
Breakfast Ideas
Lunch Ideas
Dinner Ideas
Snack Ideas
Occasional Treats
Cookbooks
Expand
Nourished Beginnings
The Little Lunchbox Cookbook
Nourished Mornings Cookbook
About
Contact
Search
Search
Toggle Menu
school lunches
Real Food Cake Batter Granola Bars!
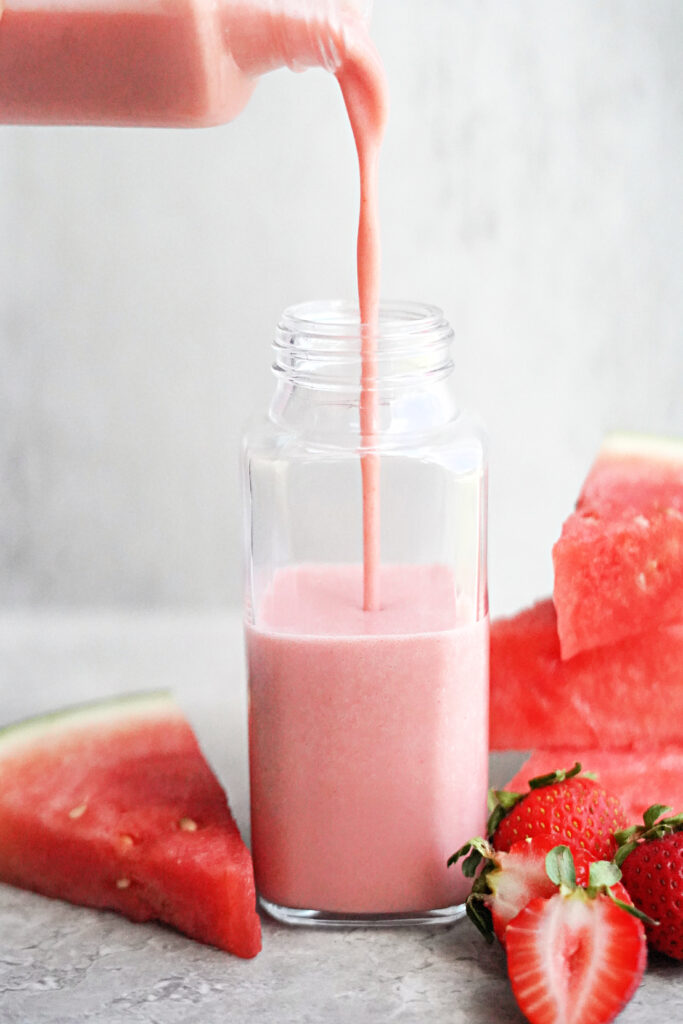
Real Food Electrolyte Drinkable Yogurt
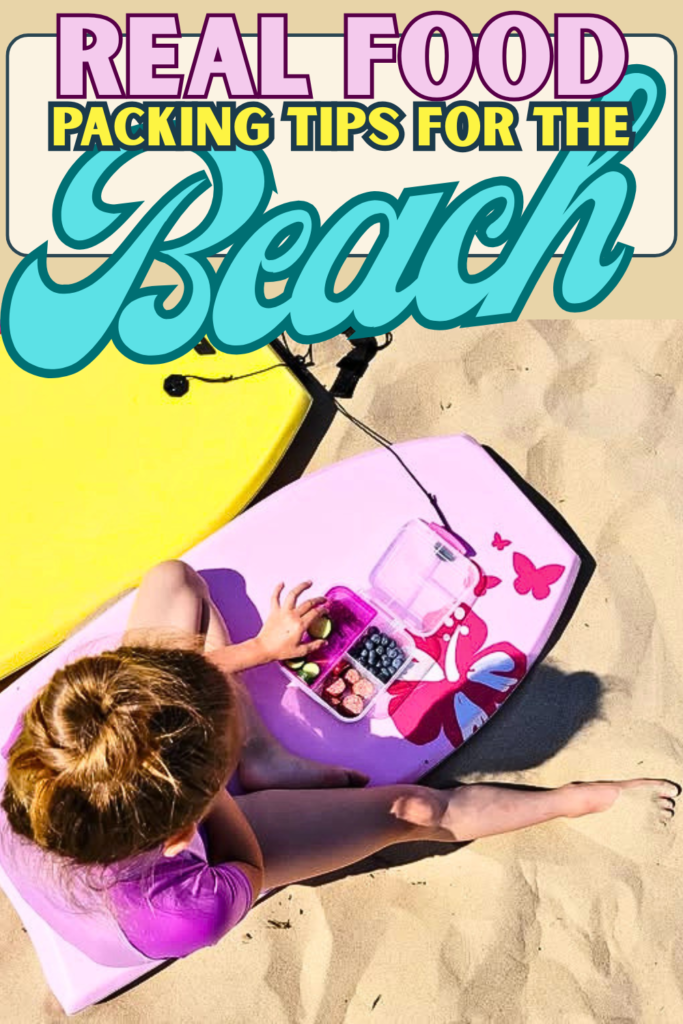
Real Packing Tips for the Beach
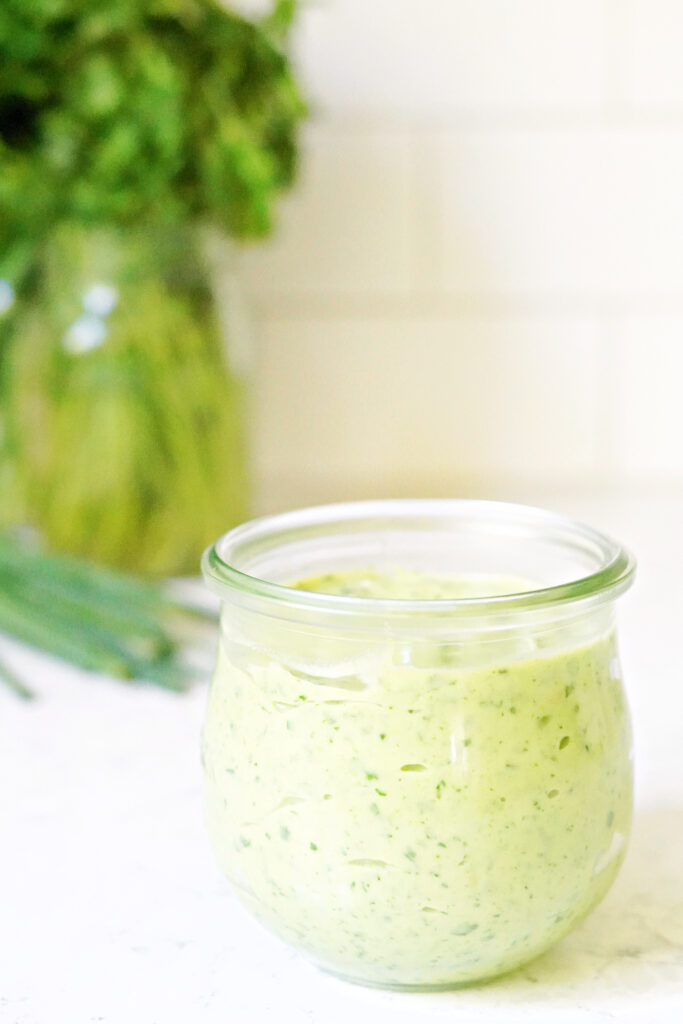
5 Minute Kid Friendly Green Goddess Dressing & Dinner Bowl Sauce
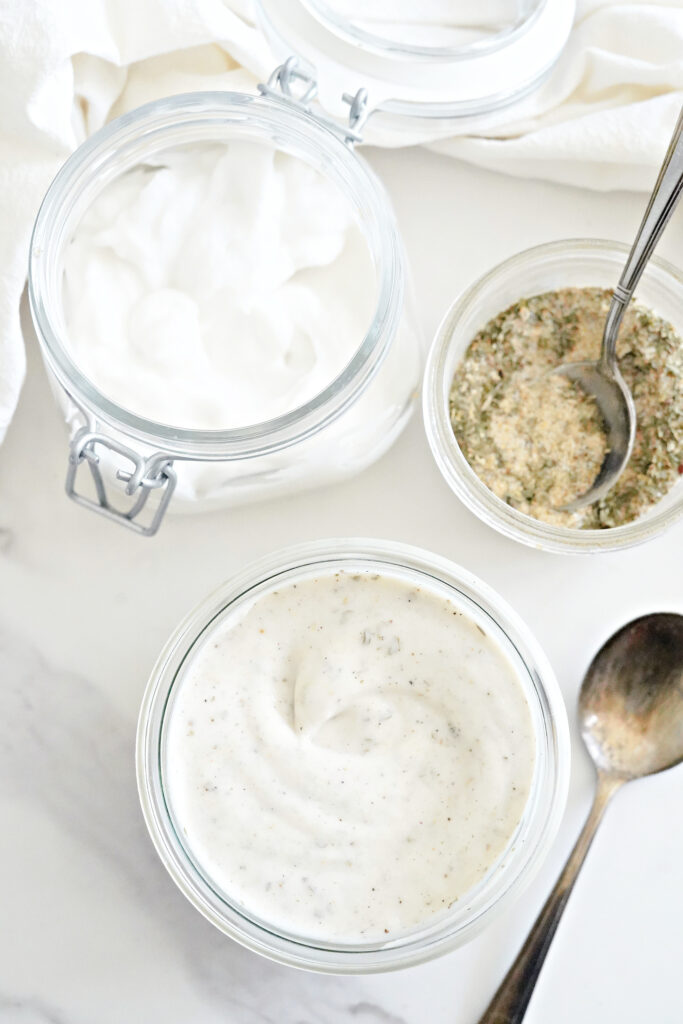
5 Minute Ranch Dressing and Dip
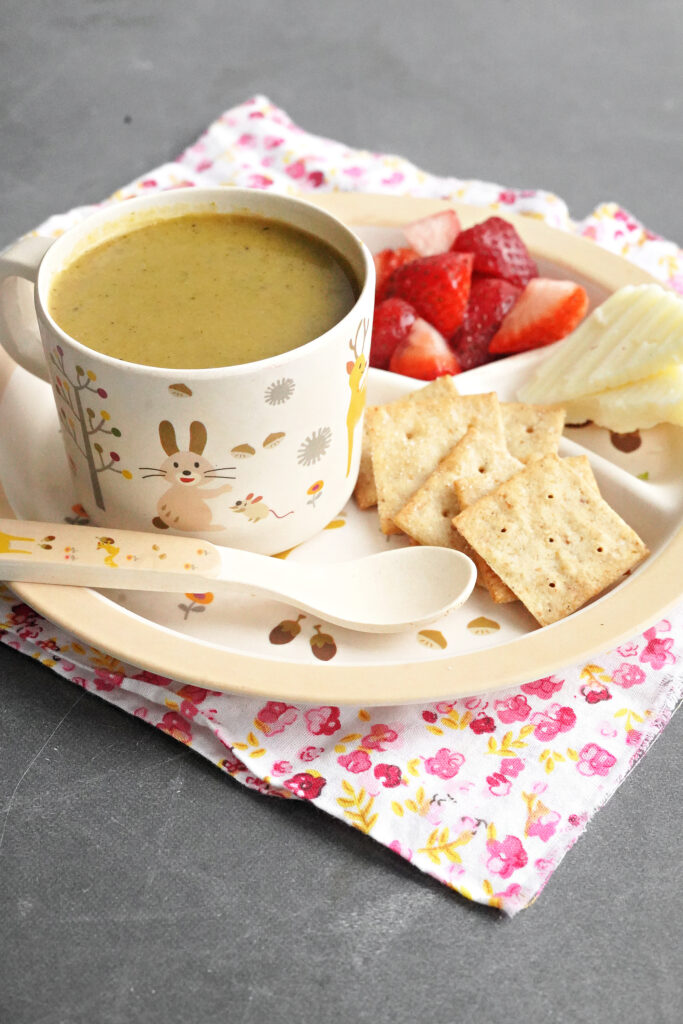
Kid Favorite Nourishing Broccoli Soup
How to Make Pesto Pasta with Dried Basil!
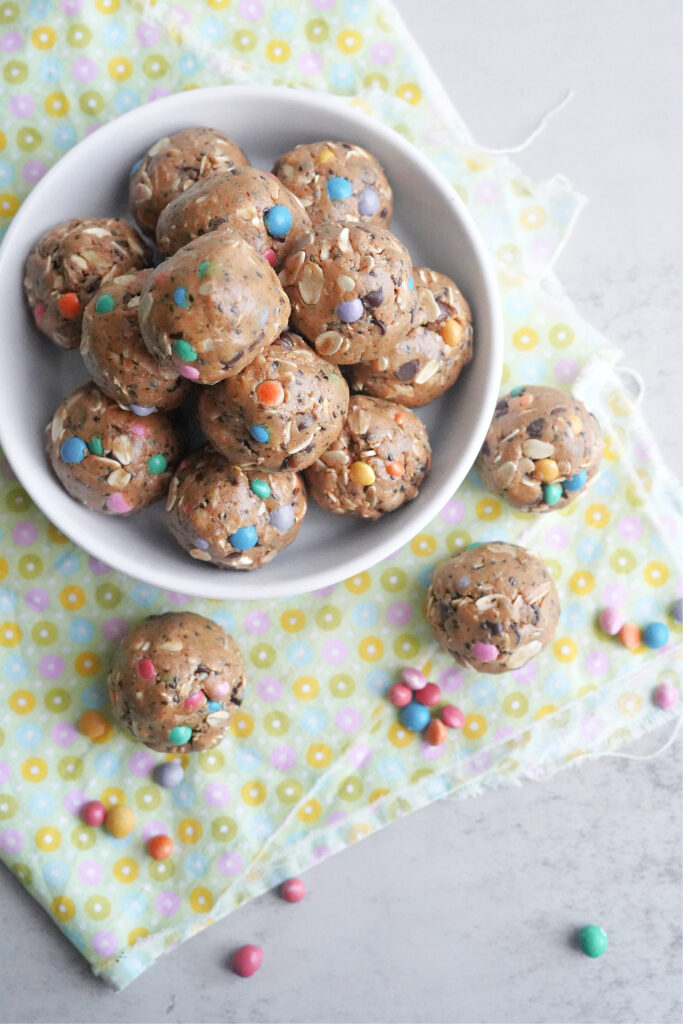
Naturally Dyed Monster Cookie Energy Bites!
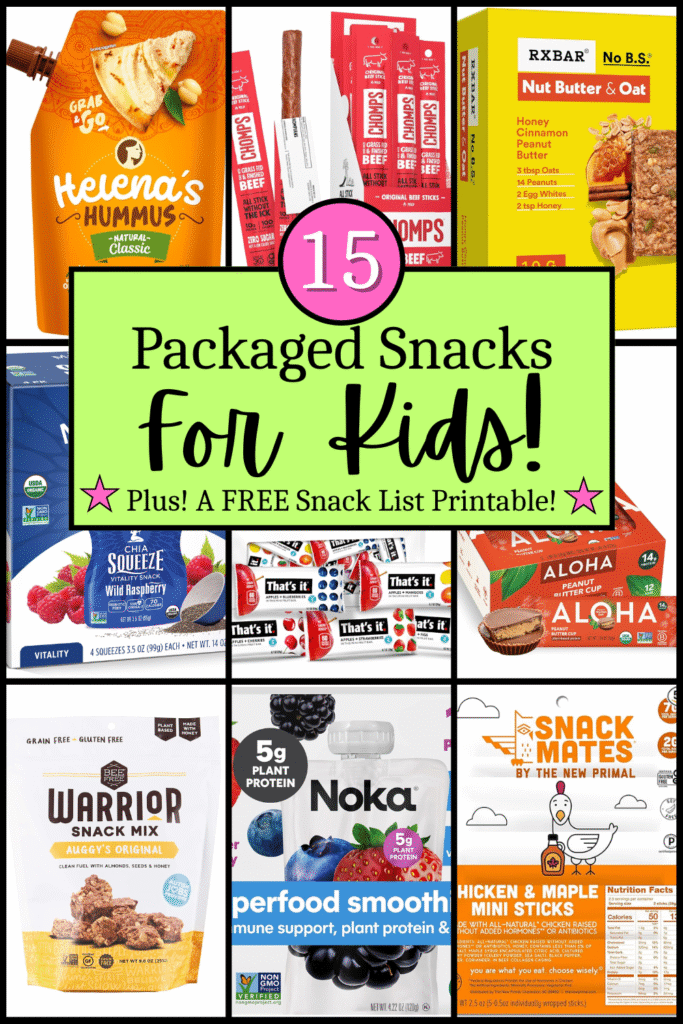
15 Packaged Snacks for Busy Kids! :: And a FREE Snack Pantry Printable!
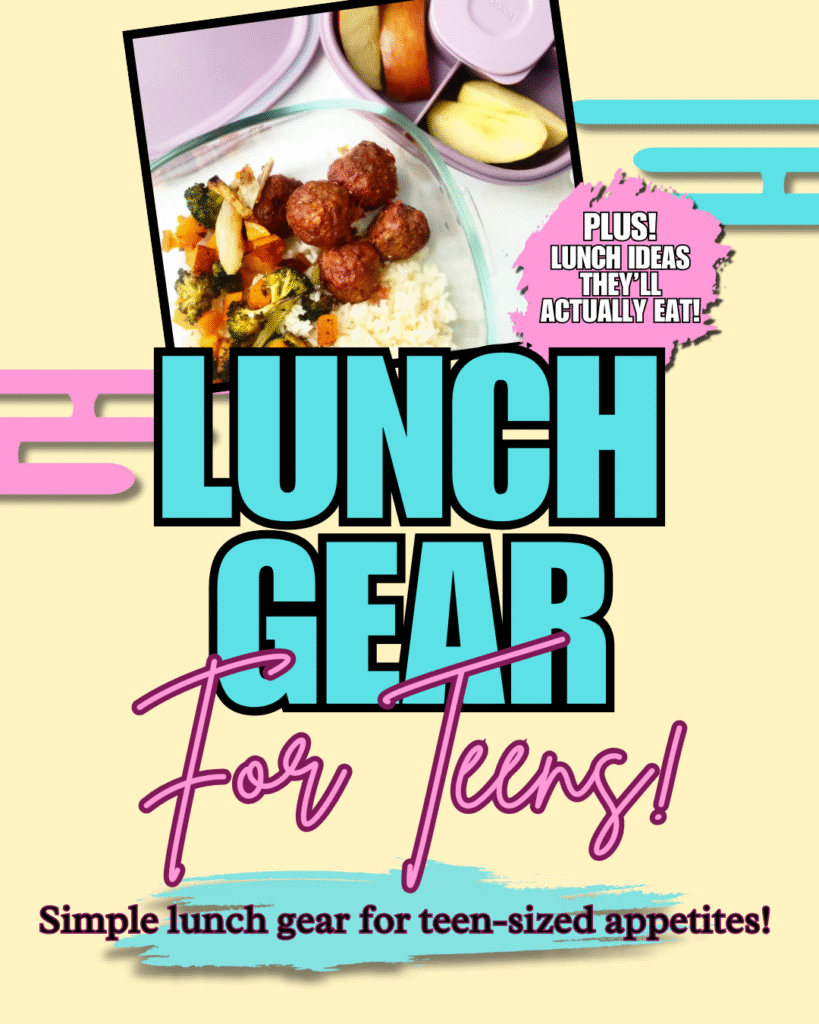
Our Favorite Lunch Gear For Teens!
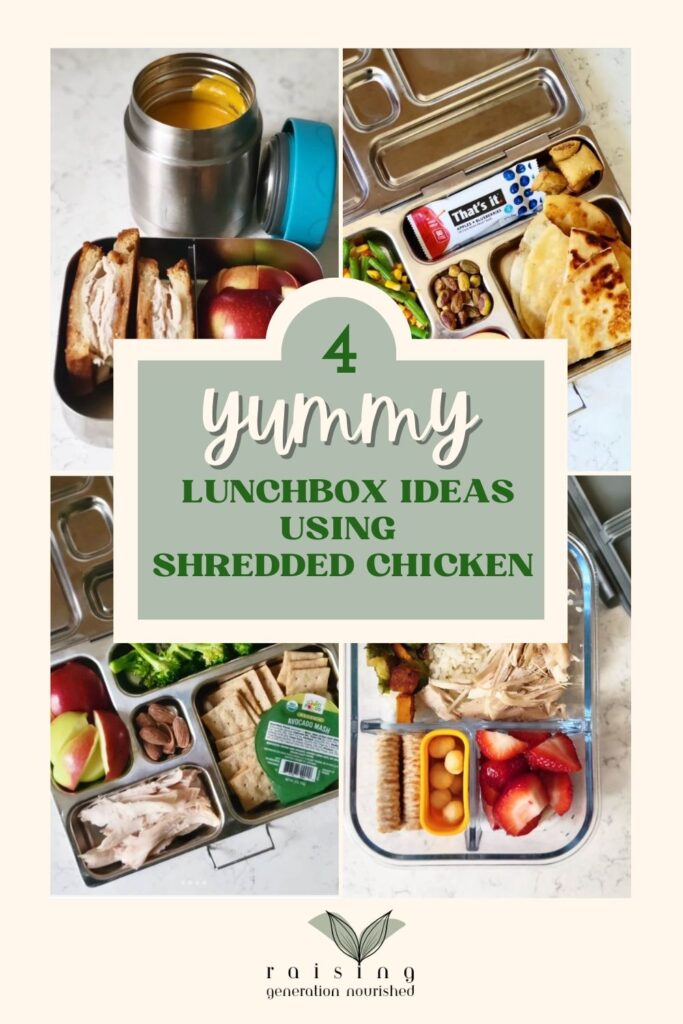
4 Yummy Lunchbox Ideas Using Shredded Chicken
Fruit Sweetened Protein Cookies
Copycat No Bake PB Fit® Peanut Butter Protein Bites
Homemade Tomato Soup
Grilled Chicken Pesto Pasta Salad
Yummiest Strawberry Fruit Dip
Healthy Copycat Clif Kid® ZBar
Fig and Honey Snack Bars
From Dinner to Thermos :: Meals that double as dinner and school lunch!
How To Make Delicious *Easy* Nutrient Dense Spaghetti Sauce
Homemade Chicken and Stars Soup
One Pan Creamy Chicken & Broccoli Rice
Zucchini Corn Chowder
Grilled Chicken Caesar Pasta Salad
Page navigation
1
2
3
…
8
Next Page
Next
Scroll to top
Scroll to top
Home
Recipes
Toggle child menu
Expand
Breakfast Ideas
Lunch Ideas
Dinner Ideas
Snack Ideas
Occasional Treats
Cookbooks
Toggle child menu
Expand
Nourished Beginnings
The Little Lunchbox Cookbook
Nourished Mornings Cookbook
About
Contact
Toggle Menu Close
Search for:
Search