Skip to content
Get the newsletter - sign up here
Facebook
Twitter
Instagram
Pinterest
Home
Recipes
Expand
Breakfast Ideas
Lunch Ideas
Dinner Ideas
Snack Ideas
Occasional Treats
Cookbooks
Expand
Nourished Beginnings
The Little Lunchbox Cookbook
Nourished Mornings Cookbook
About
Contact
Search
Search
Toggle Menu
Snack Ideas
Lemon Zucchini Muffins
Chia Jam Strawberry Bars
Real Food Cake Batter Granola Bars!
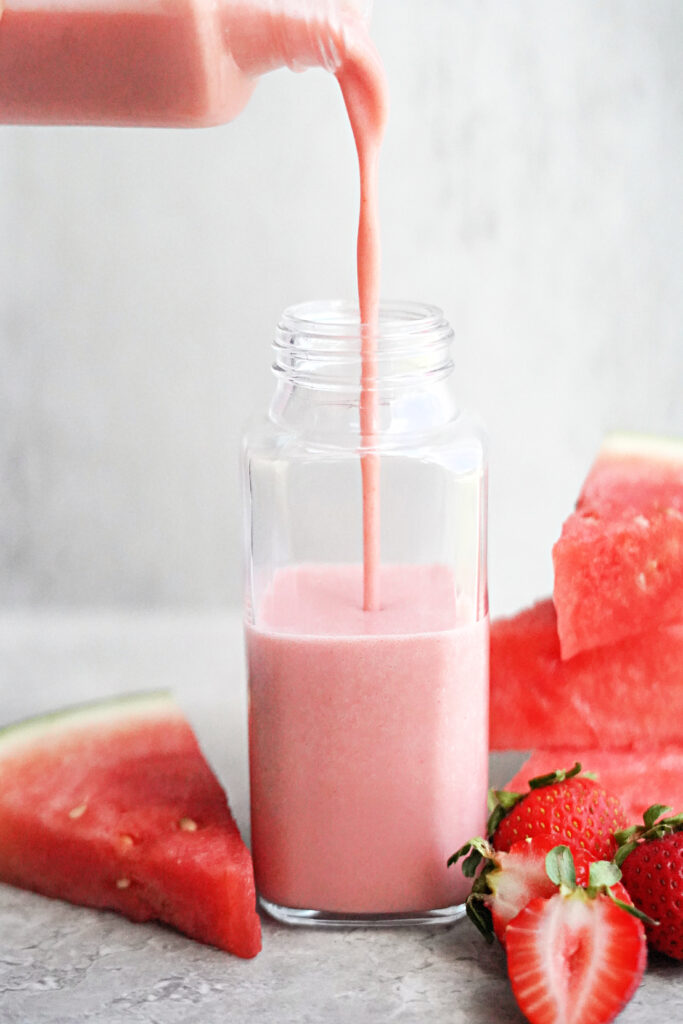
Real Food Electrolyte Drinkable Yogurt
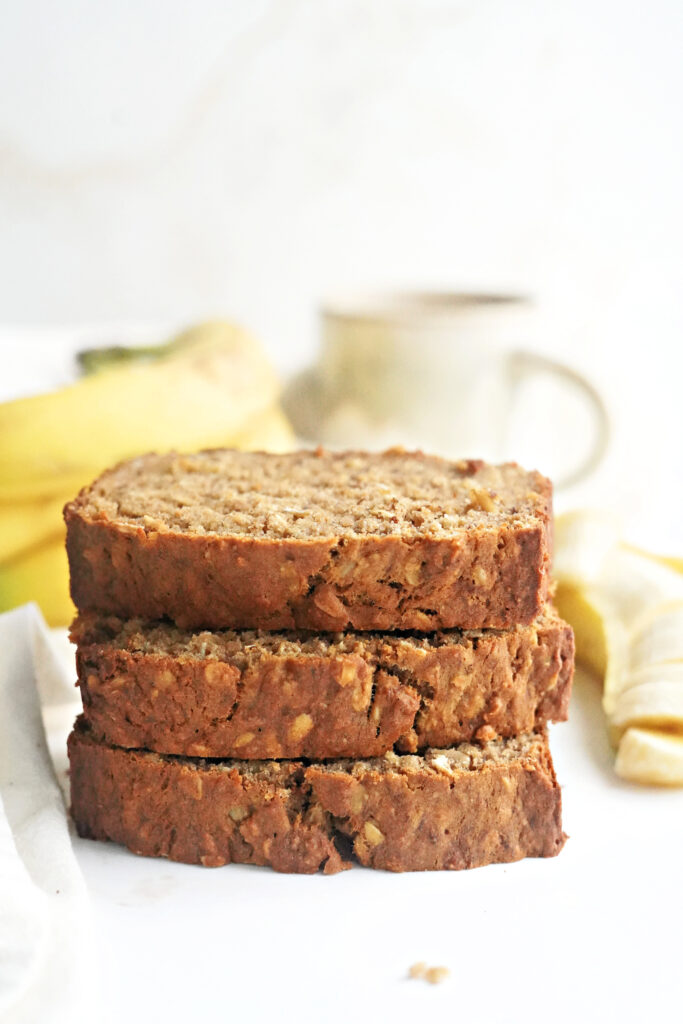
Power Packed Oatmeal Banana Bread
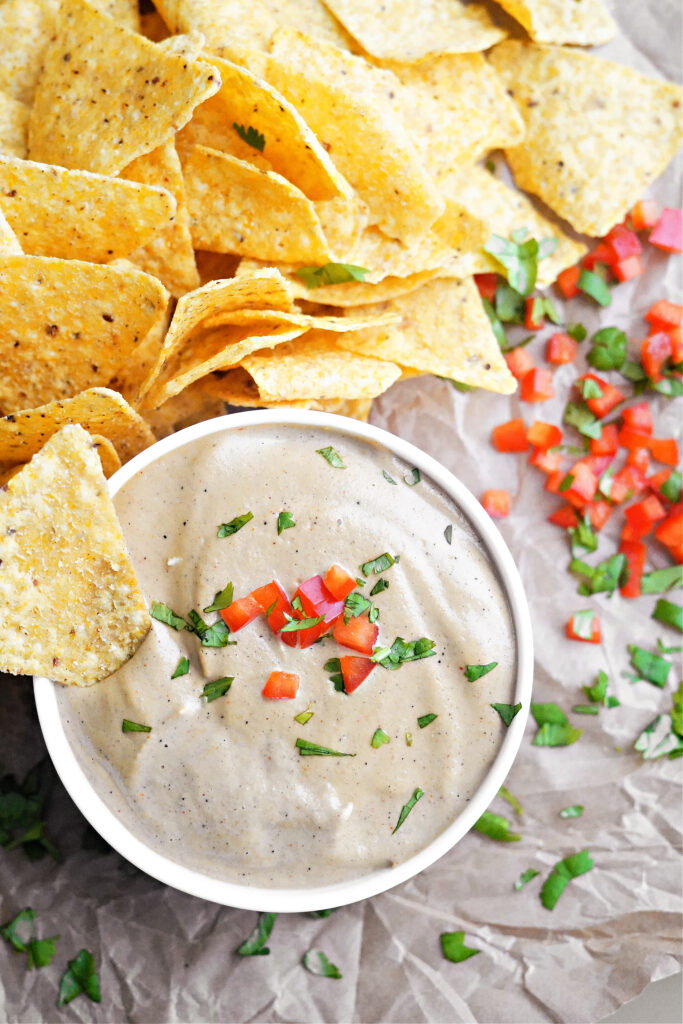
5 Minute Prep Dairy Free Blender Queso
Our Popcorn Night Favorites!
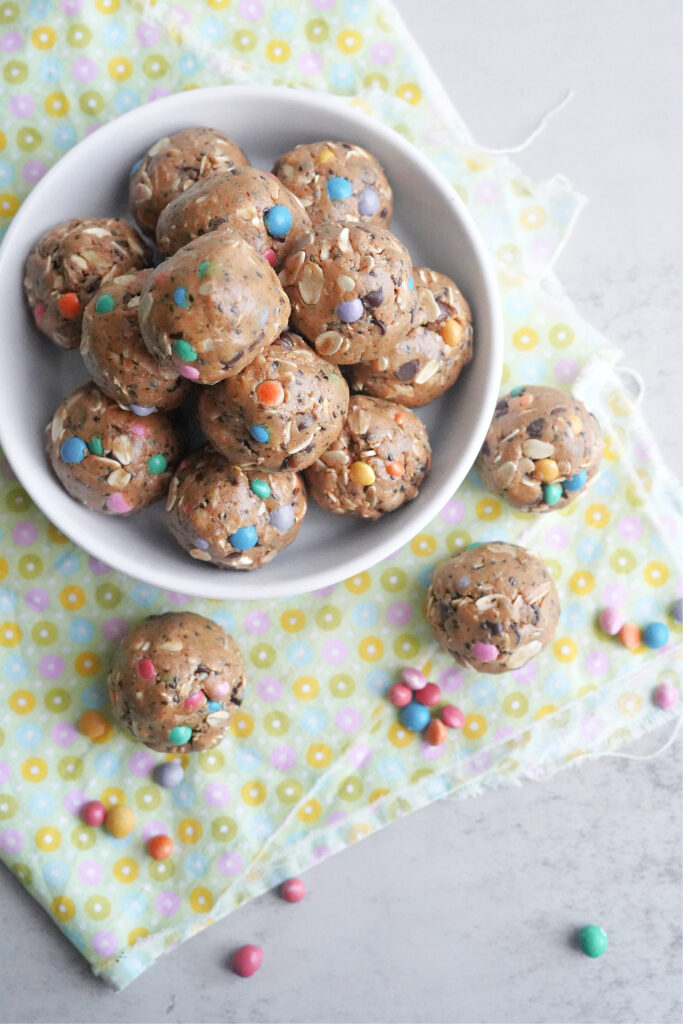
Naturally Dyed Monster Cookie Energy Bites!
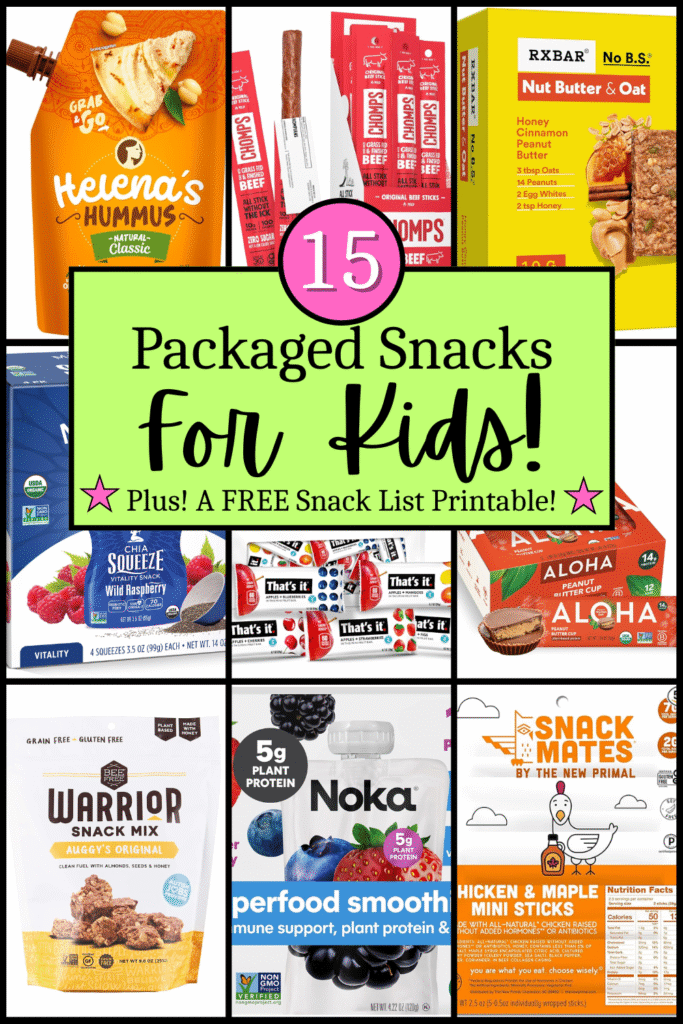
15 Packaged Snacks for Busy Kids! :: And a FREE Snack Pantry Printable!
Fruit Sweetened Protein Cookies
Copycat No Bake PB Fit® Peanut Butter Protein Bites
Soft & Fluffy Cinnamon Raisin Zucchini Muffins Using Cassava Flour!
The Best Bedtime Snacks From Toddlers to Teens {and everything in between!}
Yummiest Strawberry Fruit Dip
Healthy Copycat Clif Kid® ZBar
Fig and Honey Snack Bars
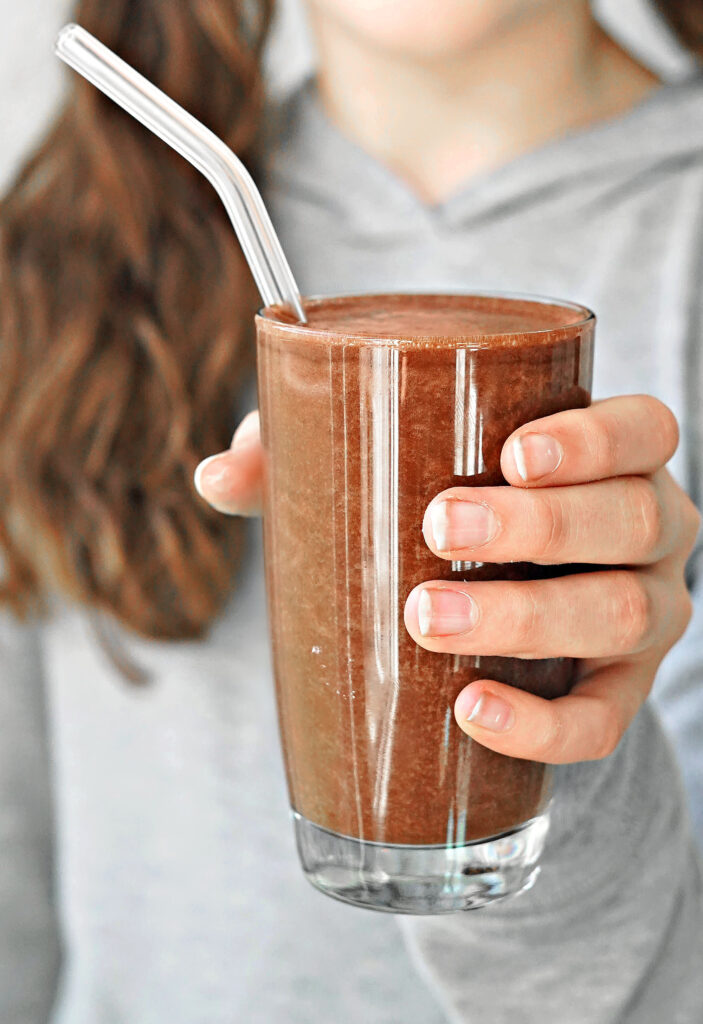
Chocolate Electrolyte Protein Shake
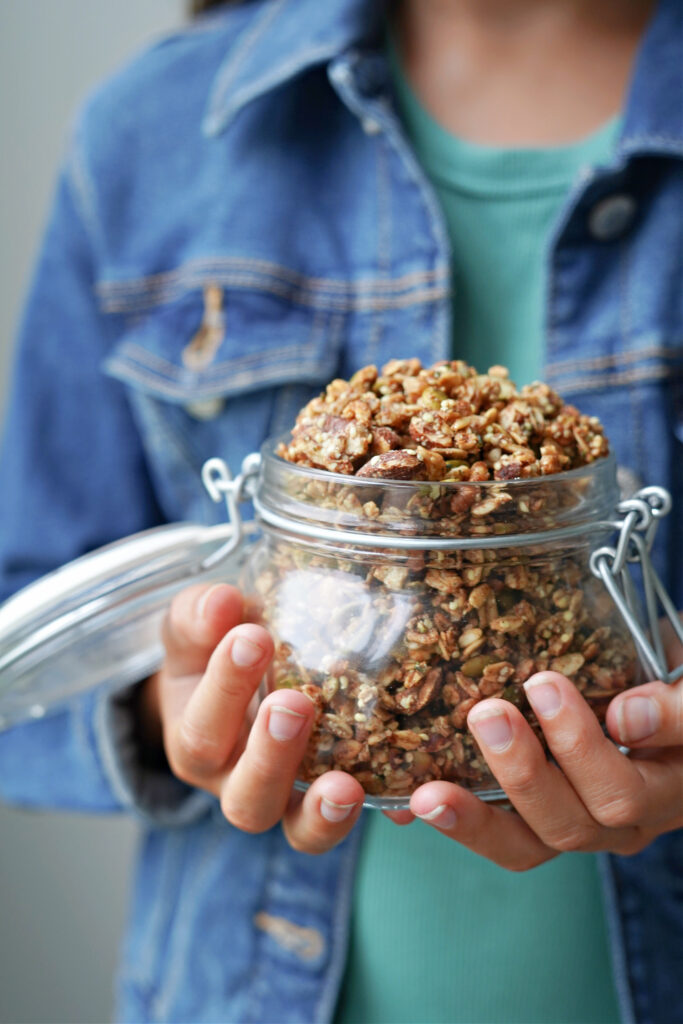
Gluten Free Pumpkin Pie Granola
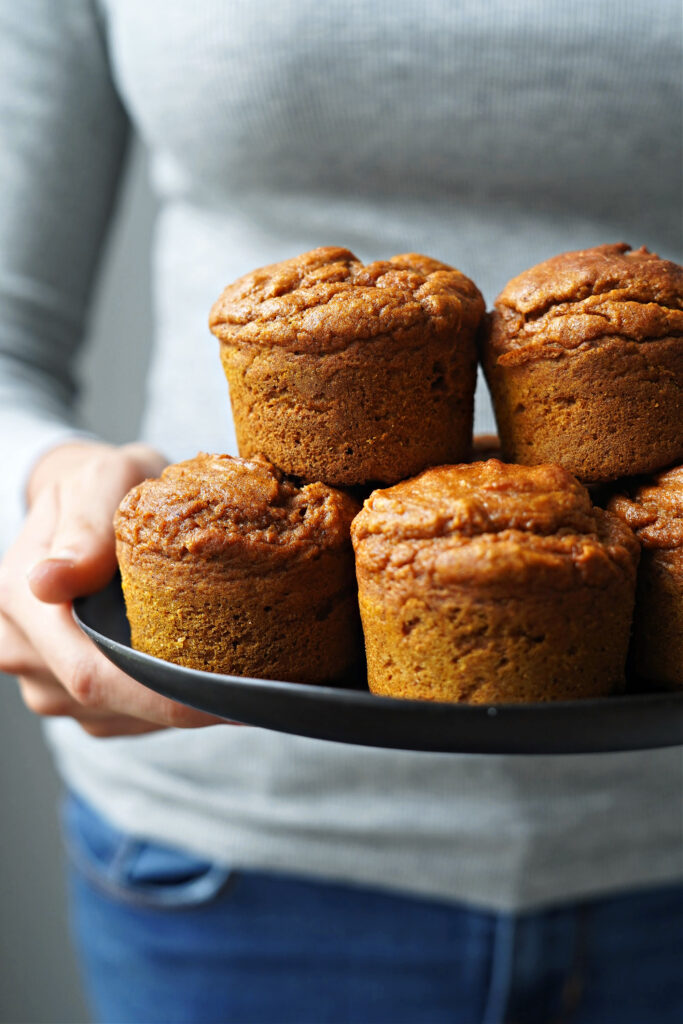
Softest Ever Gluten Free Pumpkin Muffins!
Bone Broth Chocolate Protein Bites :: Gluten, Dairy, Egg, Nut, & Bean Free!
Red, White, & Blue Popsicles! :: A Patriotic Fourth of July Tradition!
Healthy Cocoa Nib Granola Bars :: Fast prep, nutrient packed, and gluten & dairy free!
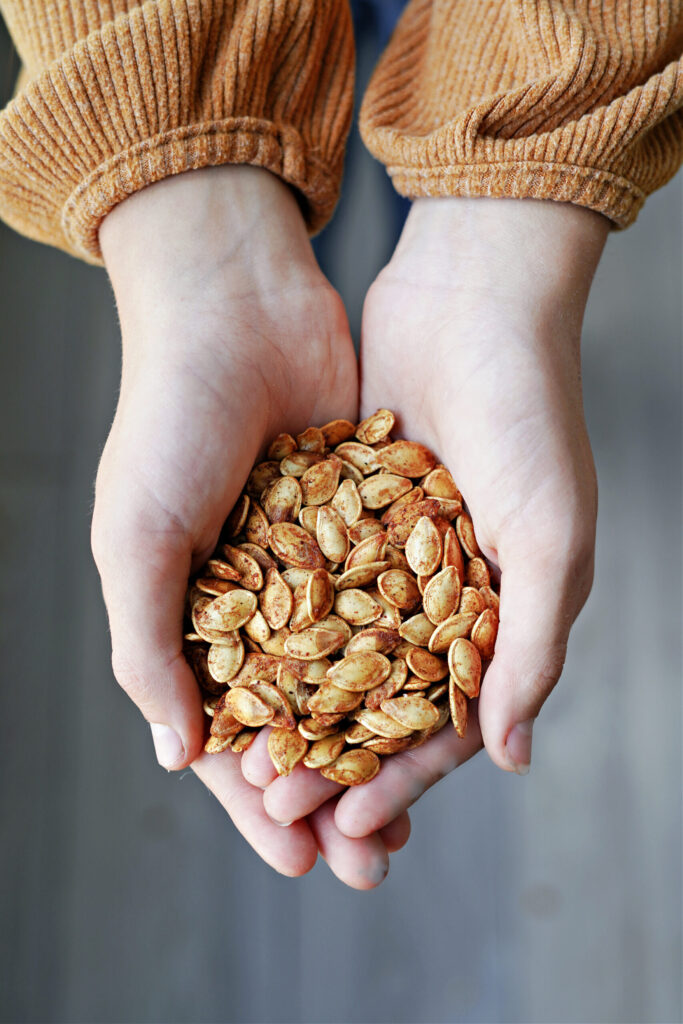
How To Roast Crispy Pumpkin Seeds :: Plus 6 Different Flavor Variations!
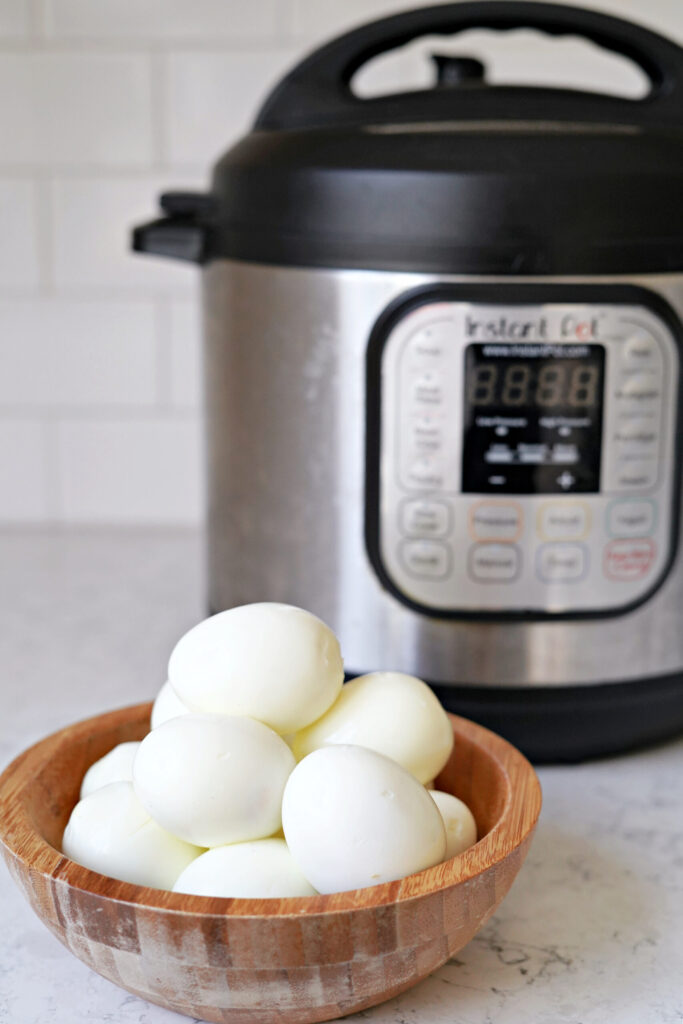
Simple Instant Pot Hard Boiled Eggs
Page navigation
1
2
3
…
5
Next Page
Next
Scroll to top
Scroll to top
Home
Recipes
Toggle child menu
Expand
Breakfast Ideas
Lunch Ideas
Dinner Ideas
Snack Ideas
Occasional Treats
Cookbooks
Toggle child menu
Expand
Nourished Beginnings
The Little Lunchbox Cookbook
Nourished Mornings Cookbook
About
Contact
Toggle Menu Close
Search for:
Search