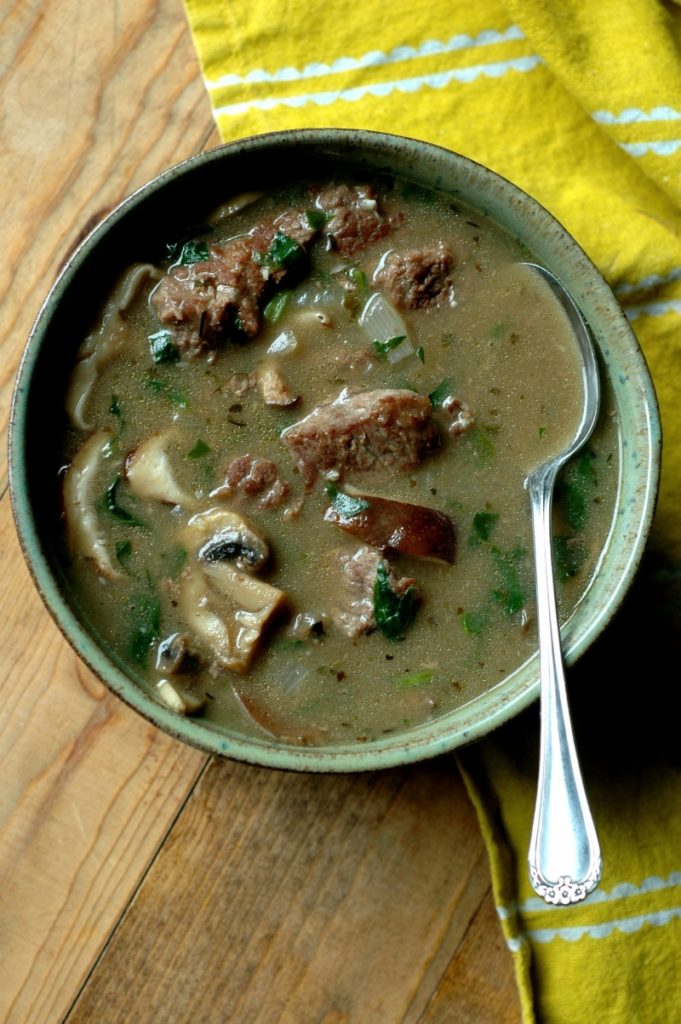
Creamy Sausage, Potato, & Spinach Soup :: A Copycat Olive Garden® Zuppa Toscana Done Gluten & Dairy Free!
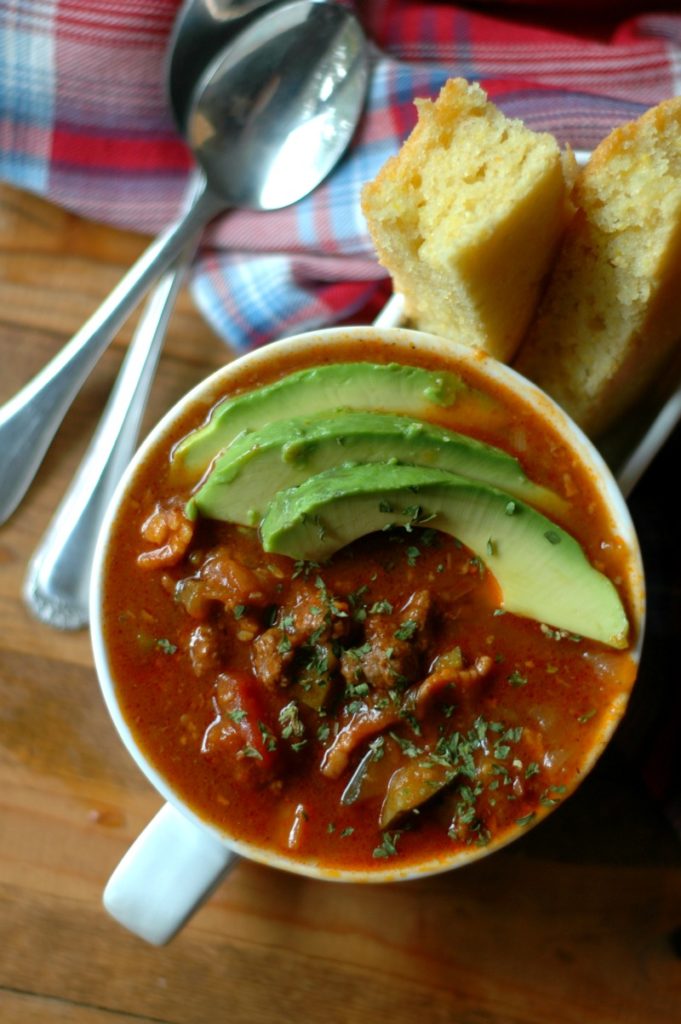
Instant Pot Chipotle Chili :: Stove Top & Slow Cooker Directions Included! Bean free & Paleo friendly too!