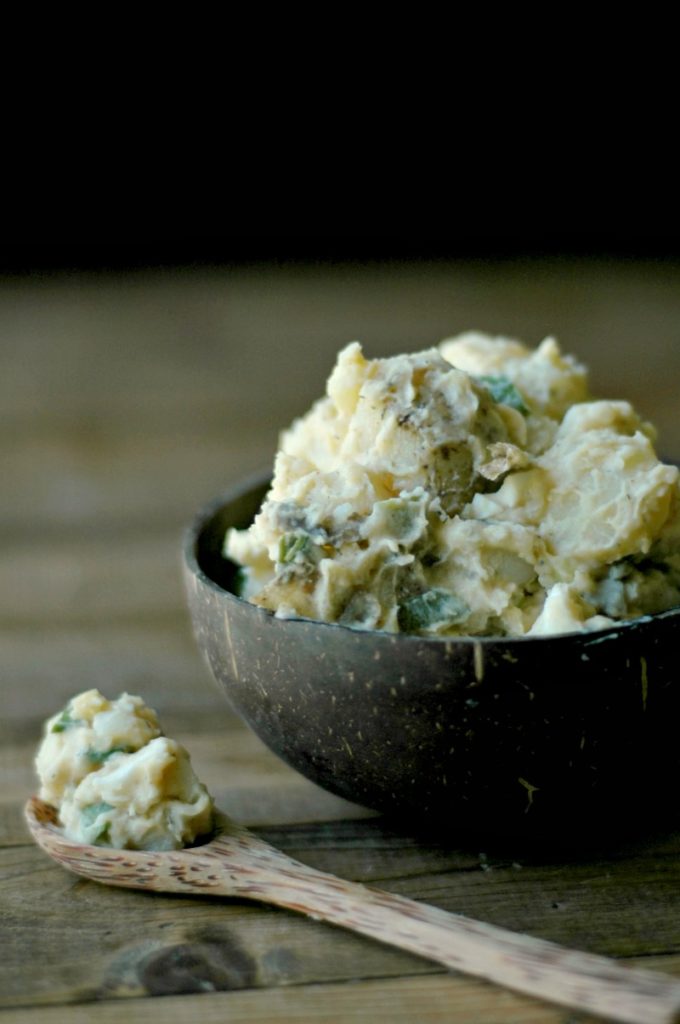
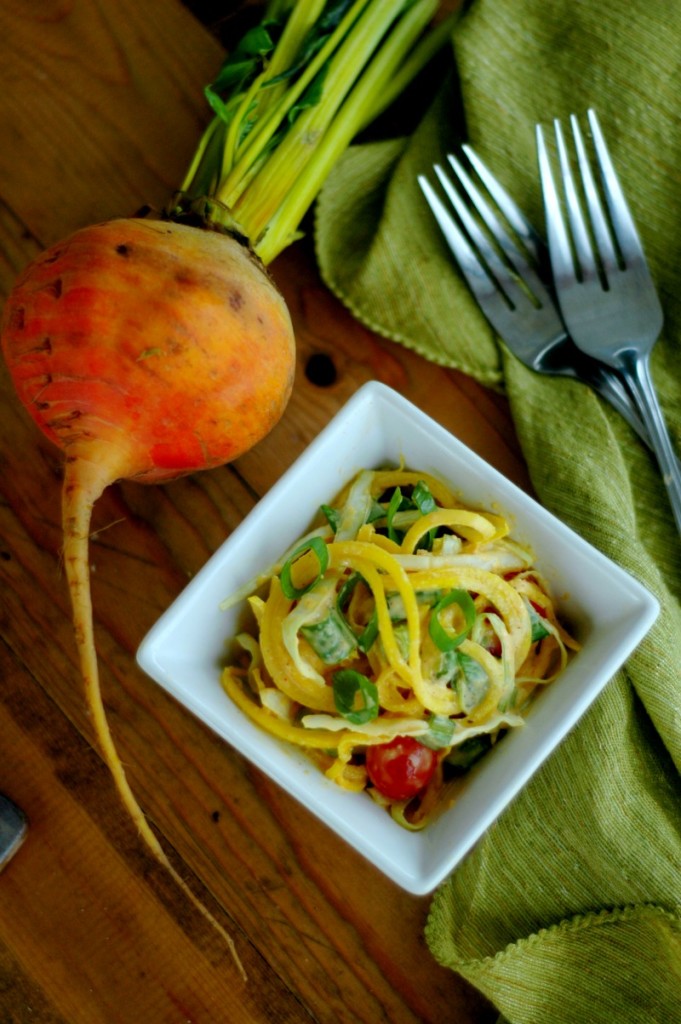
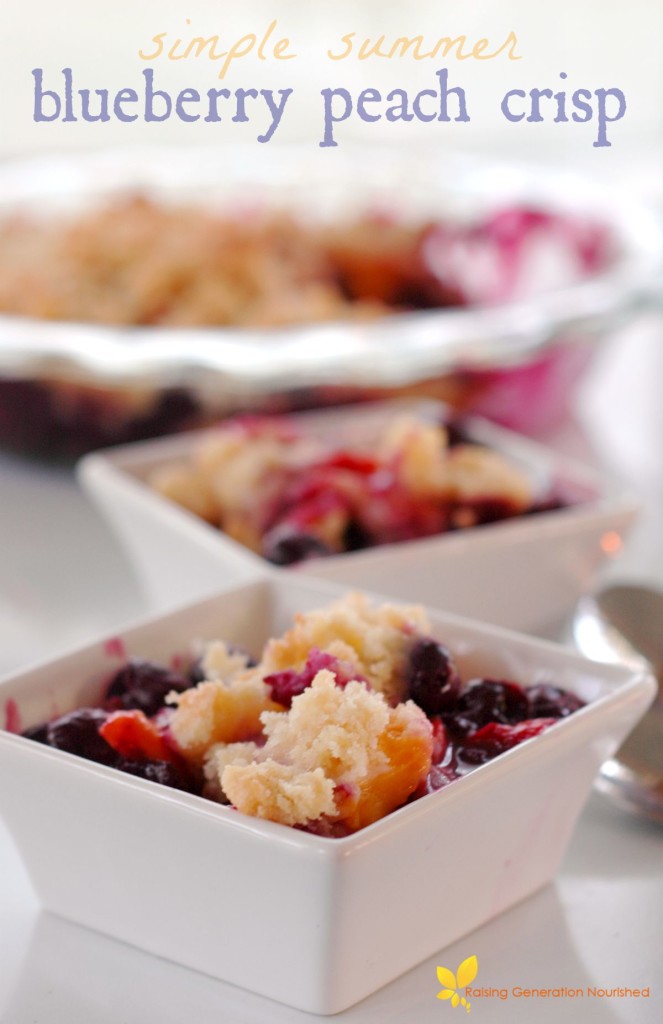
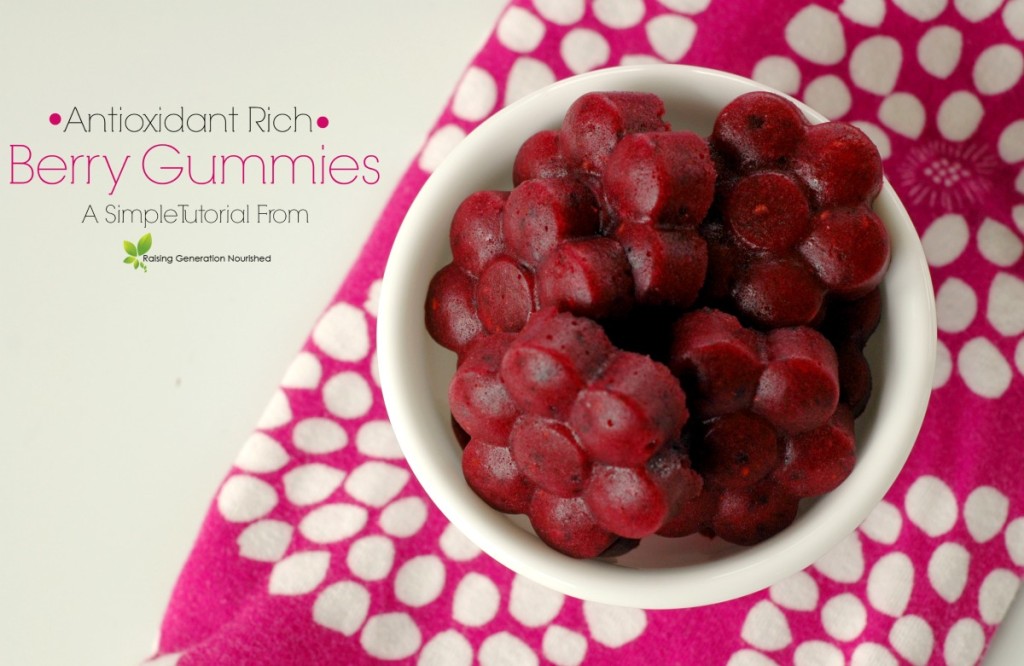
Real Food Summer Picnic Series :: Classic Coleslaw :: Grain Free, Egg Free, Nut Free, Dairy Free Option