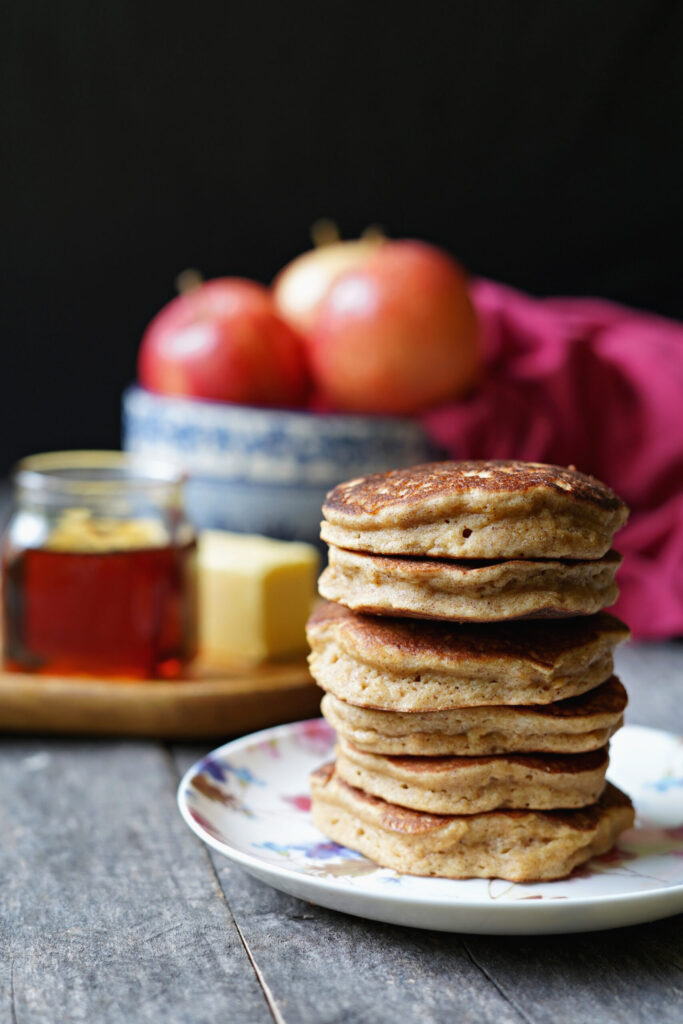
No Added Sugar Blender Batter Protein Banana Pancakes :: PLUS! A Bonus No Added Sugar Strawberry Topping!