Skip to content
Get the newsletter - sign up here
Facebook
Twitter
Instagram
Pinterest
Home
Recipes
Expand
Breakfast Ideas
Lunch Ideas
Dinner Ideas
Snack Ideas
Occasional Treats
Cookbooks
Expand
Nourished Beginnings
The Little Lunchbox Cookbook
Nourished Mornings Cookbook
About
Contact
Search
Search
Toggle Menu
gluten free dinner
Grilled Chicken Caesar Pasta Salad
Sheet Pan Chicken Fajitas & Mango Guacamole
Sheet Pan Cashew Chicken Dinner
One Skillet Creamy Sausage & Pepper Pasta
Gluten Free One Skillet Halloween Pot Pie
Sheet Pan Honey Garlic Chicken Bowls
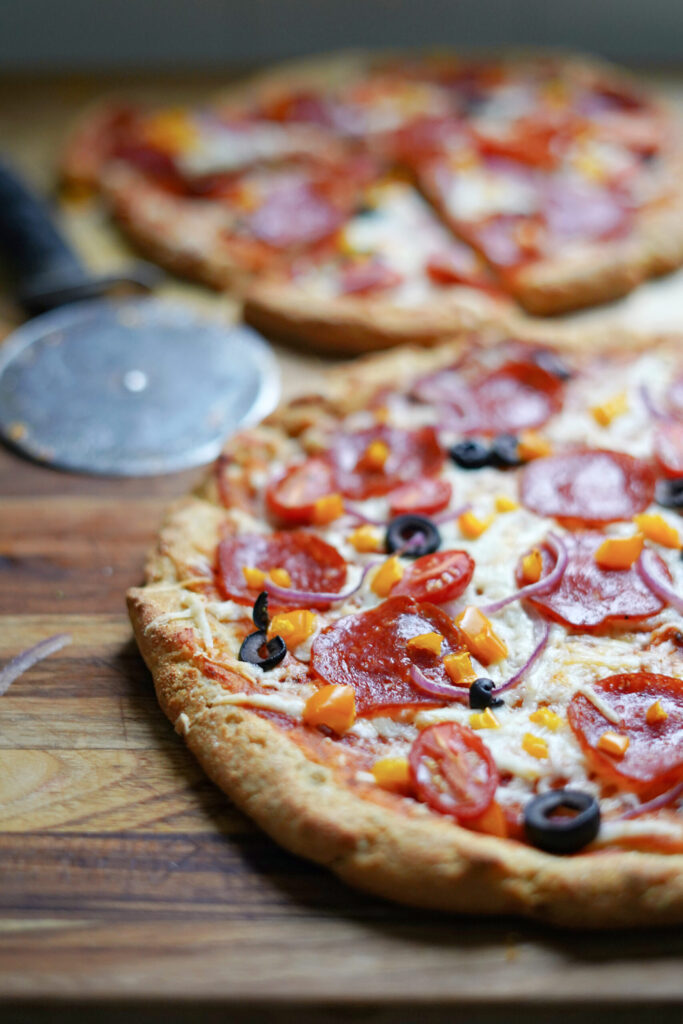
How To Make Gluten Free Pizza
Mayo Roasted Chicken :: The most flavorful & tender roasted chicken – EVER!
Prep Day Instant Pot Shredded BBQ Chicken
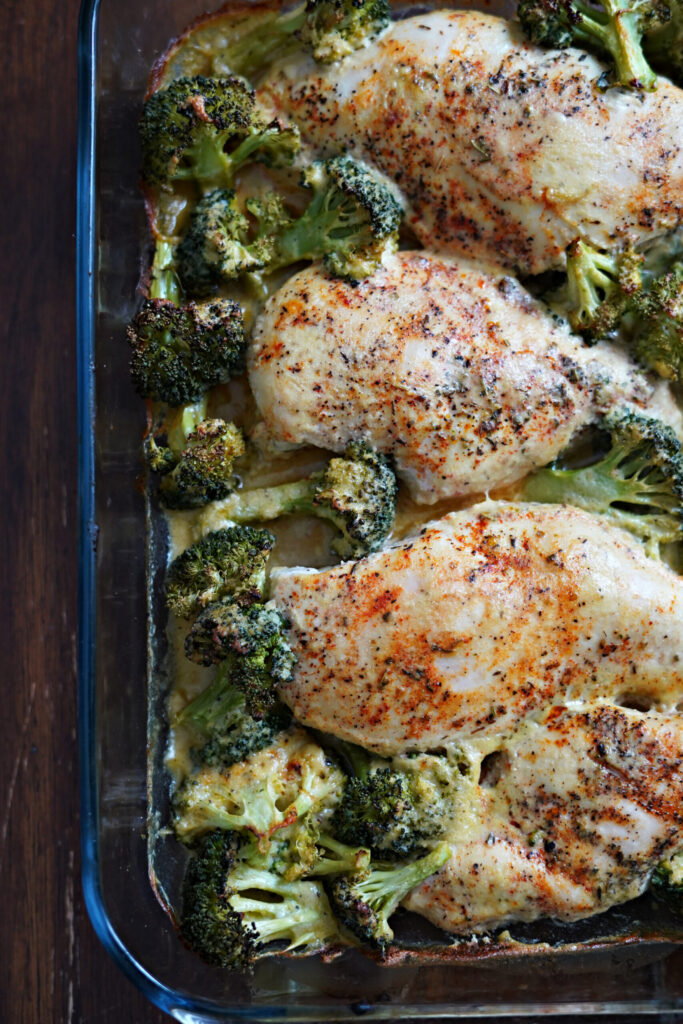
One Pan Creamy Baked Chicken and Broccoli
Instant Pot Beef Stroganoff :: Veggie Loaded, Gluten Free, Dairy Free, Egg Free, & Nut Free!
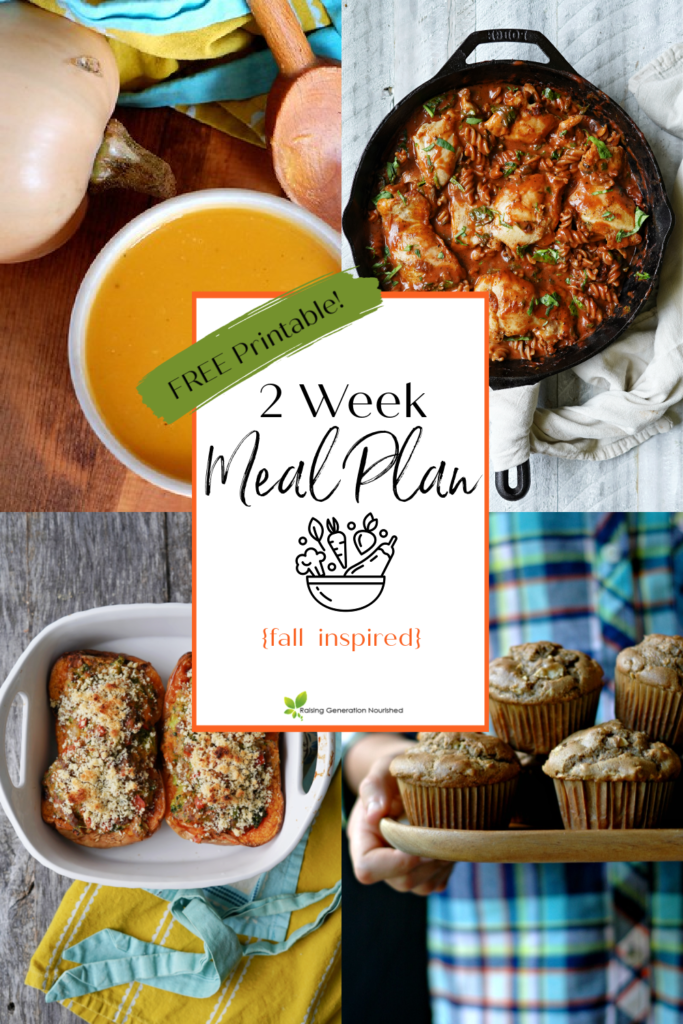
Nourishing 2 Week Meal Plan {Fall Inspired Part 1}
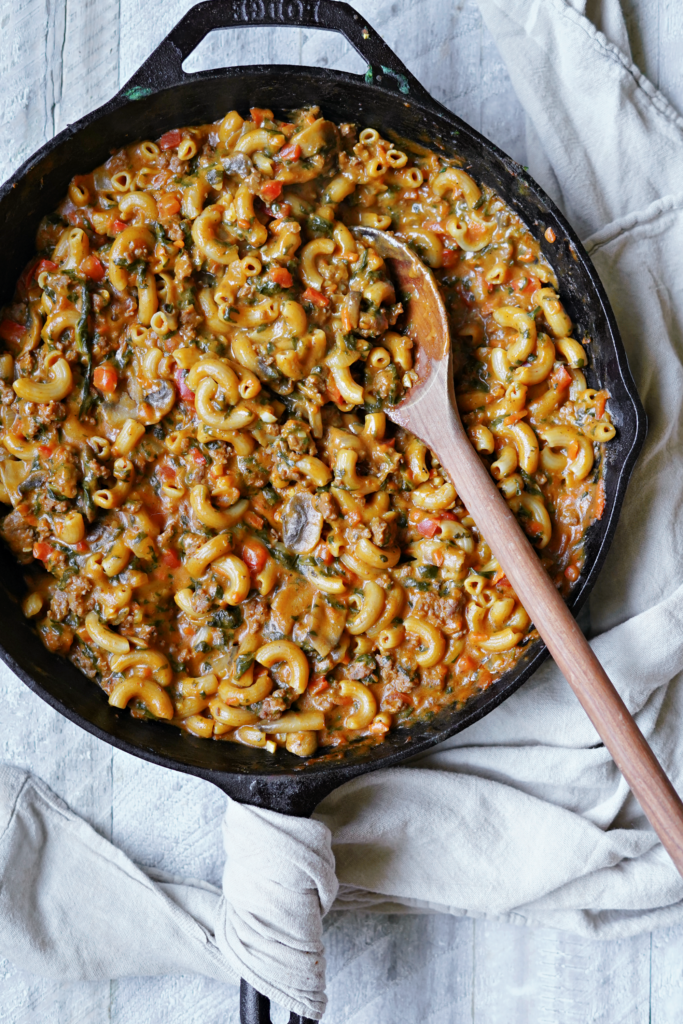
One Skillet Copycat Hamburger Helper :: Gluten Free, Dairy Free, & Veggie Loaded!
Skillet Chicken and Kale with Garlic Mushroom Sauce
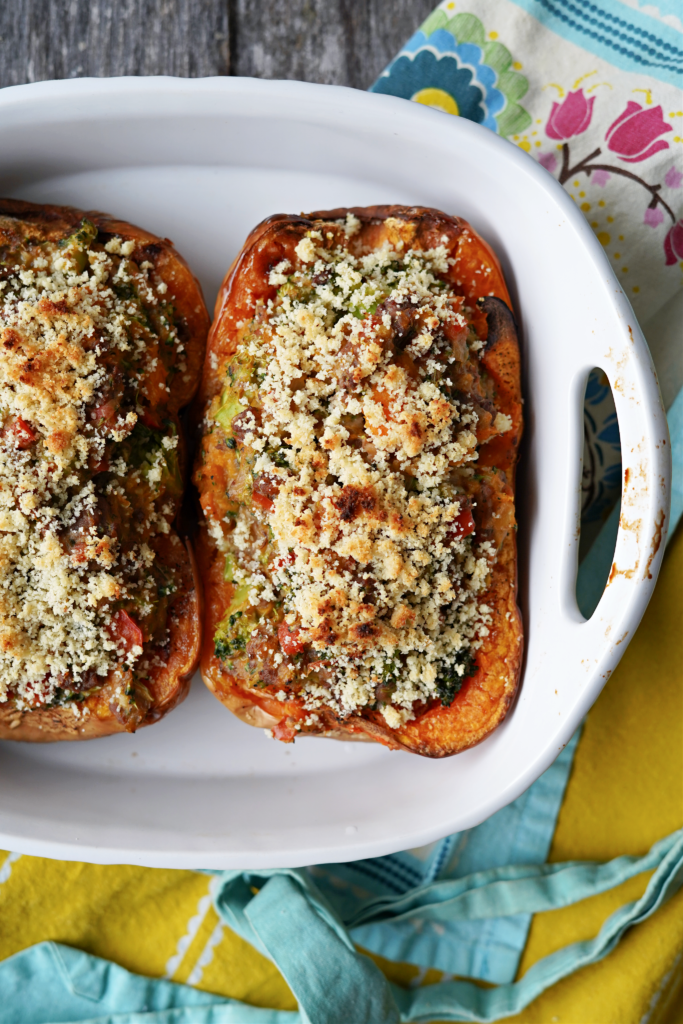
Creamy Paleo Stuffed Butternut Squash :: Gluten & Dairy Free!
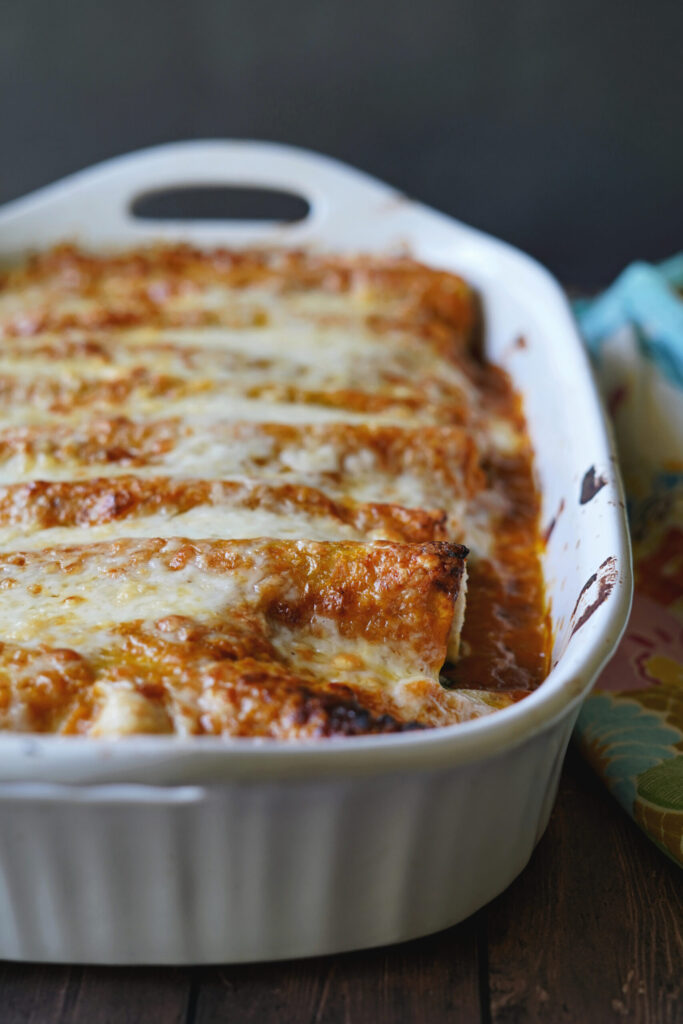
Gluten Free Pumpkin Enchiladas
Skillet Stuffed Peppers :: An Easy, Healthy One Pan Dinner!
30 Minute Sheet Pan BBQ Chicken Thighs and Roasted Veggies :: 1 Dinner on 2 Sheet Pans!
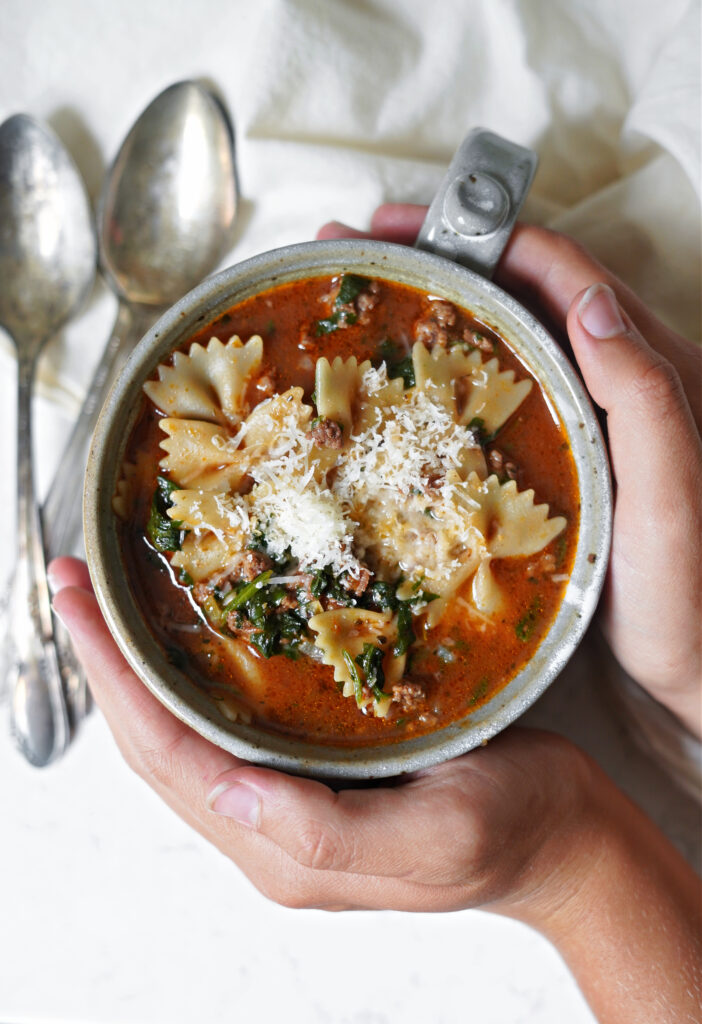
Spinach Lasagna Soup
Scroll to top
Scroll to top
Home
Recipes
Toggle child menu
Expand
Breakfast Ideas
Lunch Ideas
Dinner Ideas
Snack Ideas
Occasional Treats
Cookbooks
Toggle child menu
Expand
Nourished Beginnings
The Little Lunchbox Cookbook
Nourished Mornings Cookbook
About
Contact
Toggle Menu Close
Search for:
Search