Skip to content
Get the newsletter - sign up here
Facebook
Twitter
Instagram
Pinterest
Home
Recipes
Expand
Breakfast Ideas
Lunch Ideas
Dinner Ideas
Snack Ideas
Occasional Treats
Cookbooks
Expand
Nourished Beginnings
The Little Lunchbox Cookbook
Nourished Mornings Cookbook
About
Contact
Search
Search
Toggle Menu
gluten free
Sheet Pan Honey Garlic Chicken Bowls
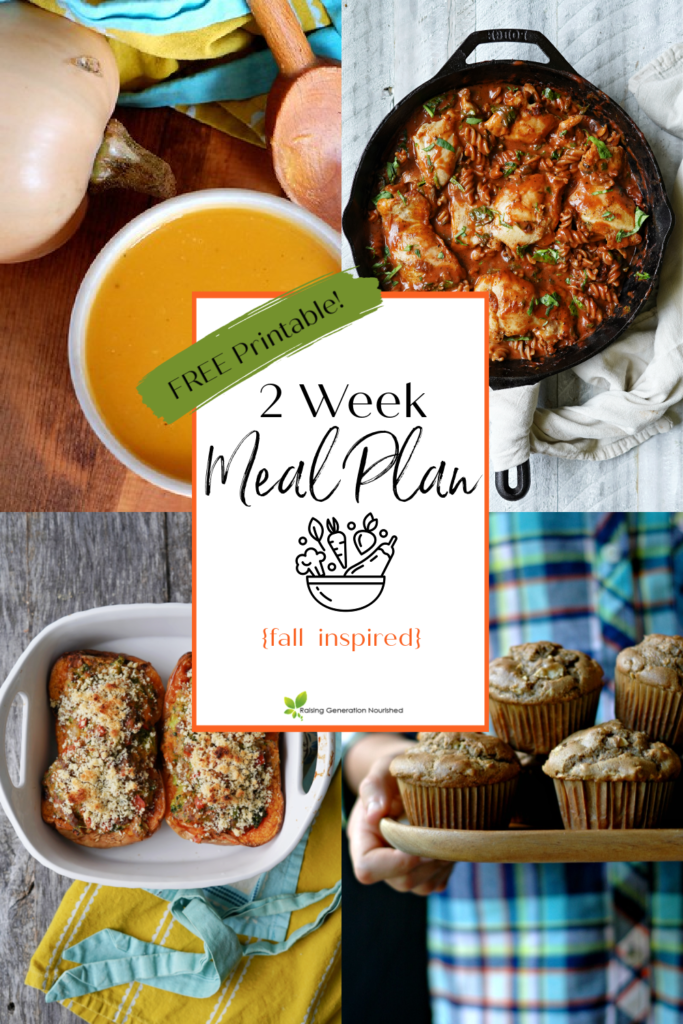
Nourishing 2 Week Meal Plan {Fall Inspired Part 1}
Gluten Free Strawberry Pie
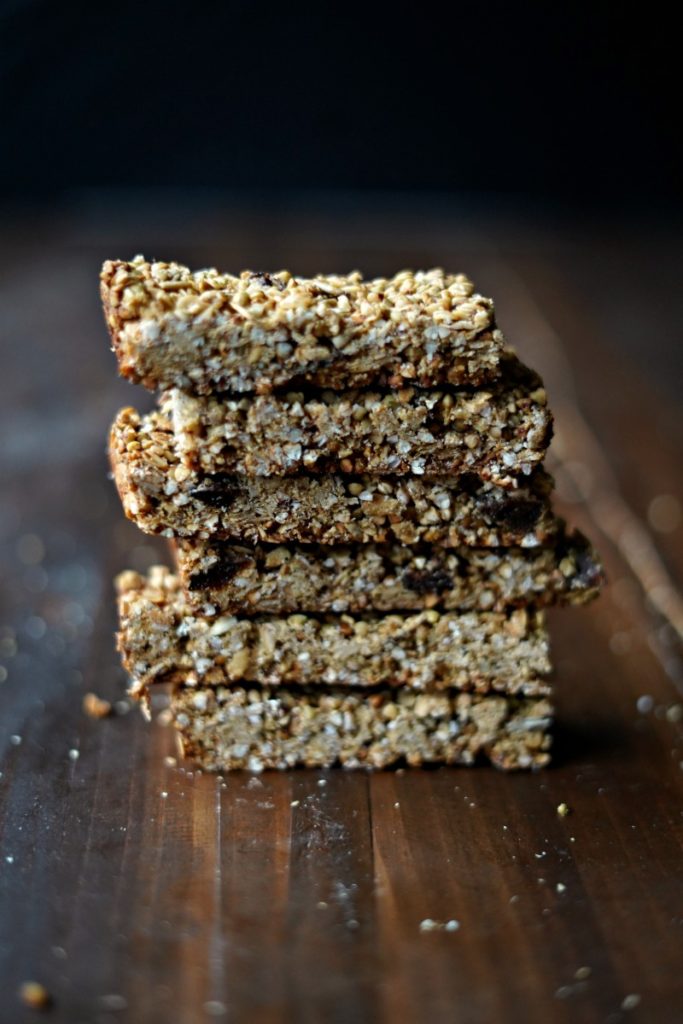
Nut Free Crunchy Buckwheat and Apricot Granola Bars :: Gluten Free, Nut Free, Dairy Free, Soy Free
Instant Pot White Chicken Chili
Scroll to top
Scroll to top
Home
Recipes
Toggle child menu
Expand
Breakfast Ideas
Lunch Ideas
Dinner Ideas
Snack Ideas
Occasional Treats
Cookbooks
Toggle child menu
Expand
Nourished Beginnings
The Little Lunchbox Cookbook
Nourished Mornings Cookbook
About
Contact
Toggle Menu Close
Search for:
Search