Skip to content
Get the newsletter - sign up here
Facebook
Twitter
Instagram
Pinterest
Home
Recipes
Expand
Breakfast Ideas
Lunch Ideas
Dinner Ideas
Snack Ideas
Occasional Treats
Cookbooks
Expand
Nourished Beginnings
The Little Lunchbox Cookbook
Nourished Mornings Cookbook
About
Contact
Search
Search
Toggle Menu
lunchbox ideas
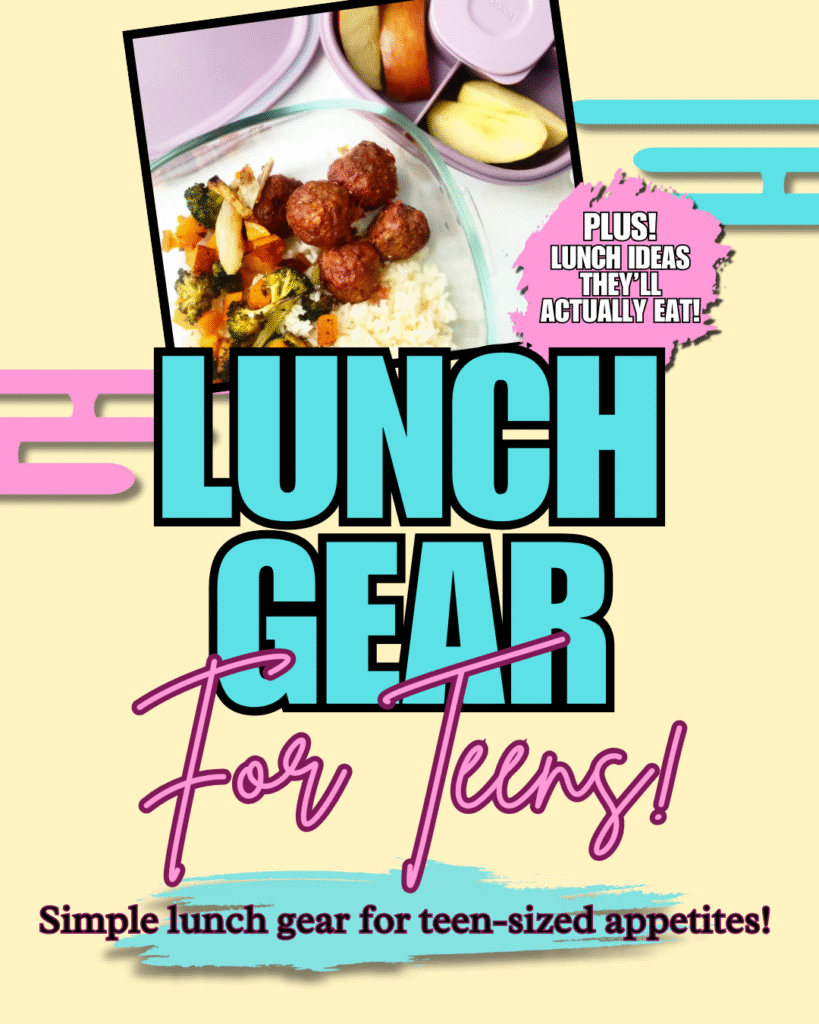
Our Favorite Lunch Gear For Teens!
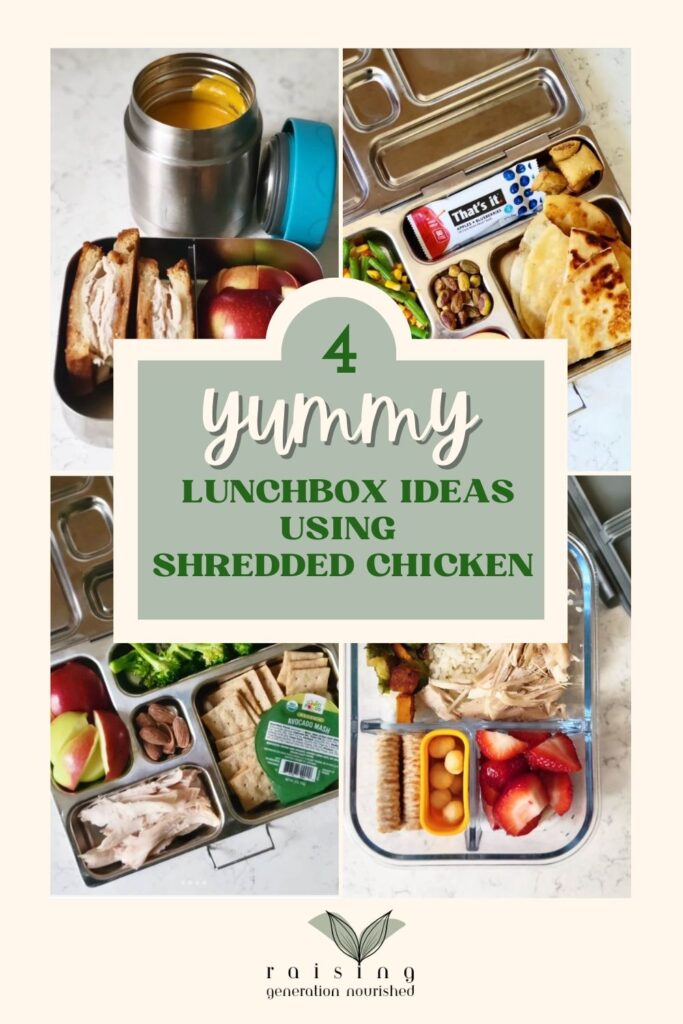
4 Yummy Lunchbox Ideas Using Shredded Chicken
From Dinner to Thermos :: Meals that double as dinner and school lunch!
Homemade Chicken and Stars Soup
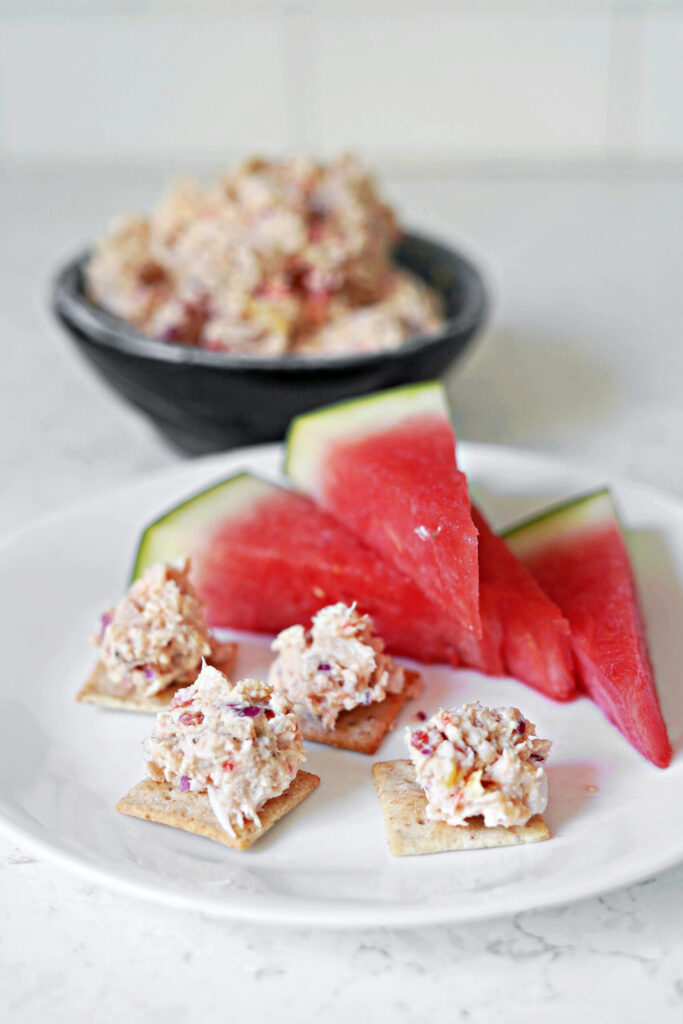
Healthy Ranch Chicken Salad :: An Easy Gluten & Dairy Free Meal Prep for the Week!
Lunchbox Packing Tips for Back to School
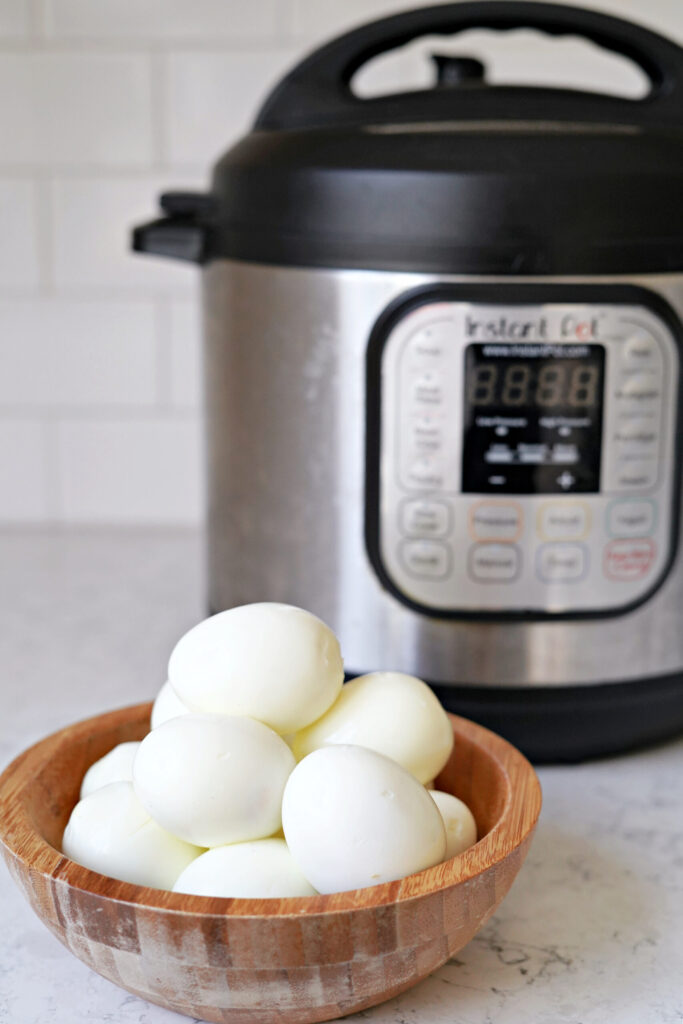
Simple Instant Pot Hard Boiled Eggs
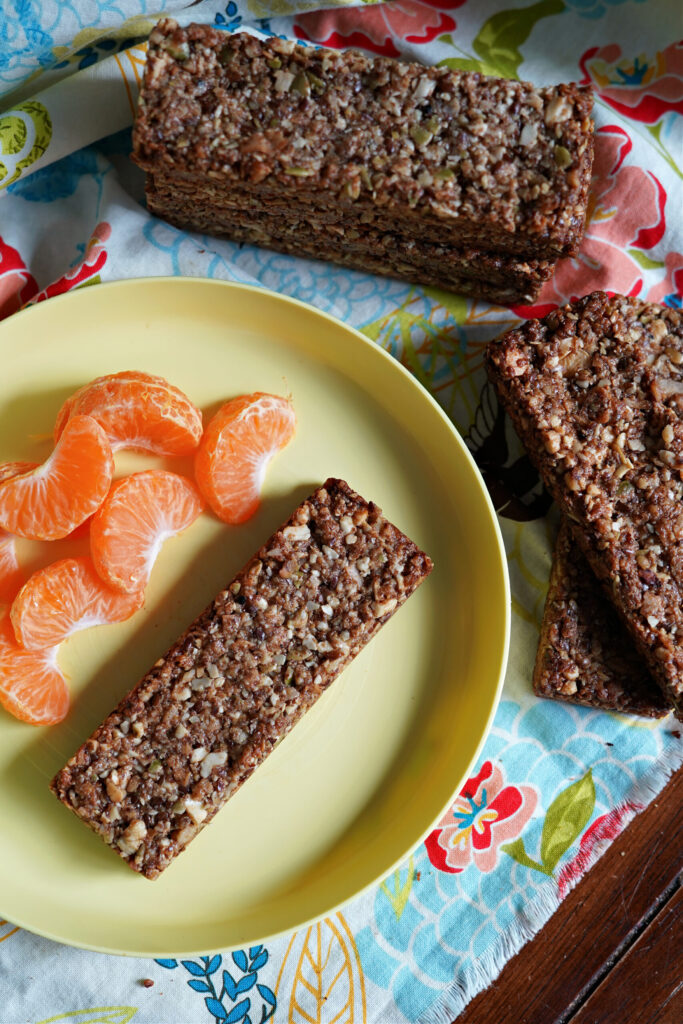
Easy Paleo Granola Bars :: Oat Free, Gluten Free, Dairy Free
How To Make An Instant Pot Whole Chicken for FAST Healthy Meals
Pizza Muffins :: Perfect For “Pizza Day” At School!
Scroll to top
Scroll to top
Home
Recipes
Toggle child menu
Expand
Breakfast Ideas
Lunch Ideas
Dinner Ideas
Snack Ideas
Occasional Treats
Cookbooks
Toggle child menu
Expand
Nourished Beginnings
The Little Lunchbox Cookbook
Nourished Mornings Cookbook
About
Contact
Toggle Menu Close
Search for:
Search