Skip to content
Get the newsletter - sign up here
Facebook
Twitter
Instagram
Pinterest
Home
Recipes
Expand
Breakfast Ideas
Lunch Ideas
Dinner Ideas
Snack Ideas
Occasional Treats
Cookbooks
Expand
Nourished Beginnings
The Little Lunchbox Cookbook
Nourished Mornings Cookbook
About
Contact
Search
Search
Toggle Menu
meal prep ideas
Clean Ingredient Chipotle Lime Sauce & Dinner Bowl Recipe!
Sheet Pan Honey Garlic Chicken Bowls
One Pan Breakfast Casserole Even Your Teen Can Meal Prep!
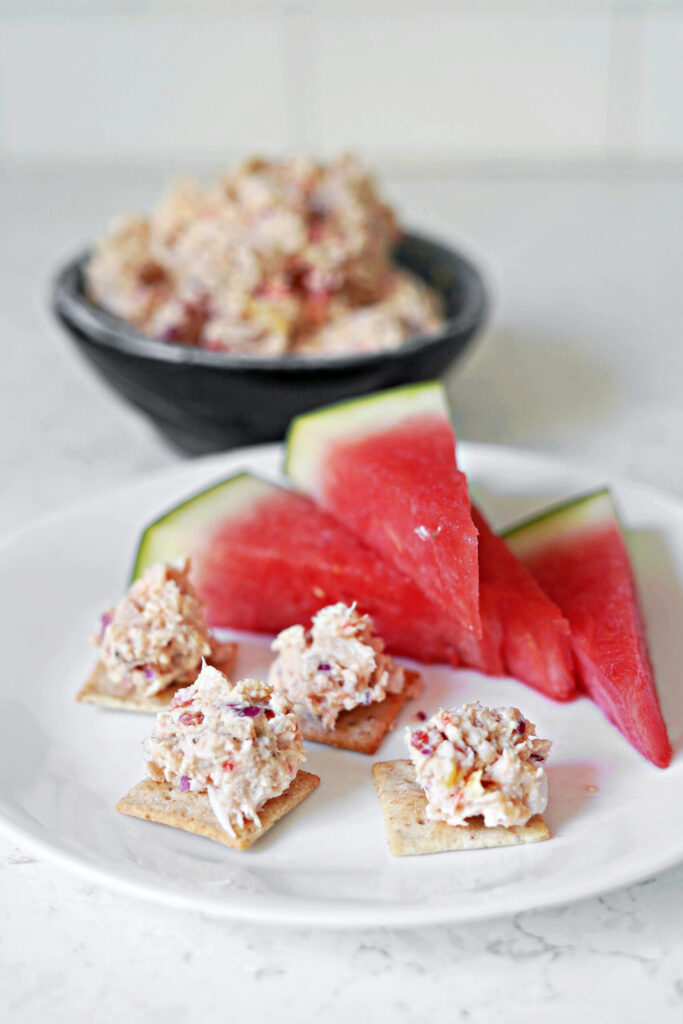
Healthy Ranch Chicken Salad :: An Easy Gluten & Dairy Free Meal Prep for the Week!
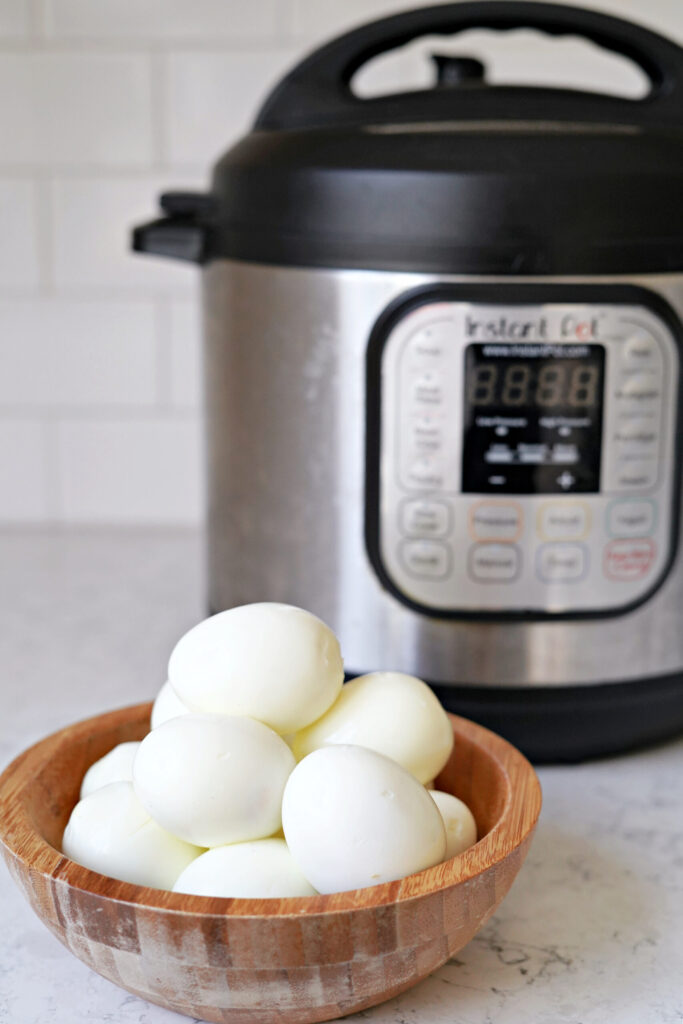
Simple Instant Pot Hard Boiled Eggs
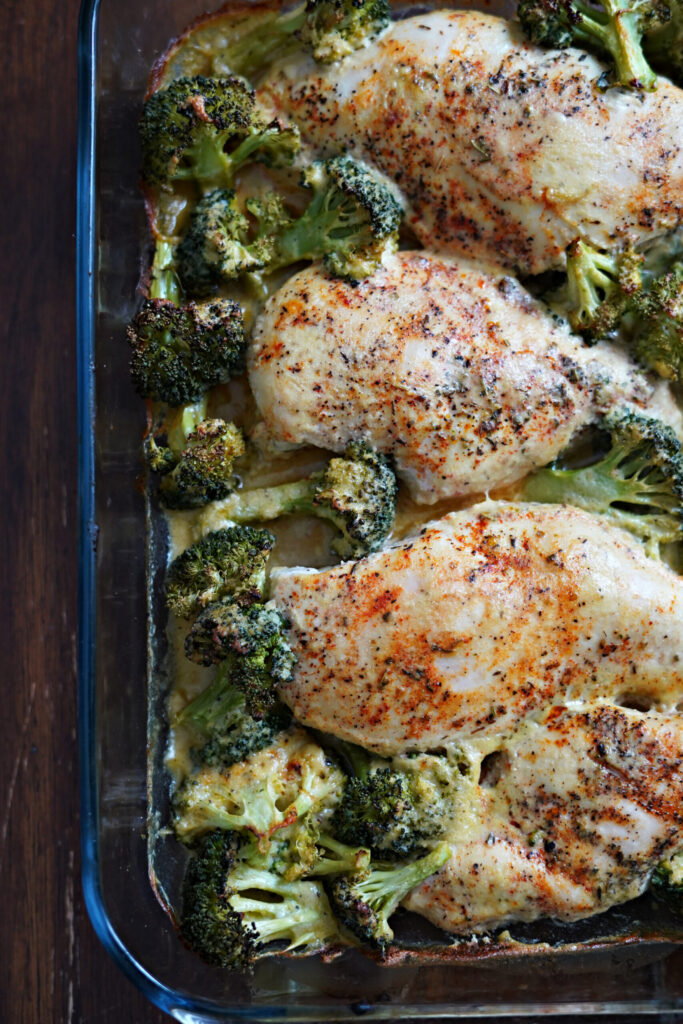
One Pan Creamy Baked Chicken and Broccoli
Scroll to top
Scroll to top
Home
Recipes
Toggle child menu
Expand
Breakfast Ideas
Lunch Ideas
Dinner Ideas
Snack Ideas
Occasional Treats
Cookbooks
Toggle child menu
Expand
Nourished Beginnings
The Little Lunchbox Cookbook
Nourished Mornings Cookbook
About
Contact
Toggle Menu Close
Search for:
Search