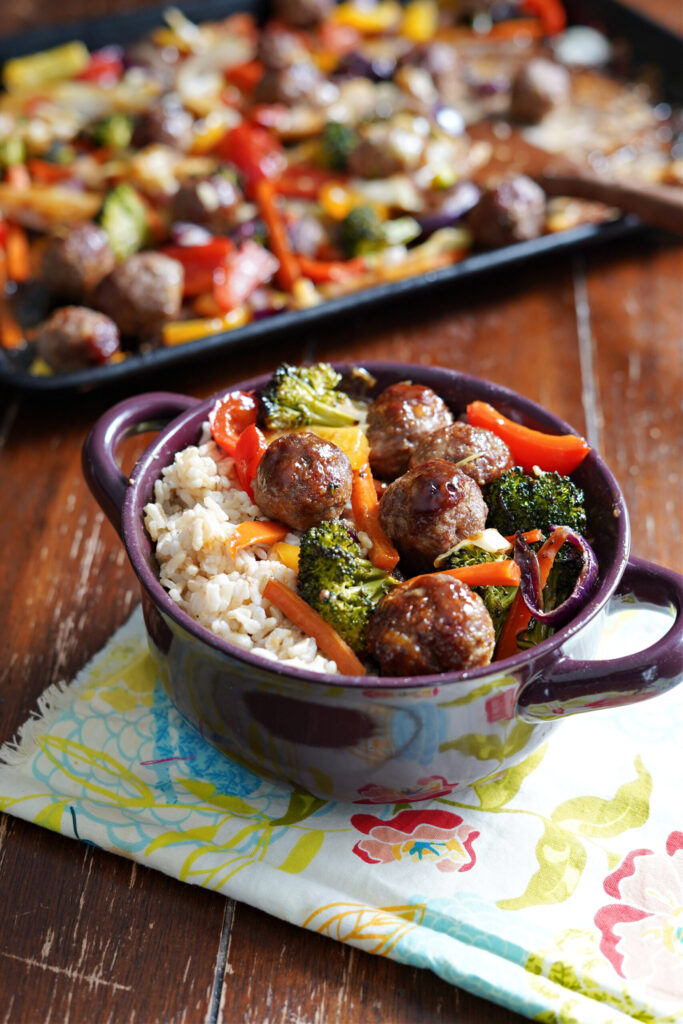
Sheet Pan Teriyaki Meatballs & Roasted Veggies :: Gluten Free, Soy Free, Dairy Free, Nut Free, Refined Sugar Free