
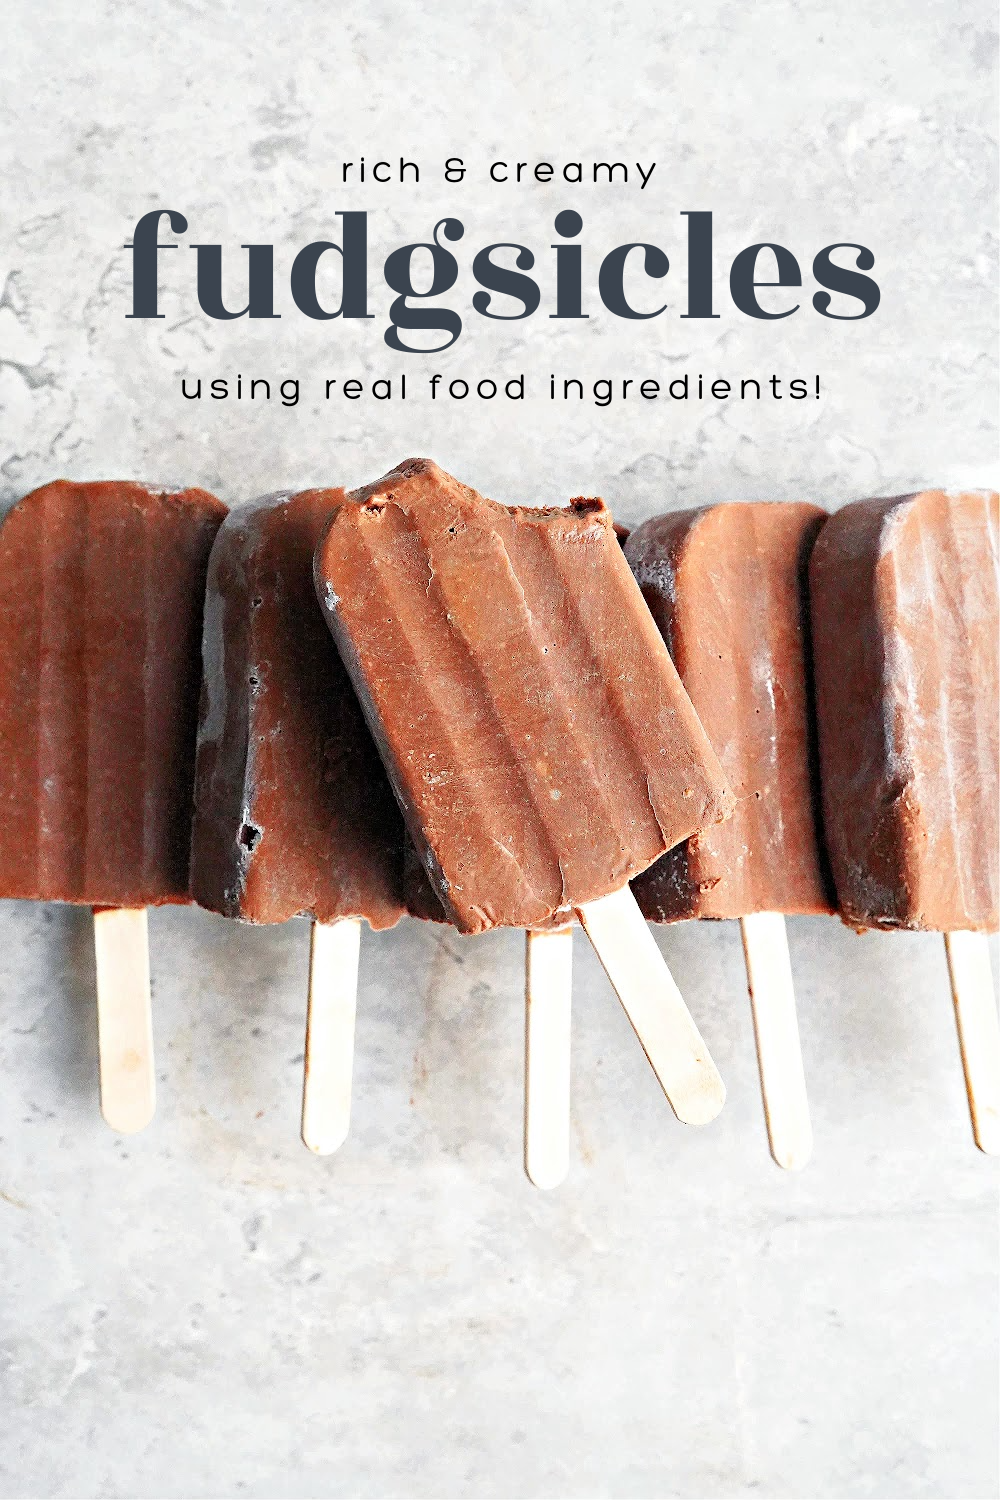
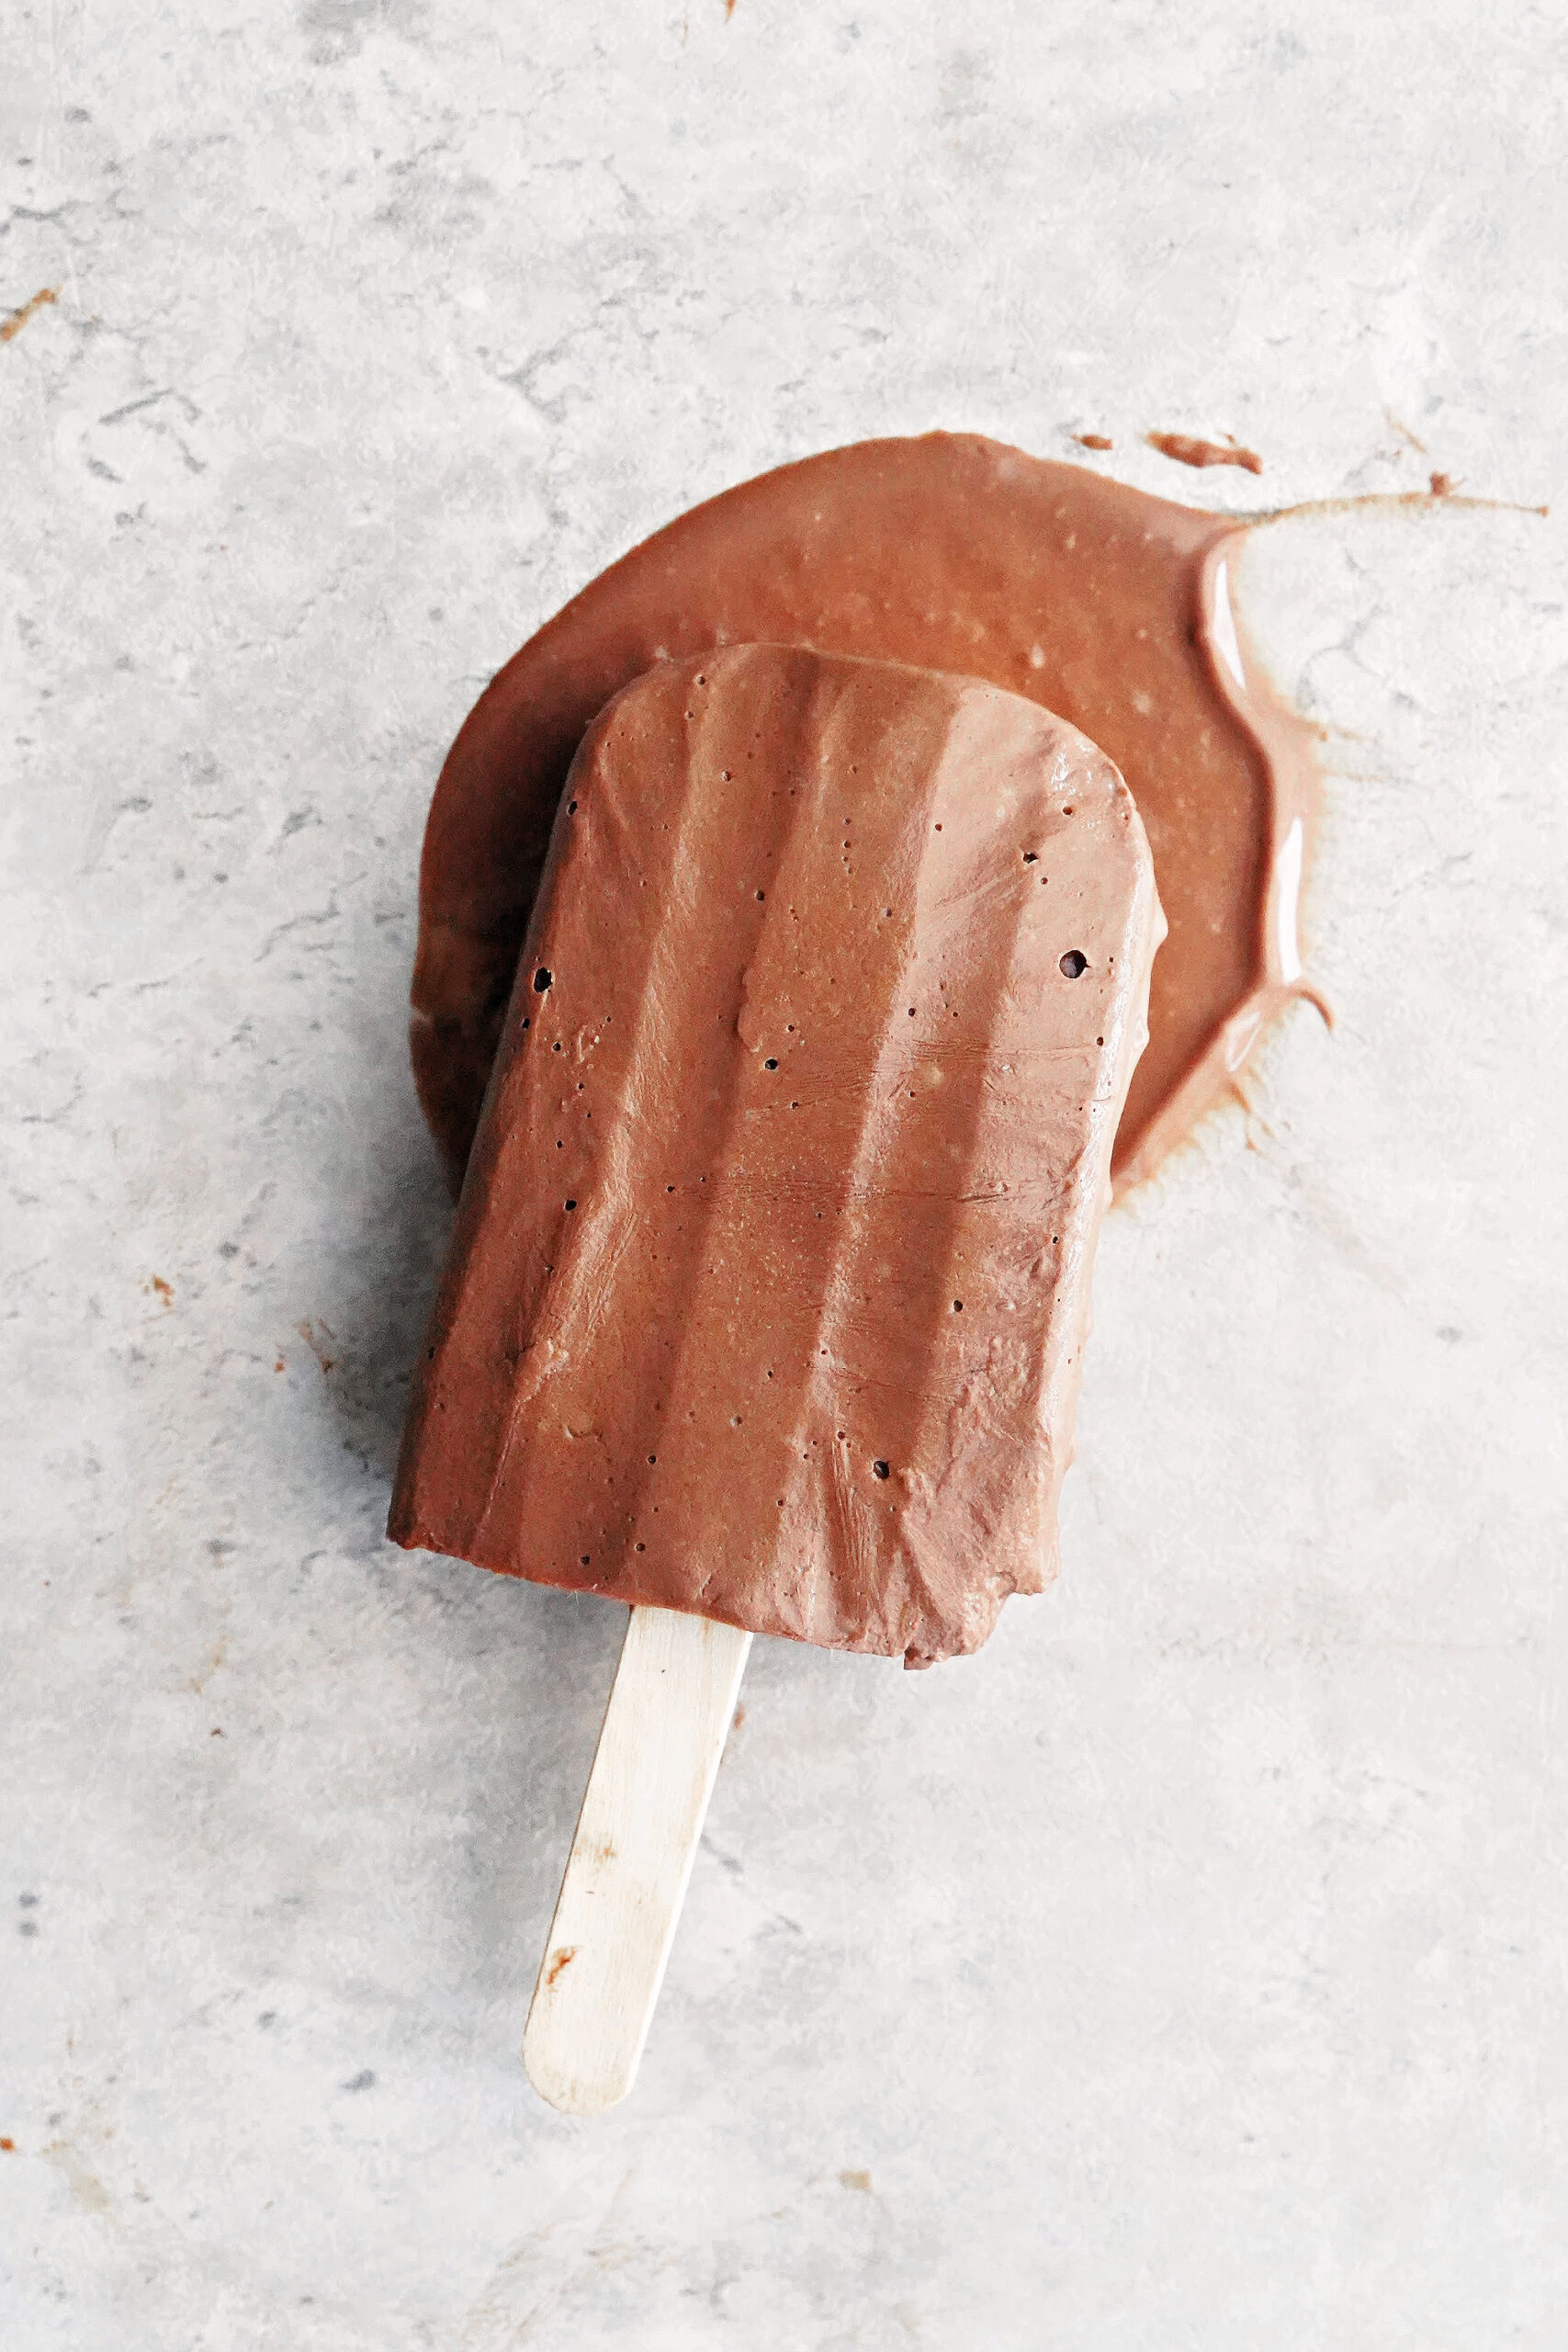
It’s easy to make your own homemade rich and creamy fudgsicles all summer long using real food ingredients!
Product links in this post are affiliate links. It does not cost you anything and helps maintain the free information on this site, as well as answer the questions of “what brand do you use?” Please know I never personally recommend any product I wouldn’t use on my own family.
School’s out for the SUMMER!
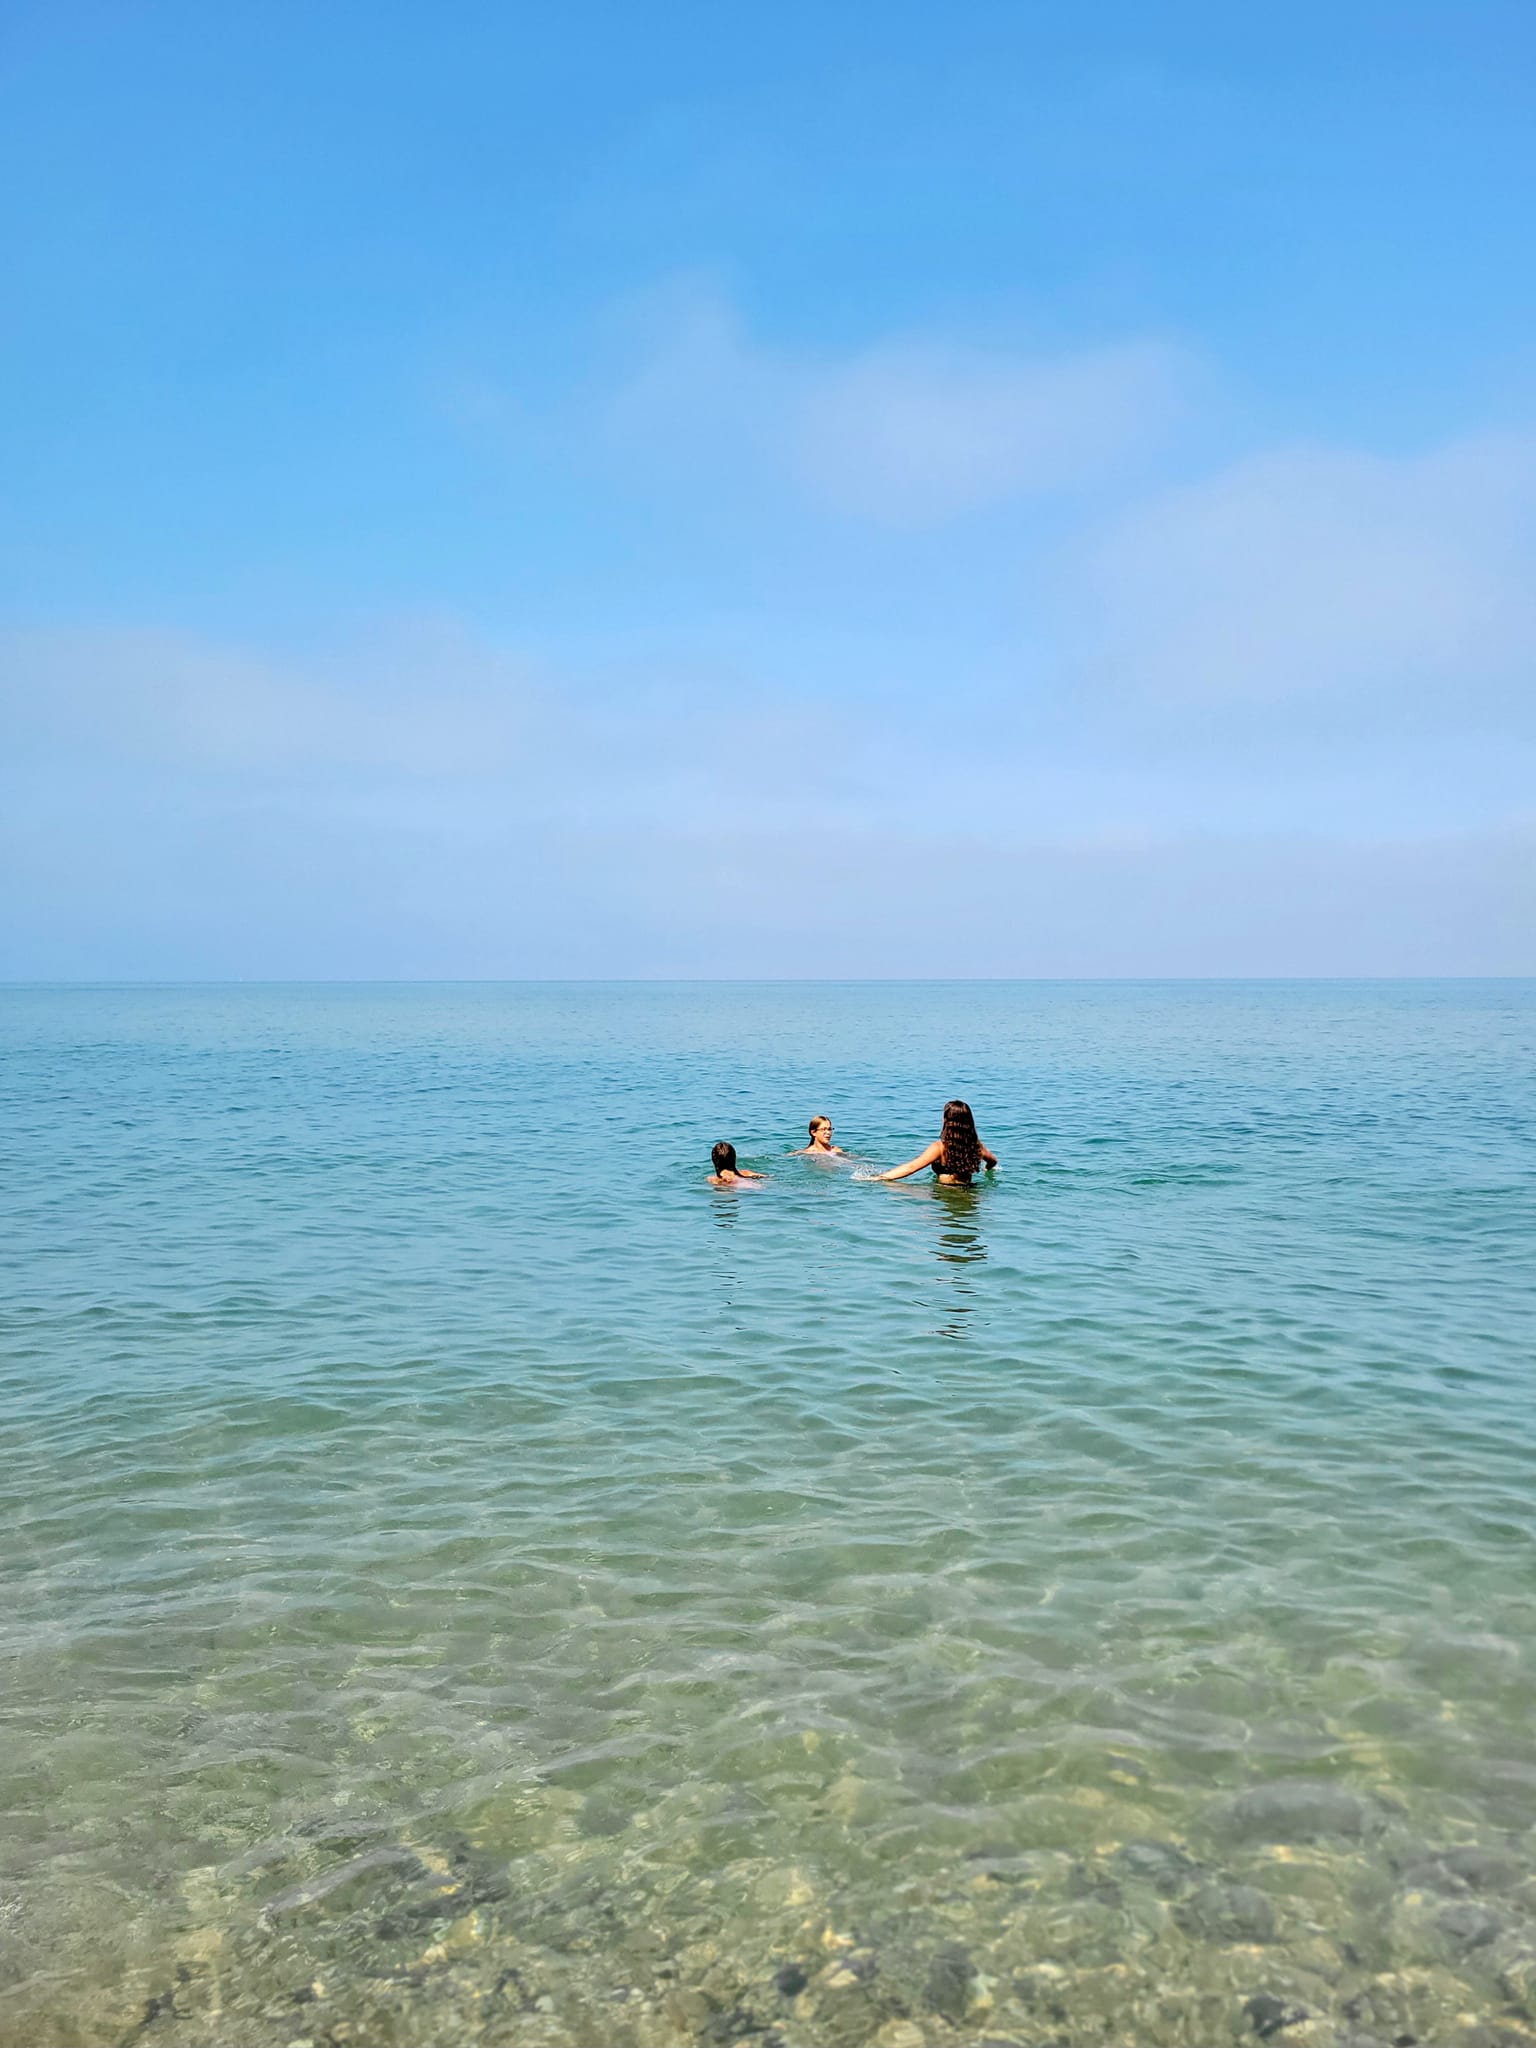
Well almost. We have one more week. But we are are dreaming of summer beach days on Lake Michigan with our toes in the sand and refreshing swims! To get our summer off on a fun note, I made up a yummy frozen treat that I have been making for the last week of school since my oldest was in kindergarten!
The perfect end to the school year – fudgesicles!
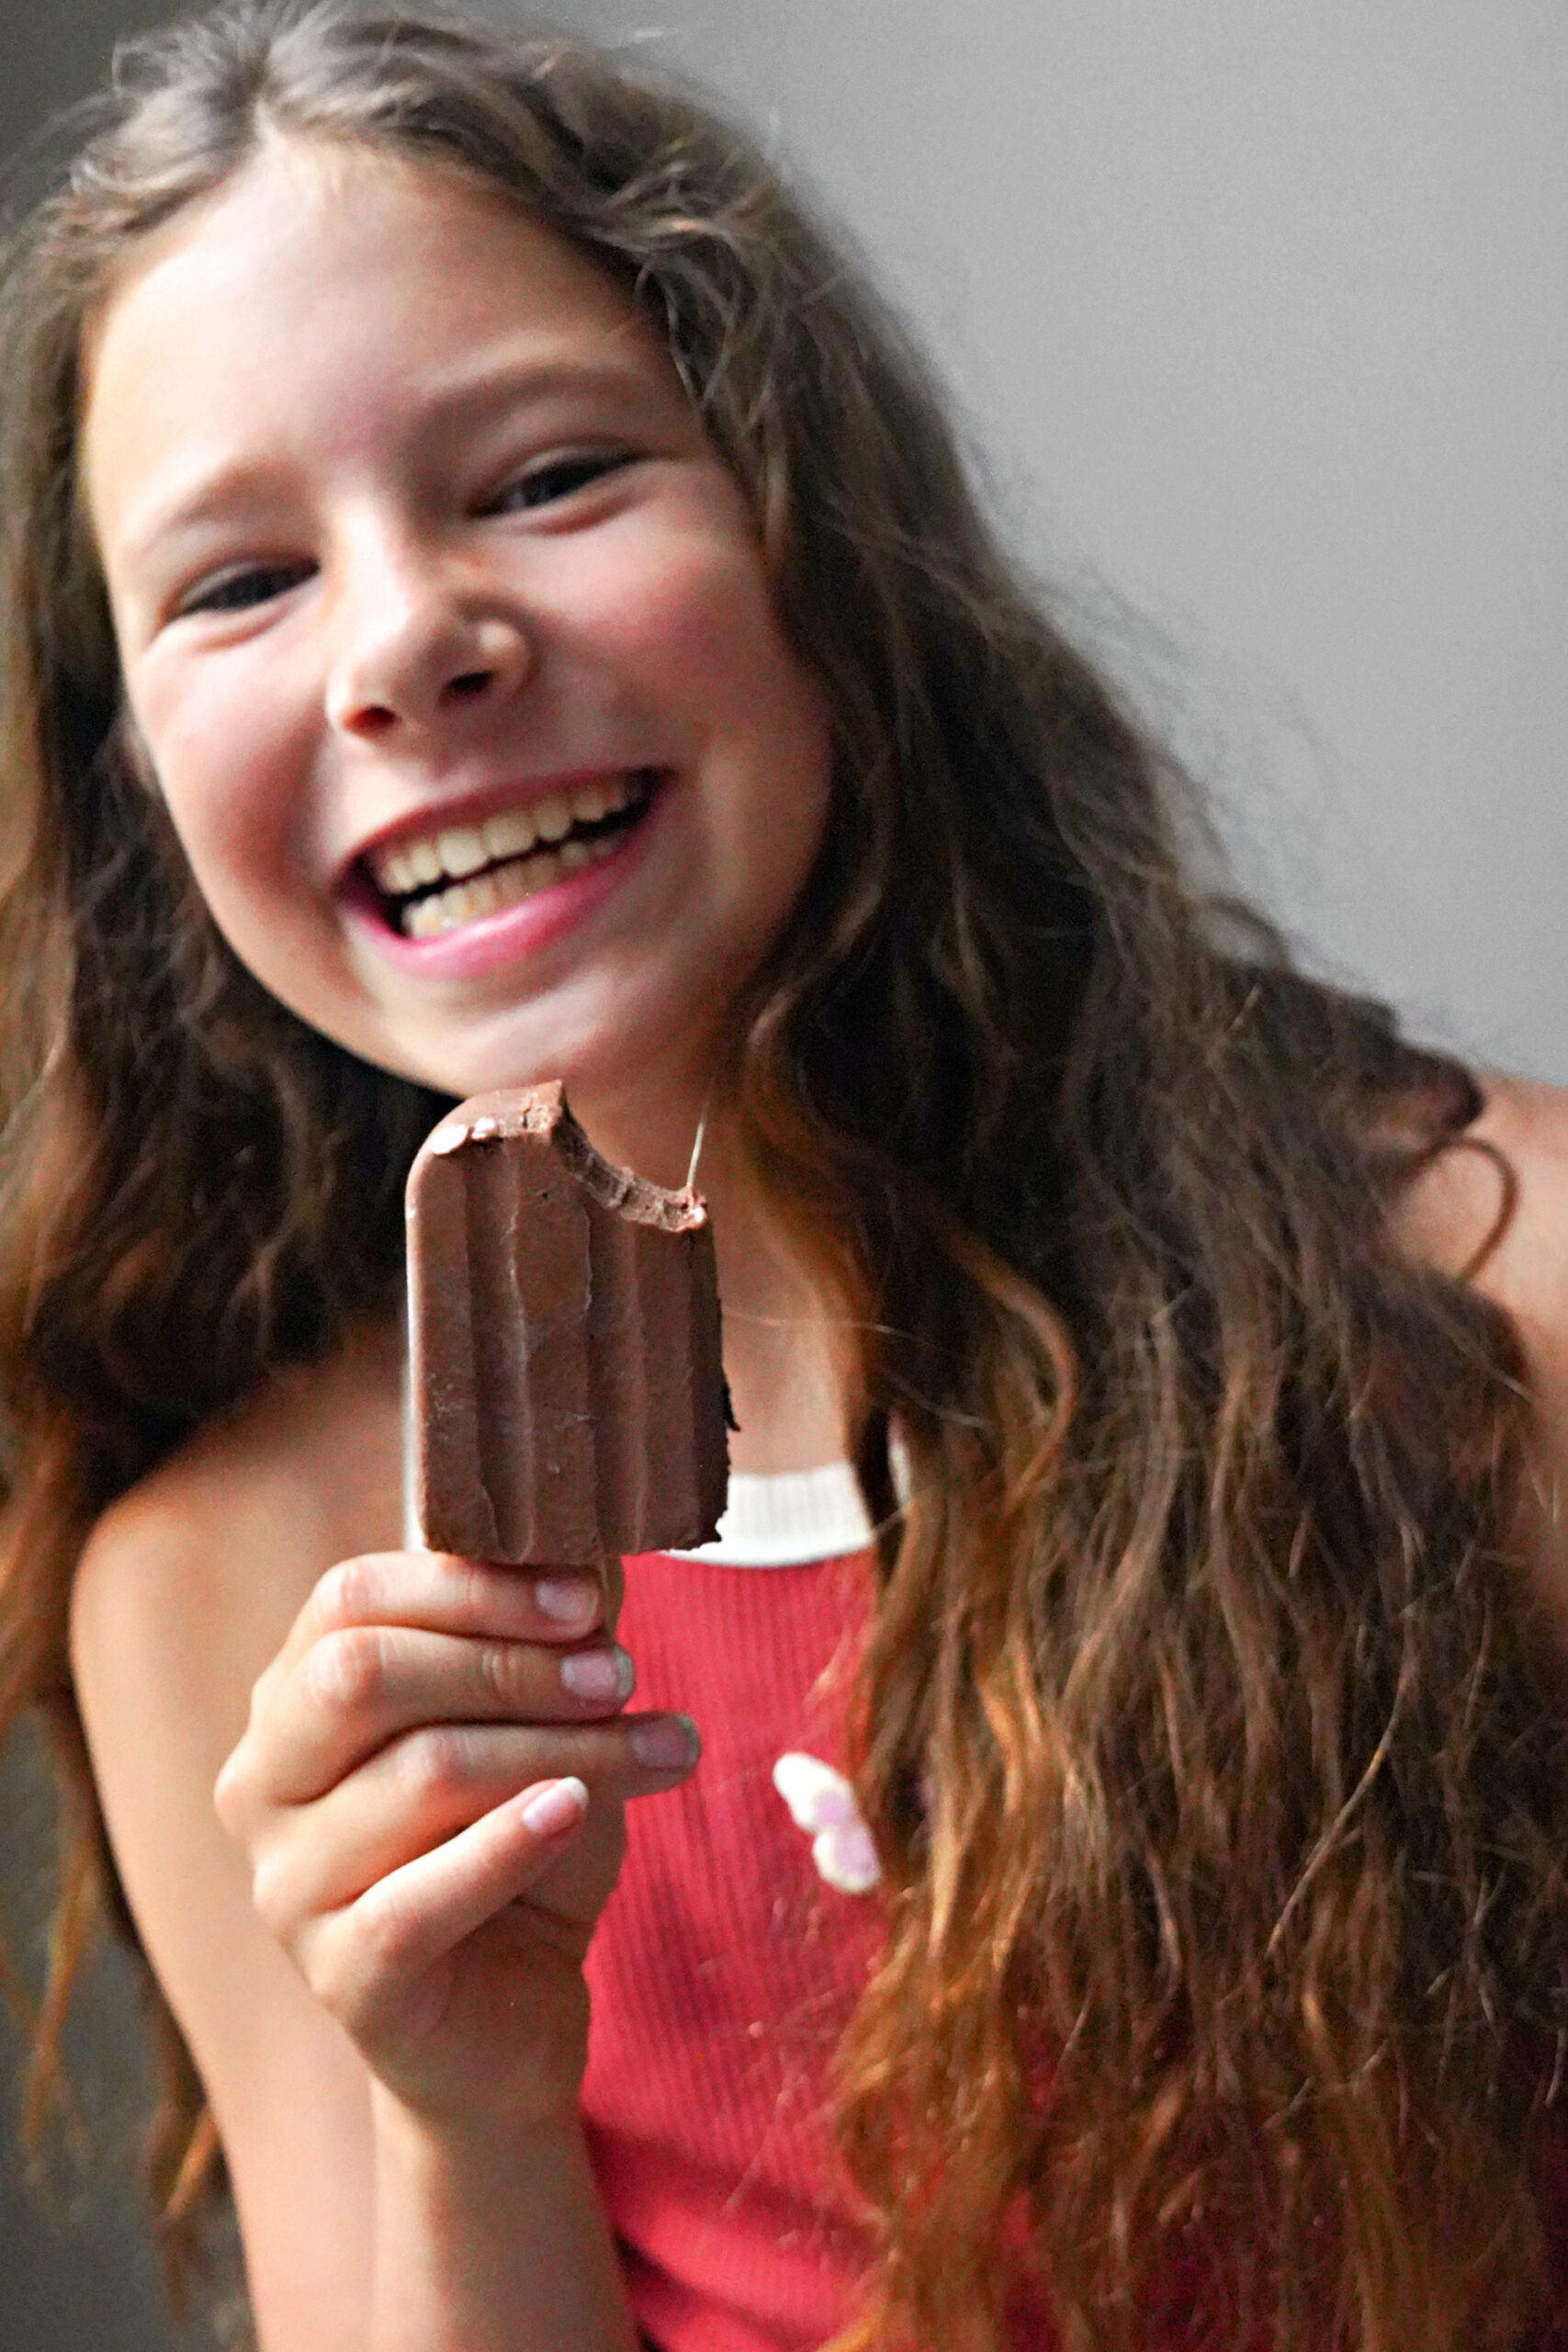
I started making these yummy fudgsicles when my now 16 year old was just 6 and graduating kindergarten! I was on a homemade popsicle kick because that darn ice cream truck was circling our neighborhood all. the. time. While I wanted to avoid the brightly colored dyes and gobs of sugar, I still wanted my littles to have something special and fun to celebrate the warmer weather!
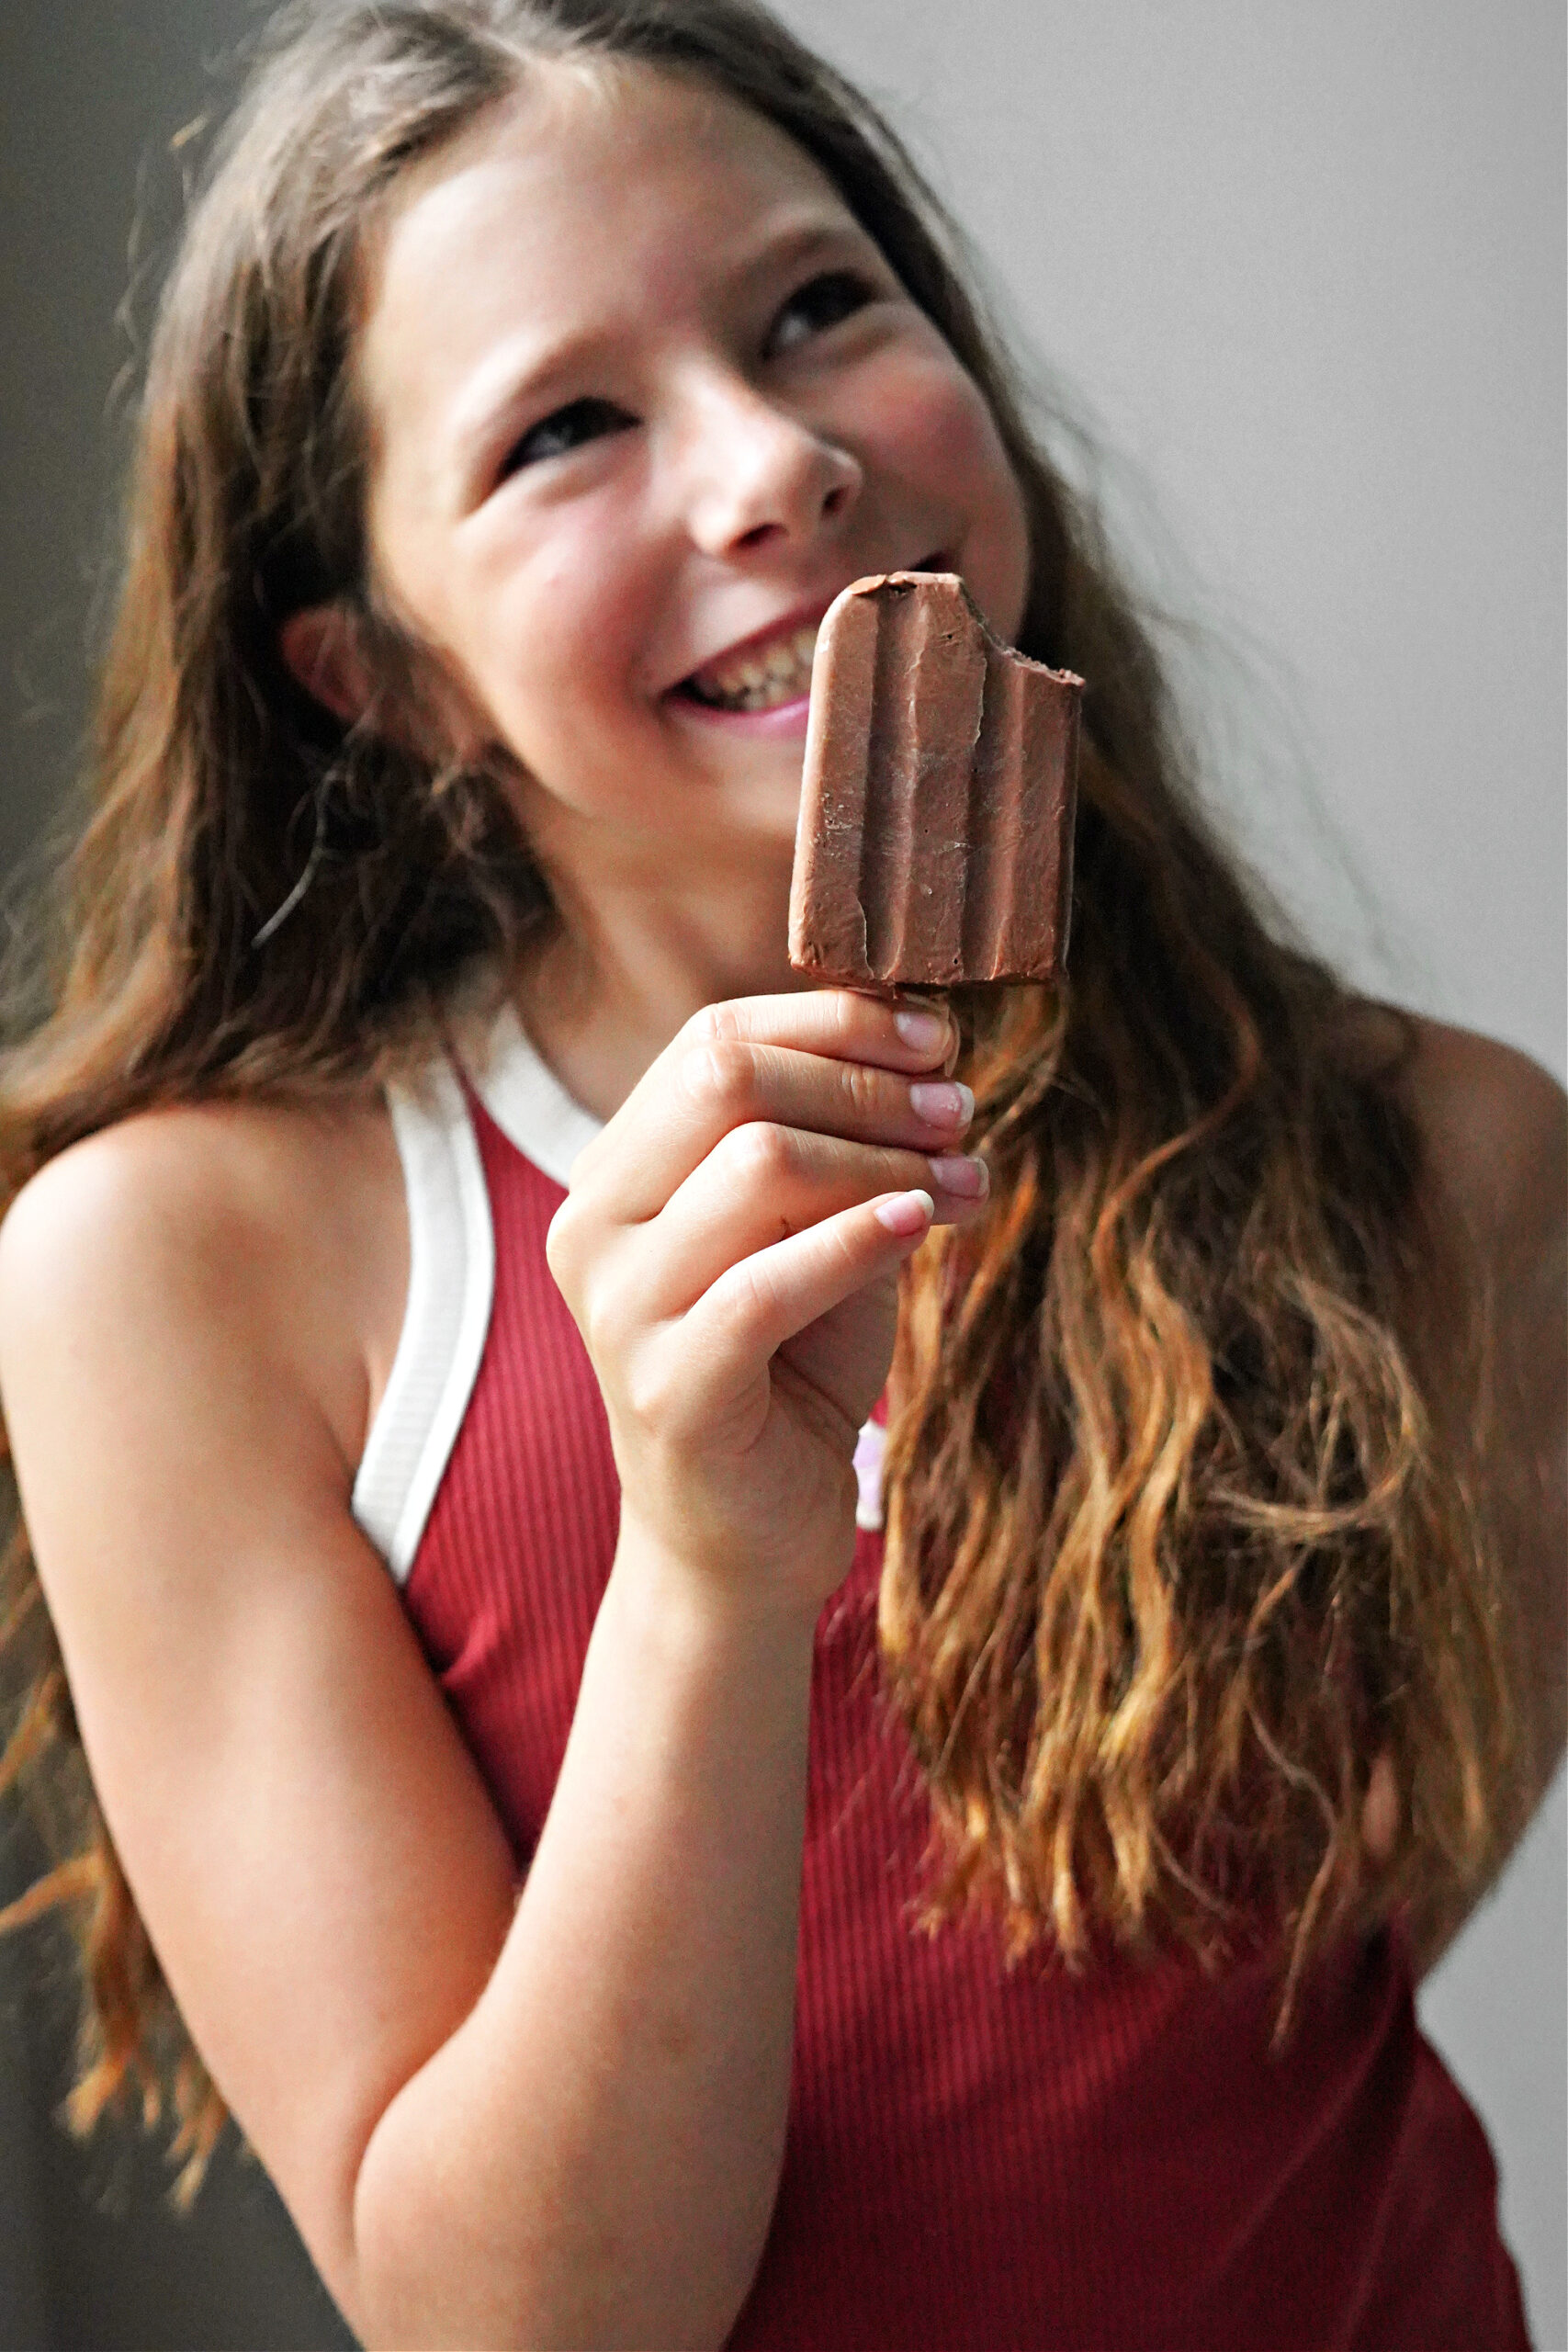
What do these homemade fudgsicles really taste like?!
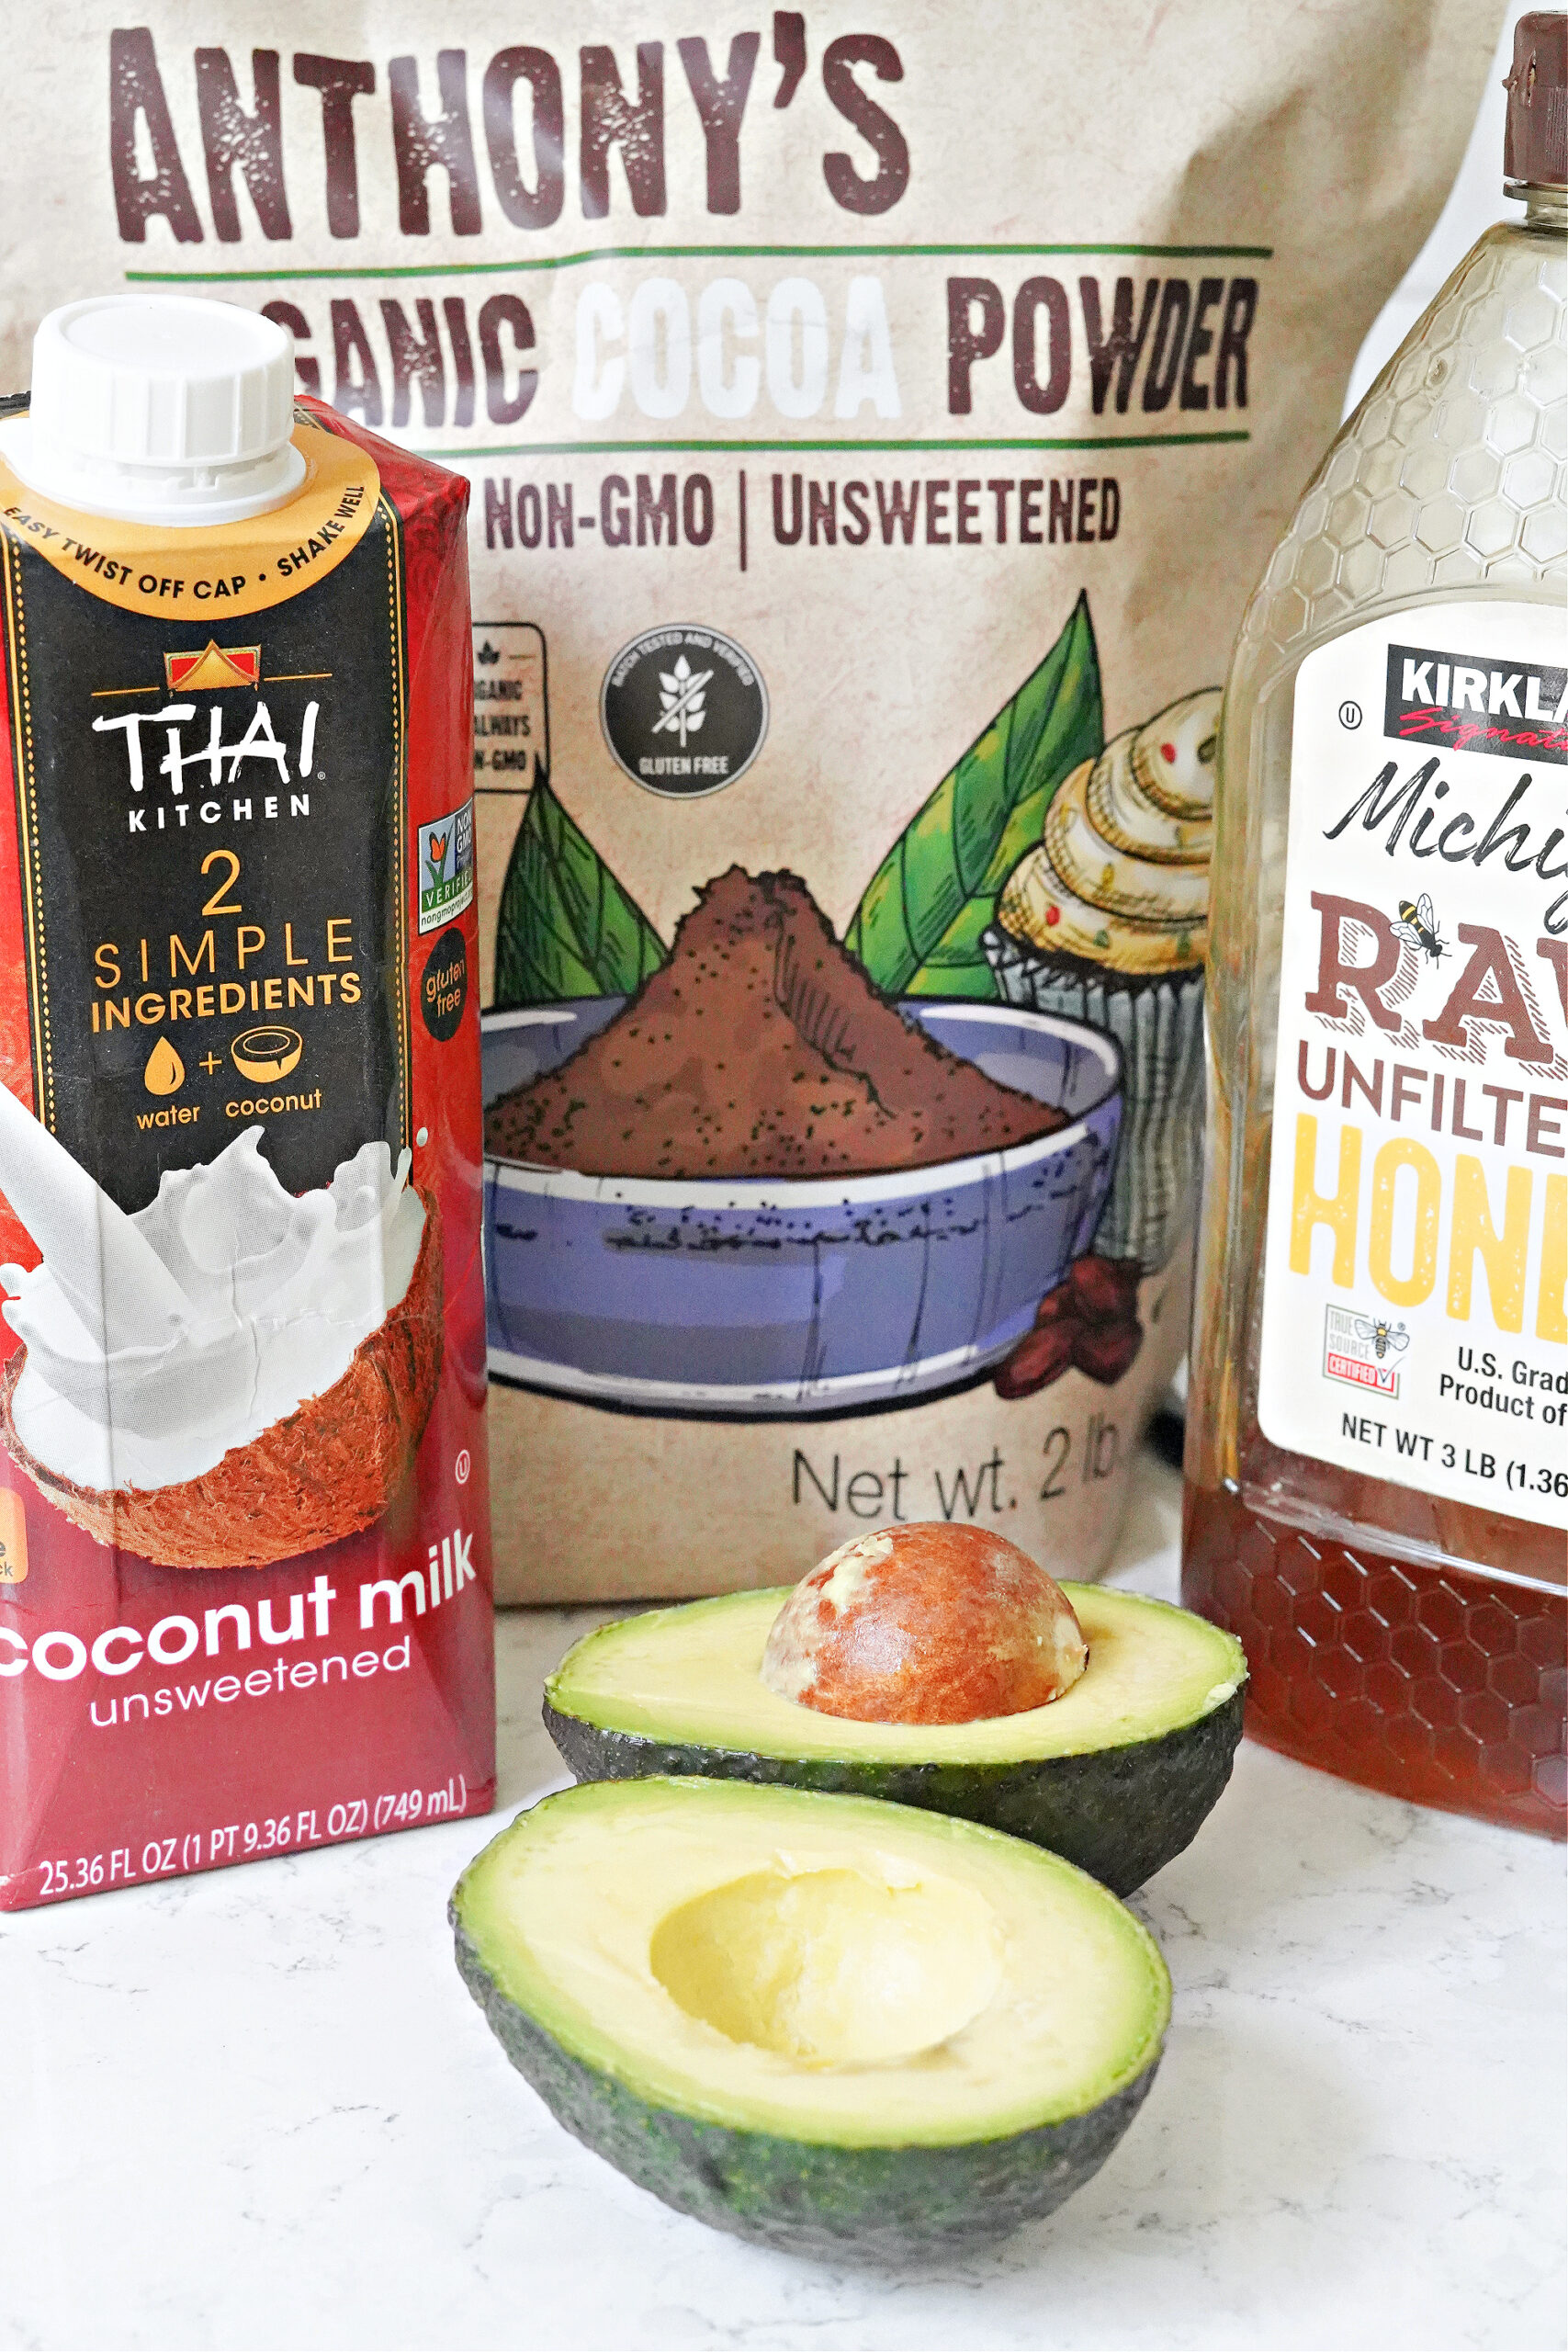
It’s like the creamiest chocolate ice cream you’ve ever had! In fact, you could for sure pop this recipe into an ice cream maker and make chocolate ice cream too. The secret ingredient that contributes to the creamy factor is unassuming, but loaded with real food nutrients!
Wait. There’s…avocado in these?!
It really makes all the creamy difference in the world. I promise you won’t taste it! I have served these fudgsicles to a variety of the girls’ friends over the last decade of summers and have never had a kid reject them. They have a great track record, and are a timeless, delicious treat that you can feel good about the kids enjoying!
Let’s make Fudgsicles!
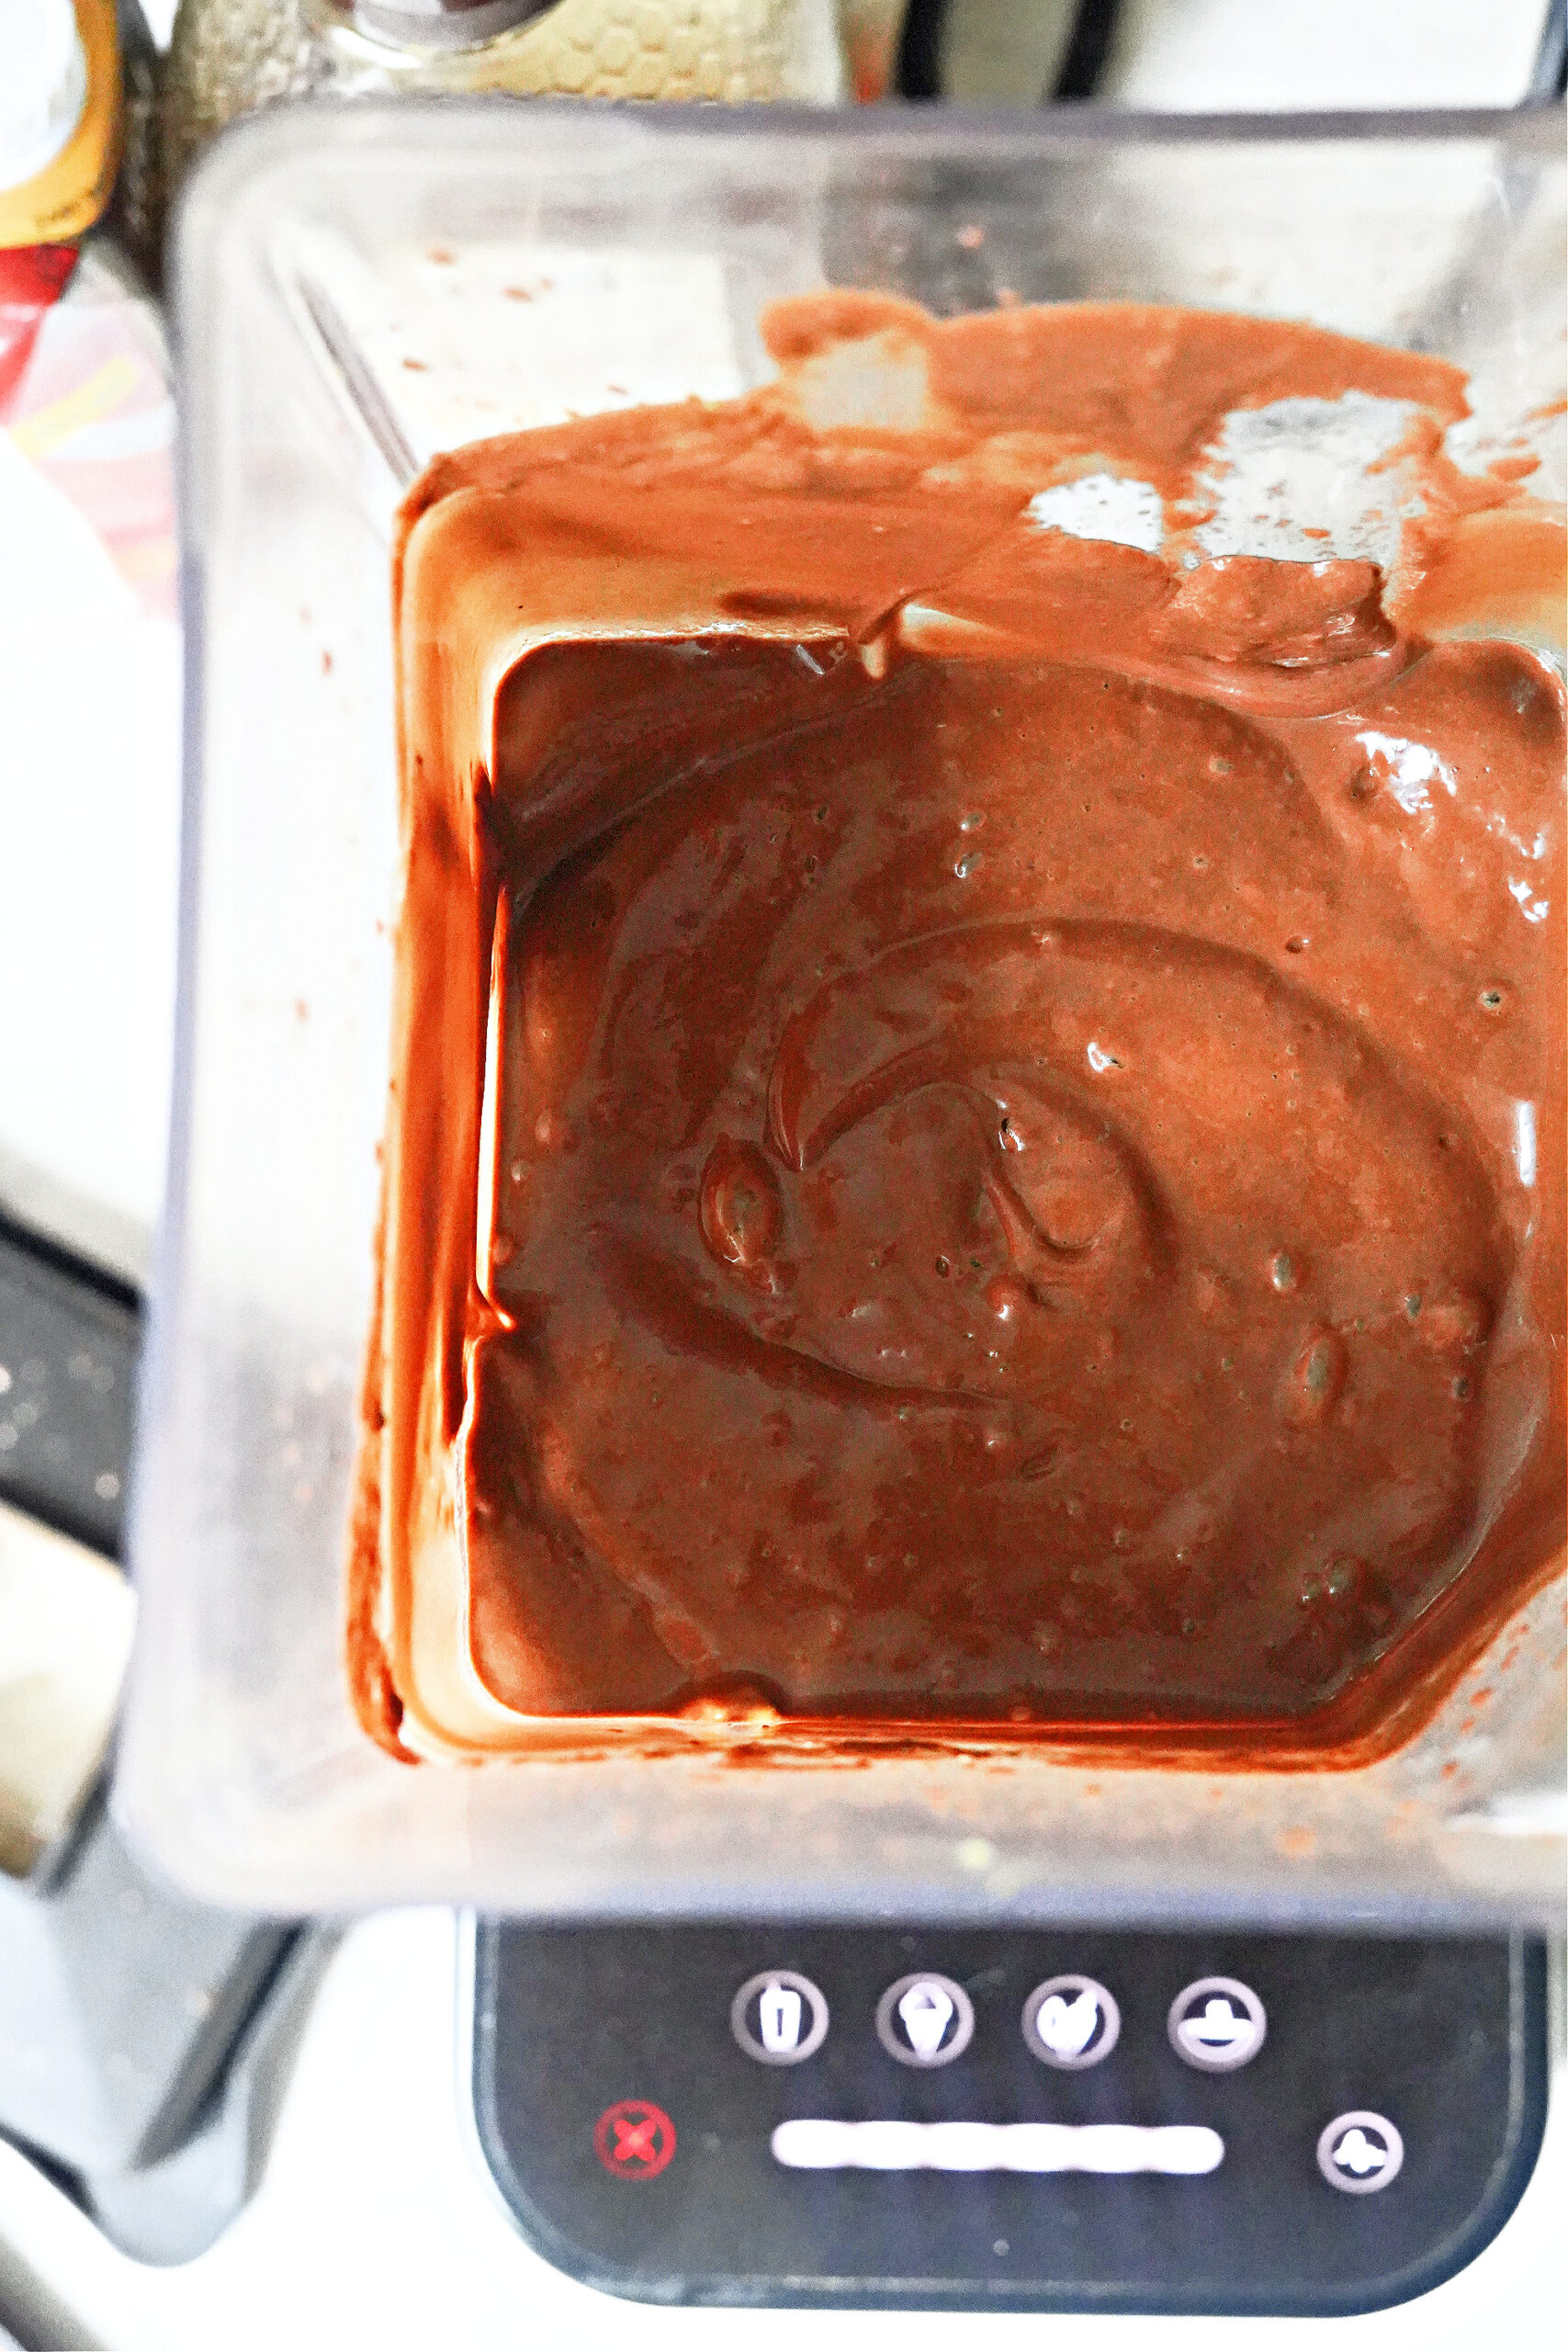
To get your fudgsicles started, all you need to do is add the ingredients into a blender, and blend until smooth. Give the mixture a taste for sweetness. Start out low because you can always add more honey, but you cannot take it out!
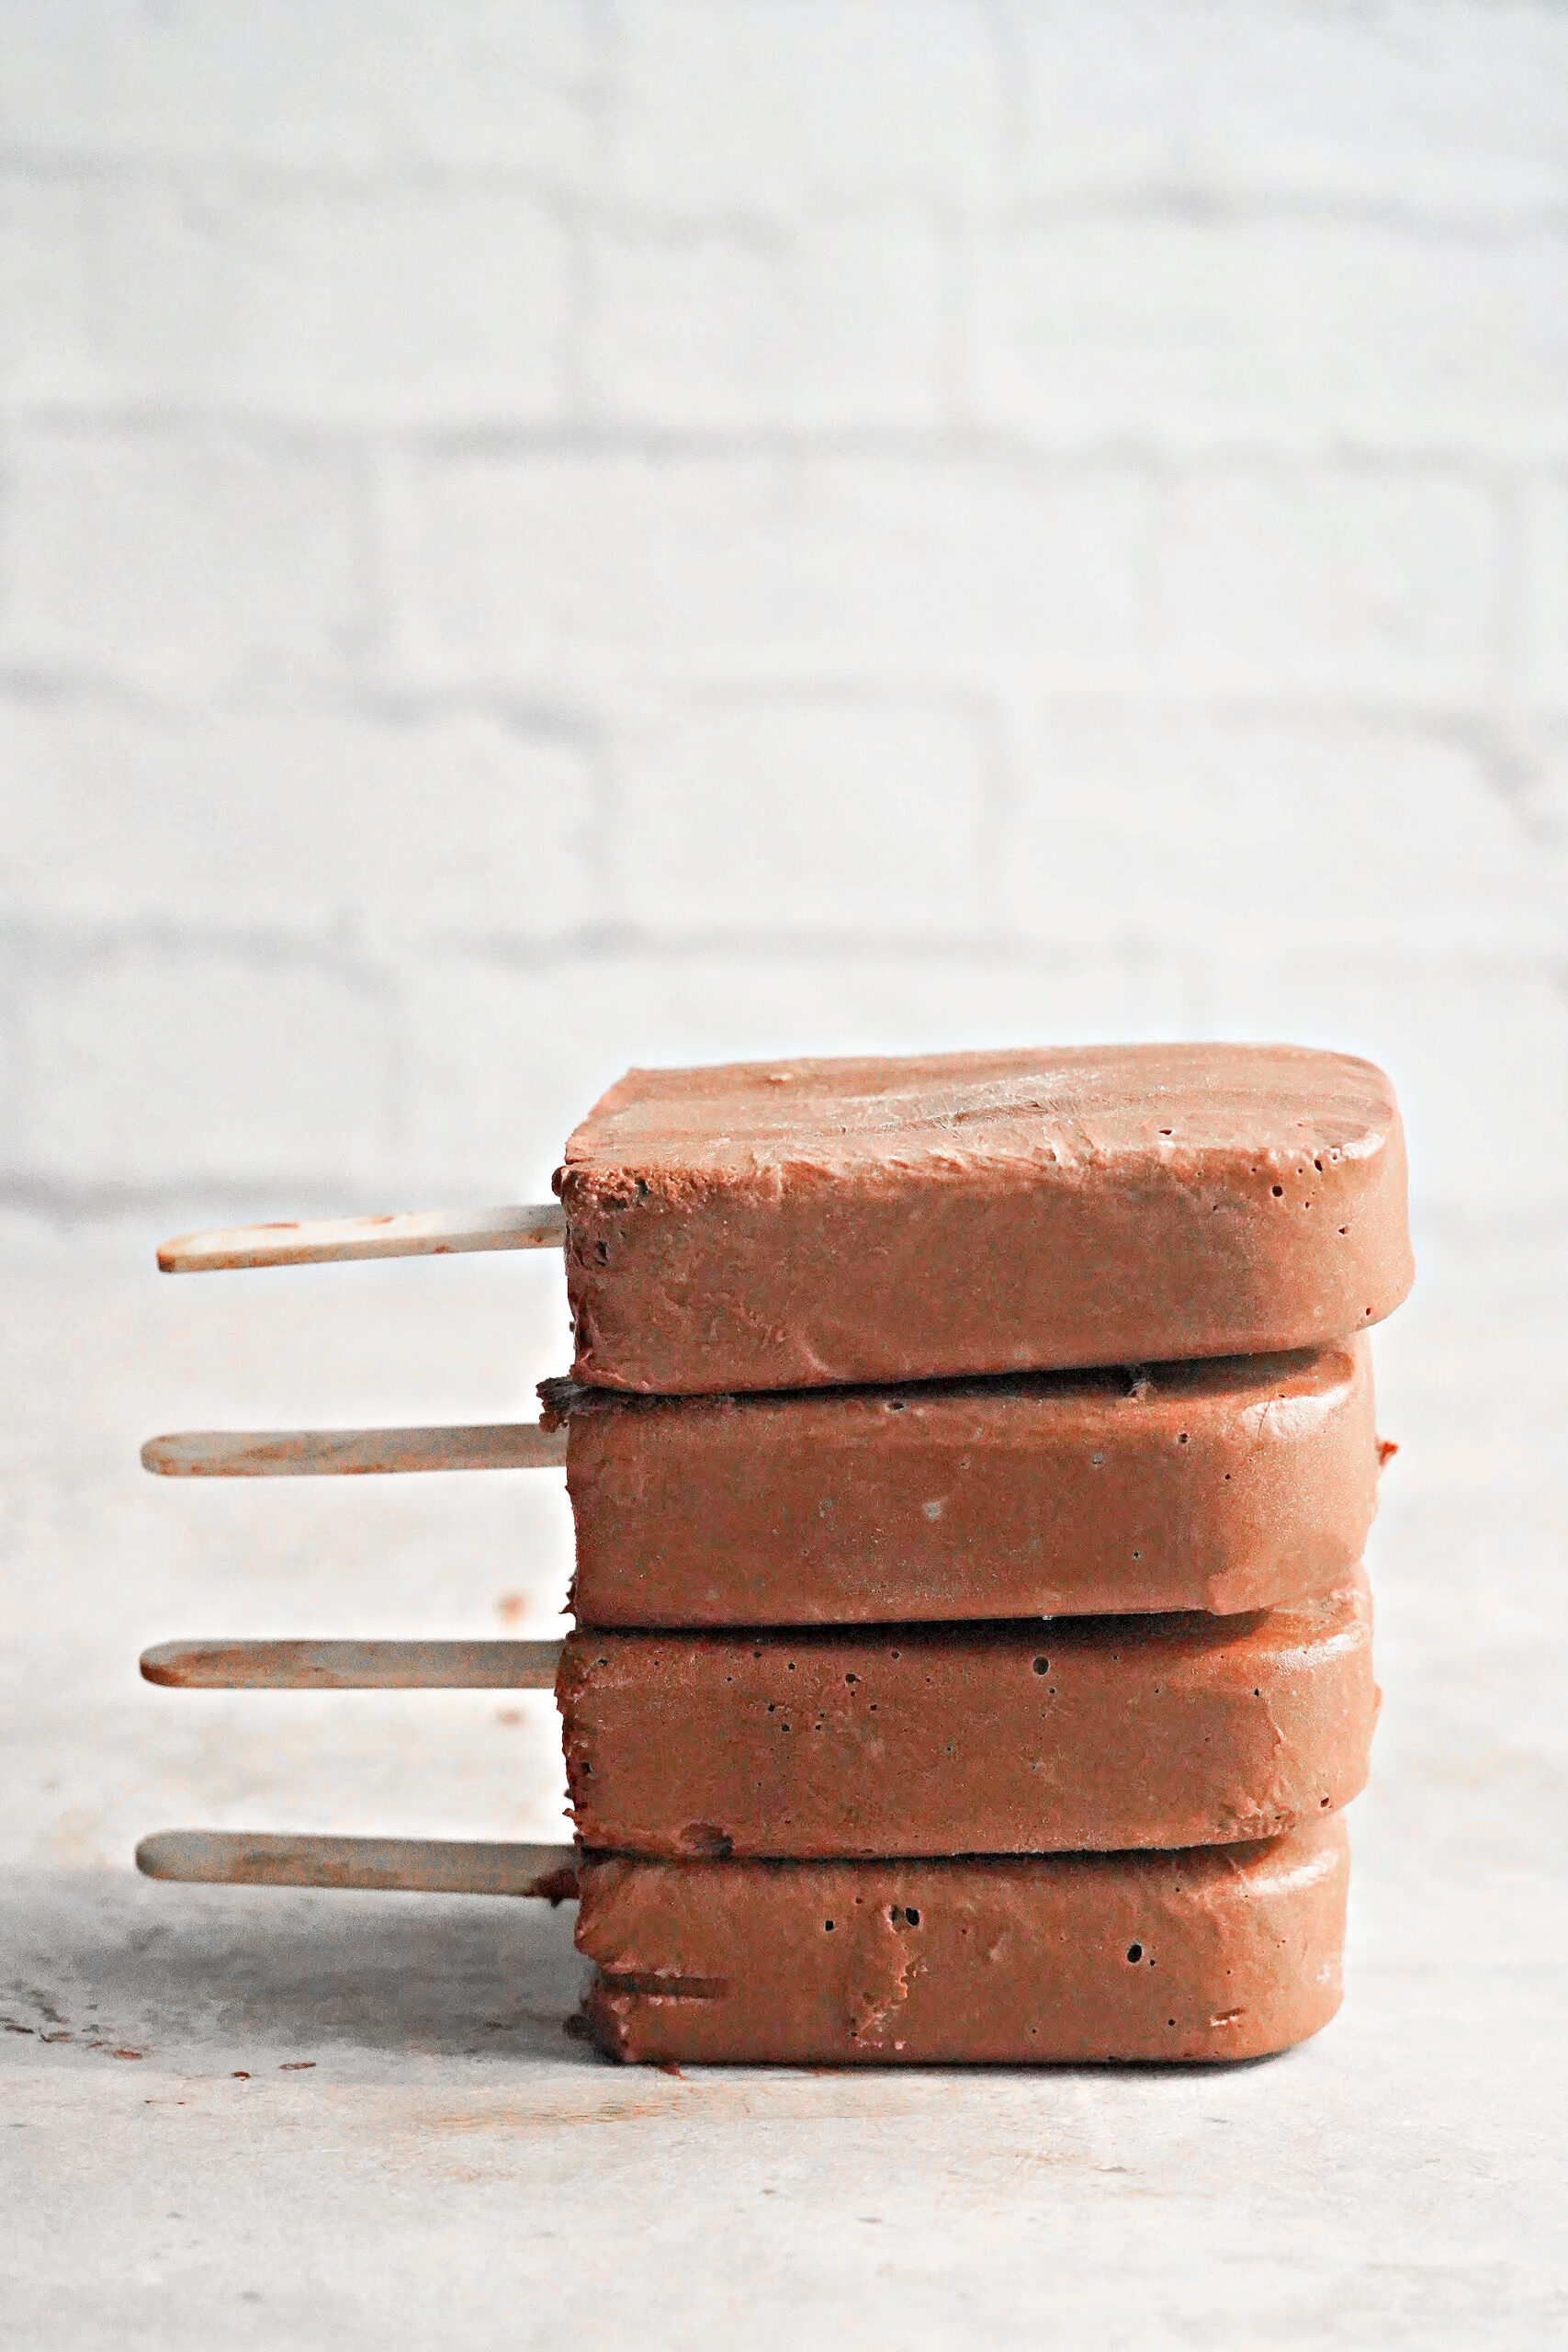
Freezing the fudgsicles
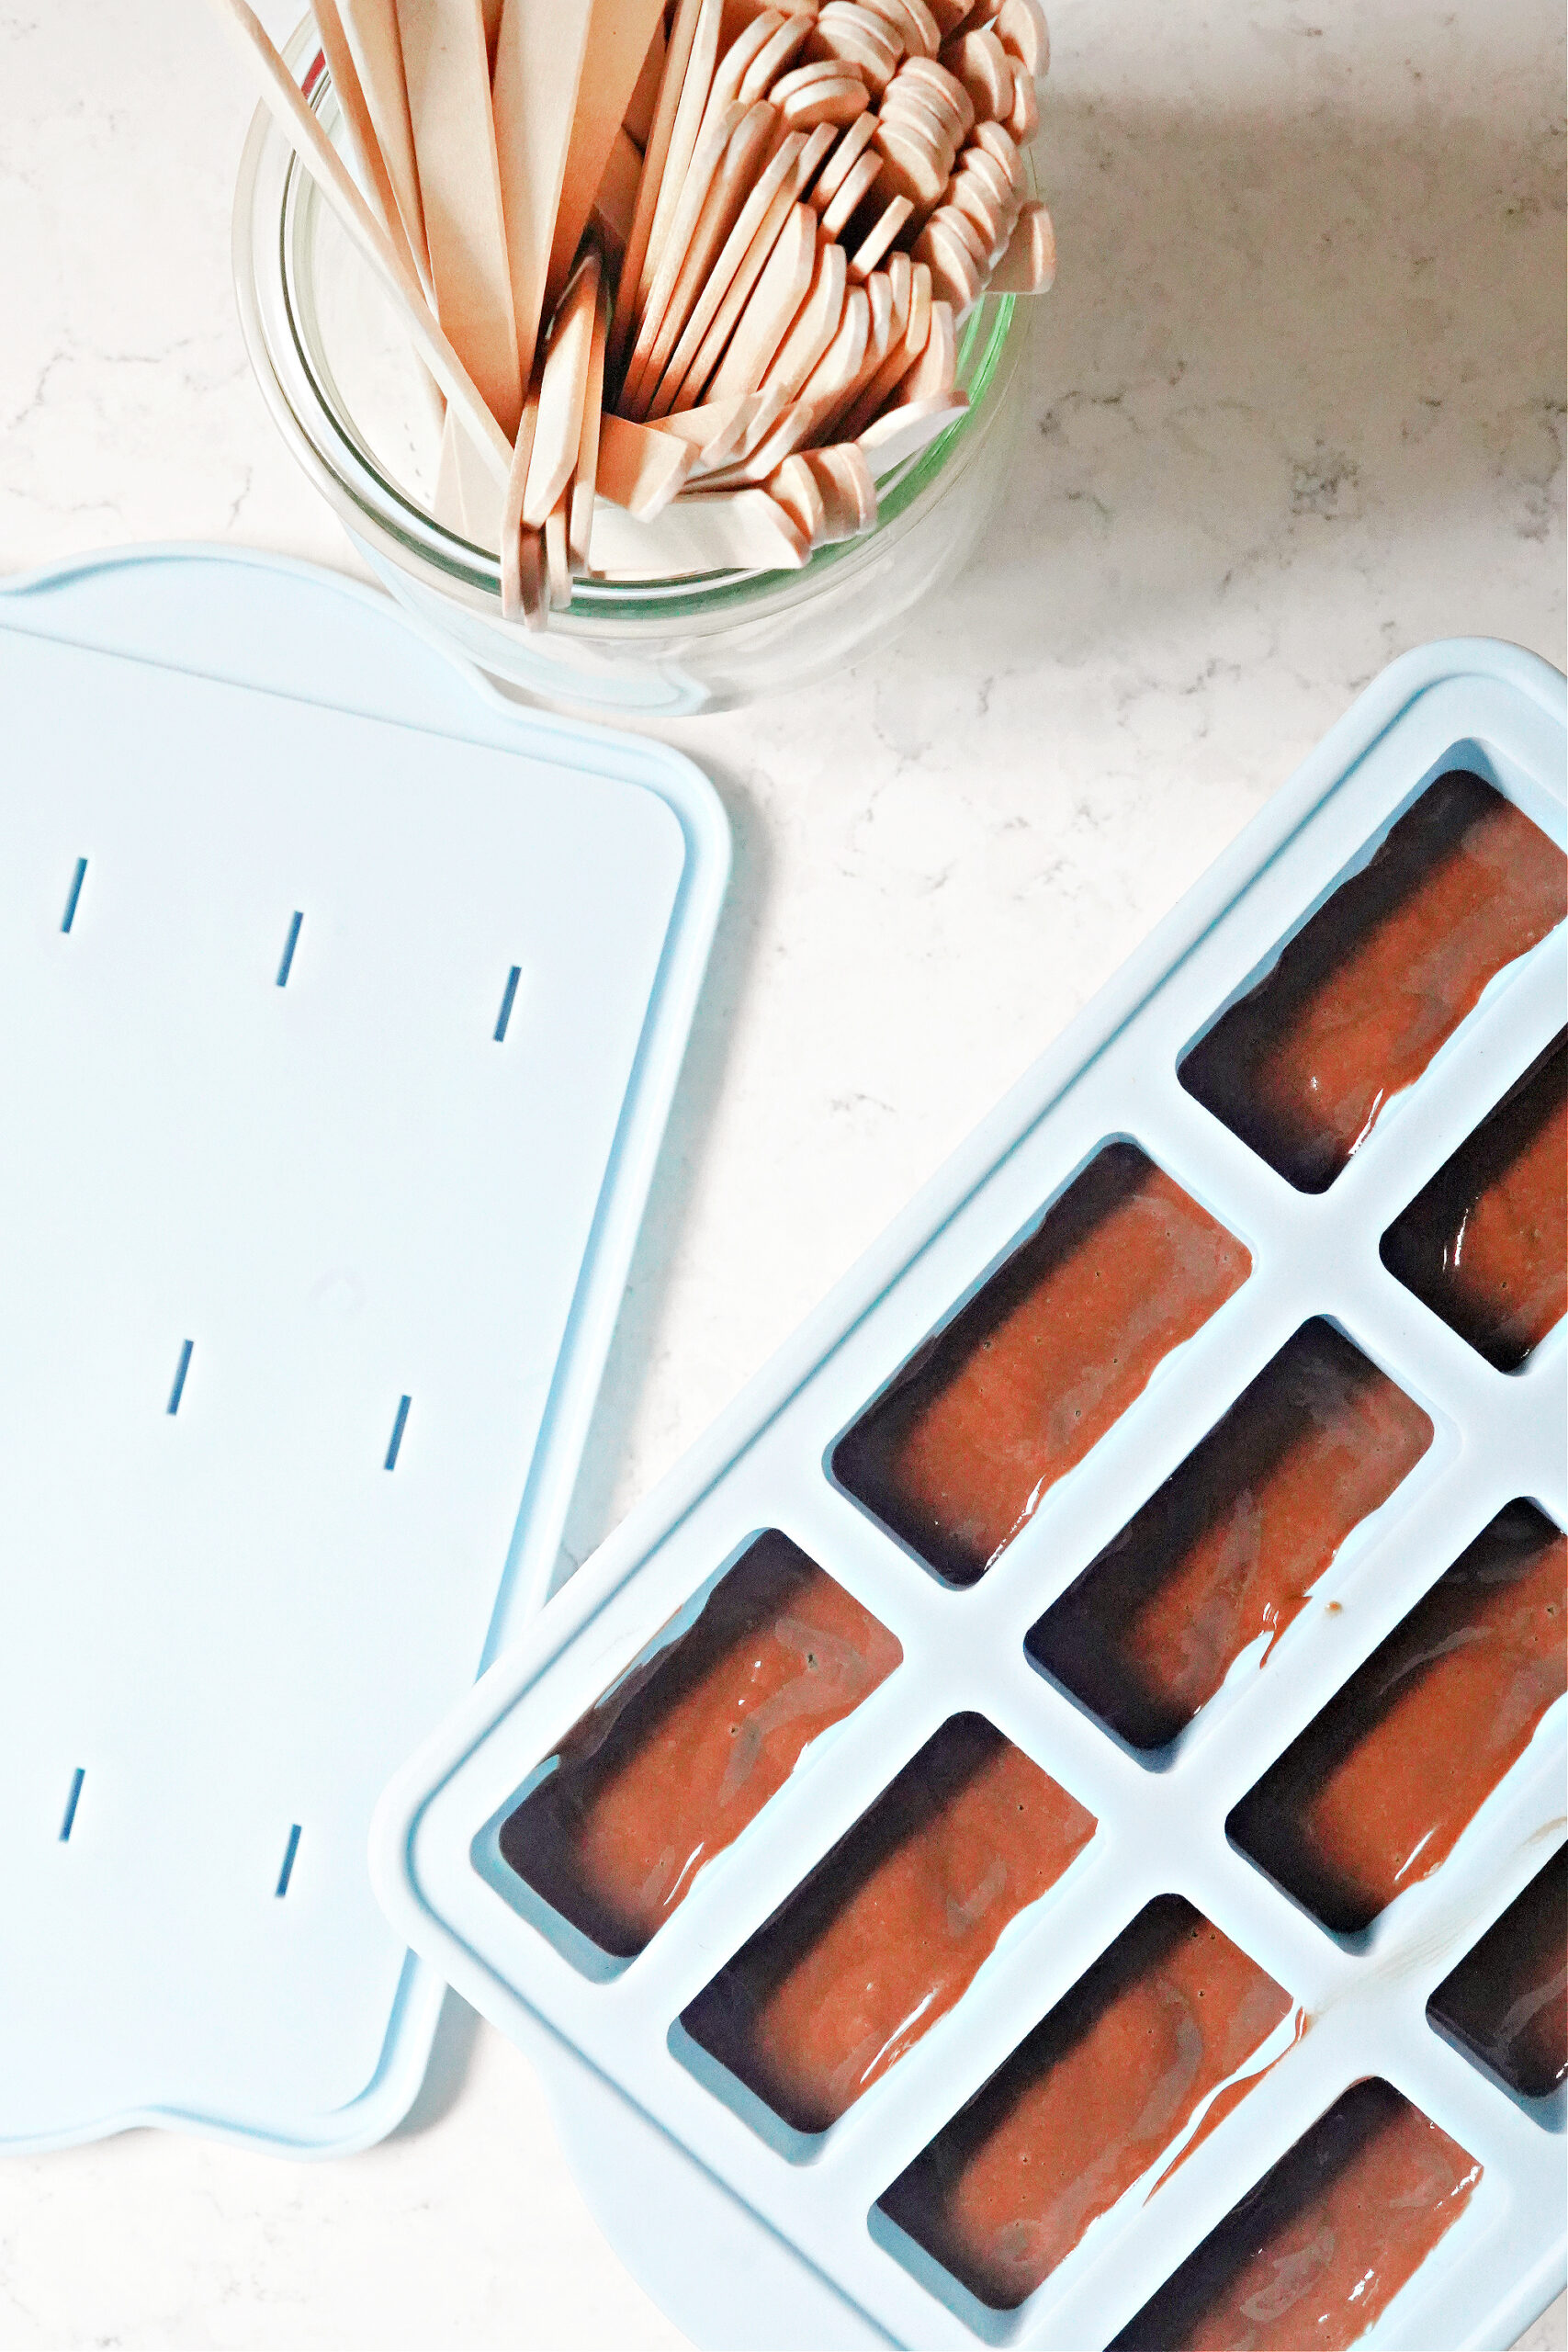
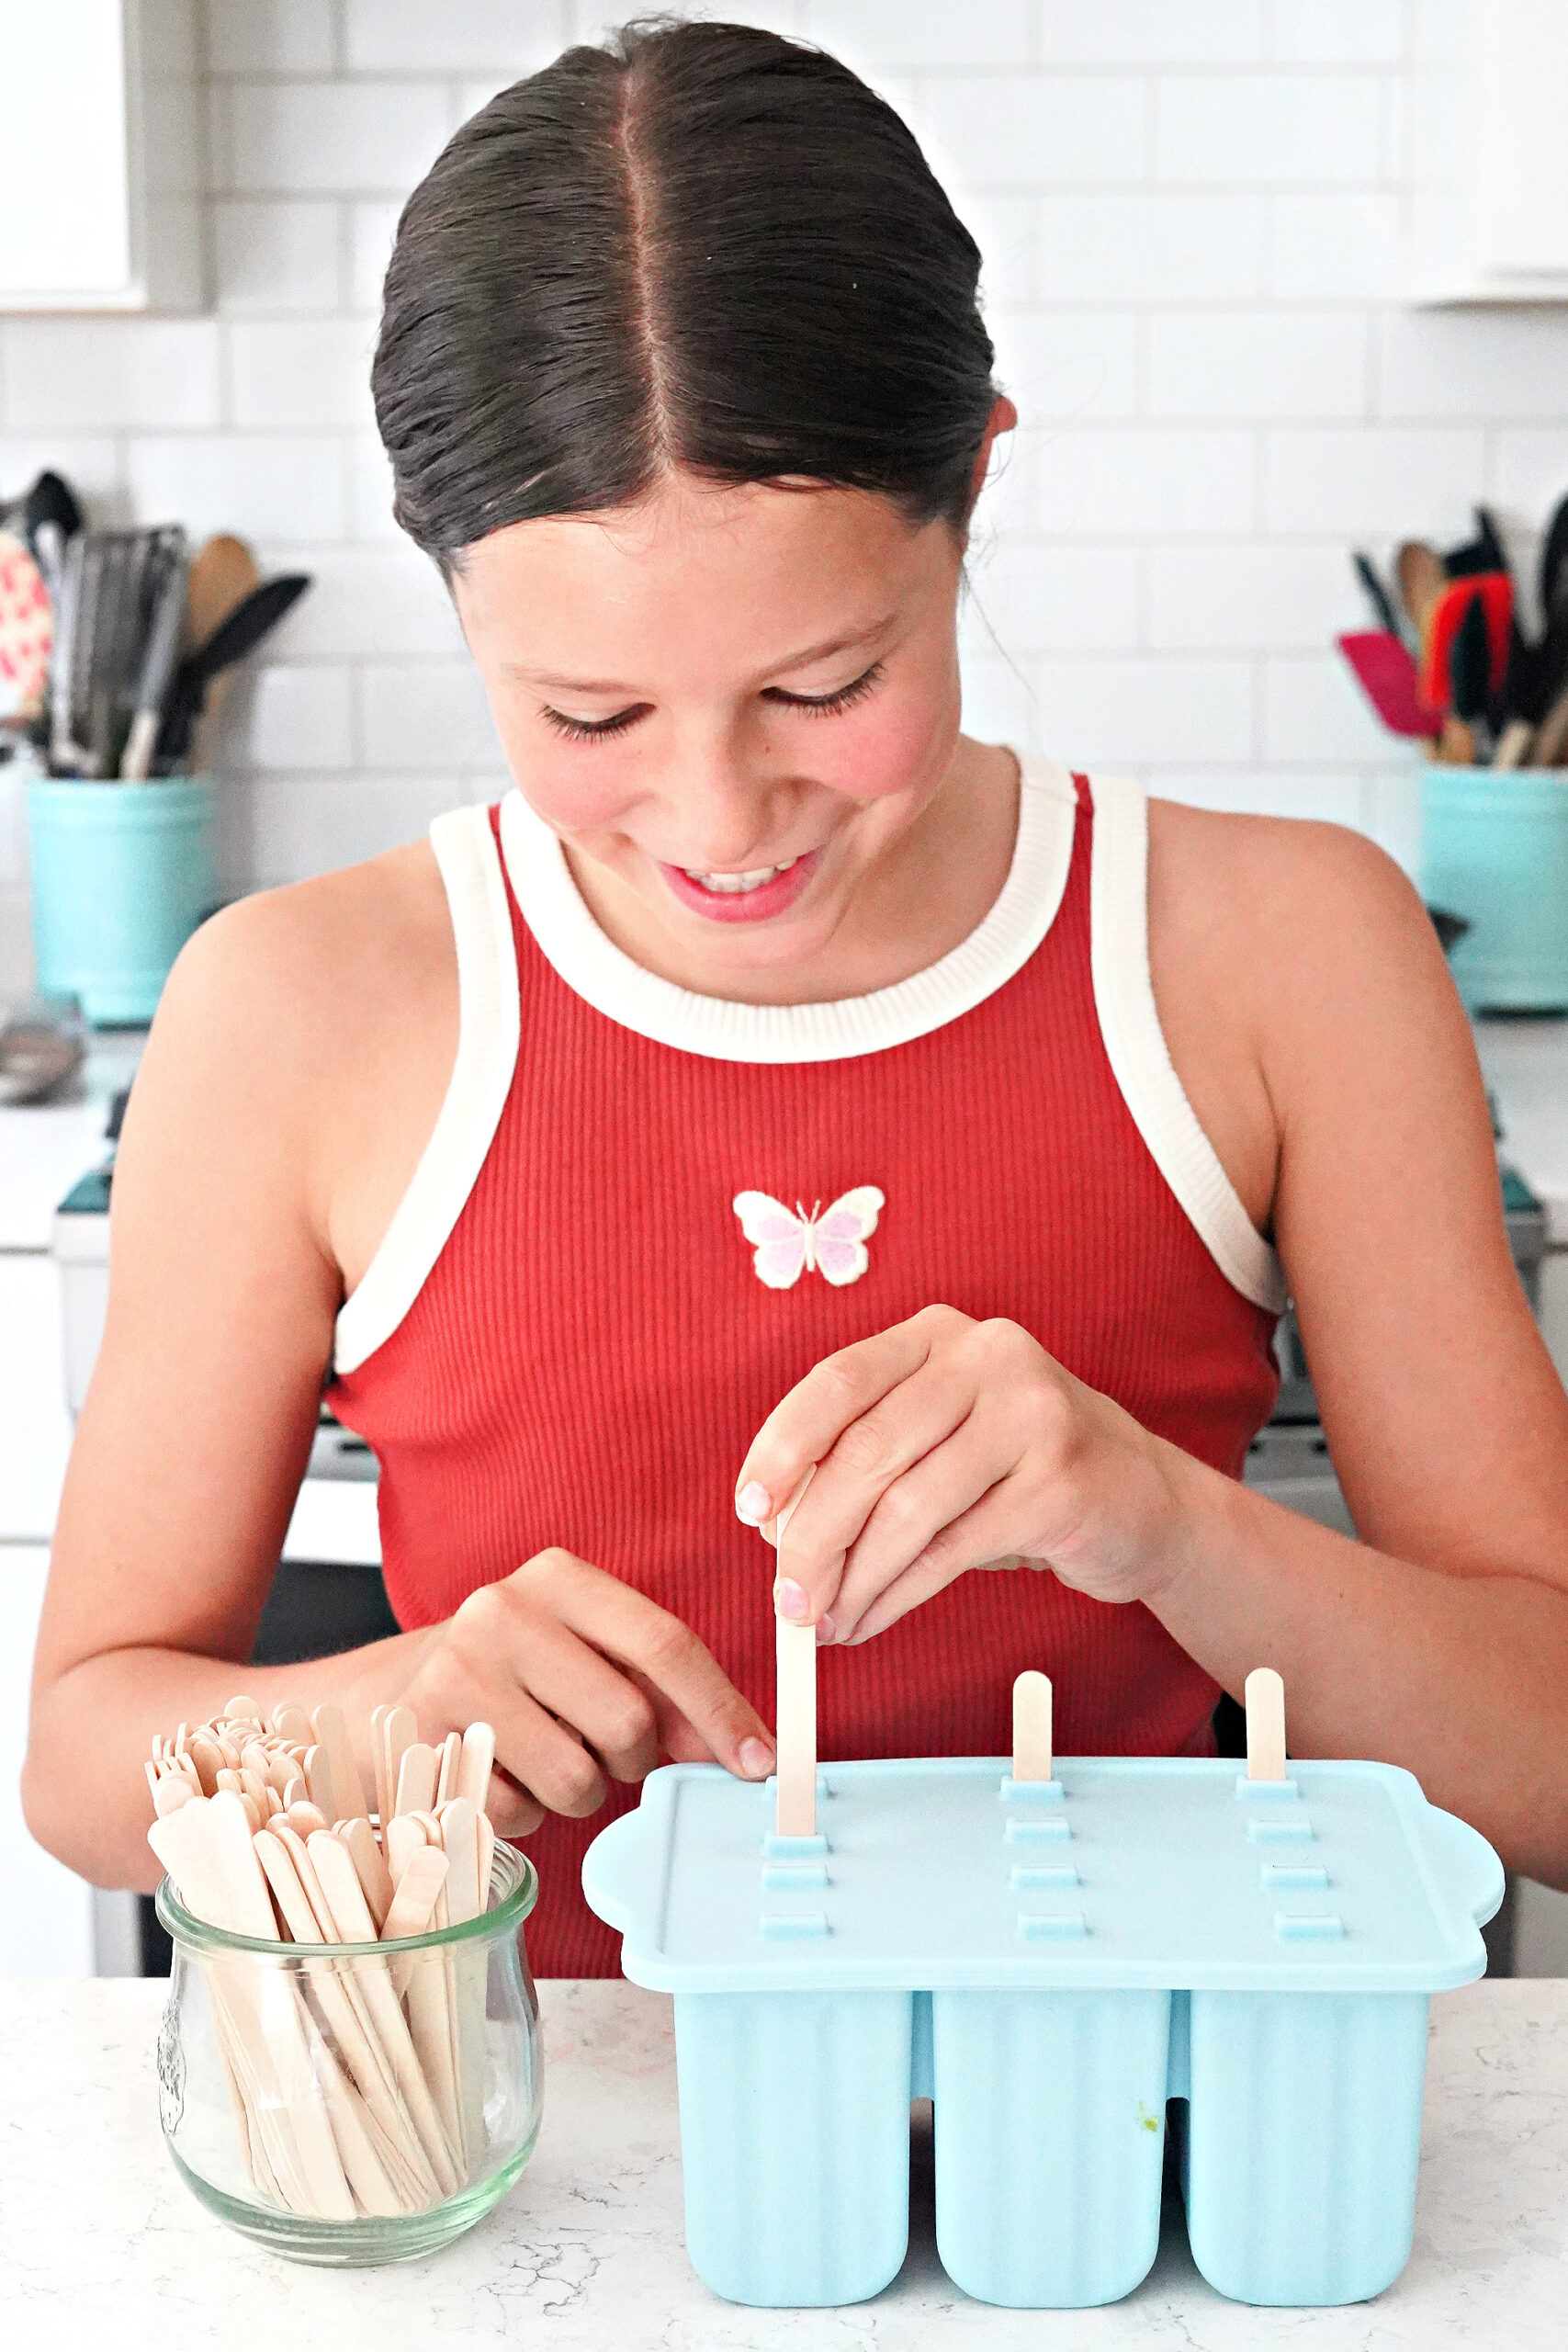
Once you’ve made your fudgsicle mixture, pour it into your popsicle mold, add the lid, and put the popsicle sticks in. You’ll need to freeze the fudgesicles for a good 4 hours before they are ready.
Popsicle mold options
I’ve been *loving* this silicone popsicle mold! It is so easy to get the popsicles out without having to run them under the water to wiggle them loose! You just have to push the end to pop them out! If you want bigger fudgsicles, this is a good 10-pop mold that we have used for years as well. If you have little ones at home, I used smaller popsicle molds like these for tinier toddler bellies!
How to store your Fudgsicles
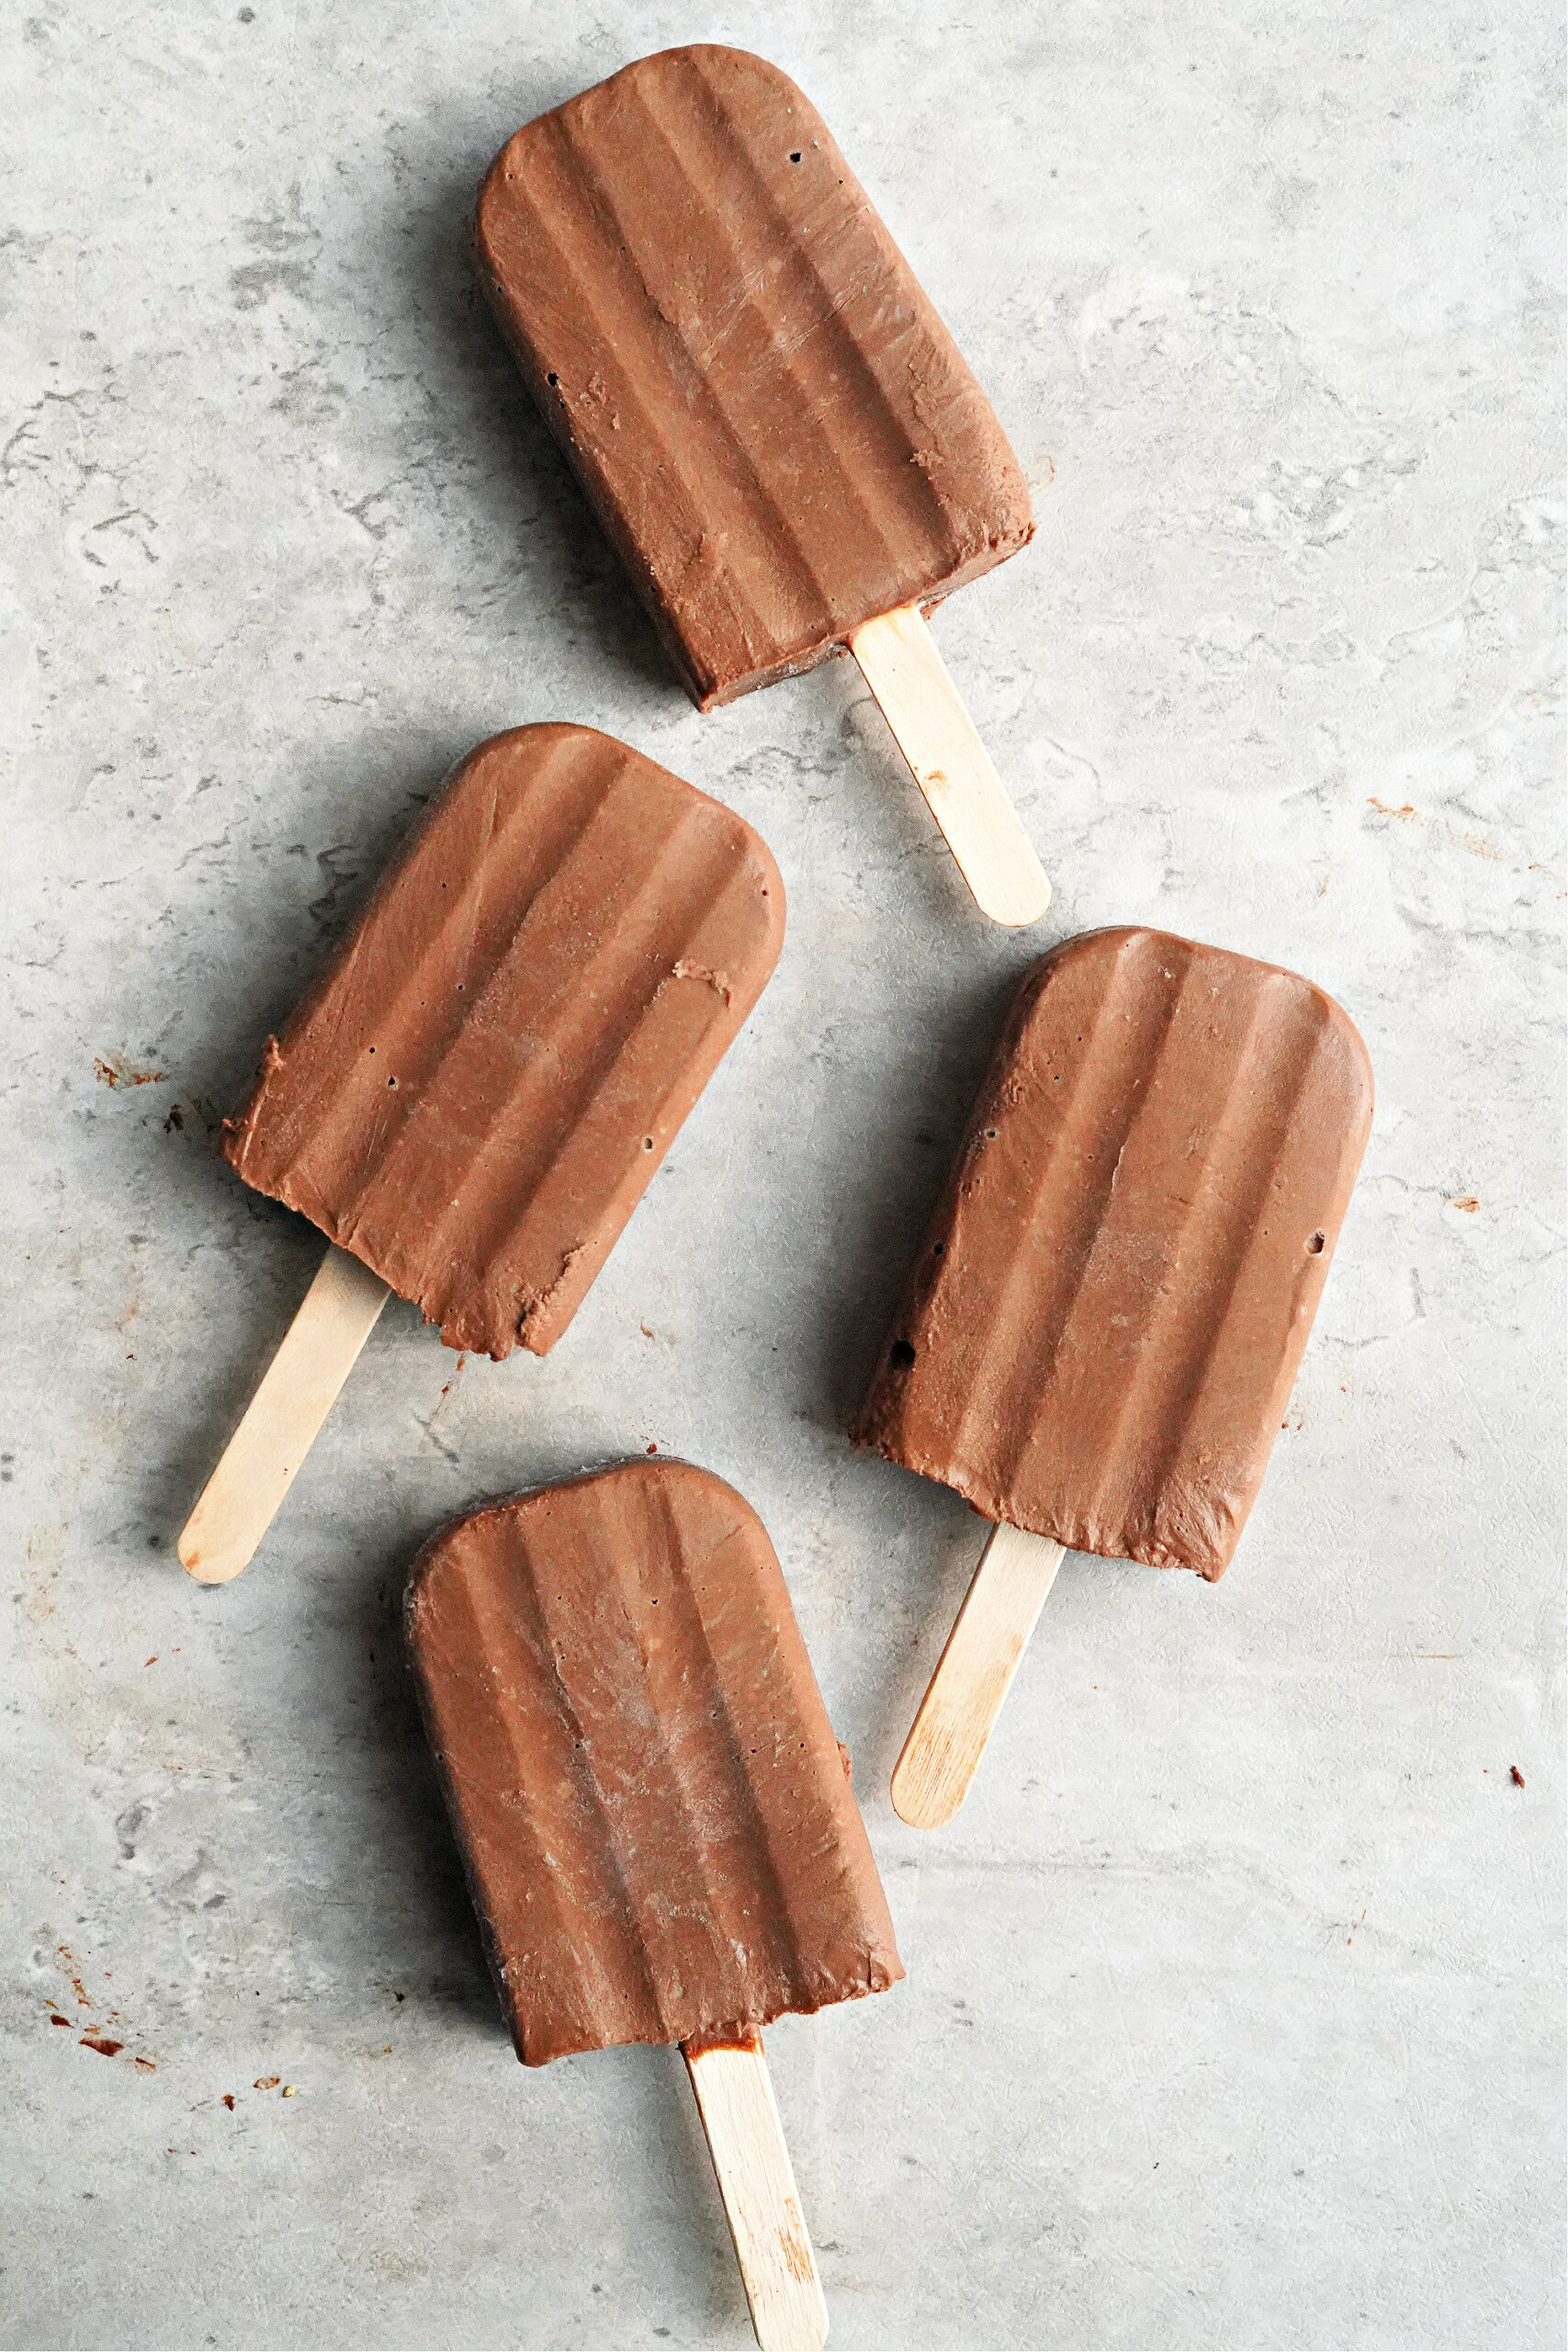
Once your fudgsicles are frozen, pop them out of the mold and wrap them in plastic wrap individually. That way, you can put all of the fudgsicles in a big freezer bag together without them sticking. This makes freezer storage simple, and the kids can go into the freezer to grab a fudgsicle themselves easily!

Rich and Creamy Fudgsicles
Ingredients
- 2 cups whole milk or coconut milk
- 1 small/medium avocado pitted
- 1/2 cup cocoa powder
- 1/3 cup grassfed collagen optional
- 1/4 – 1/3 cup raw honey See Notes
- 2 tsp vanilla extract
- 1/2 tsp sea salt
Instructions
- Everything into a blender to combine until smooth.
- Pour into your popsicle molds and freeze.
Notes
- Start with 3-4 tablespoons of raw honey in the mixture and add more to your taste. If you have very little ones at home, you should be able to get away with just a few tablespoons – don’t make it as sweet as you would like it, because they don’t know any differently, and don’t need it that sweet!
- I’ve been *loving* this silicone popsicle mold! It is so easy to get the popsicles out without having to run them under the water to wiggle them loose! You just have to push the end to pop them out! If you want bigger fudgsicles, this is a good 10-pop mold that we have used for years as well. If you have little ones at home, I used smaller popsicle molds like these for tinier toddler bellies!


These look great!!! Perfect texture, can’t wait to make!! 🙂
Oh yum! I can’t wait to try this. Perfect for a summer treat.
Looks yummy! Such a fun treat for the whole family.
Do you think it would it work with Almond milk? They look so delicious! Can’t wait to make them!
Hi Sandy! That should work 🙂
Do you have to include the collagen? I don’t have any on hand at the moment
Hi Cindi! You should be fine without the collagen!
If I wanted to make these without collagen, should I modify the recipe otherwise?
Hi Tiana! Nope it should be fine without it!
Those look perfect! I love that you added avocado and gelatin too! I love those two ingredients for popsicles 🙂
I love the addition of collagen! I’m always looking for ways to sneak it in 🙂 These fudge pops look delicious!
Love how you’ve thrown in avocado and gelatin in these for an extra nutritional boost!
Wow, this looks so good! I love how you added those healthy ingredients – a great way to get all that nutrition into the kids!
I’ve got to try these!
Hi,
Is collagen the same thing as gelatin?
Thanks!
Ginger
Hi Ginger! They are the same but different processing – the gelatin in the red can from Great Lakes is only warm soluble – meaning it will only dissolve in warm liquid. The great lakes green can is processed different so that it can dissolve in any temperature – so in this recipe the green can works the best. Does that help?
Mine did not come out well at all and I doubled 🙁 I blended for awhile and the texture is not smooth but more gritty:( any tips bb
Hi Debra! That is a bummer! I have never made these and had them feel gritty. I wonder what that is from. I wouldn’t think that doubling would effect the texture, but I suppose it could?