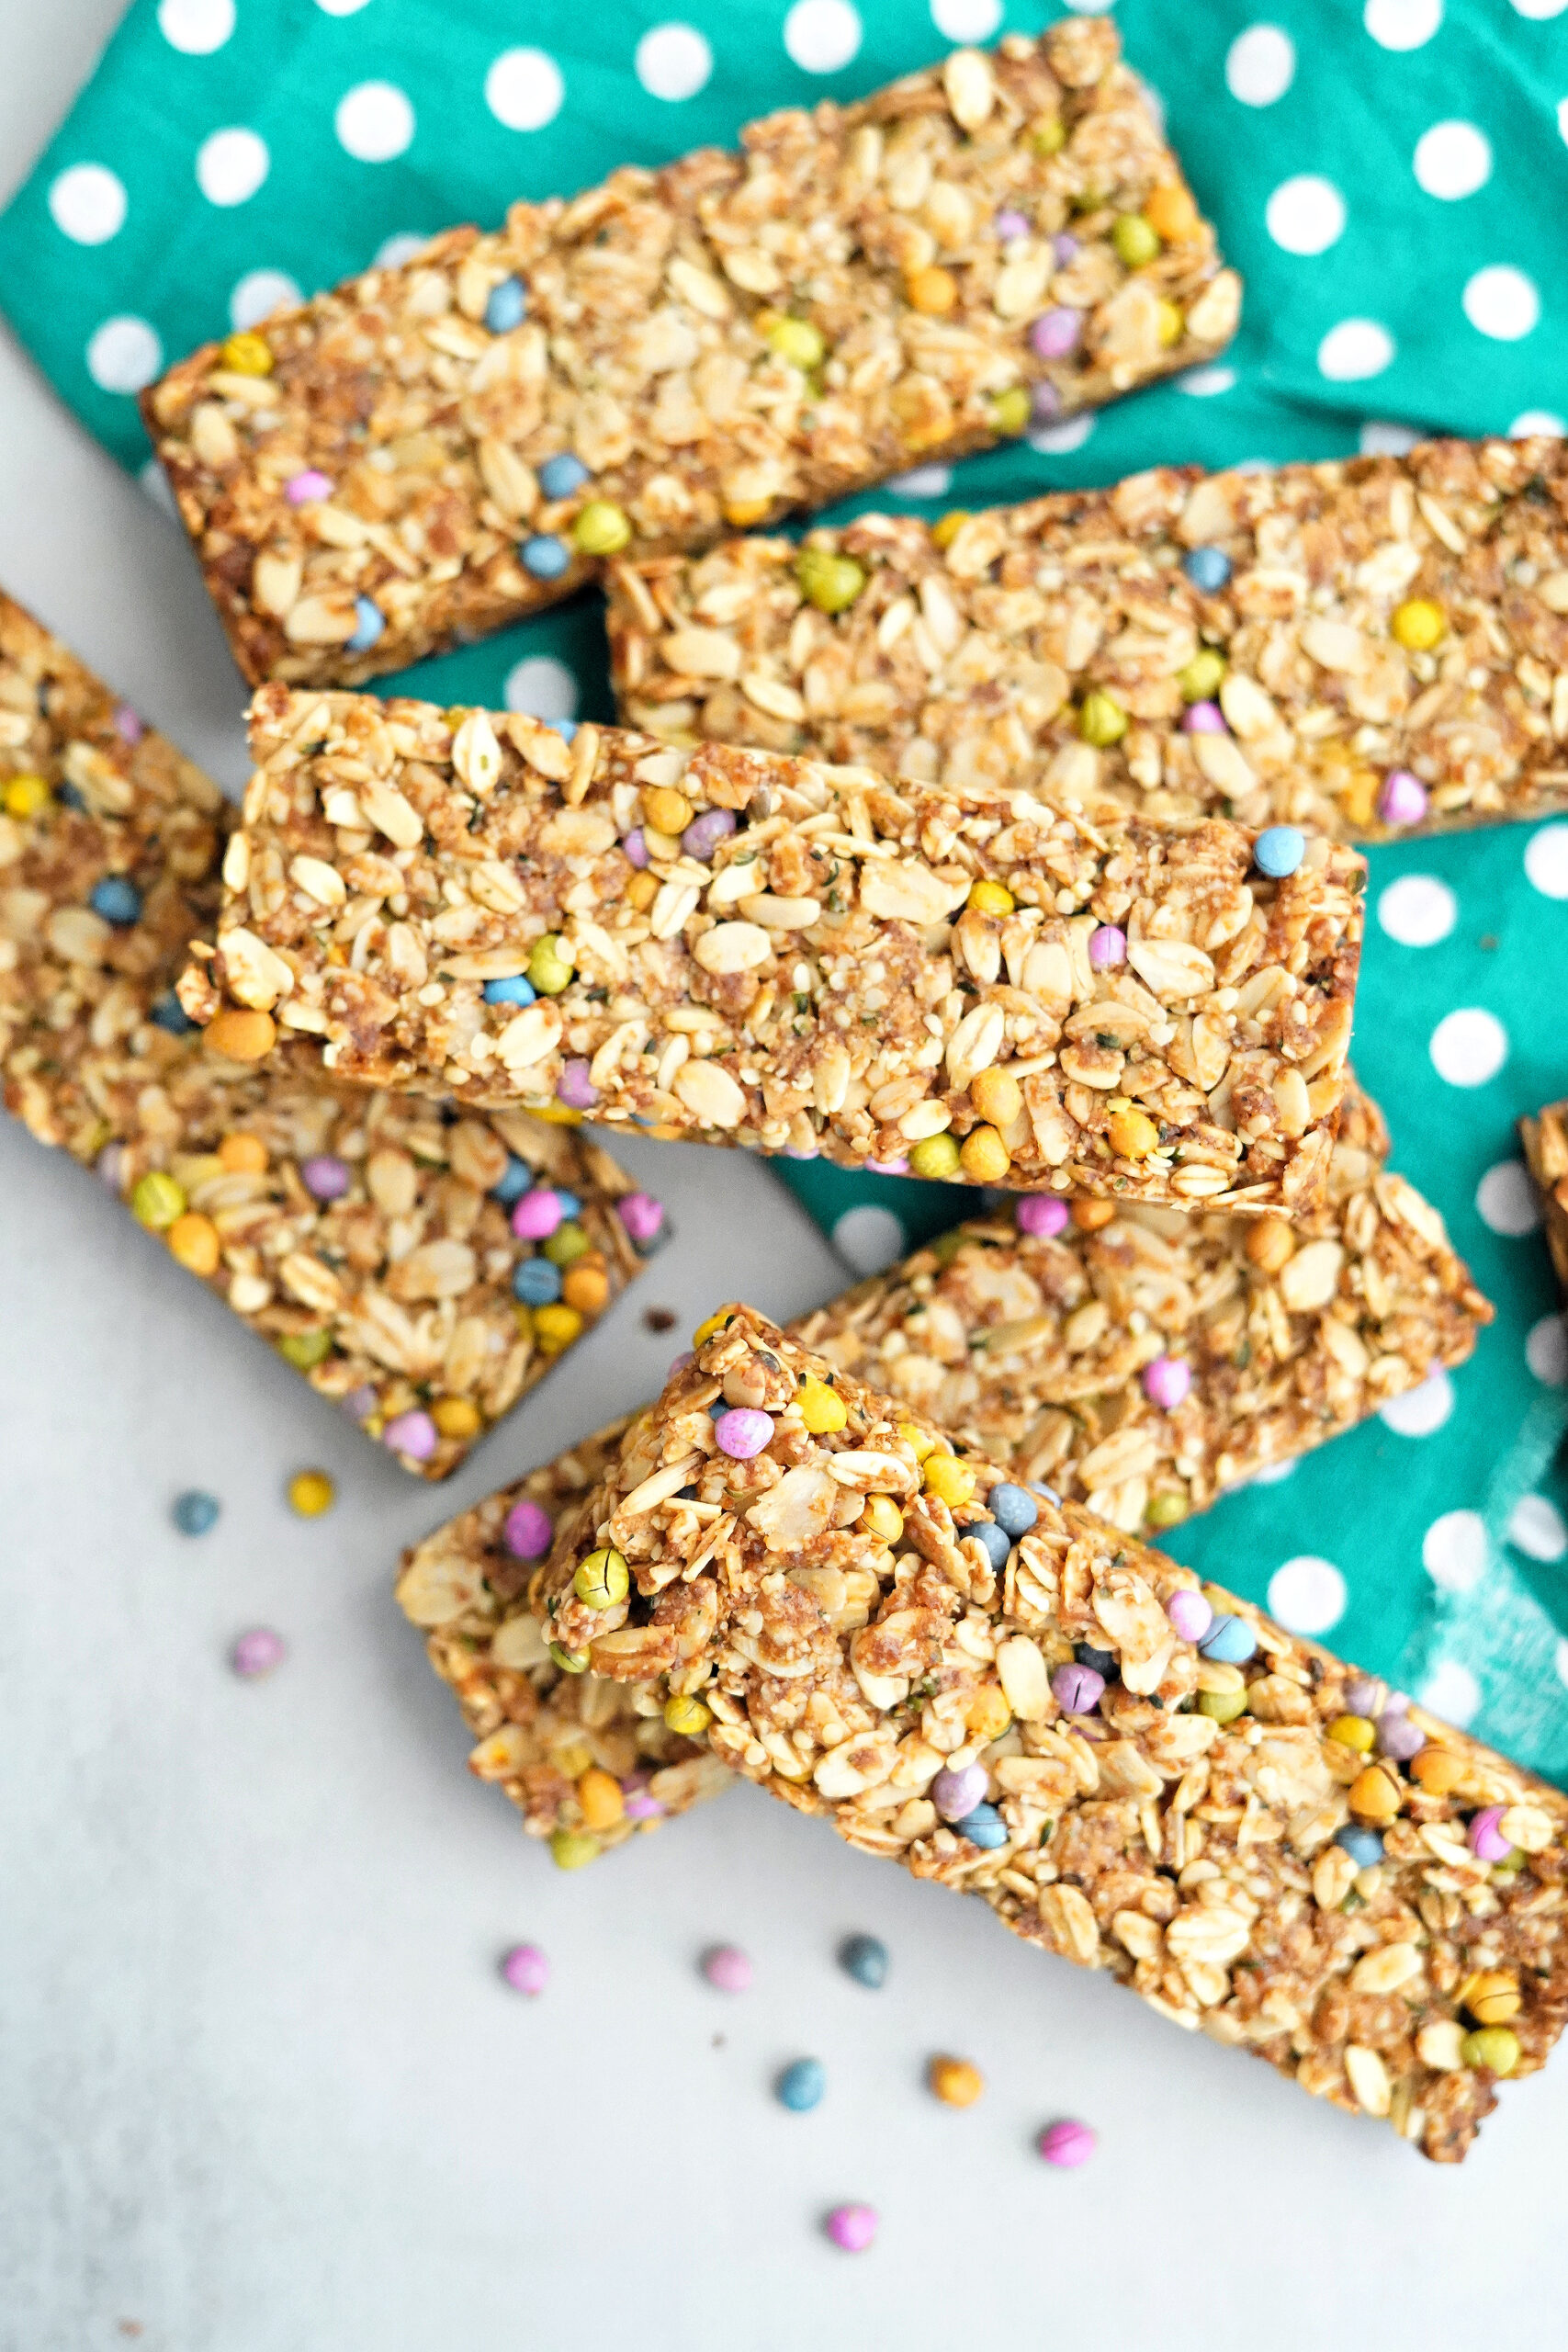
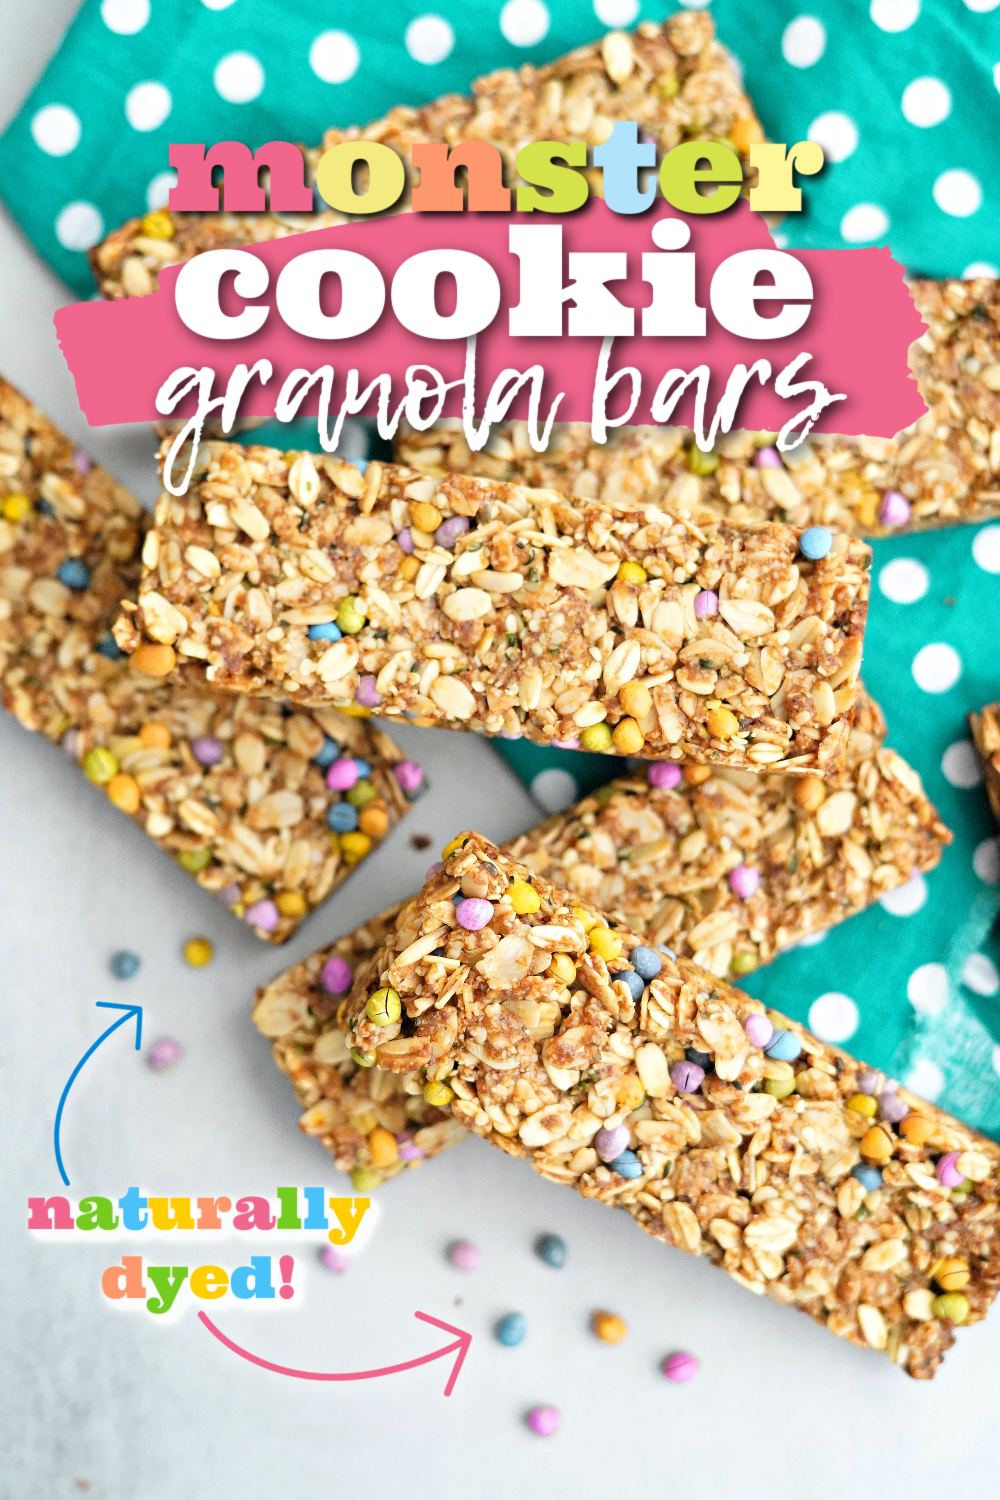
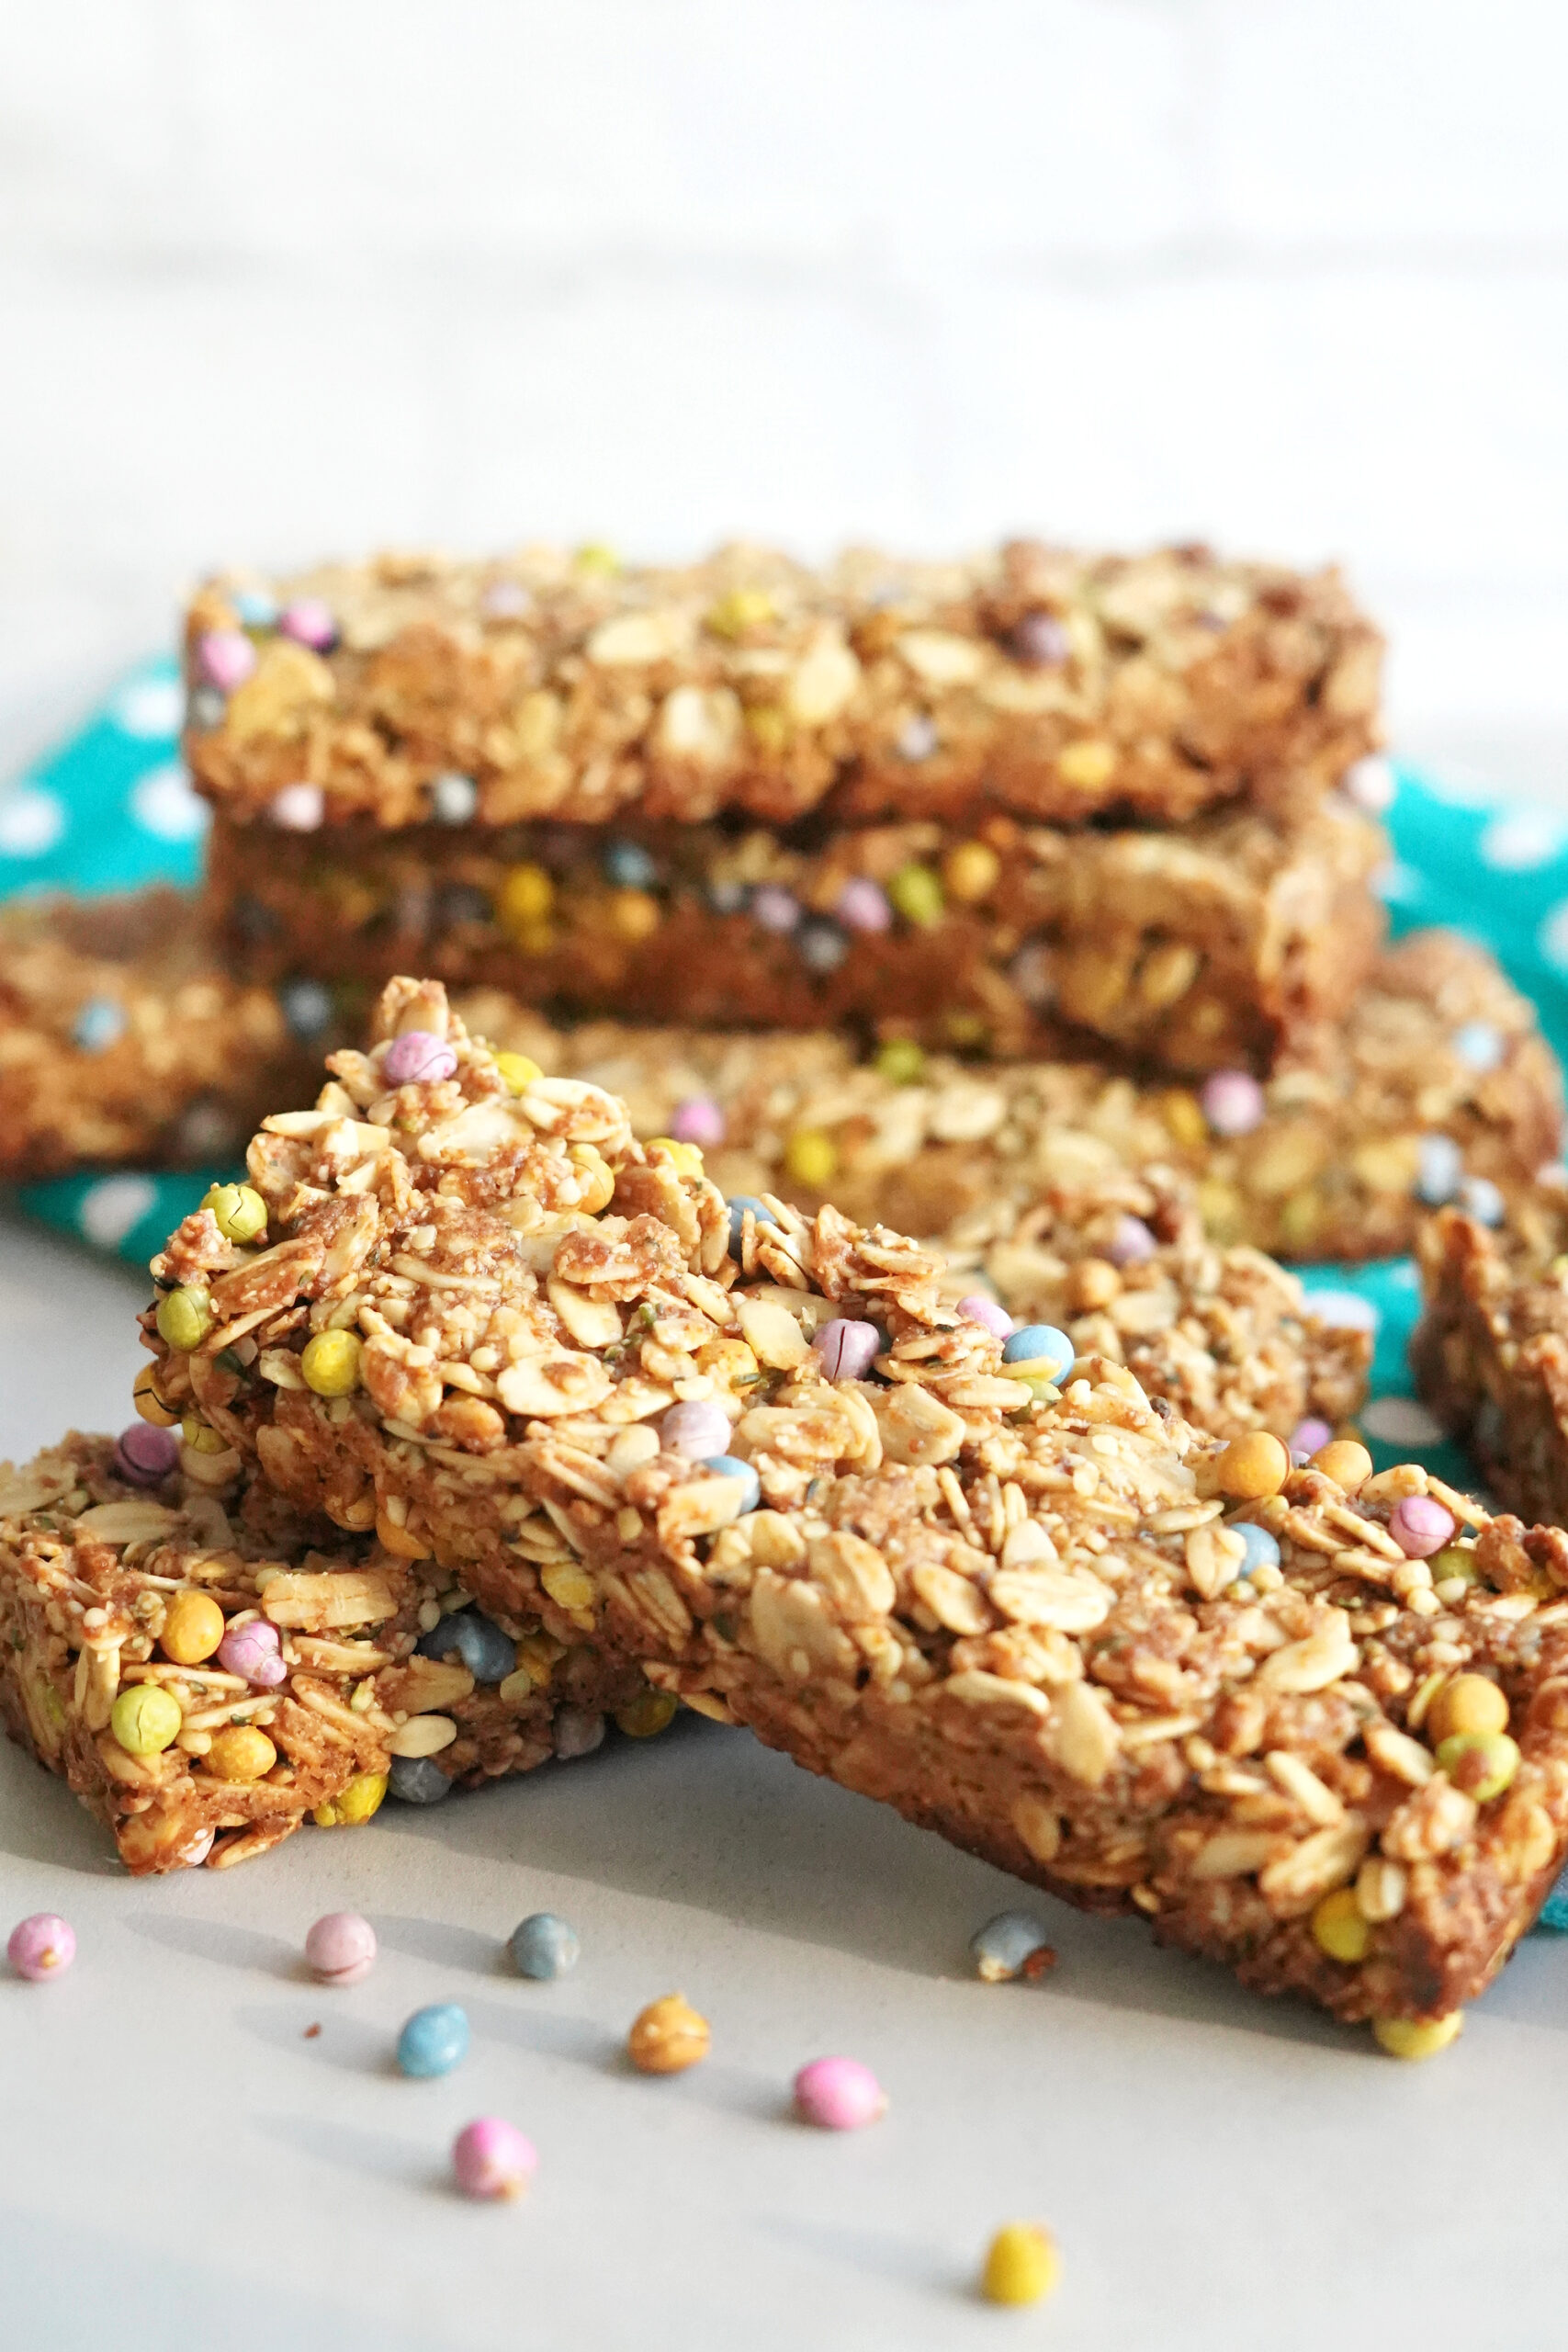
Super fun and super healthy granola bars with a yummy monster cookie spin!
Product links in this post are affiliate links. It does not cost you anything and helps maintain the free information on this site, as well as answer the question of “what brand do you use?” Please know I never personally recommend any product I wouldn’t use on my own family.
Keeping up…
Three teenagers. THREE! This has actually been one of my favorite seasons of motherhood, but my goodness…can these teenagers EAT! If you have active teens (or really any aged kid!) in the house, I have a fun and easy new snack to add to your pantry stash so you can attempt to keep up with those busy appetites!

Making every bite count
Ever since my kids were little, you’ve heard my mantra on this blog space…“make every bite count!” Back then, it was because little bellies meant smaller portions, and I always wanted to make their little bites count. While those little bellies aren’t so little anymore, I still have found that making their meals and snacks more than empty calories makes a huge difference in keeping them full, as well as their school and sports performances at their best.

Monster cookies…but make it count!
So when I happened to be looking through my cupboards one day and found a stray bag of naturally dyed candy-coated chocolates, I decided it might be fun to make a new snack with a fun monster cookie twist. I just love how the flavor of these granola bars came out just like a monster cookie (my Midwest readers…IYKYK!).
Let’s talk about those “make it count” ingredients!
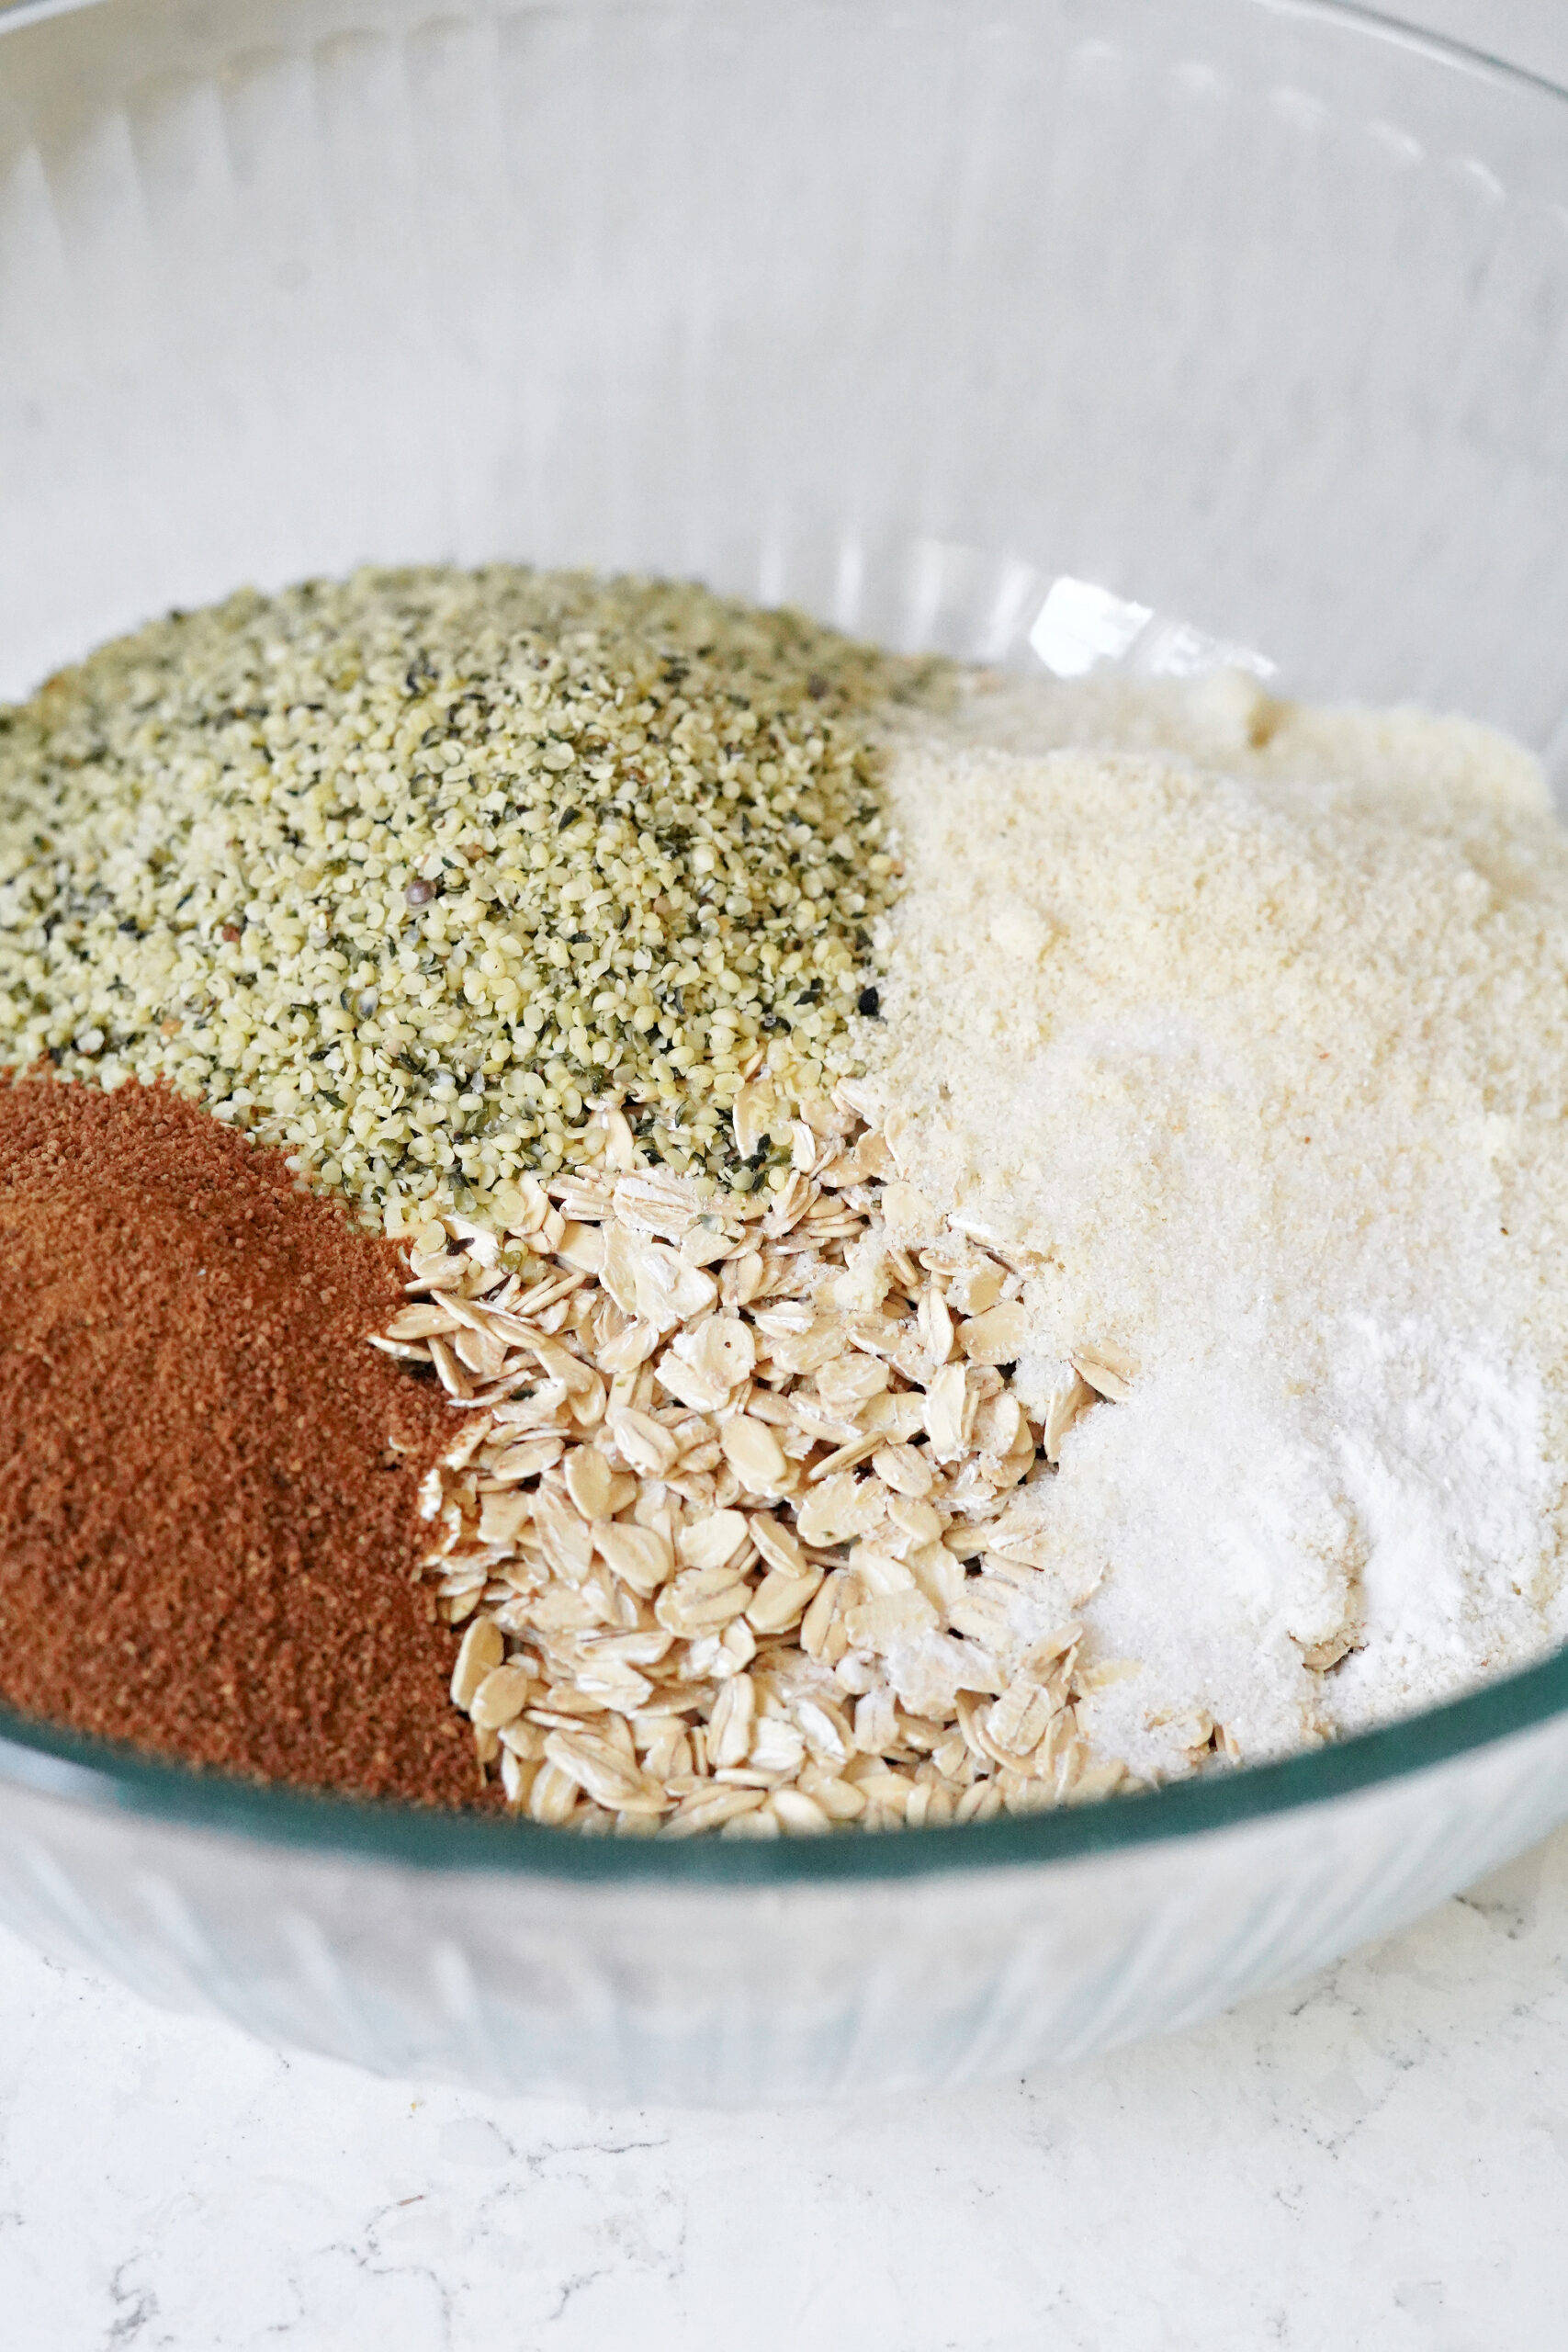
The base of the granola bars is packed with minerals, protein, fat, and fiber. Perfect for growing kids of any age! To get your granola bars started, use just one bowl to mix up all of the dry ingredients. I used more than just oats for the base to get nutrient variety, but if you cannot have or do not have hemp hearts or almond flour, you can swap those for more oats. Or, you can swap things up even more by using coconut shreds, millet, or buckwheat groats.
Onto the most fun part!
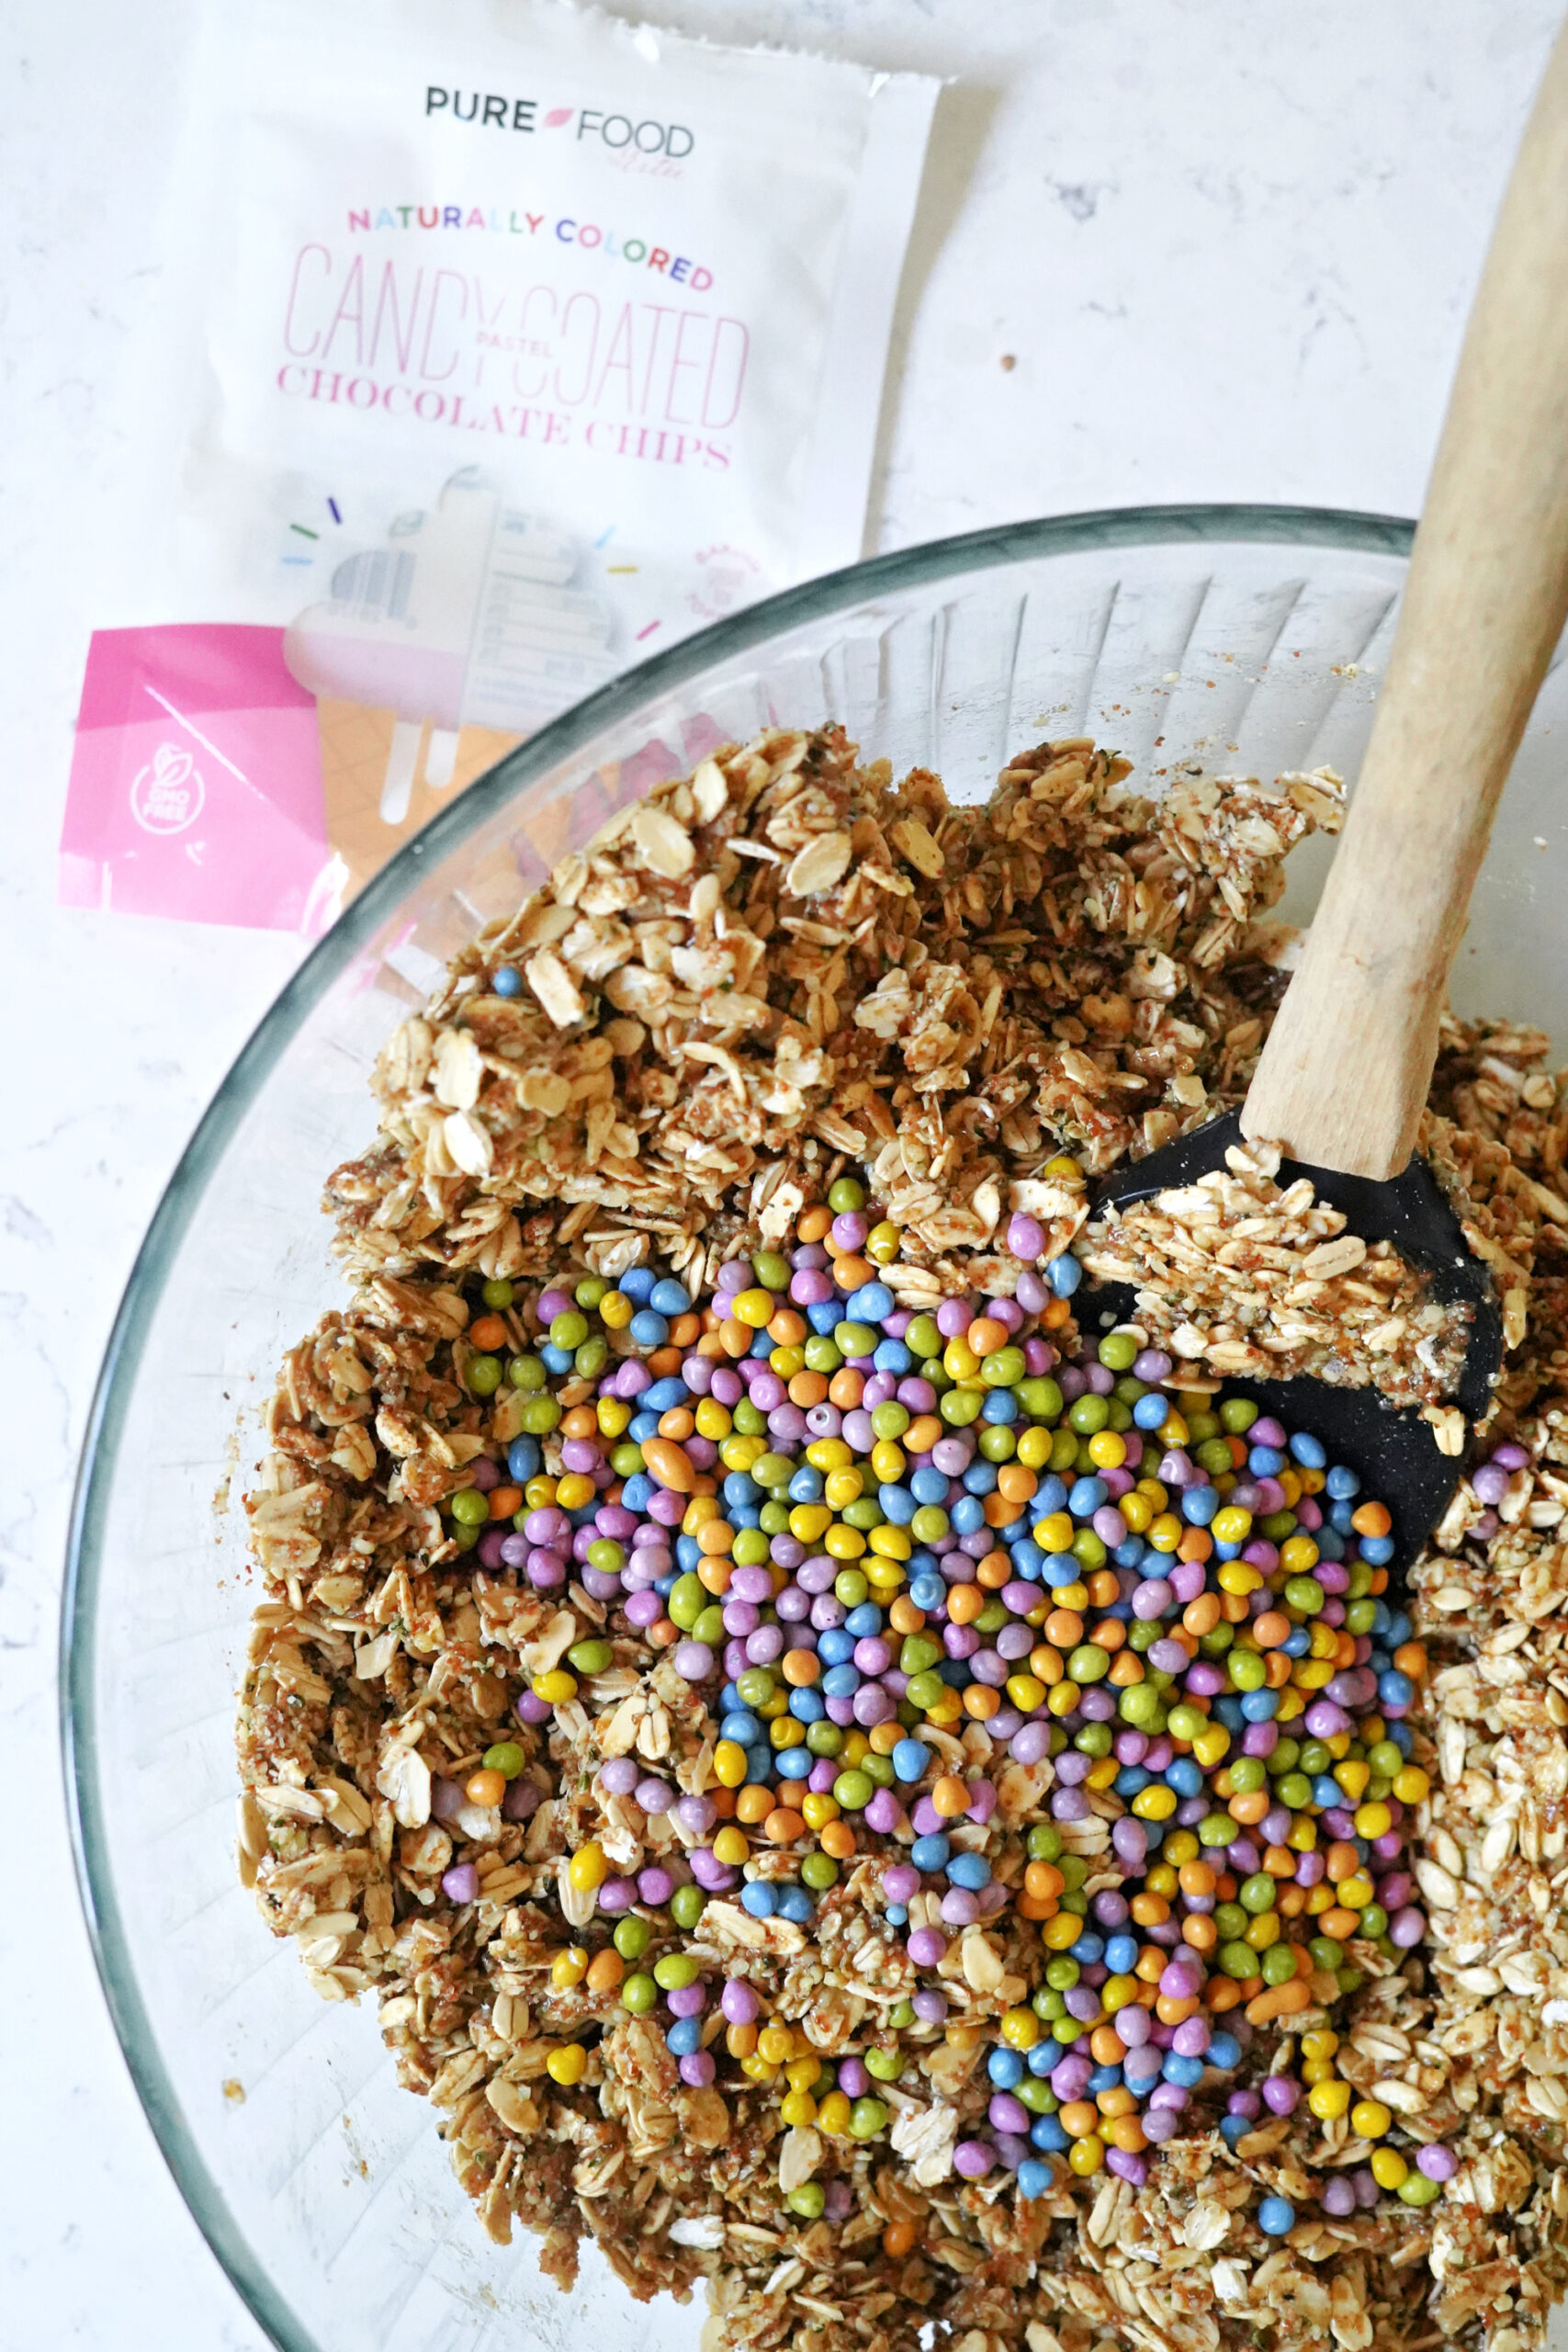
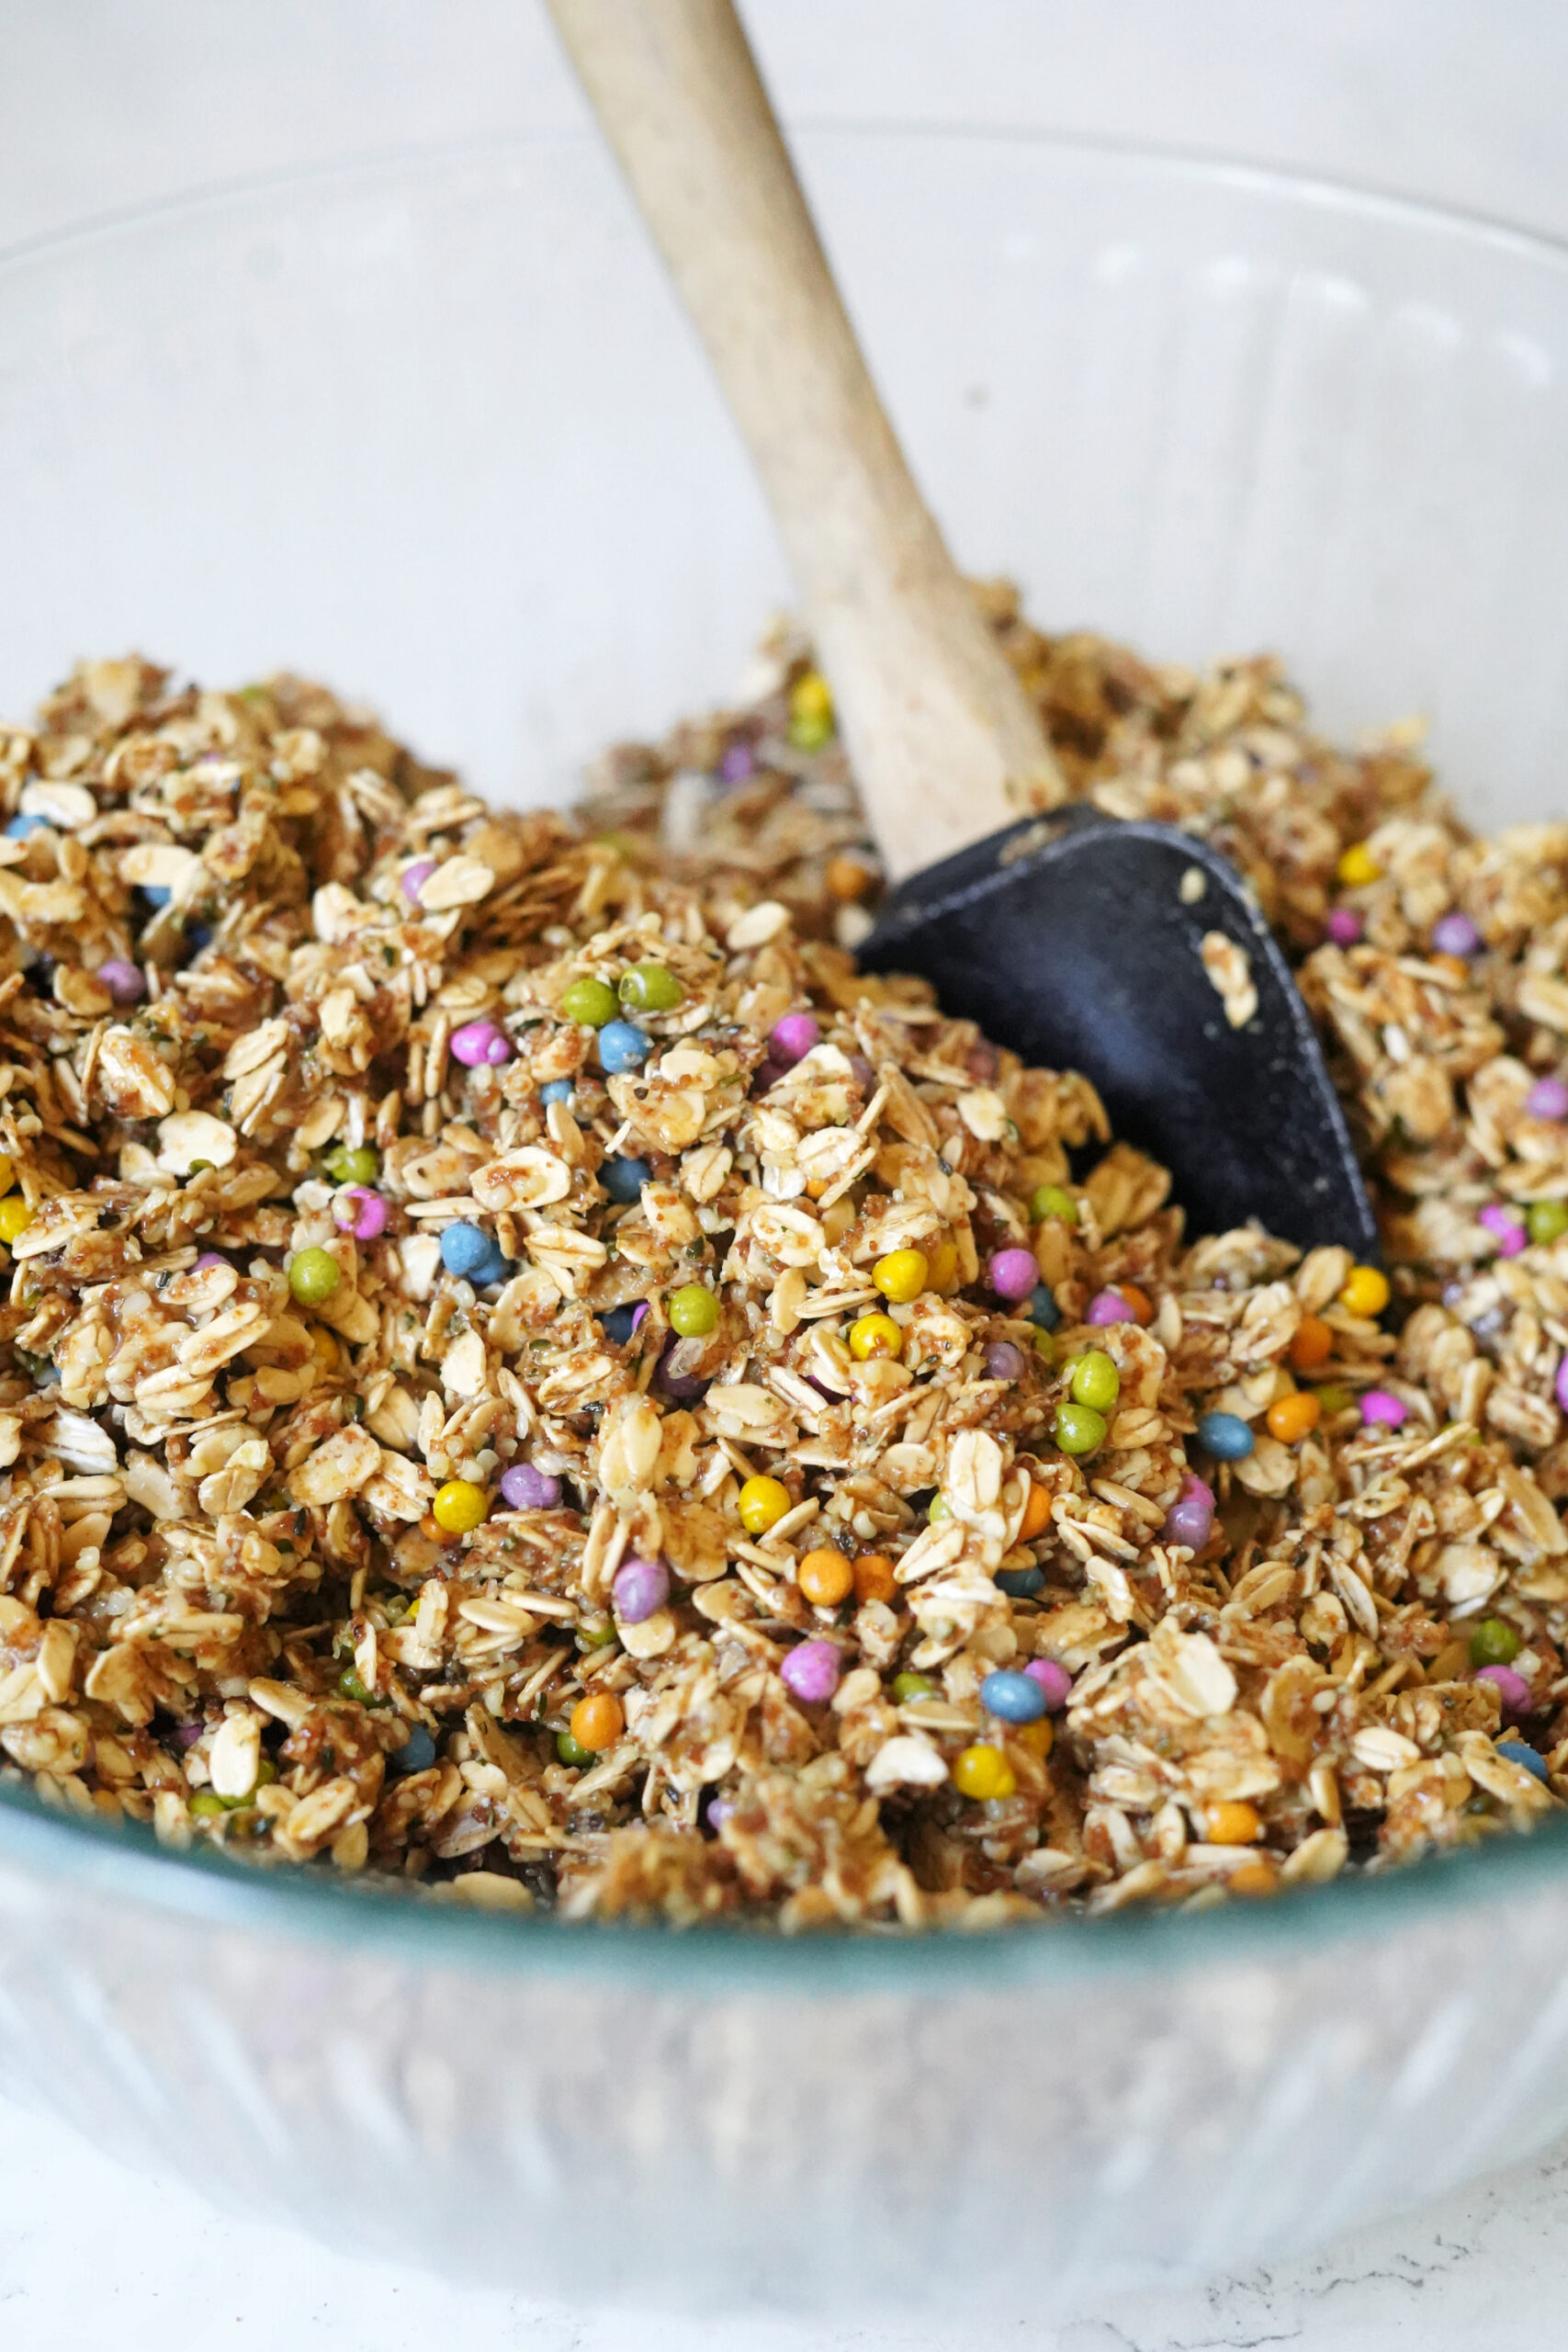
Once you have the melted coconut oil, peanut butter, and honey melted and mixed into the dry ingredients, you can add the candy-coated chocolates. I had these naturally dyed candy-coated mini chocolates in my pantry to use for these granola bars. It was my last bag, so when I went to order more, I found these newer ones that are a better price per ounce! And then this brand of candy-coated chocolates looks more like a typical “M&M” shape, so if your kids will gravitate more toward that, this is a good find at a similar cost.
How to bake your monster cookie granola bars
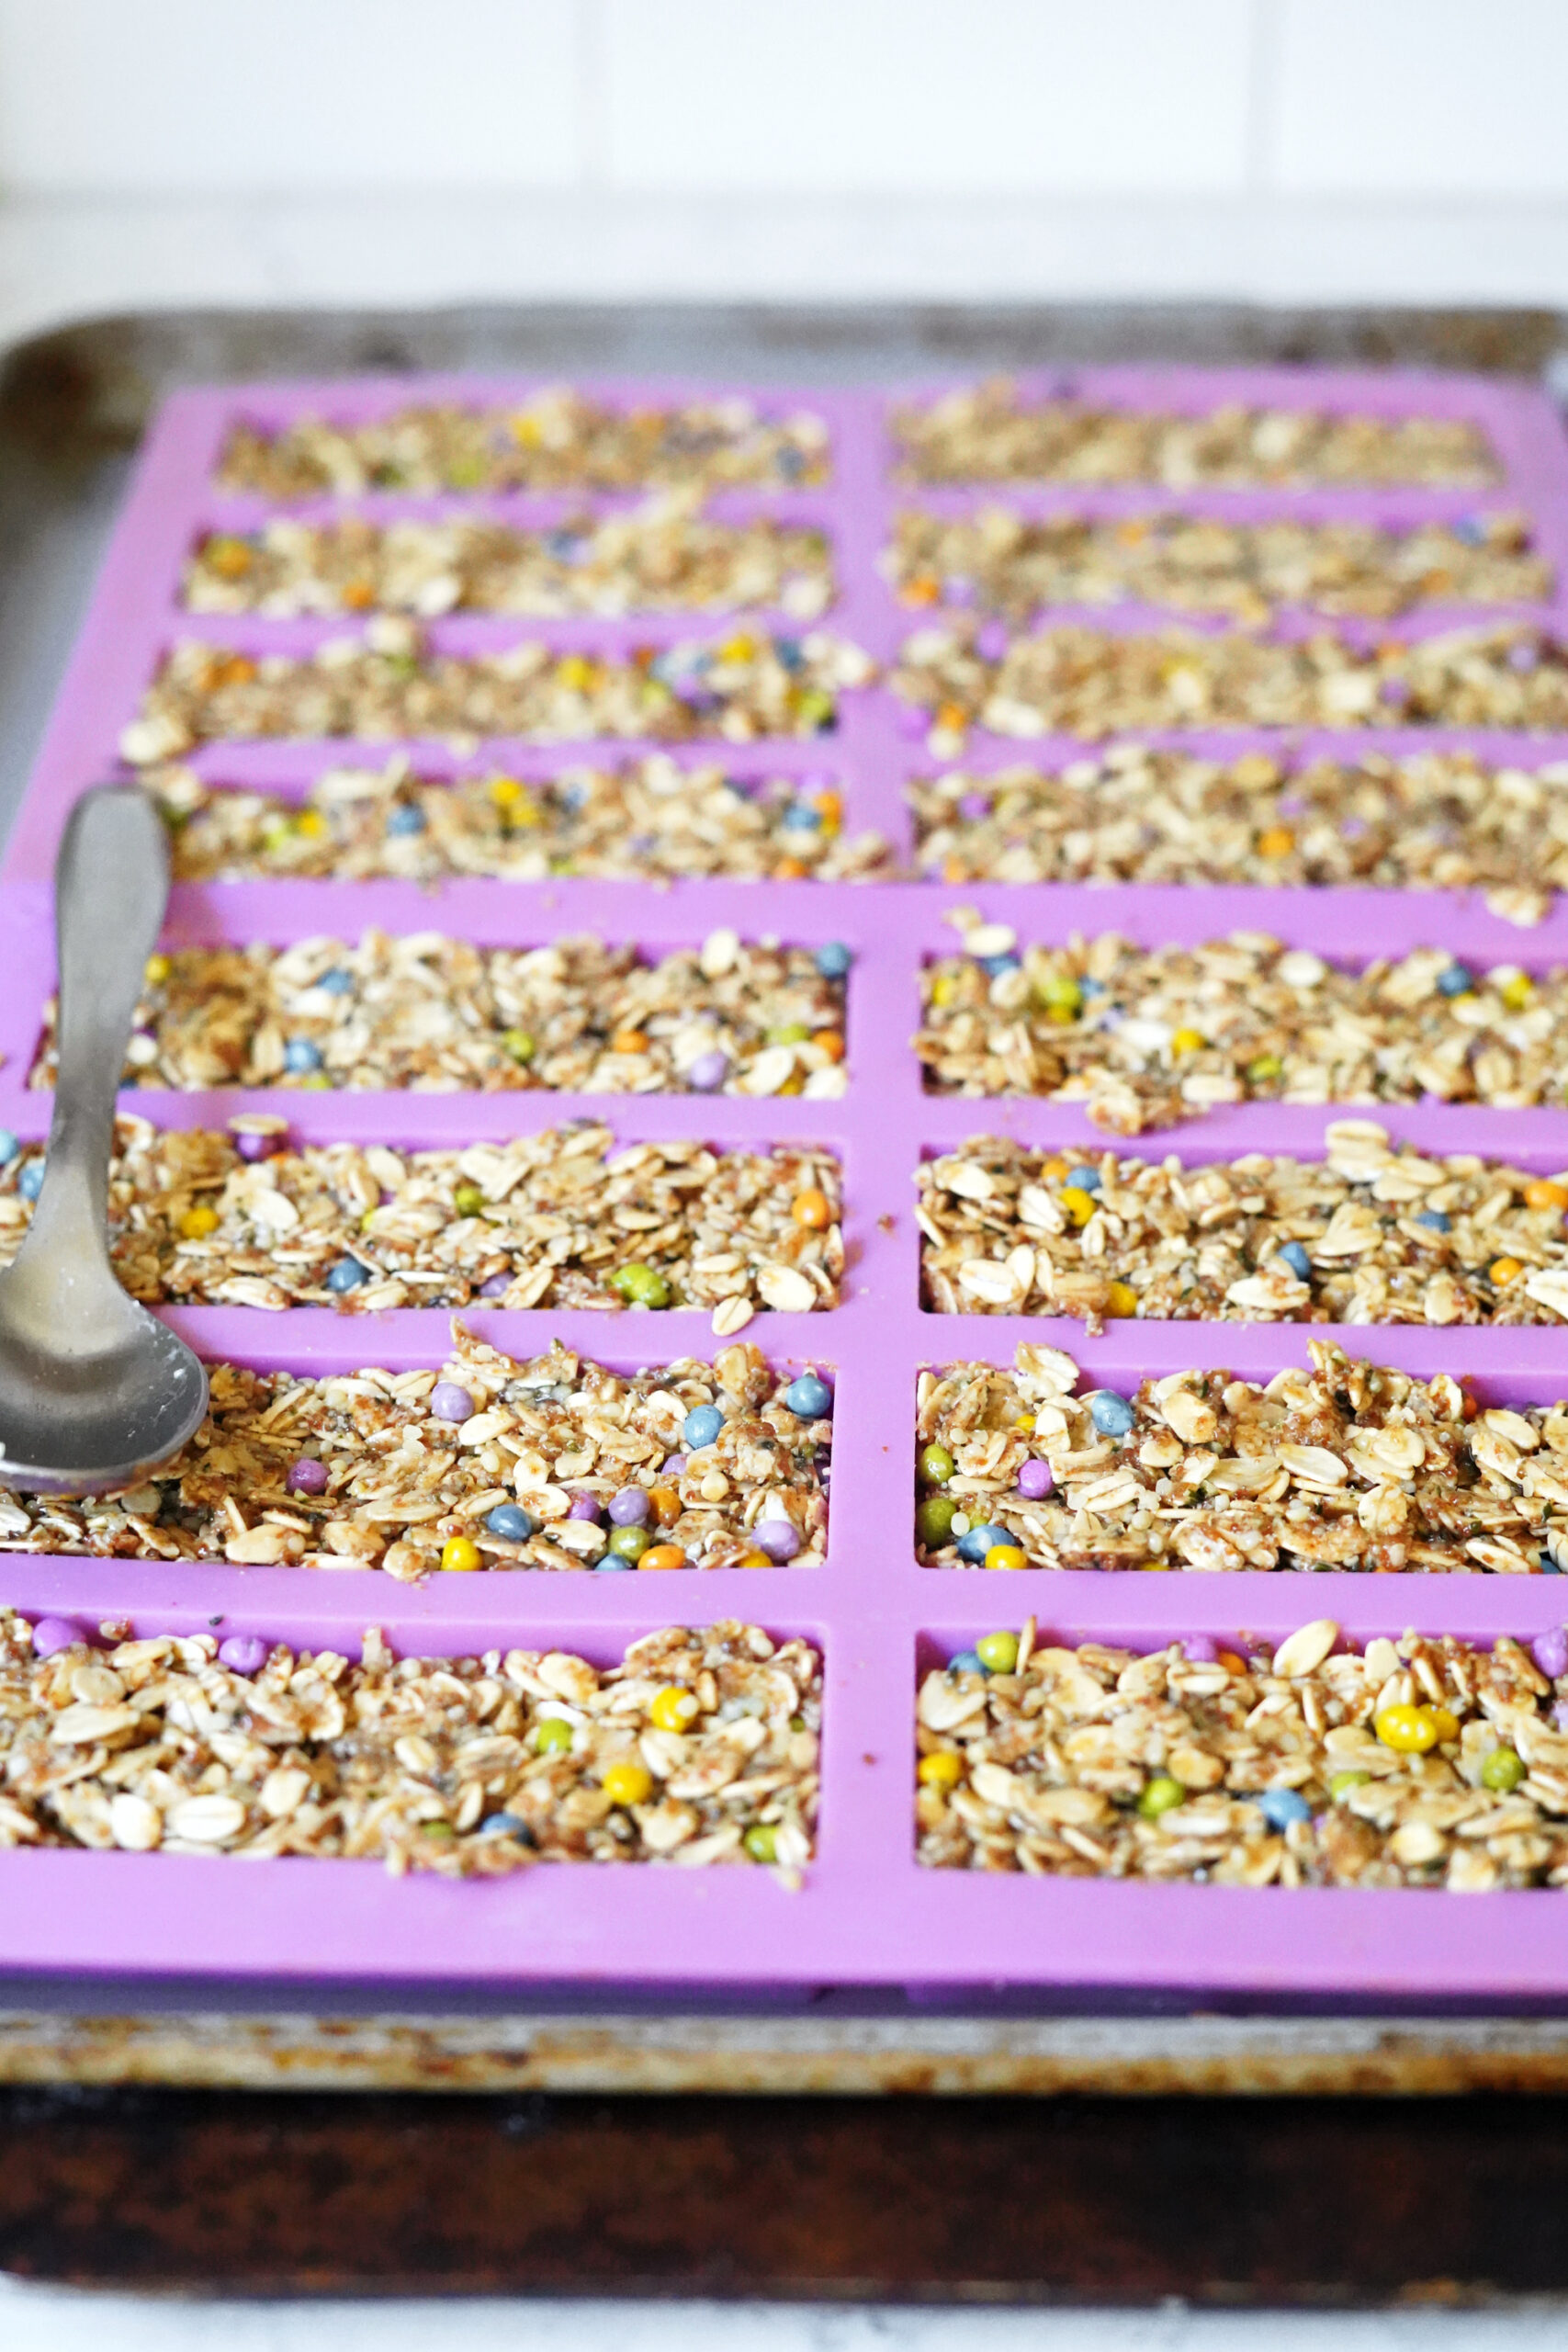
I have been using these granola bar pans for multiple years now. They are so convenient if you happen to make granola bars often. If this is your first time making them, just use an 8×8 or 9×9 baking pan lined with parchment paper. Simply press the granola bar mixture into the granola bar pan or prepared baking pan before baking. I like to dump the whole bowl onto the granola bar pan, spread it out with a spoon, then press it in. For a baking pan, use the back of a cup or measuring cup to press the mixture into the pan. (By the way! I LOVED these mini granola bar pans when the girls were smaller – it is perfect for households with younger kids and tiny hands!)
Special tips for baking and cooling
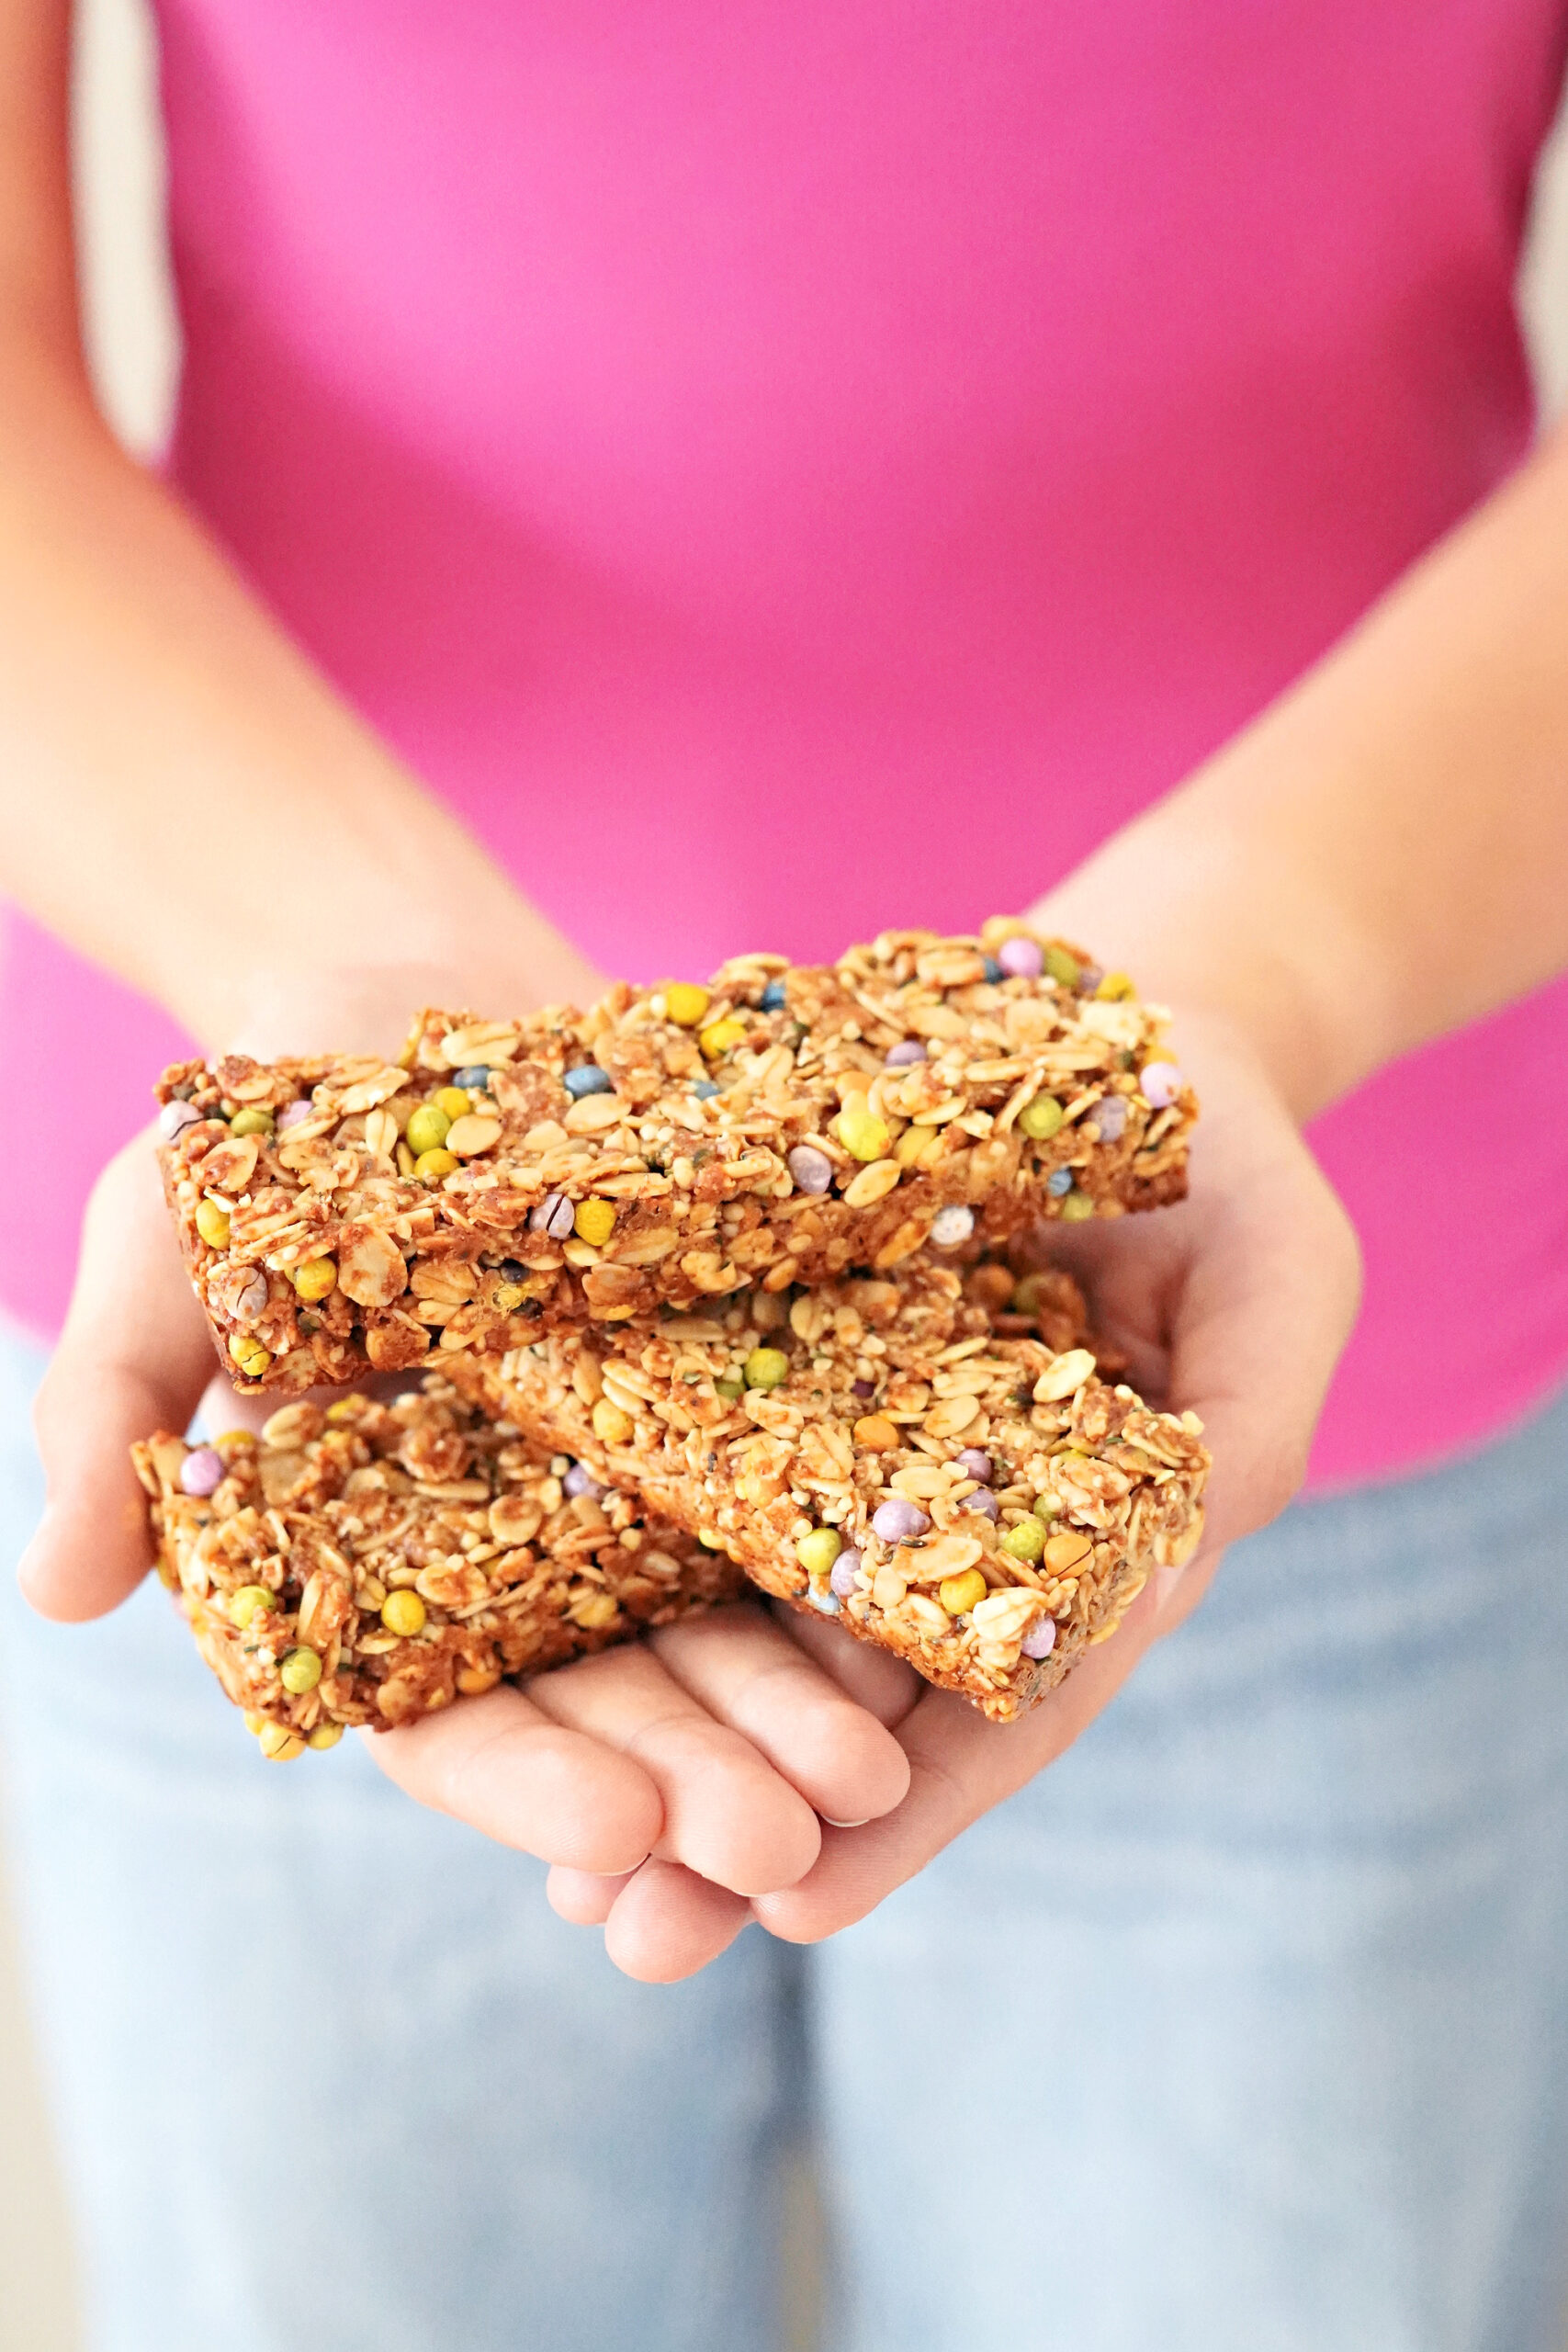
As with any granola bar, they will come out of the oven soft and harden as they cool. Don’t fuss with them until they cool off! If you are using a baking pan, you can lift the granola bar square out of the pan once cooled, and then cut them with a long, sharp knife. The bars in a granola bar pan will just pop right out!
Storing the monster cookie granola bars
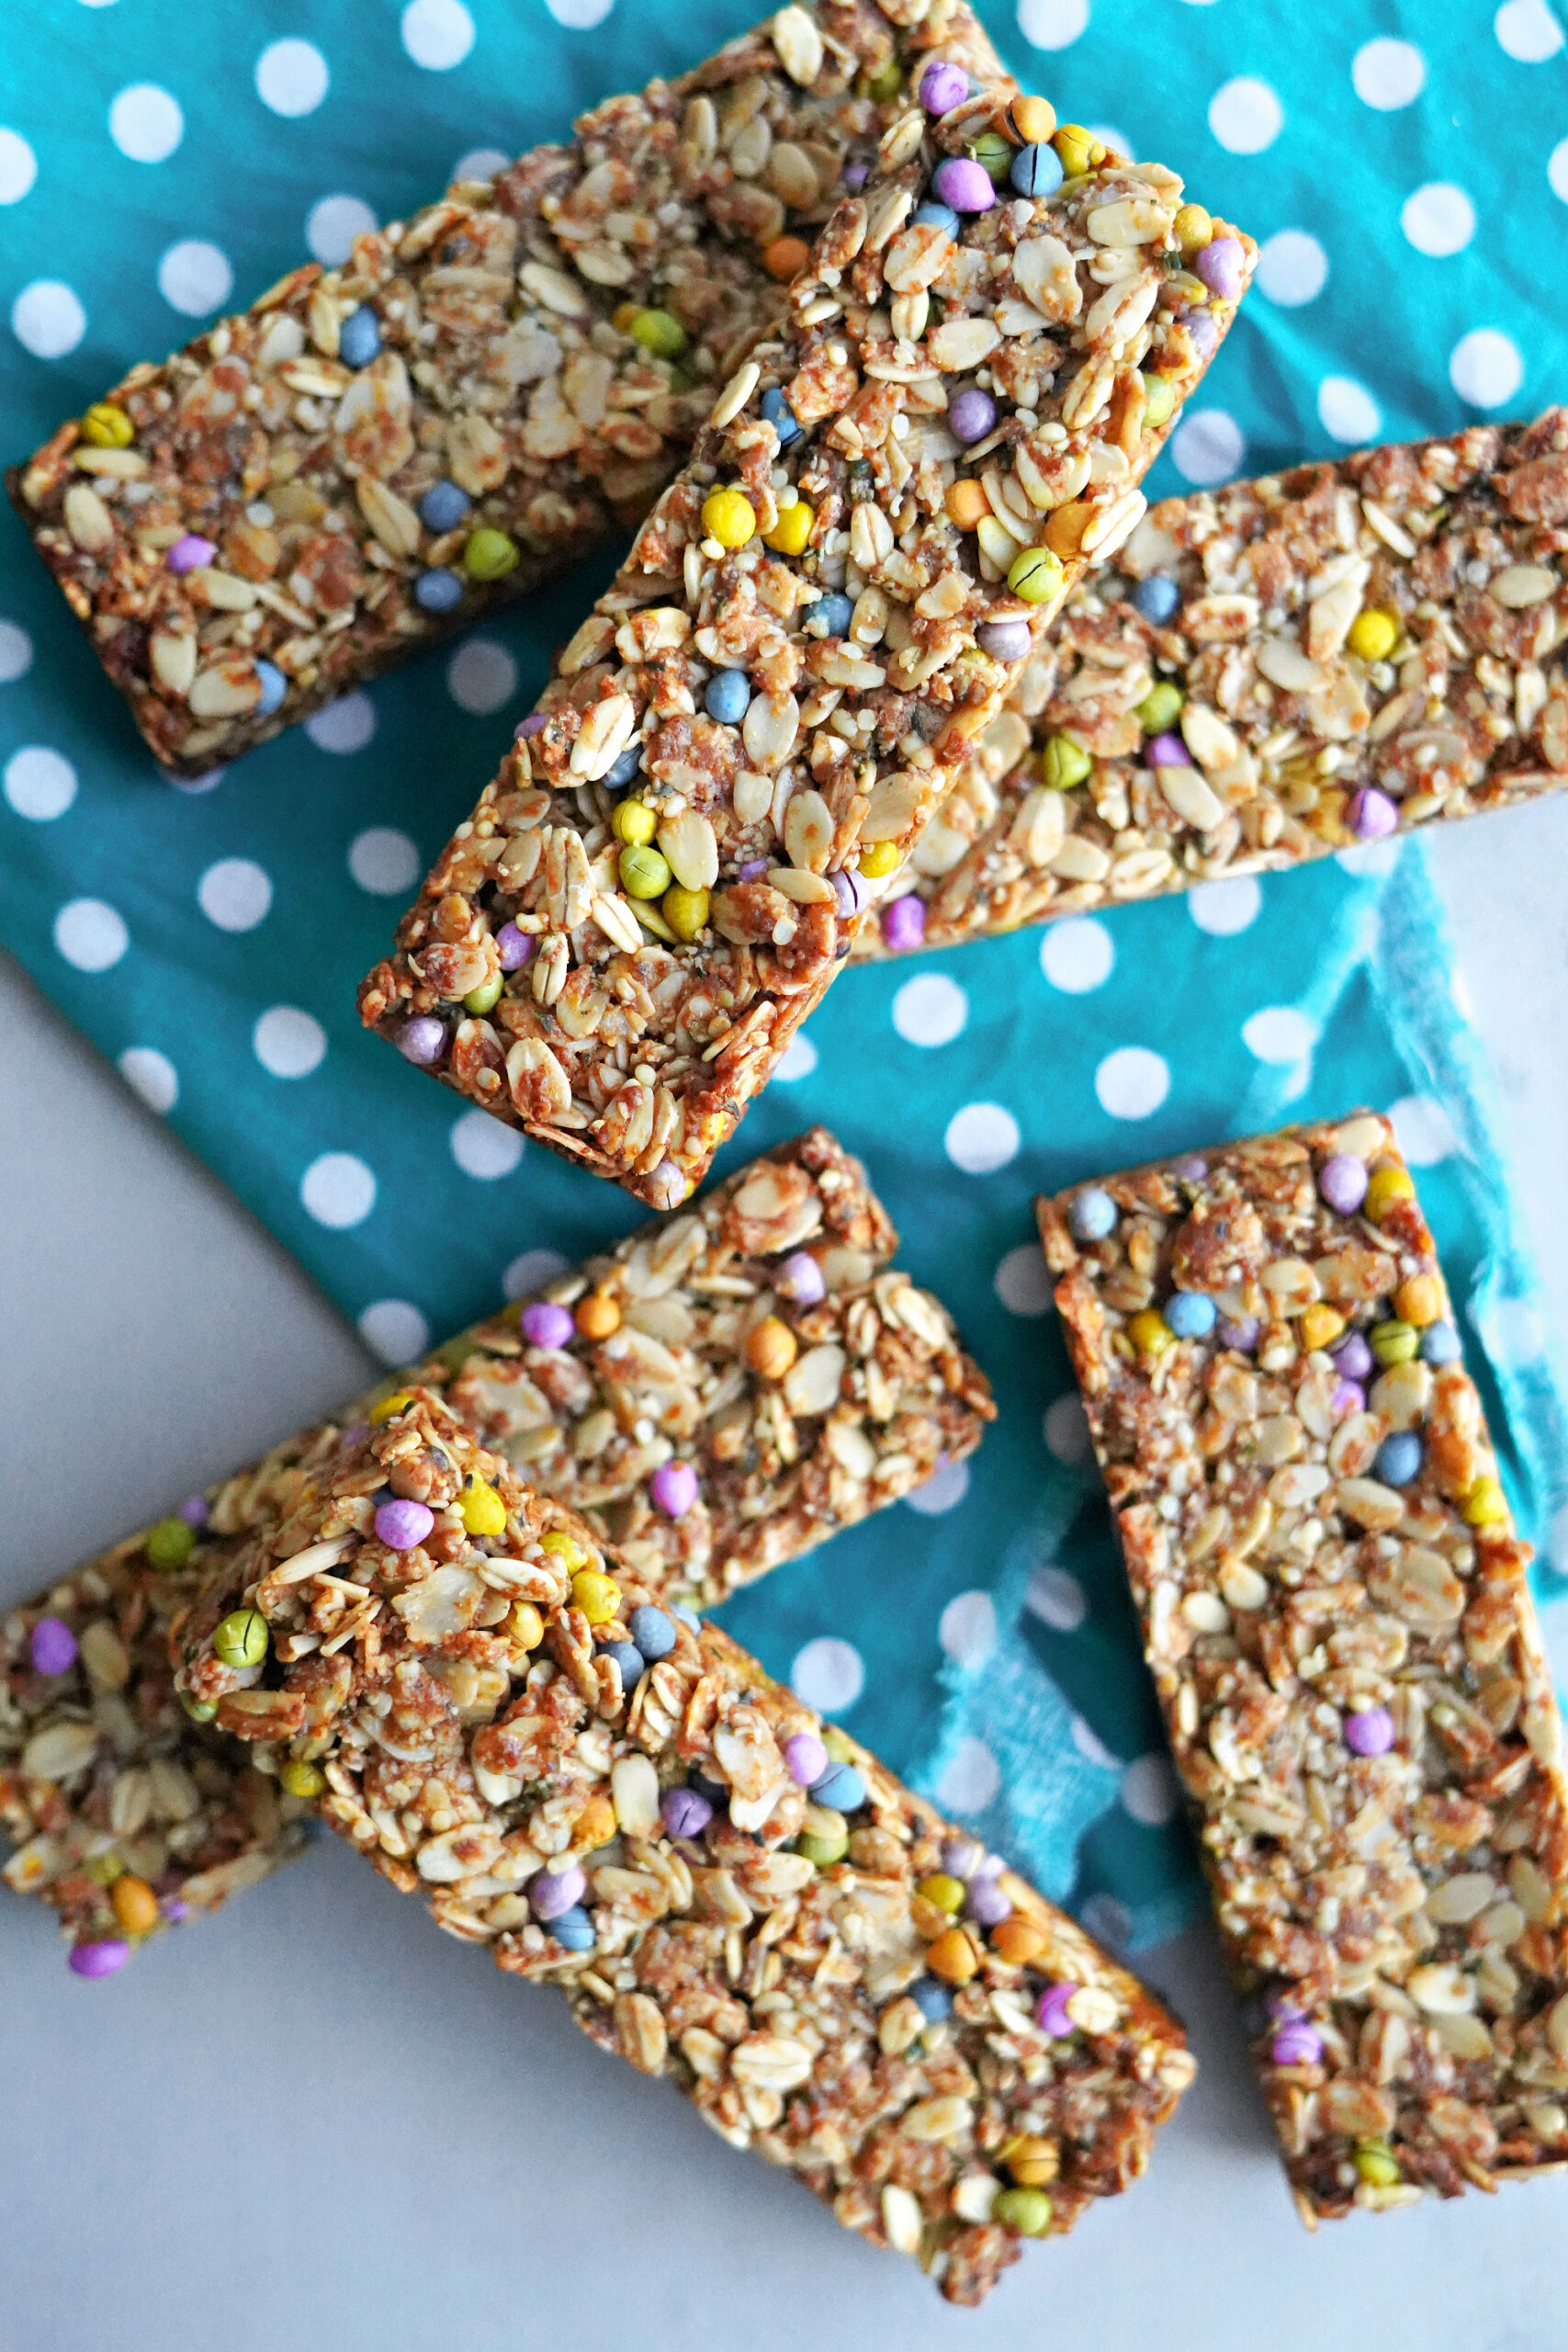
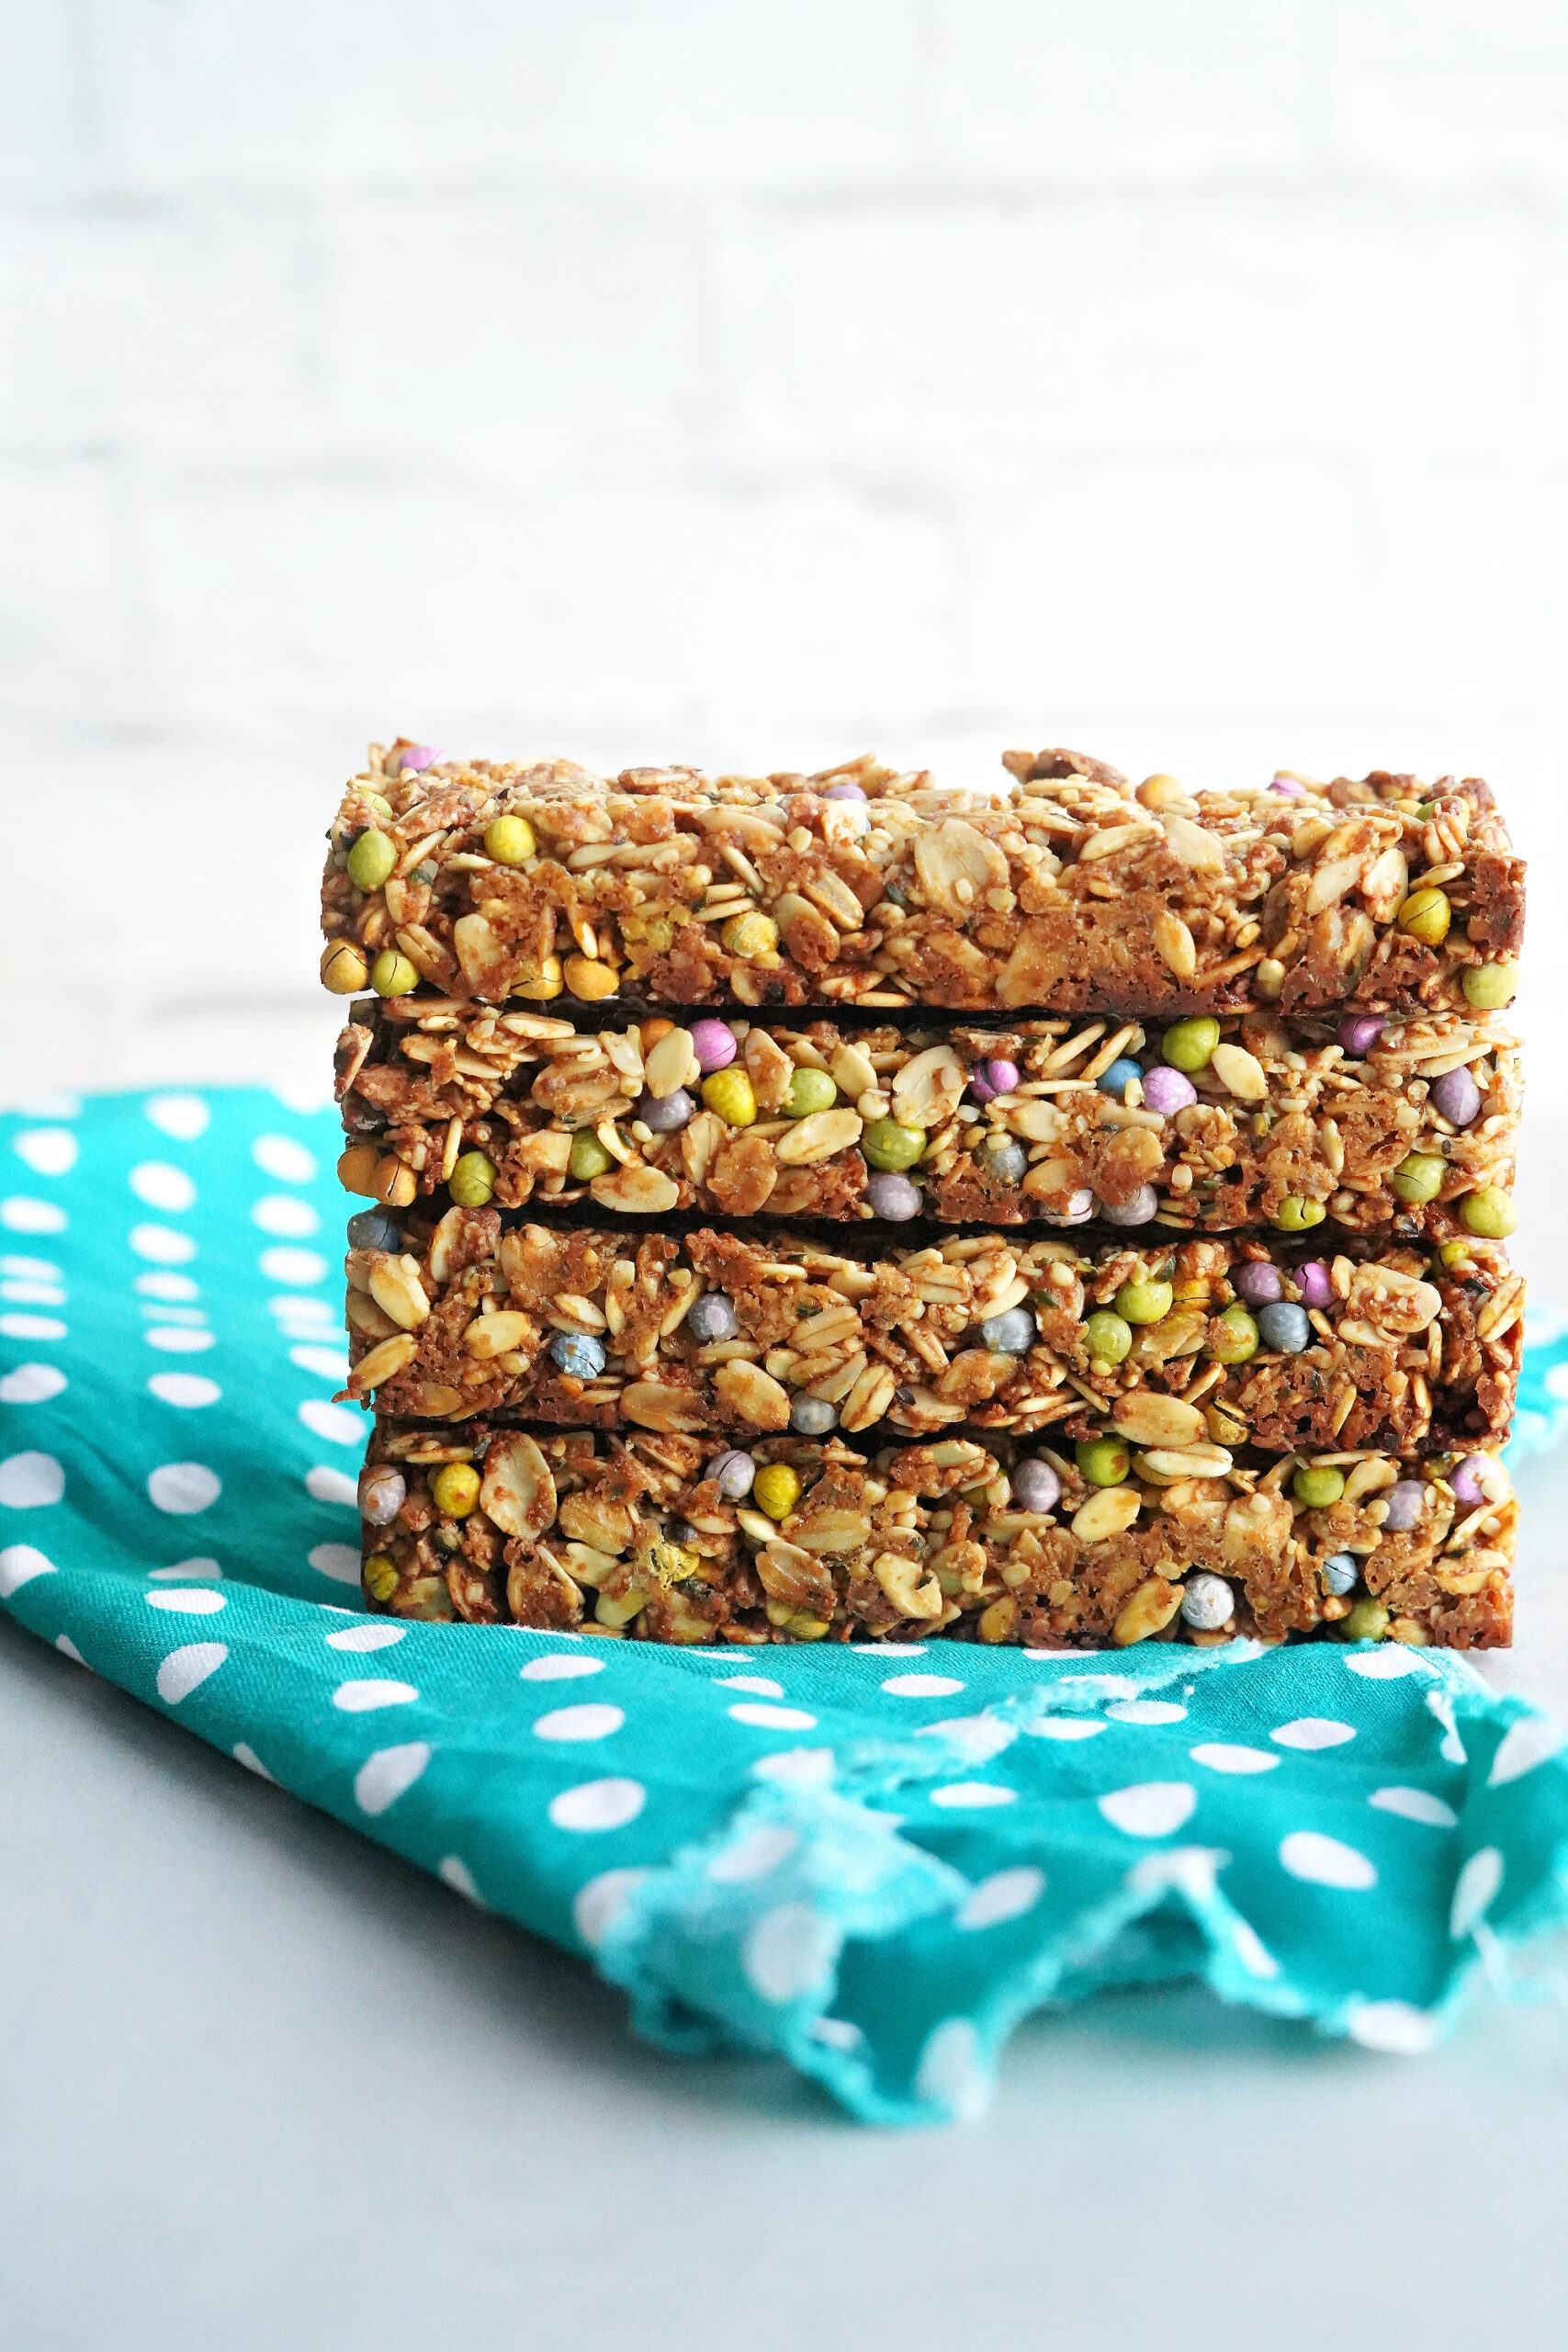
The granola bars can be stored in an airtight container in the pantry, just like regular granola bars. You can even wrap them individually if you find that is easier for grab and go. My kids tend to pack them in their lunchboxes or snack containers.
Nut free? No problem!
If you wan to make the bars nut free, swap the almond flour for ground up seeds of any kind – I would stick with sunflower seeds if you don’t want to change the color too much. Pumpkin seeds are great too, but they are green and might turn some kids off. You can also use sunflower butter instead of peanut butter.
Naturally Dyed Monster Cookie Granola Bars!
Ingredients
- 4 cups oats
- ¾ cup hemp hearts
- ½ cup almond flour
- ½ cup coconut sugar
- ½ tsp sea salt
- 1/8 tsp baking soda
- 1/3 cup coconut oil or butter
- 1/3 cup peanut butter
- ½ cup honey
- 1-2 tsp vanilla extract
- ¾ cup naturally dyed candy coated chocolates See Notes for some great brands that I have found!
Instructions
- Pre-heat the oven to 325 degrees. If you plan to use granola bar molds, place them on a baking sheet. If you are going to use a baking pan, you can line two 8×8 or 9×9 baking pans with unbleached parchment paper so the paper hangs off the sides (This helps pull them out of the pan to cut them easier later).
- Put the oats, hemp hearts, almond flour, coconut sugar, sea salt, and baking soda in a medium mixing bowl and stir to combine.
- Melt the coconut oil and peanut butter in a small sauce pan until it is liquid, and then add the honey to melt. Add the vanilla extract and then mix the melted liquid ingredients completely into the dry ingredients in the mixing bowl.
- Stir in the naturally dyed candy coated chocolate, and then press the granola bar mixture into your granola bar molds, or into your baking pan. I use the back of a spoon to press them into a granola bar mold. When I make granola bars in a baking pan, I use the bottom of a measuring cup to press the mixture in.
- Bake the granola bars at 325 degrees until golden on the top. For these small granola bar molds, it takes 15 minutes. For these larger granola bar molds, it takes 25 minutes. The baking pans should take between 25-30 minutes.
- Let the granola bars COOL COMPLETELY before taking them out. You'll be able to pop the granola bars out of the molds. If you are using a baking pan, pull the parchment paper up to take the granola bars out of the pan, and then cut them with a long sharp knife.
Notes
- I use these hemp hearts from Costco, but there are other brands, so you can compare prices and choose what works best for you!
- If you are at a nut-free school, swap the almond flour for ground up seeds of any kind – I would stick with sunflower seeds if you don’t want to change the color too much. Pumpkin seeds are great too, but they are green and might turn some kids off. You can also use sunflower butter instead of peanut butter.
- I had these naturally dyed candy coated mini chocolates in my pantry to use for these granola bars. It was my last bag, so when I went to order more, I found these newer ones that are a better price per ounce! And then this brand of candy coated chocolates looks more like a typical “M&M” shape, so if your kids will gravitate more toward that, this is a good find at a similar cost.
- I have been using these granola bar pans for multiple years now. They are so convenient if you happen to make granola bars often. If this is your first time making them, just use an 8×8 or 9×9 baking pan lined with parchment paper. Simply press the granola bar mixture into the granola bar pan or prepared baking pan before baking. I like to dump the whole bowl onto the granola bar pan, spread it out with a spoon, then press it in. For a baking pan, use the back of a cup or measuring cup to press the mixture into the pan. (By the way! I LOVED these mini granola bar pans when the girls were smaller – it is perfect for households with younger kids and tiny hands!)