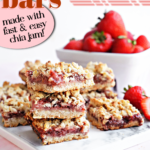
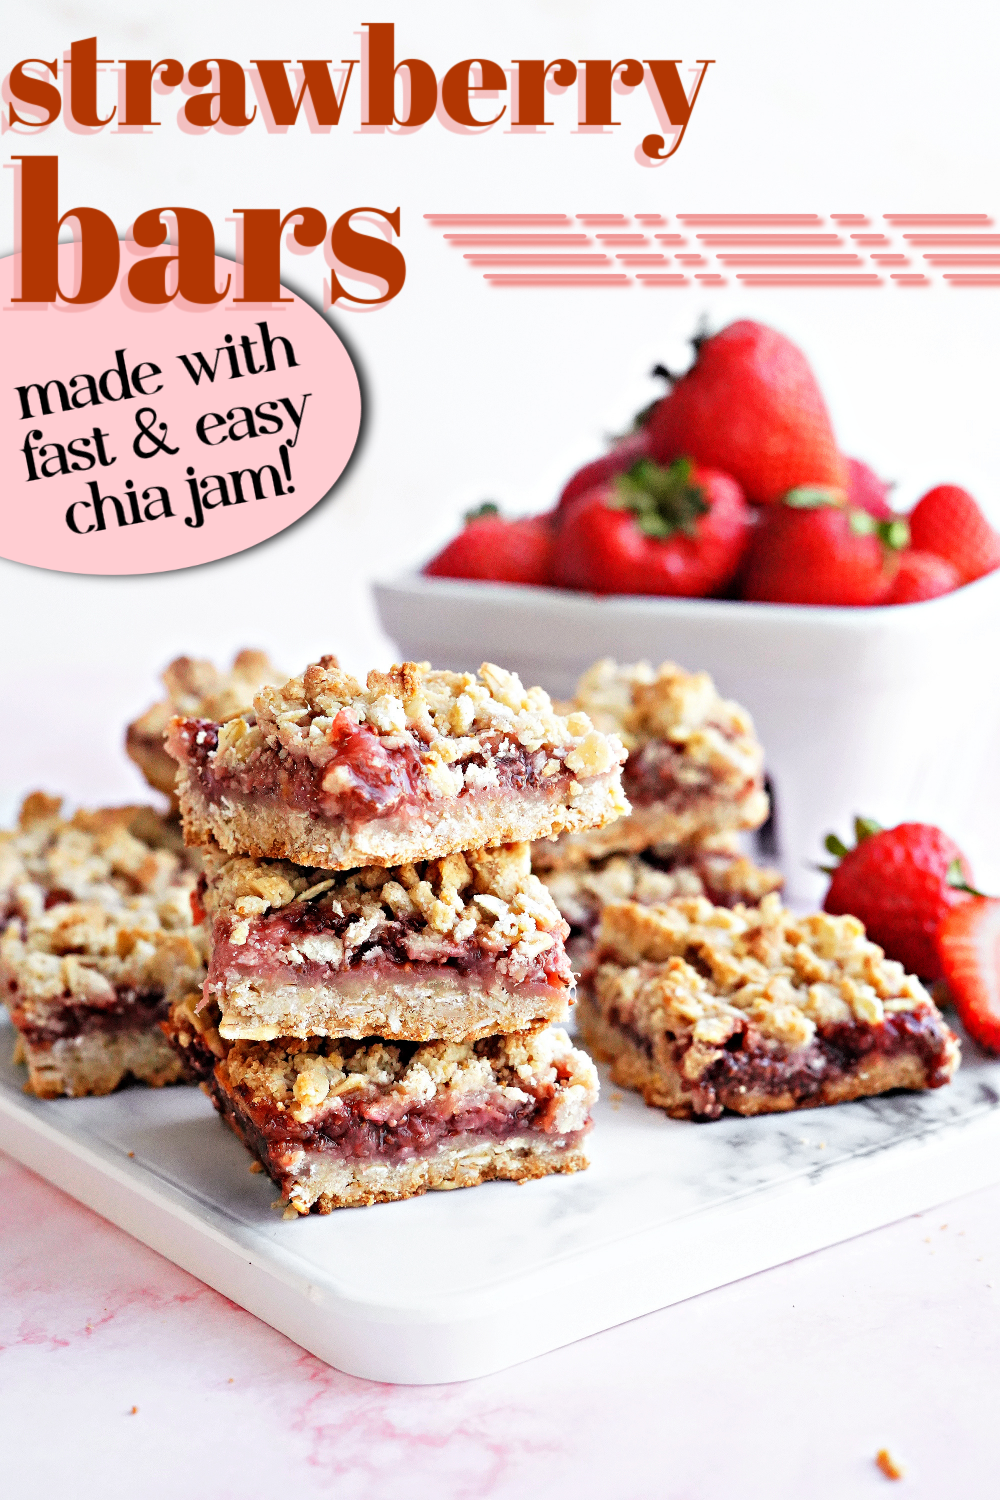
These strawberry bars have a honey-sweetened strawberry chia jam sandwiched between a yummy real food ingredient cookie crust and crumble!
Product links in this post are affiliate links. It does not cost you anything, and helps maintain the free information on this site, as well as answer the question of “what brand do you use?” Please know I never personally recommend any product I wouldn’t use on my own family.
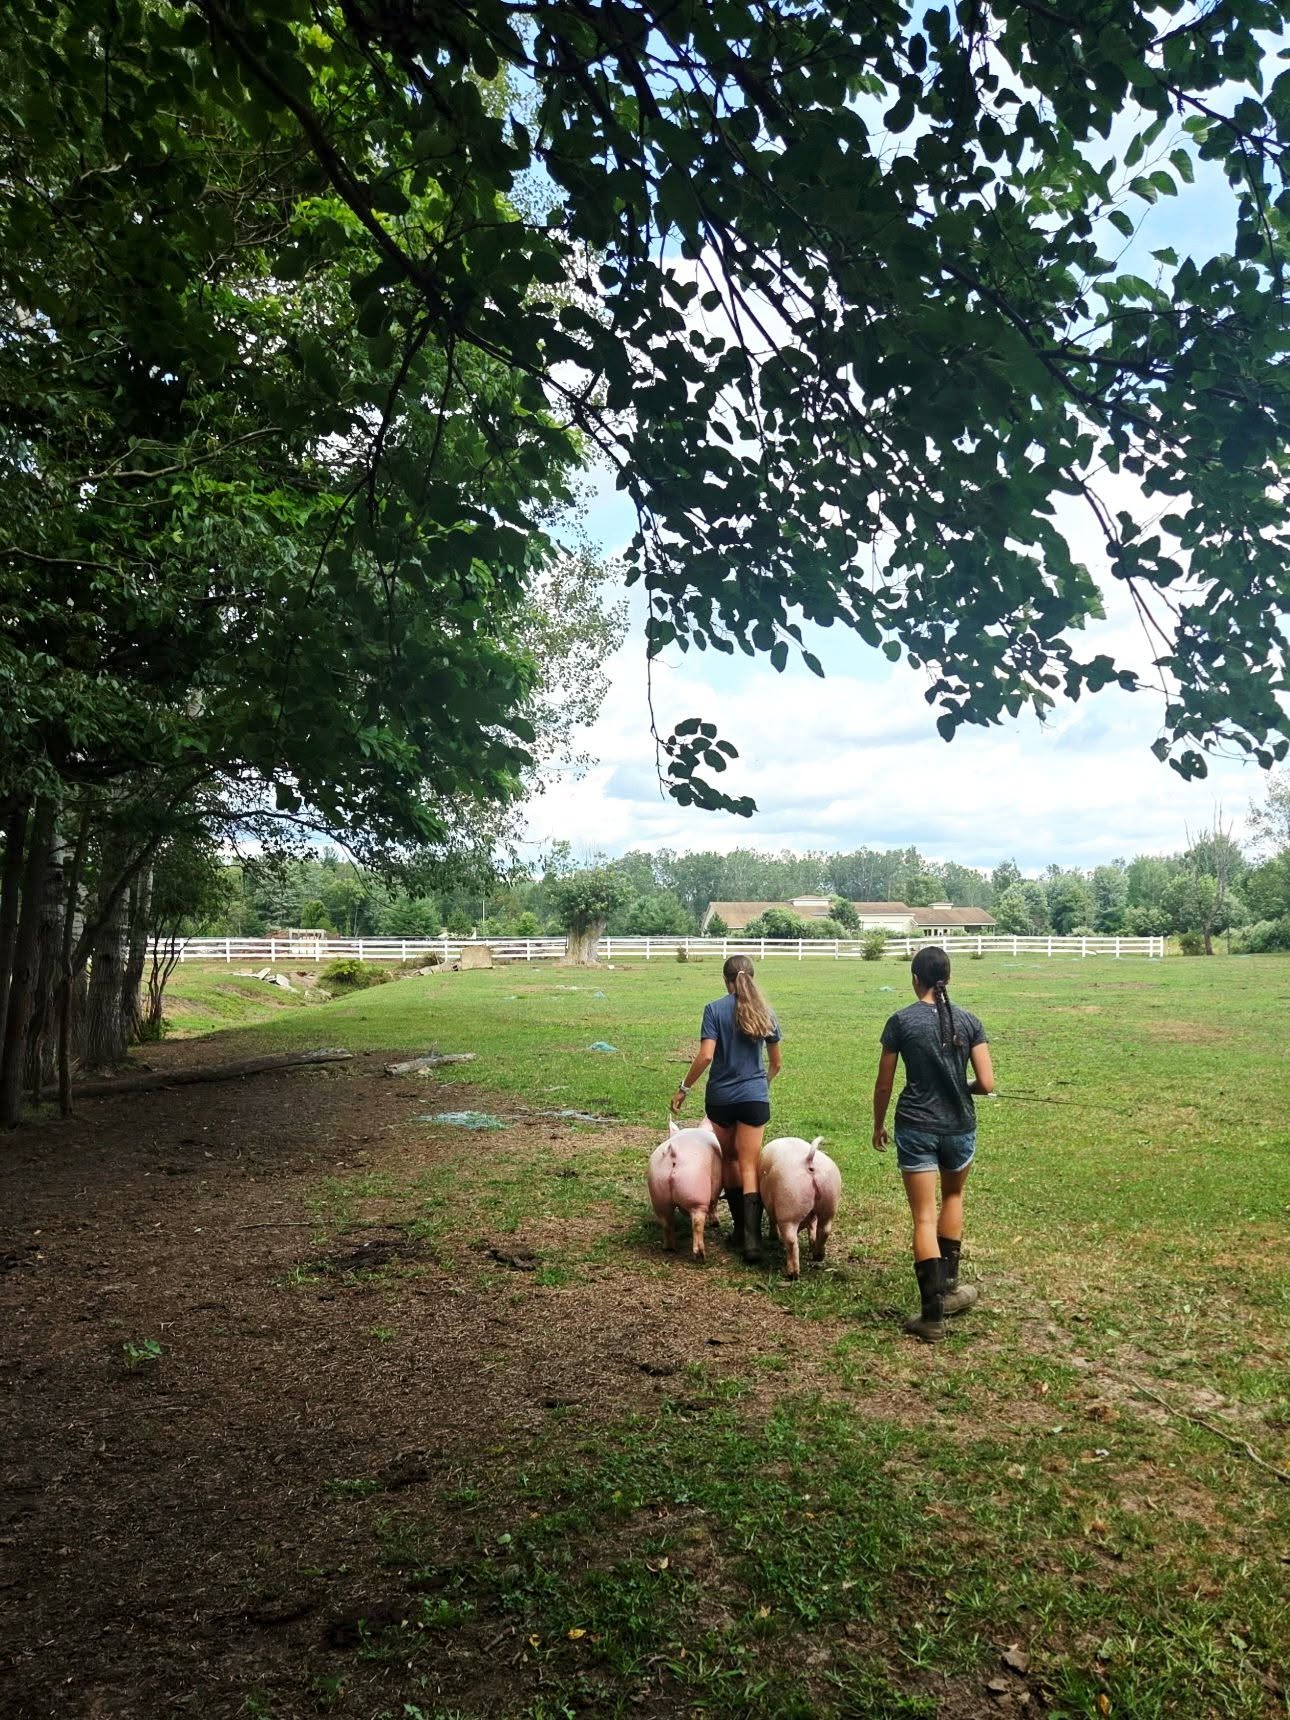
Little piggies love strawberry tops!
Who knew?! We have been going through SO many strawberries this summer. My older girls have been raising 4H pigs since early spring, and those spoiled little piggies get all of this real food writer’s kitchen scraps! They most definitely have favorites, and the tops of our strawberries are one of them!
What have we been doing with all those strawberries?!
Well, with 3 teenagers in the house, for the most part, they are just getting eaten fresh – by the pounds! But I have been playing around with this simple little strawberry bar recipe that we can use for breakfast additions and snacks, too!
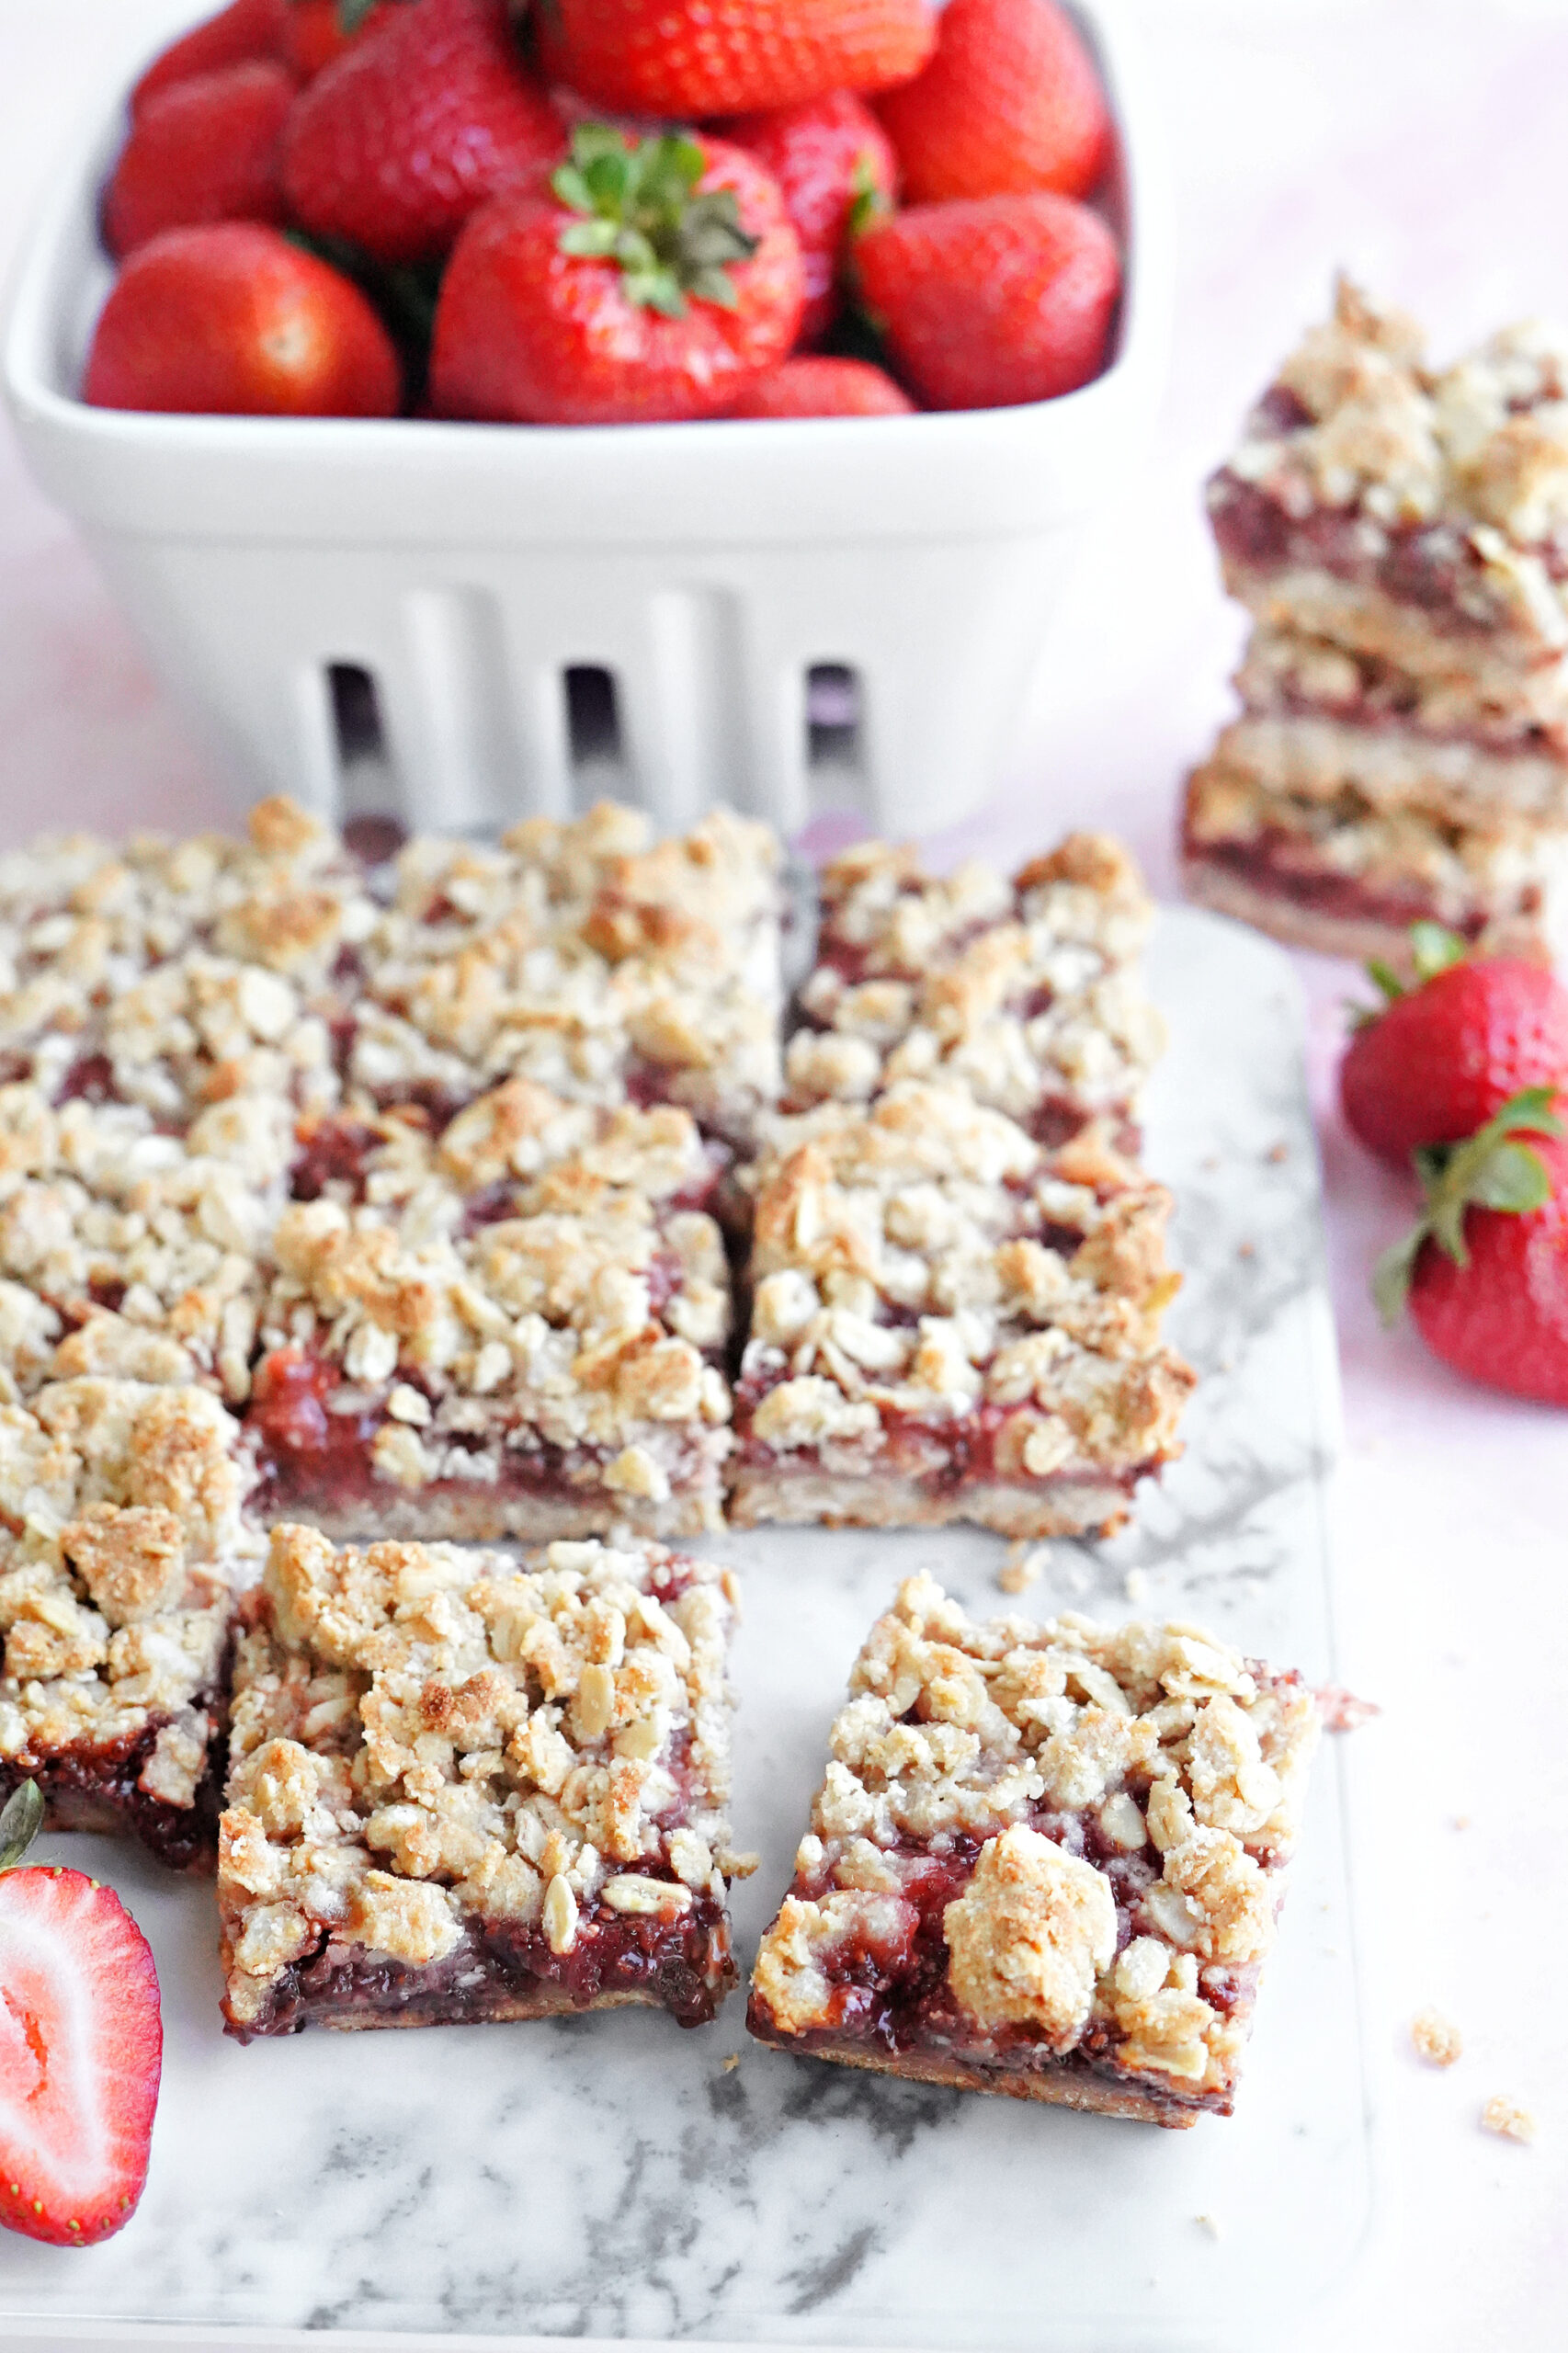
Aren’t strawberry bars usually a dessert?
Anyone who was born and bred in the Midwest would emphatically say yes! But this Midwest momma has learned how to spin some of our favorite Midwest concepts into recipes that we can feel much better about. Instead of cupcake-like sugar amounts, these strawberry bars are sweetened with just a little honey…and of course strawberries!
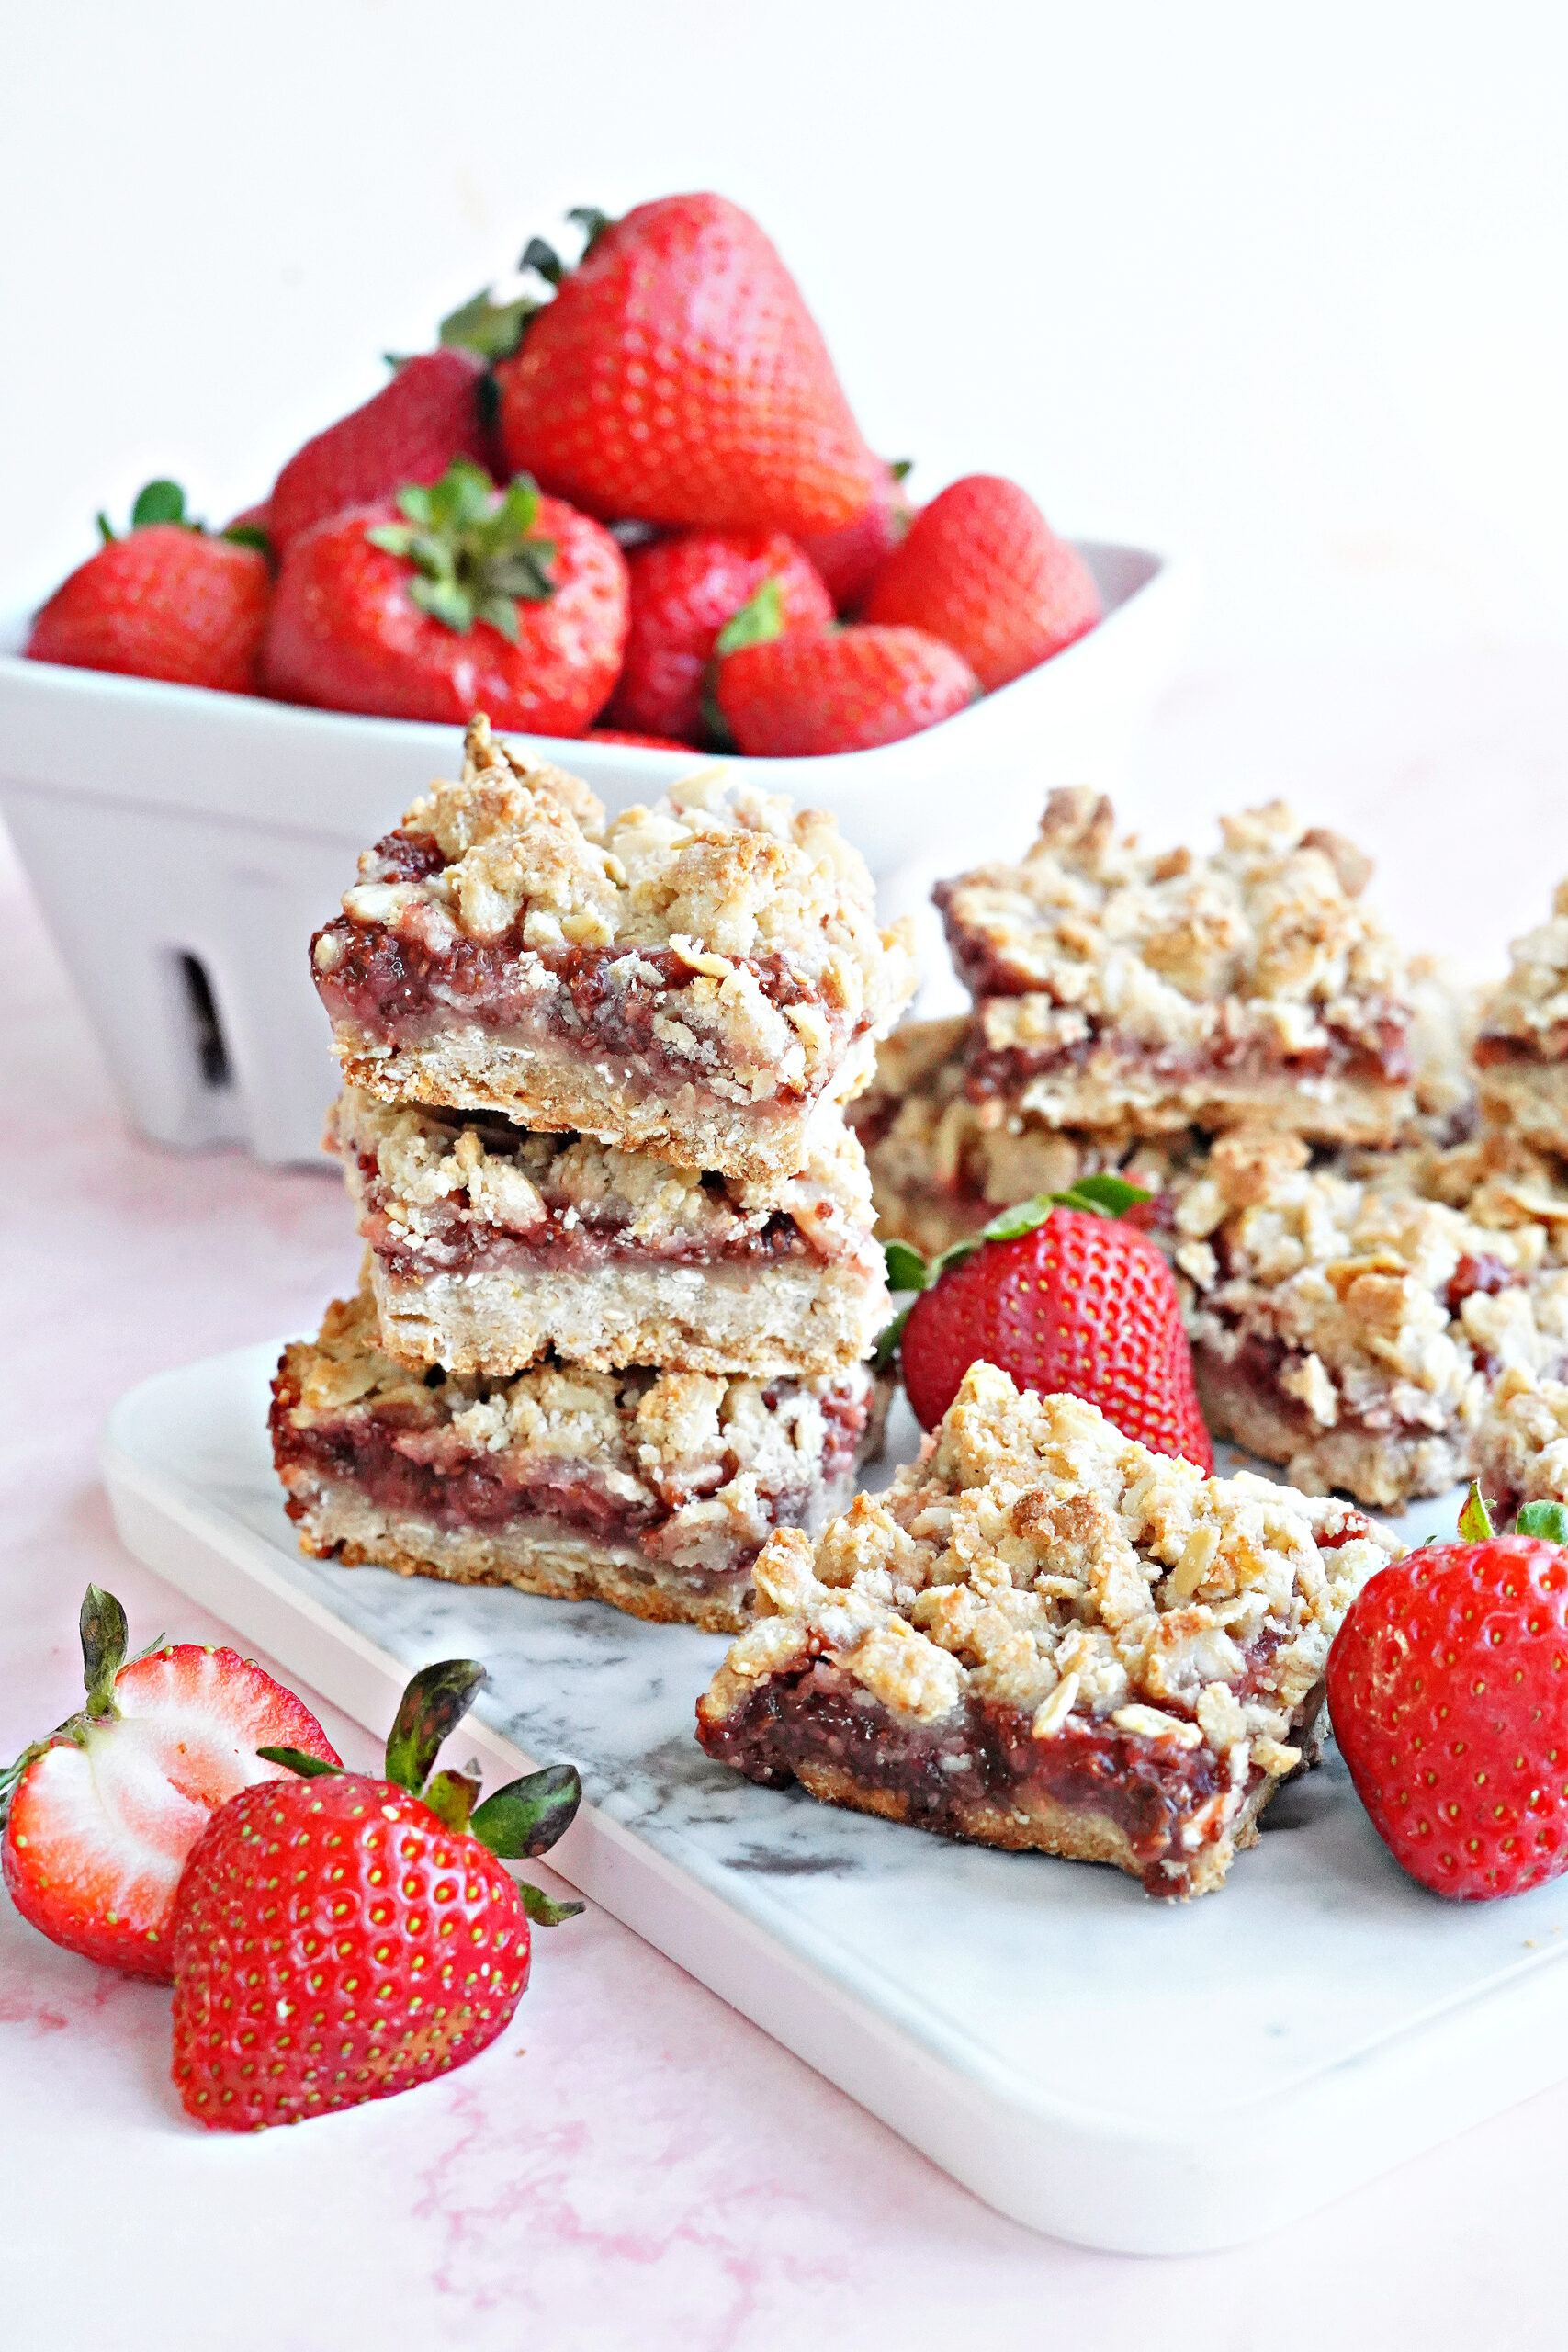
Let’s talk about the strawberry jam!
Instead of sugar-loaded store-bought jam, it takes just 5 minutes to make chia jam. If you have picked and preserved your own strawberries, you can of course use that. I love the added fiber and omega-3s that the chia seeds provide, and you don’t “feel” or taste them once they are cooked into the jam and baked into the bars.
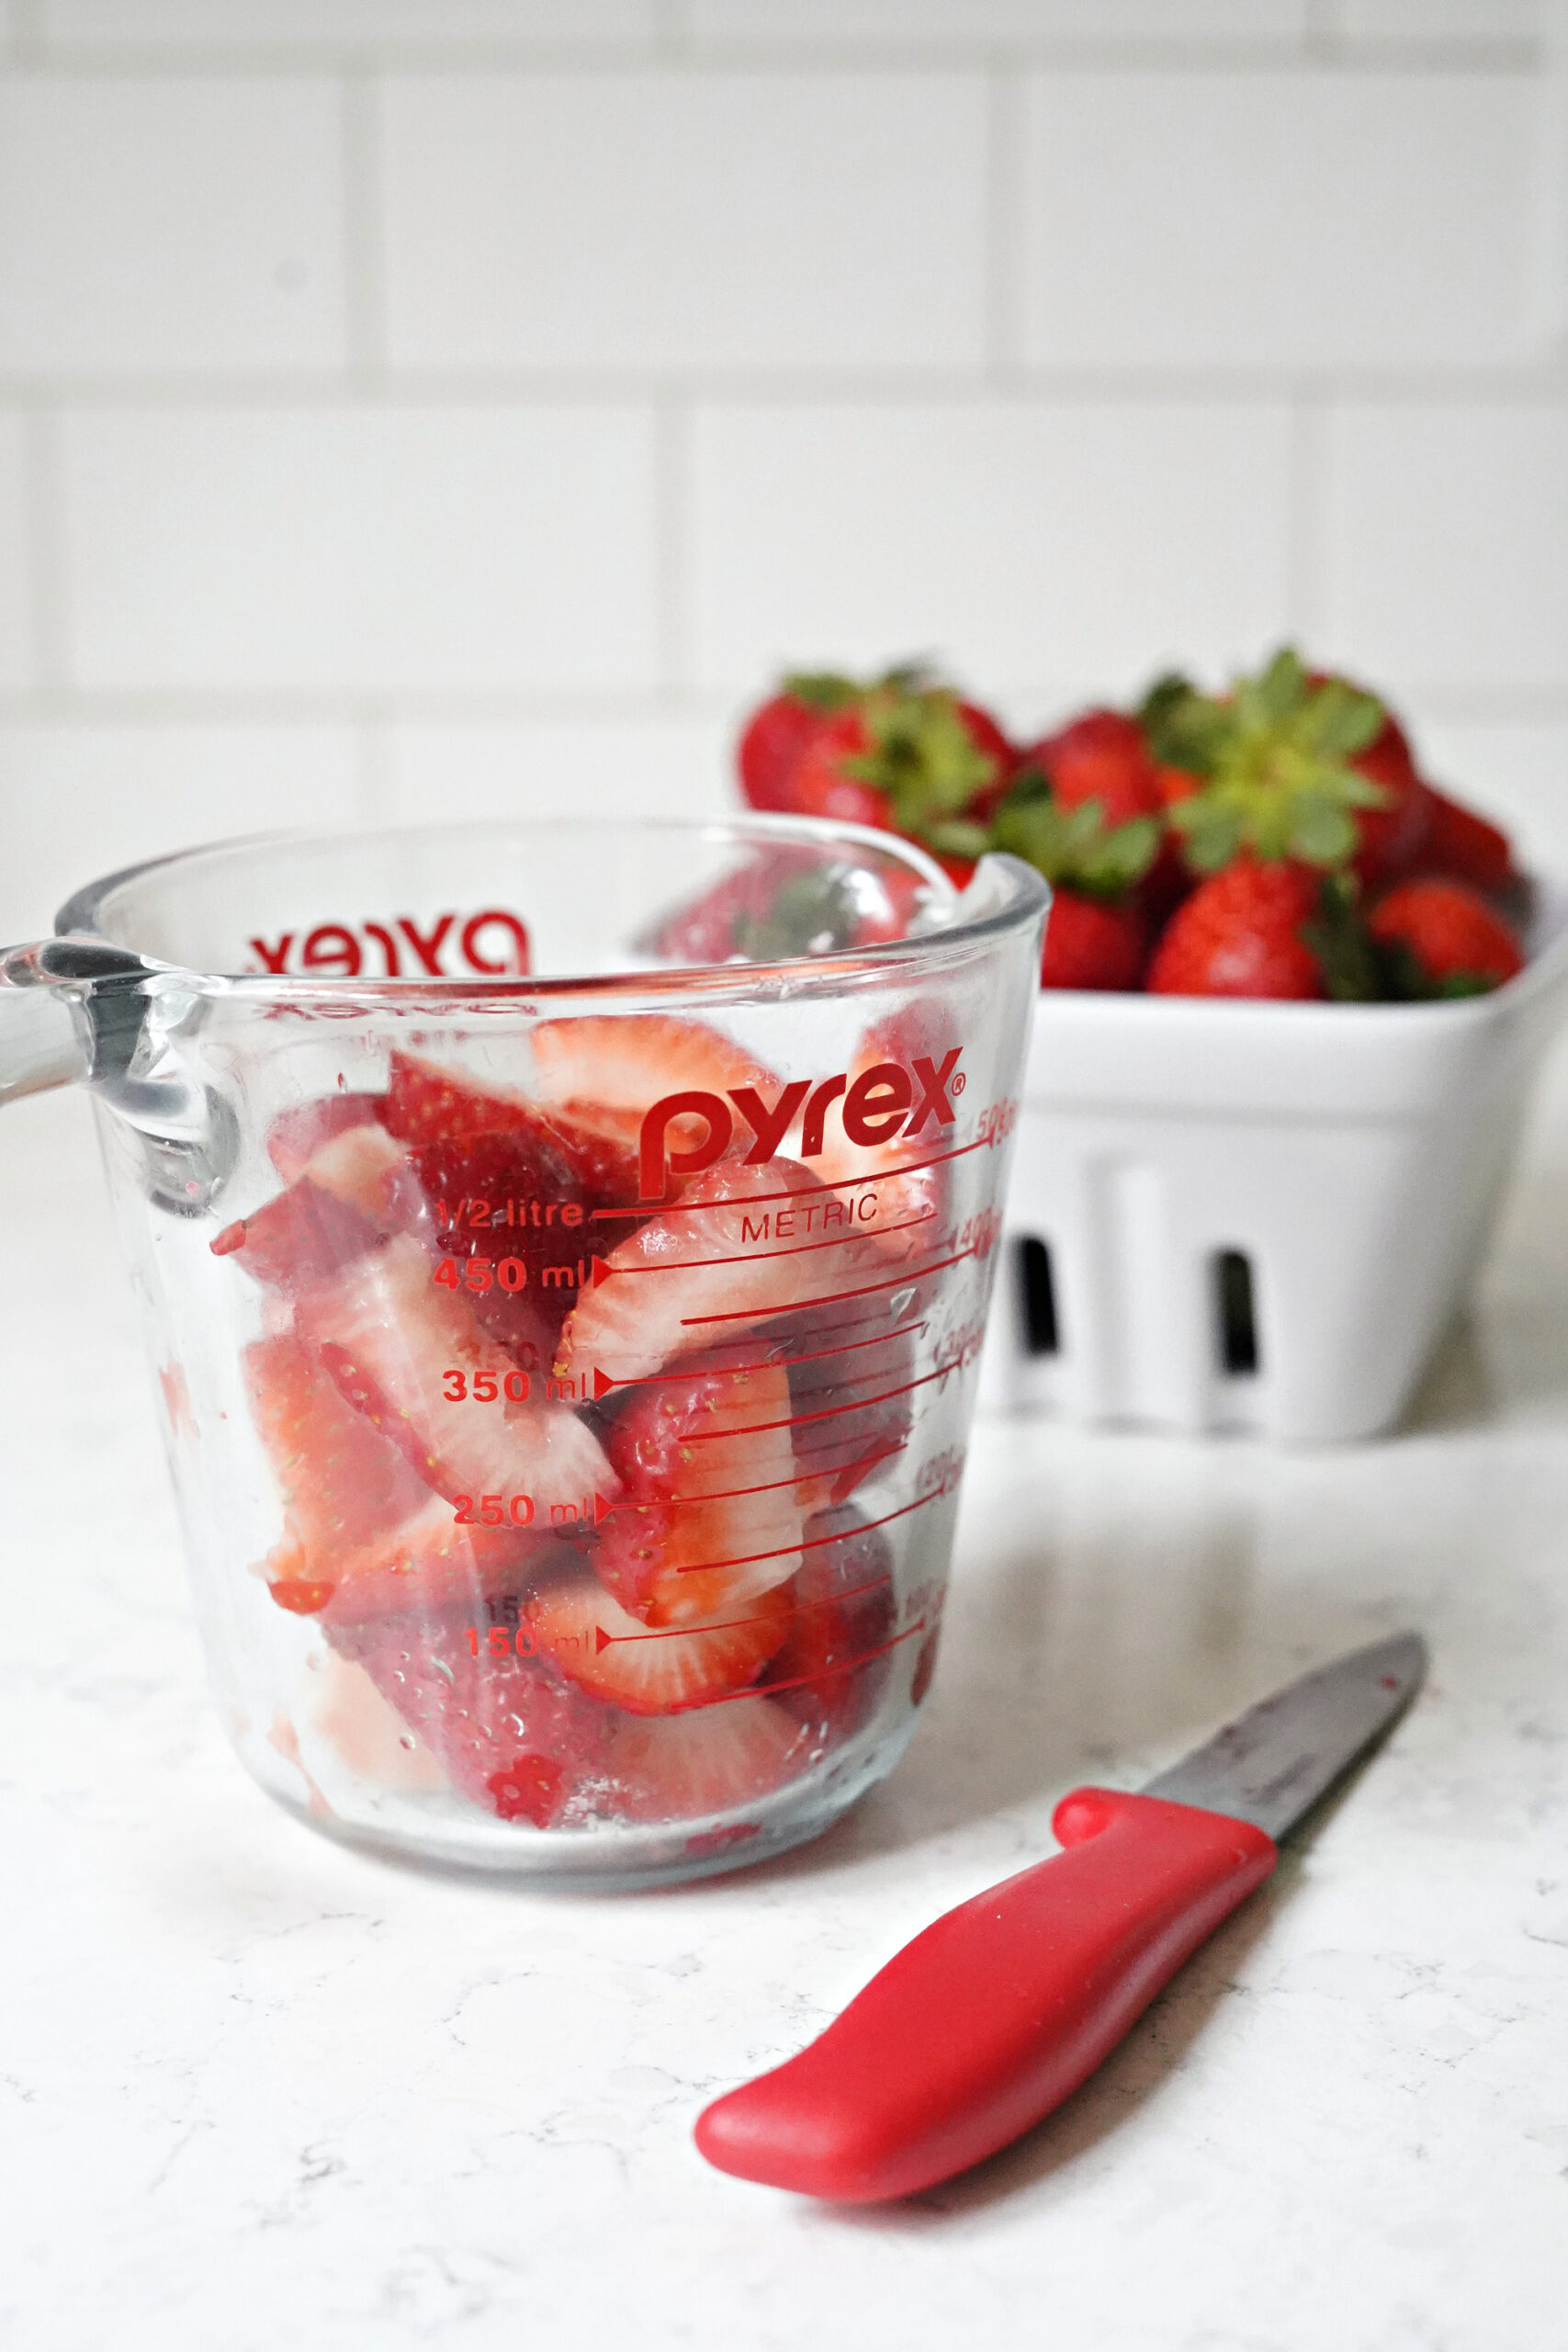
Get your strawberry bars started by making the crust and crumble mixture
This is a super simple mixture of fiber and mineral rich oats and buckwheat flour with some almond flour for moisture and soft texture. You’ll add melted coconut oil or butter as well as honey here to bring the mixture together.
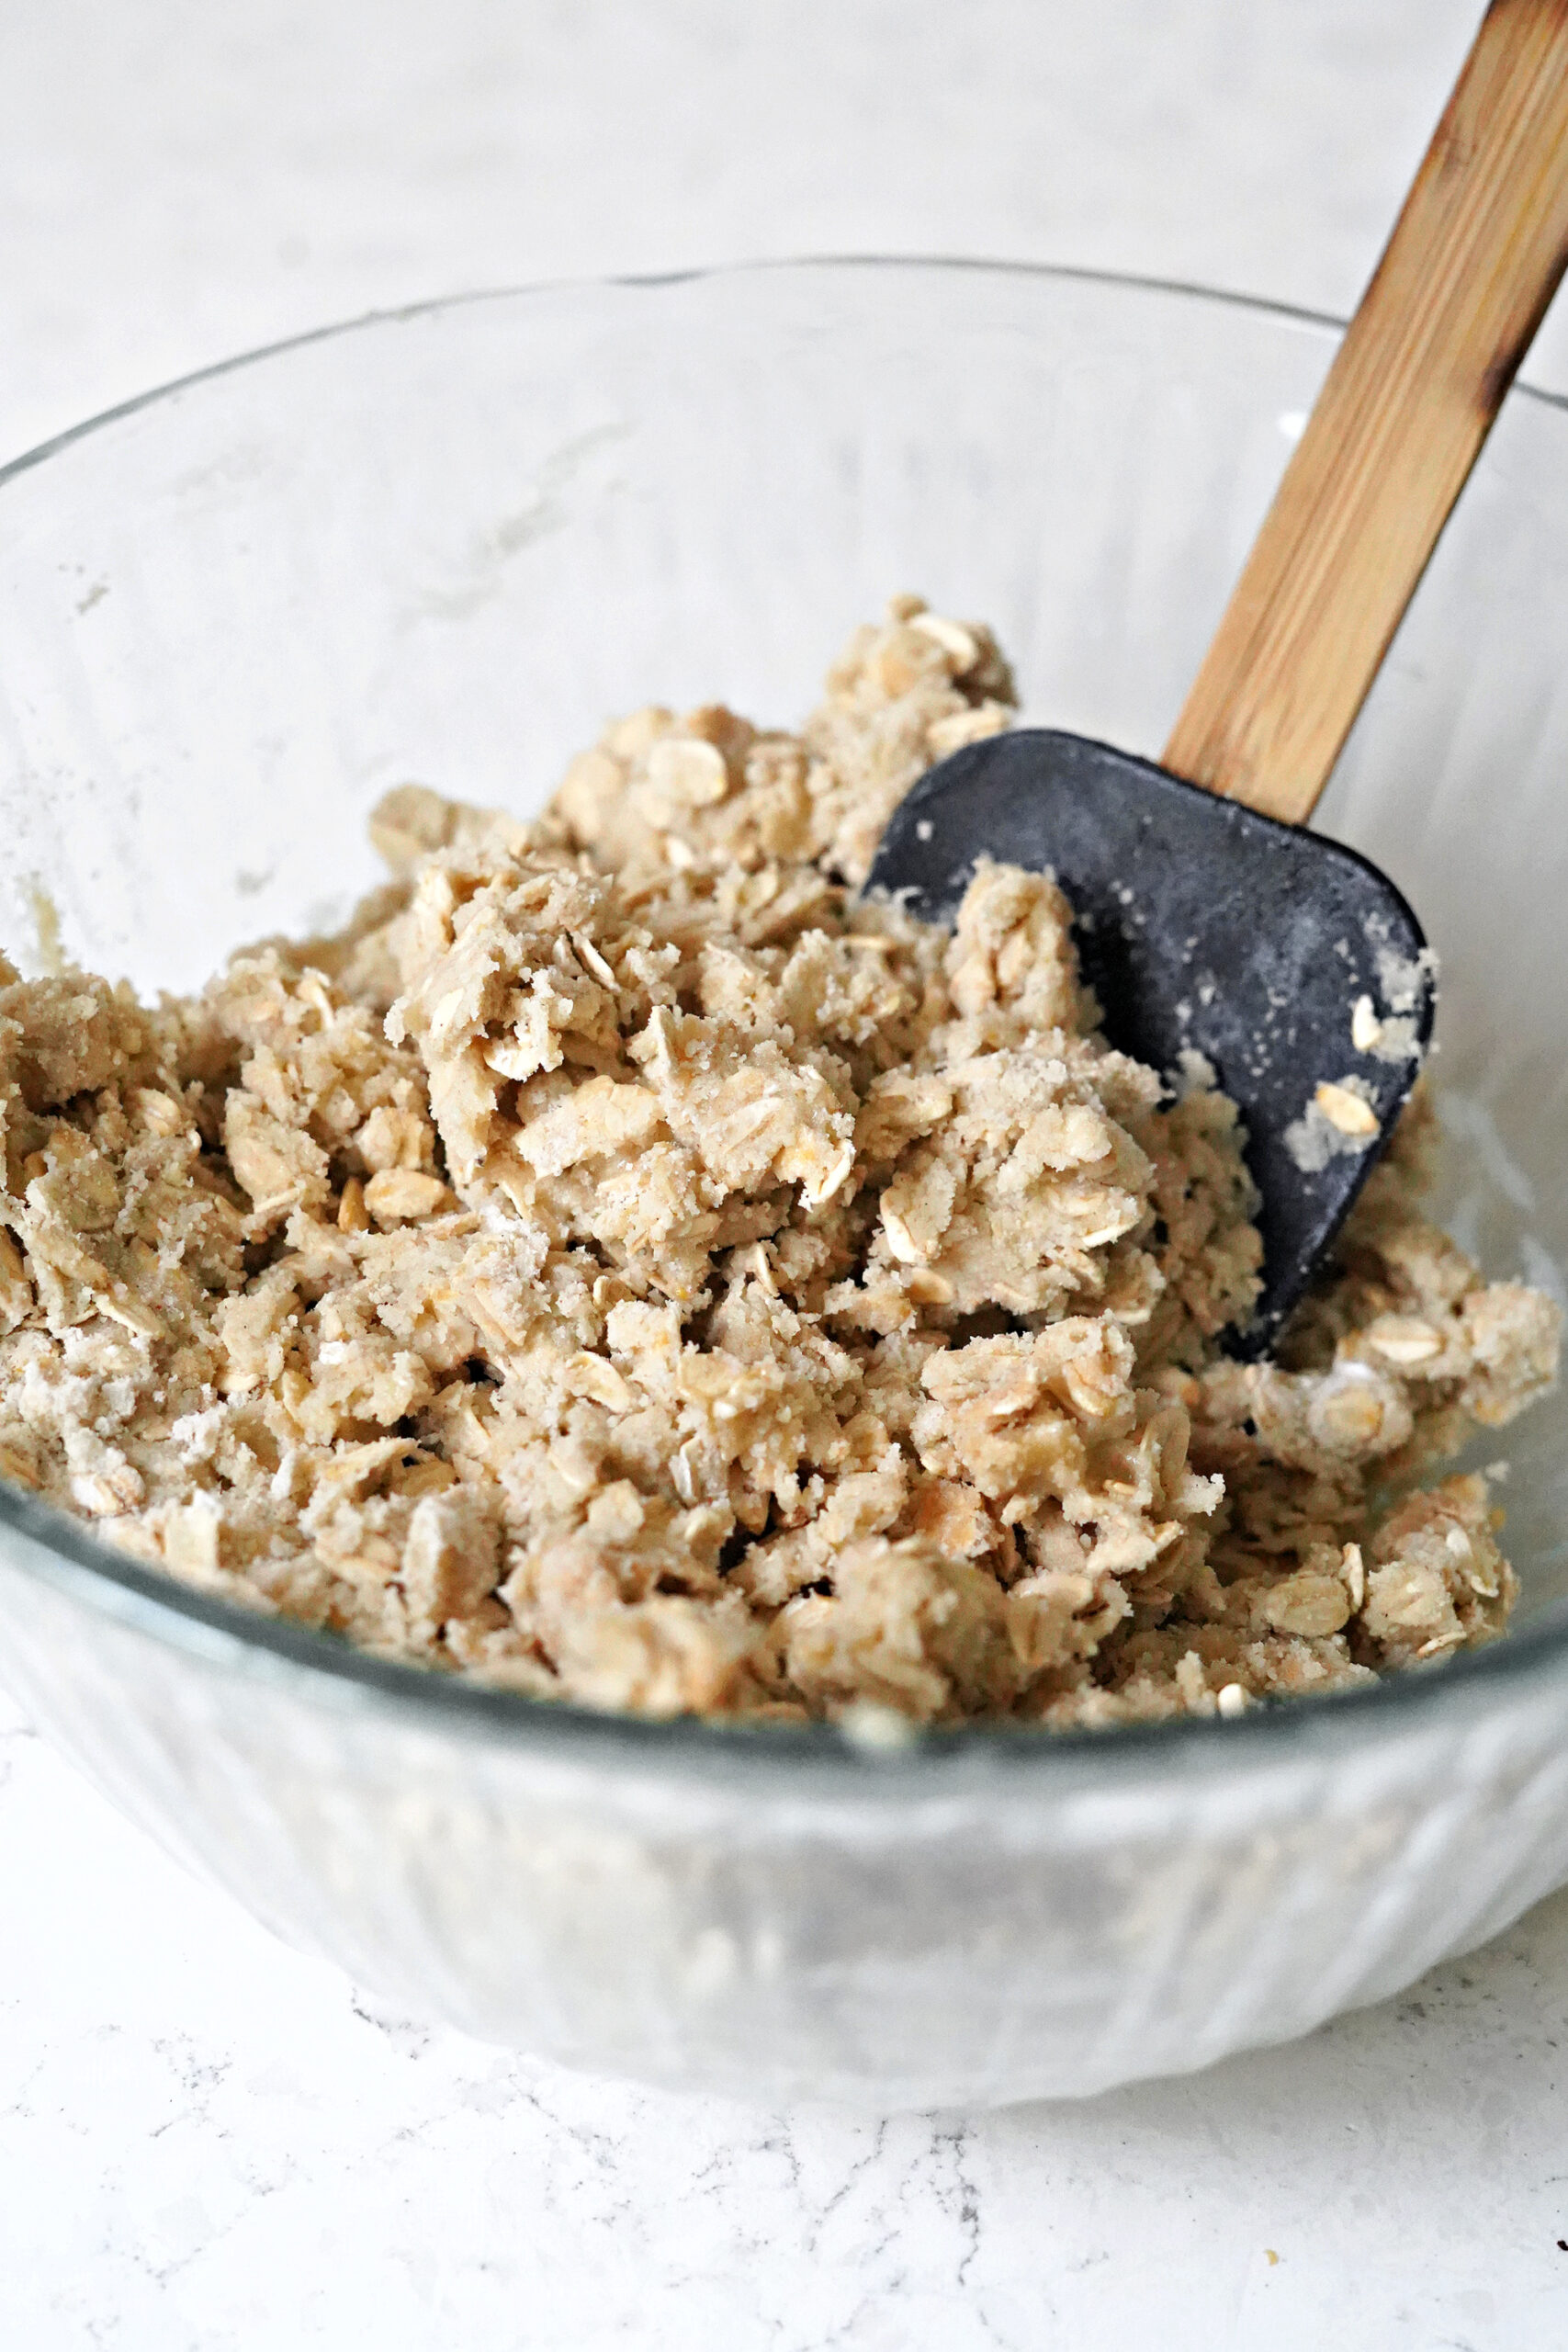
Get the crust into the pan
Scoop around 2 cups of the crust mixture into your baking pan. Press the crust into the pan, making sure it gets into the edges and corners. I like to use these silicone square baking pans because the bars just pop right out easily. If you have regular cake pans, you will need to line the bottom of the pan with parchment paper so the bars come out.
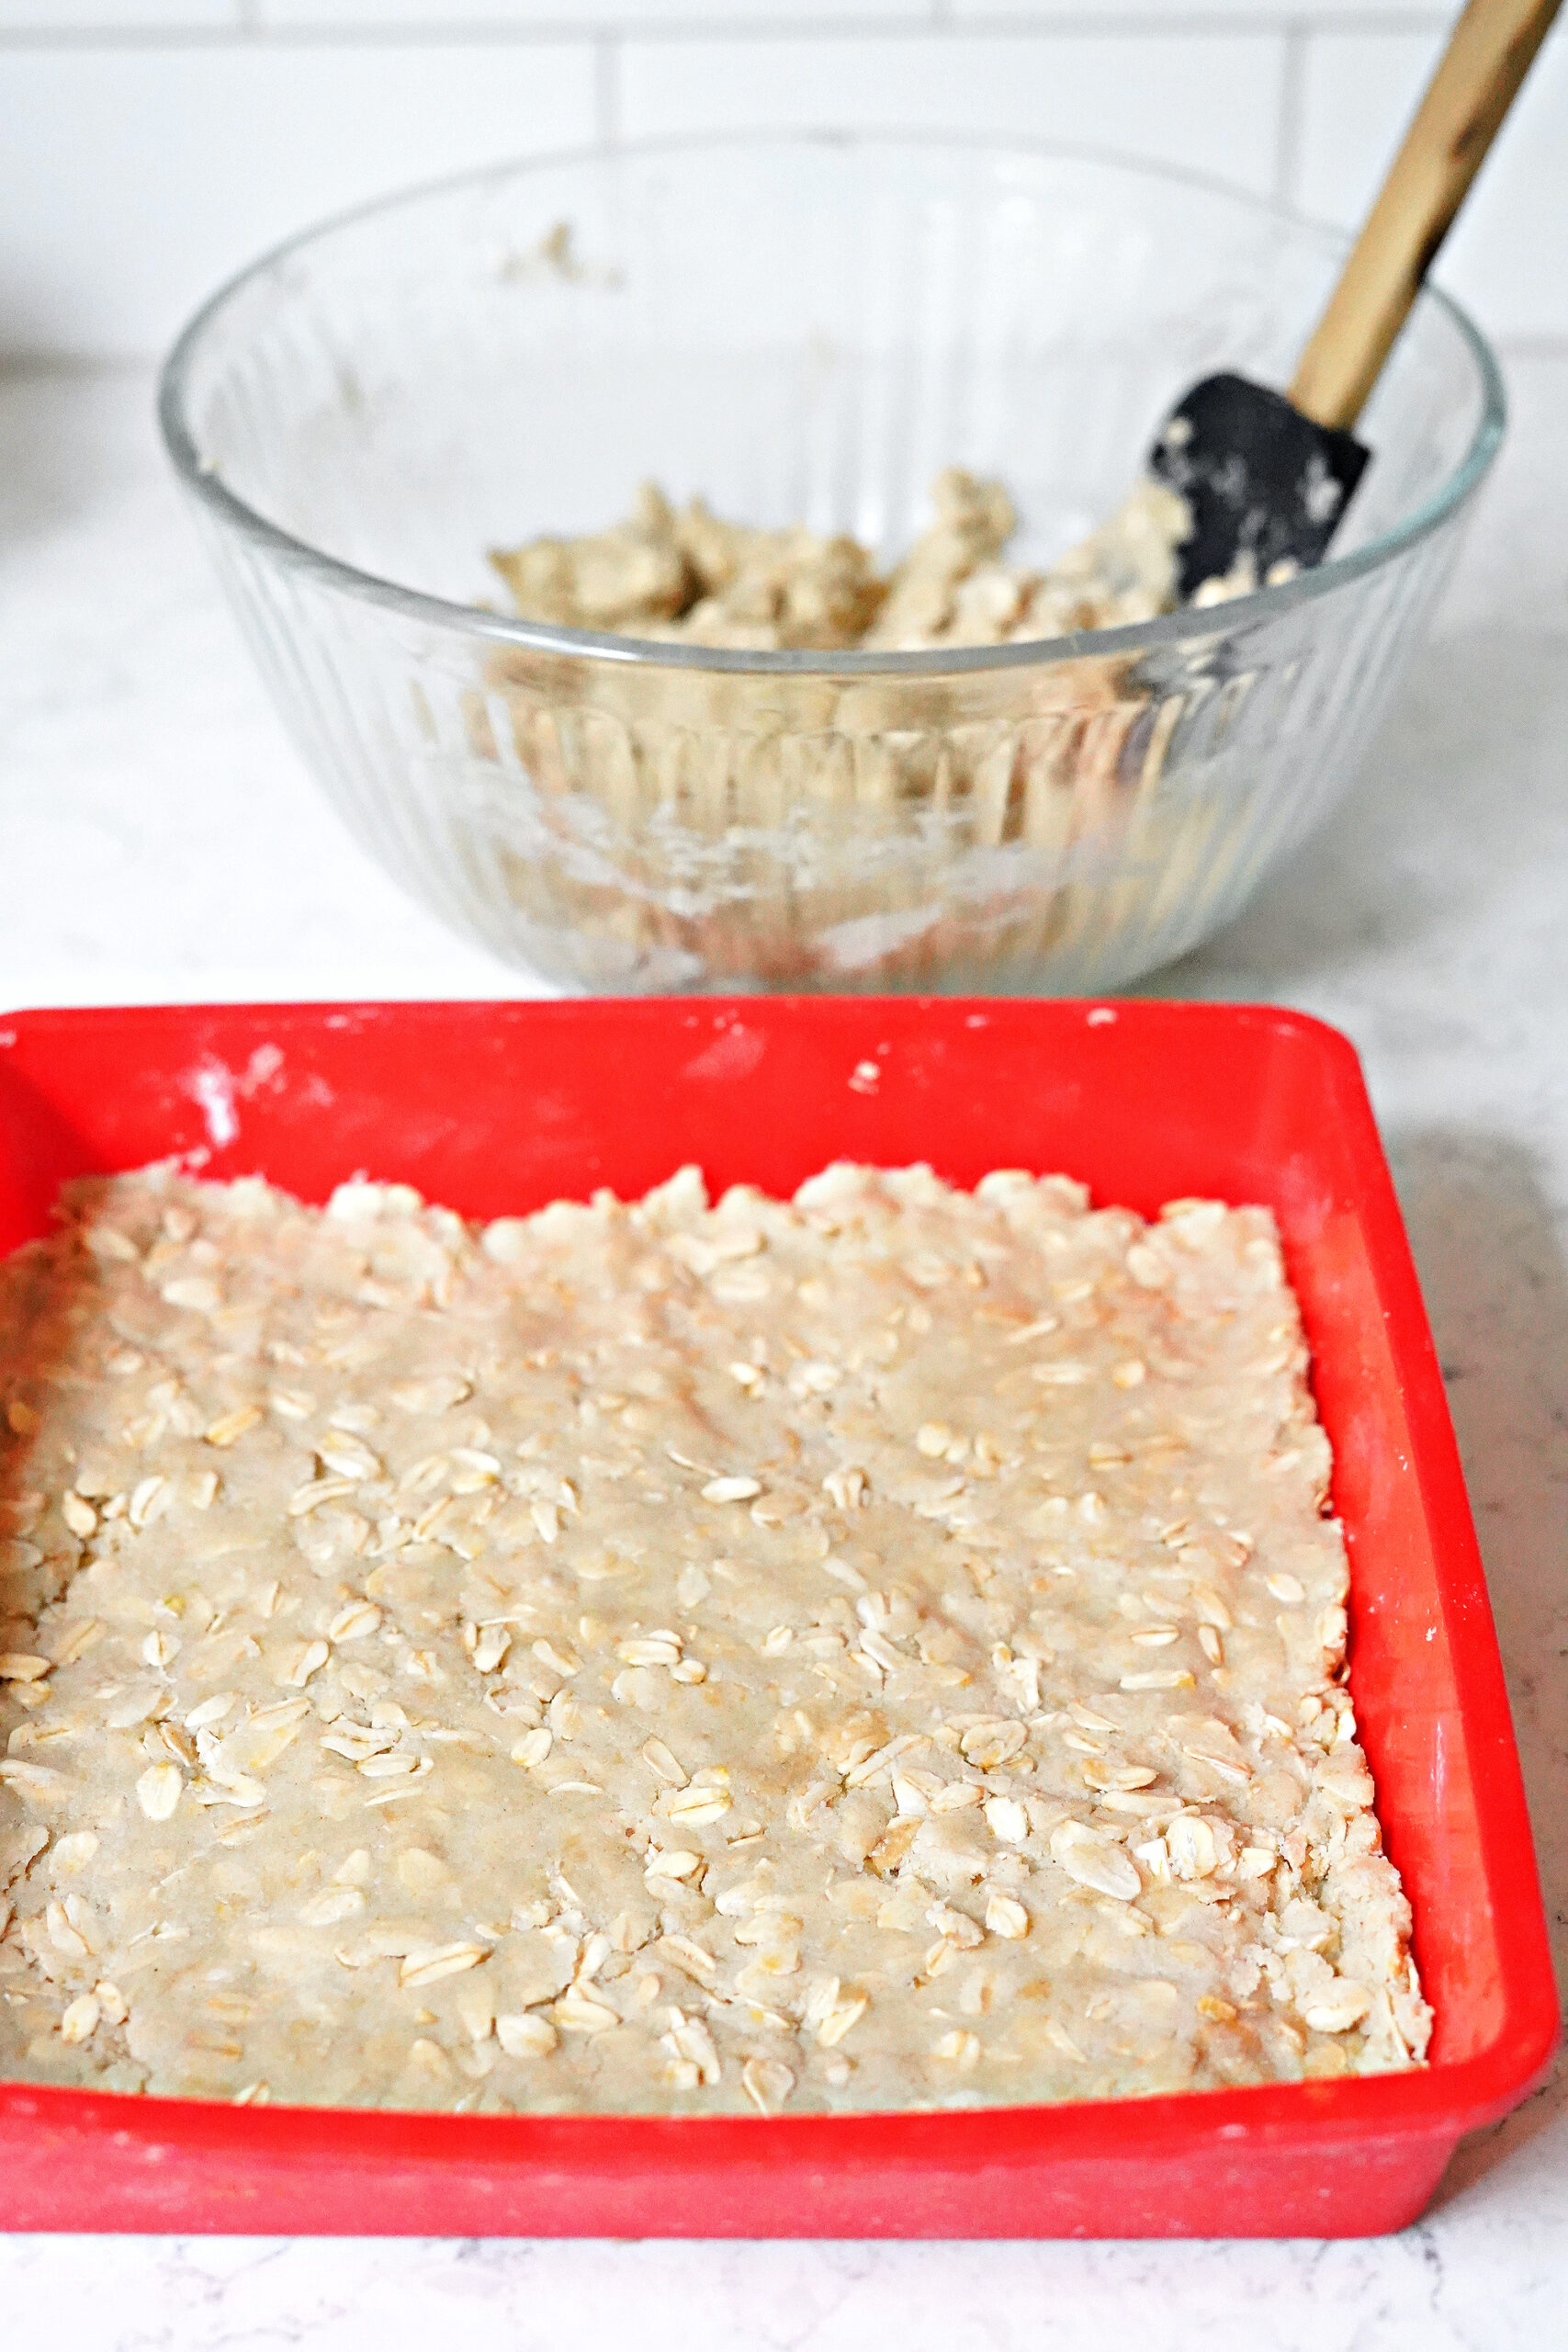
Pour in the strawberry chia jam
Once the crust is pressed into the pan, pour the jam right in. It does not need to be cooled off! Quick prep, remember?!
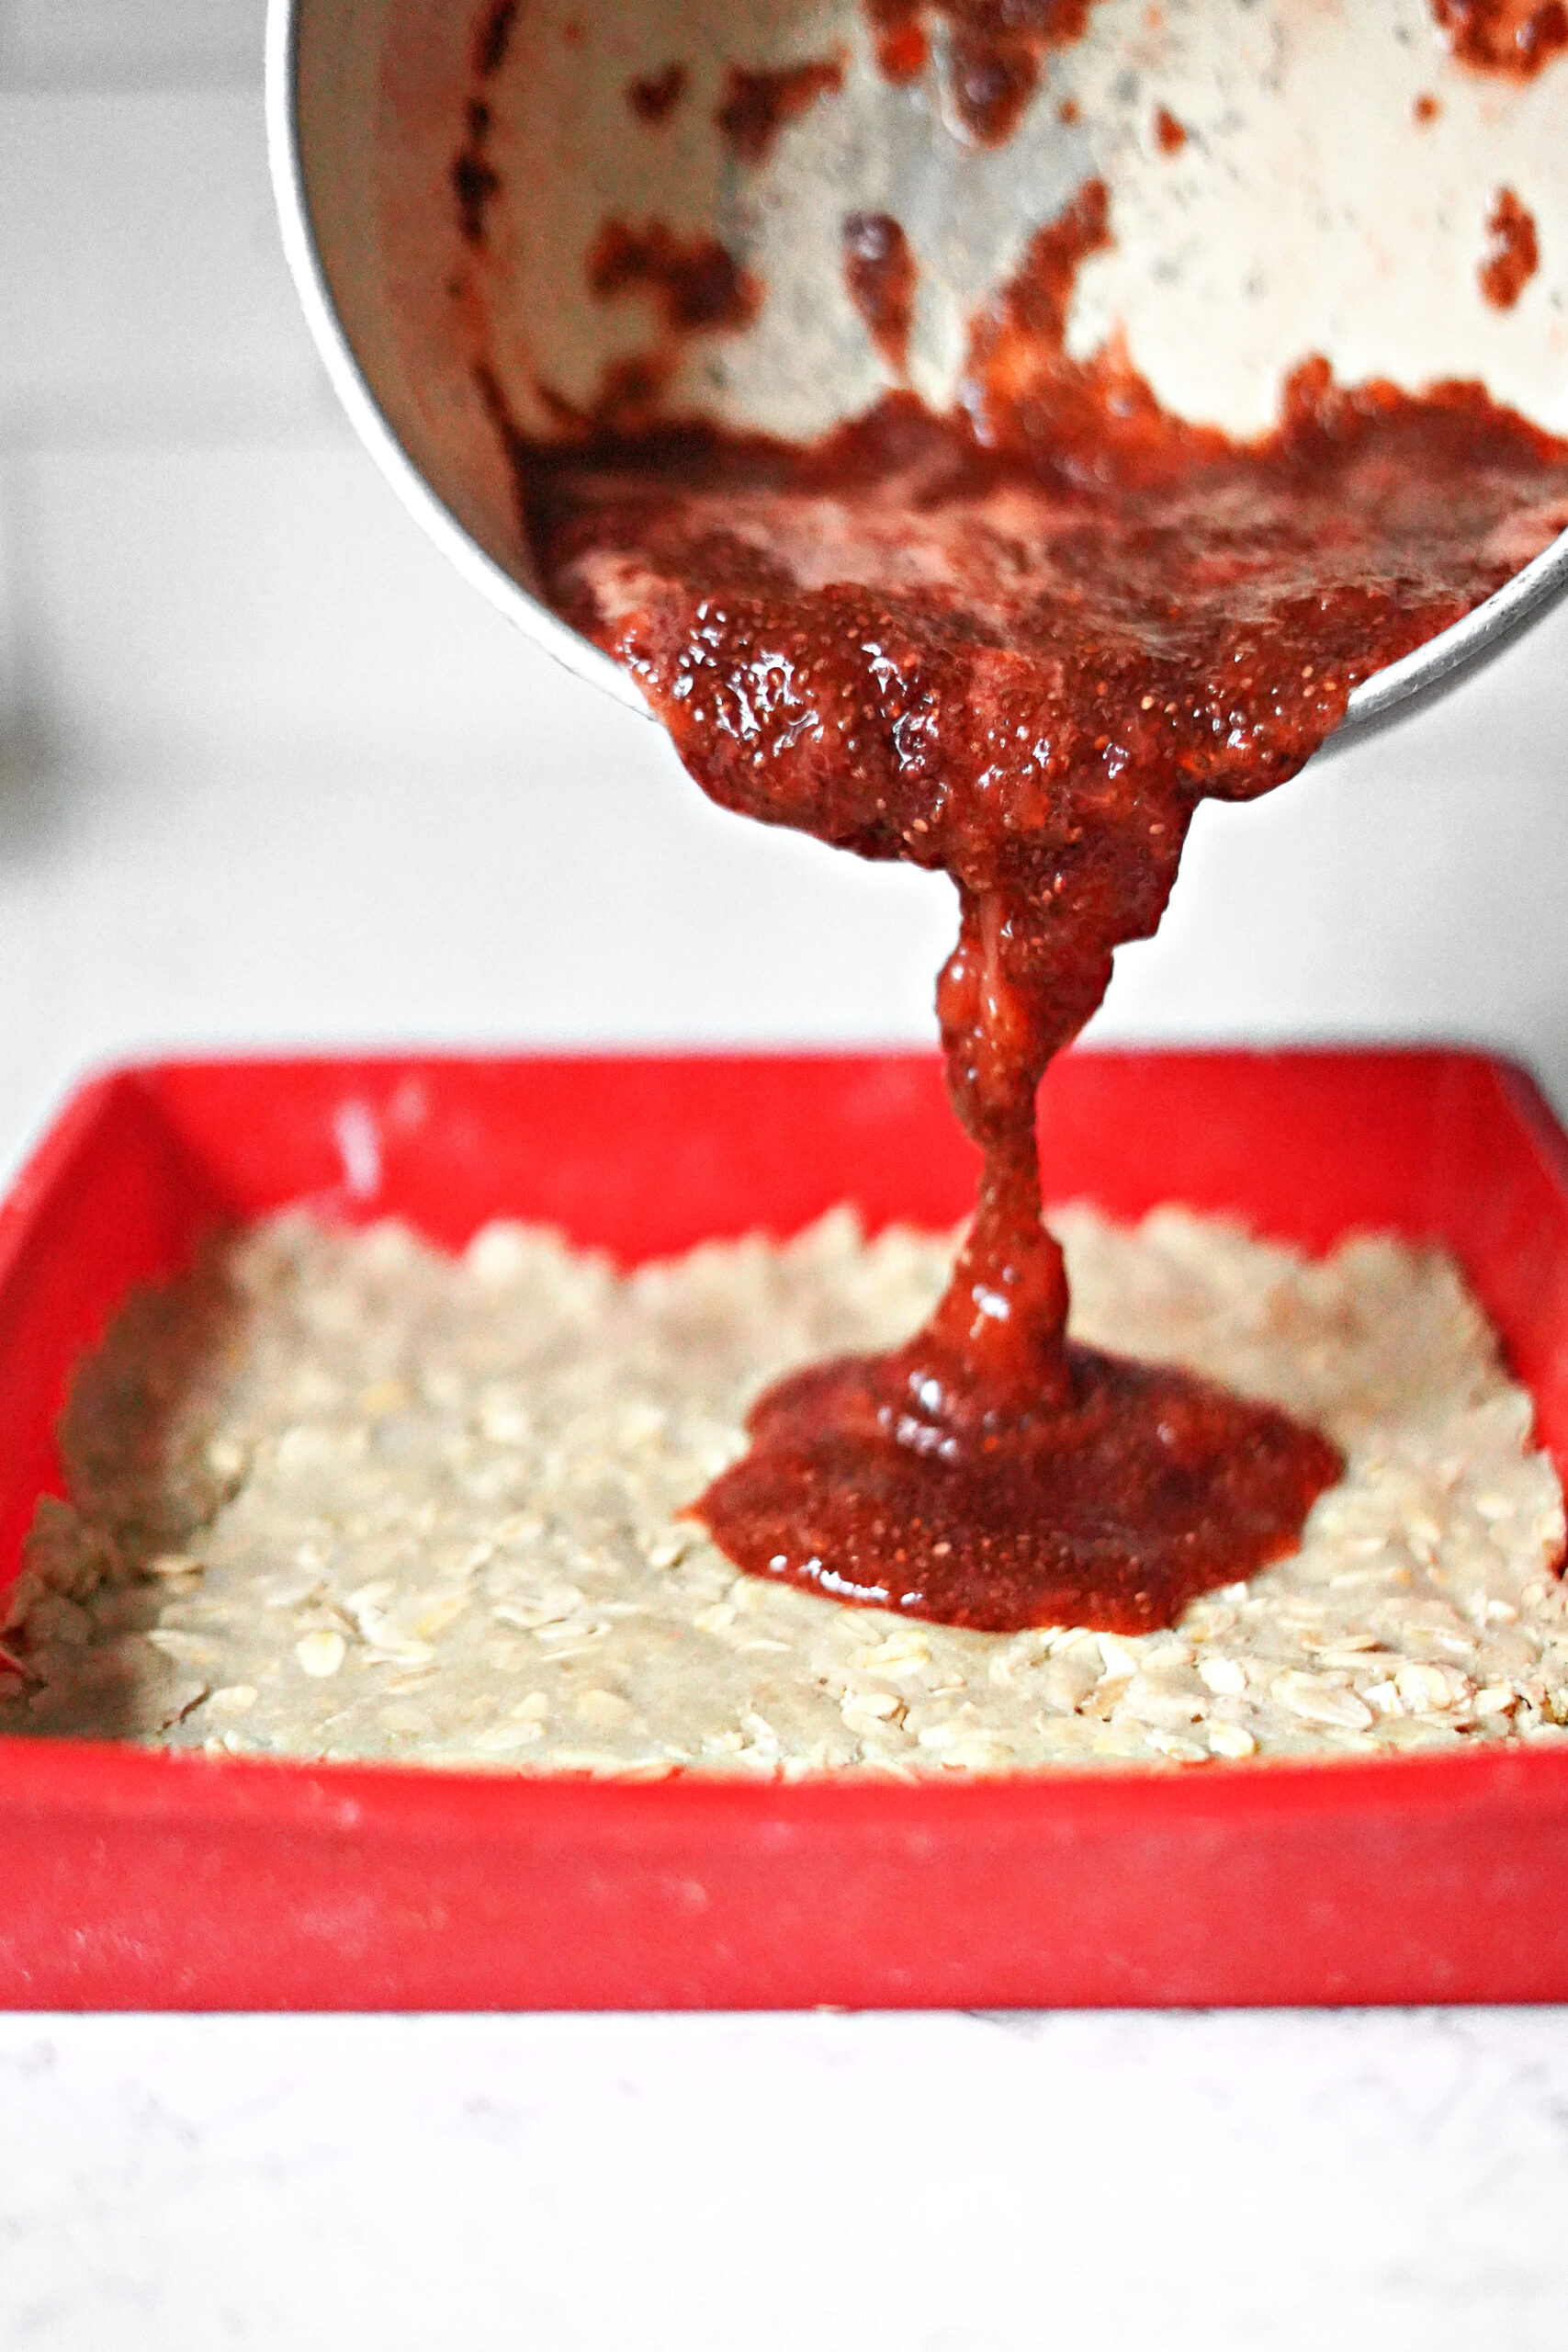
Sprinkle the crumble topping on!
Once you spread out the strawberry jam, then you can sprinkle the rest of the crumble topping on top, and you’ll be ready to bake! I like to place the silicone pan on a sheet pan so it is easier to transfer to the oven.
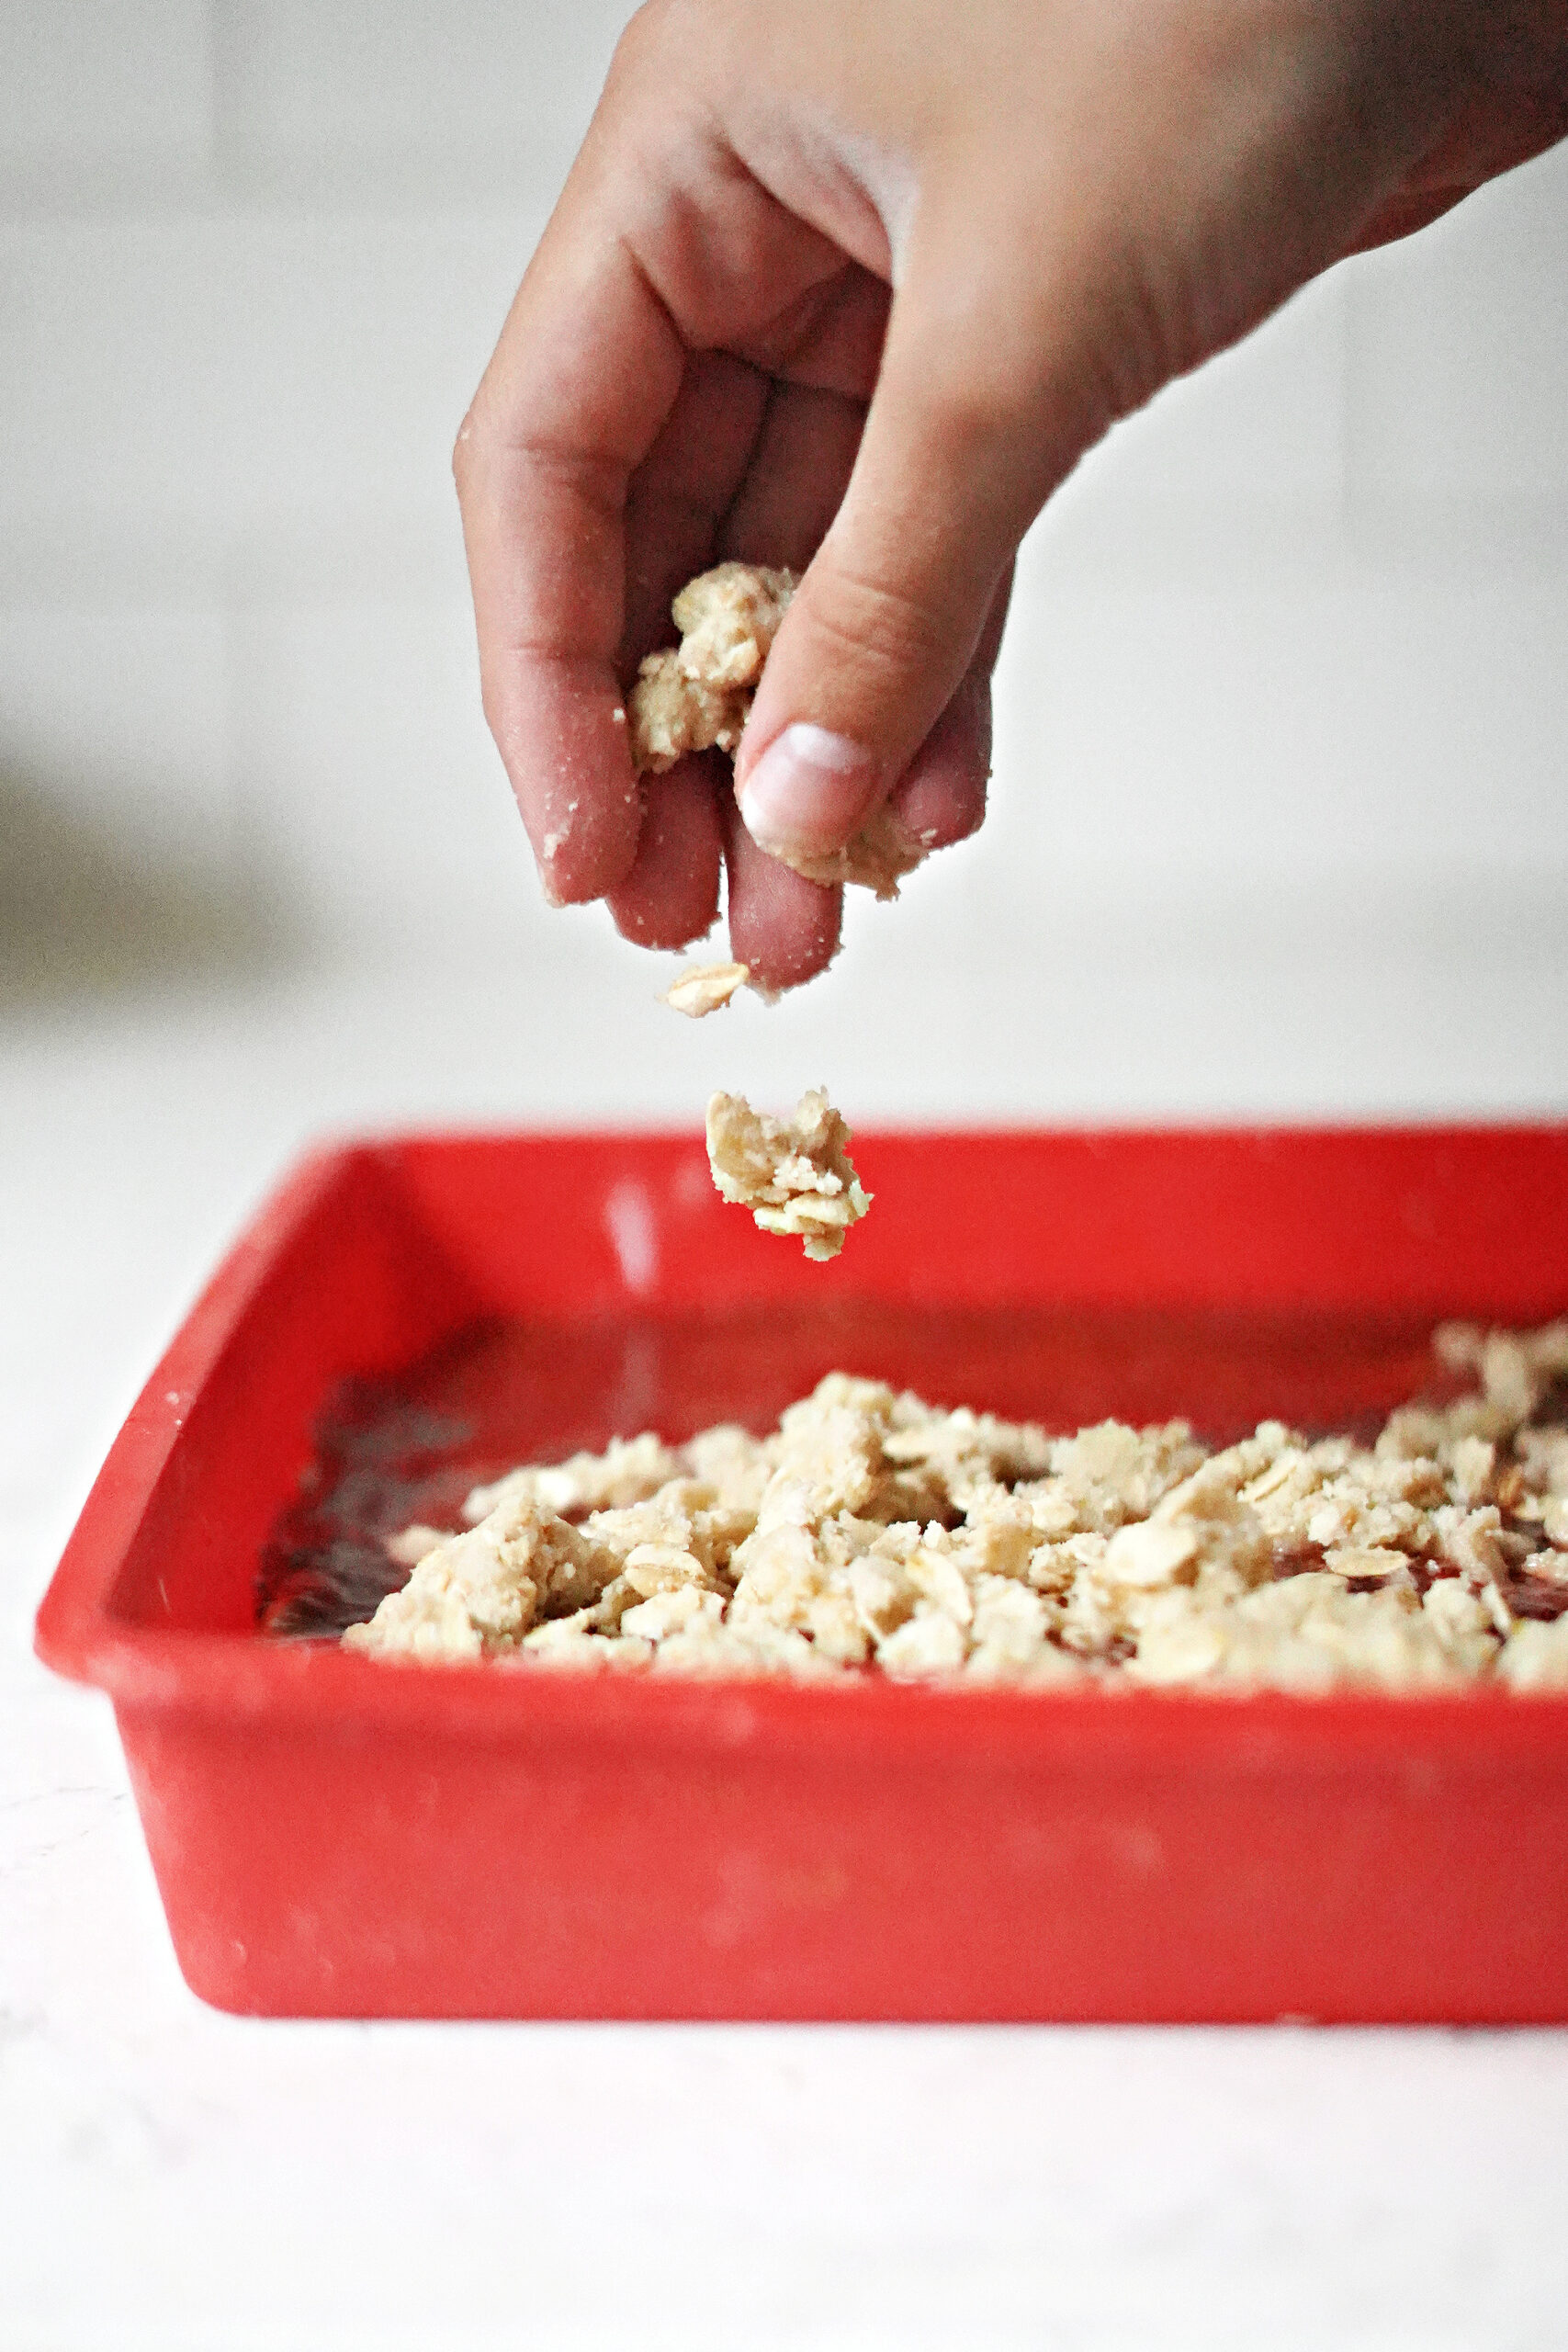
Baking, cooling, and cutting the strawberry bars!
After the strawberry bars bake, let them completely cool before cutting them. I like to put them in the freezer (or refrigerator) to speed the process up. In fact, I find that the bars cut up super clean when they are cold or slightly frozen anyway!
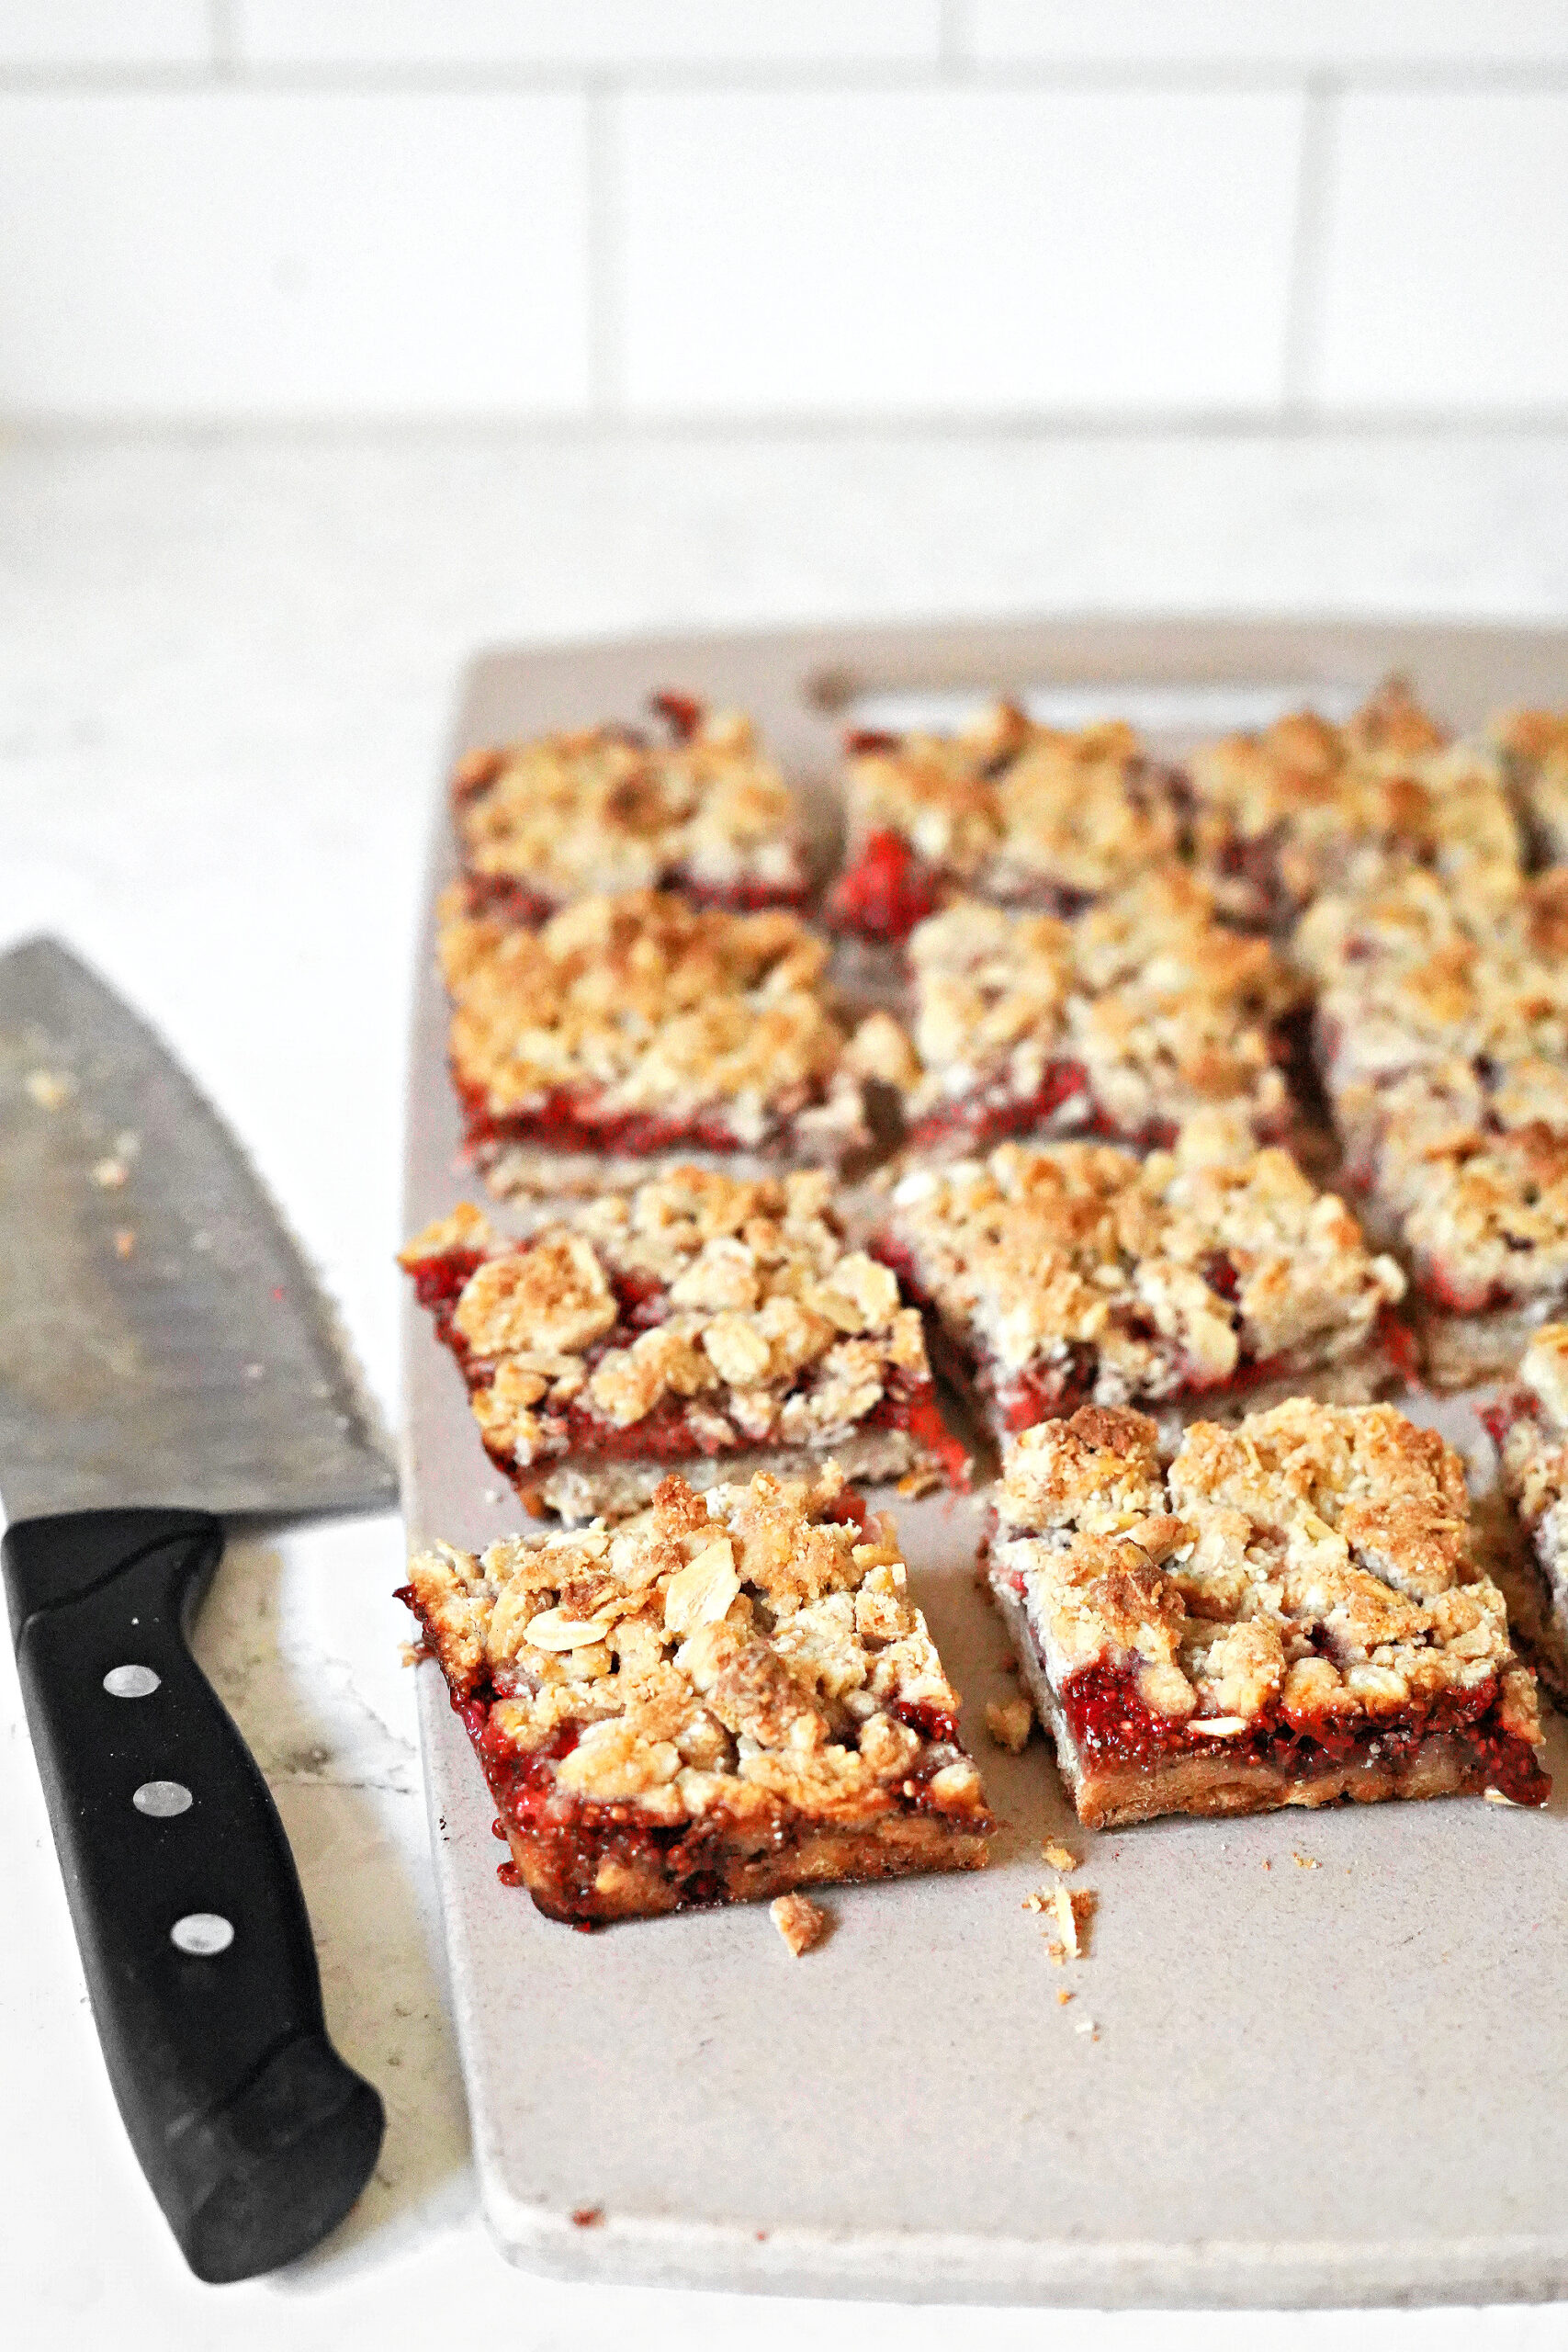
How to serve your strawberry bars
We have been using the strawberry bars as breakfast additions with eggs and sausage or yogurt. And with 3 teenagers all training their own sports this summer, they have been super nice to have on hand as easy-to-grab snacks.
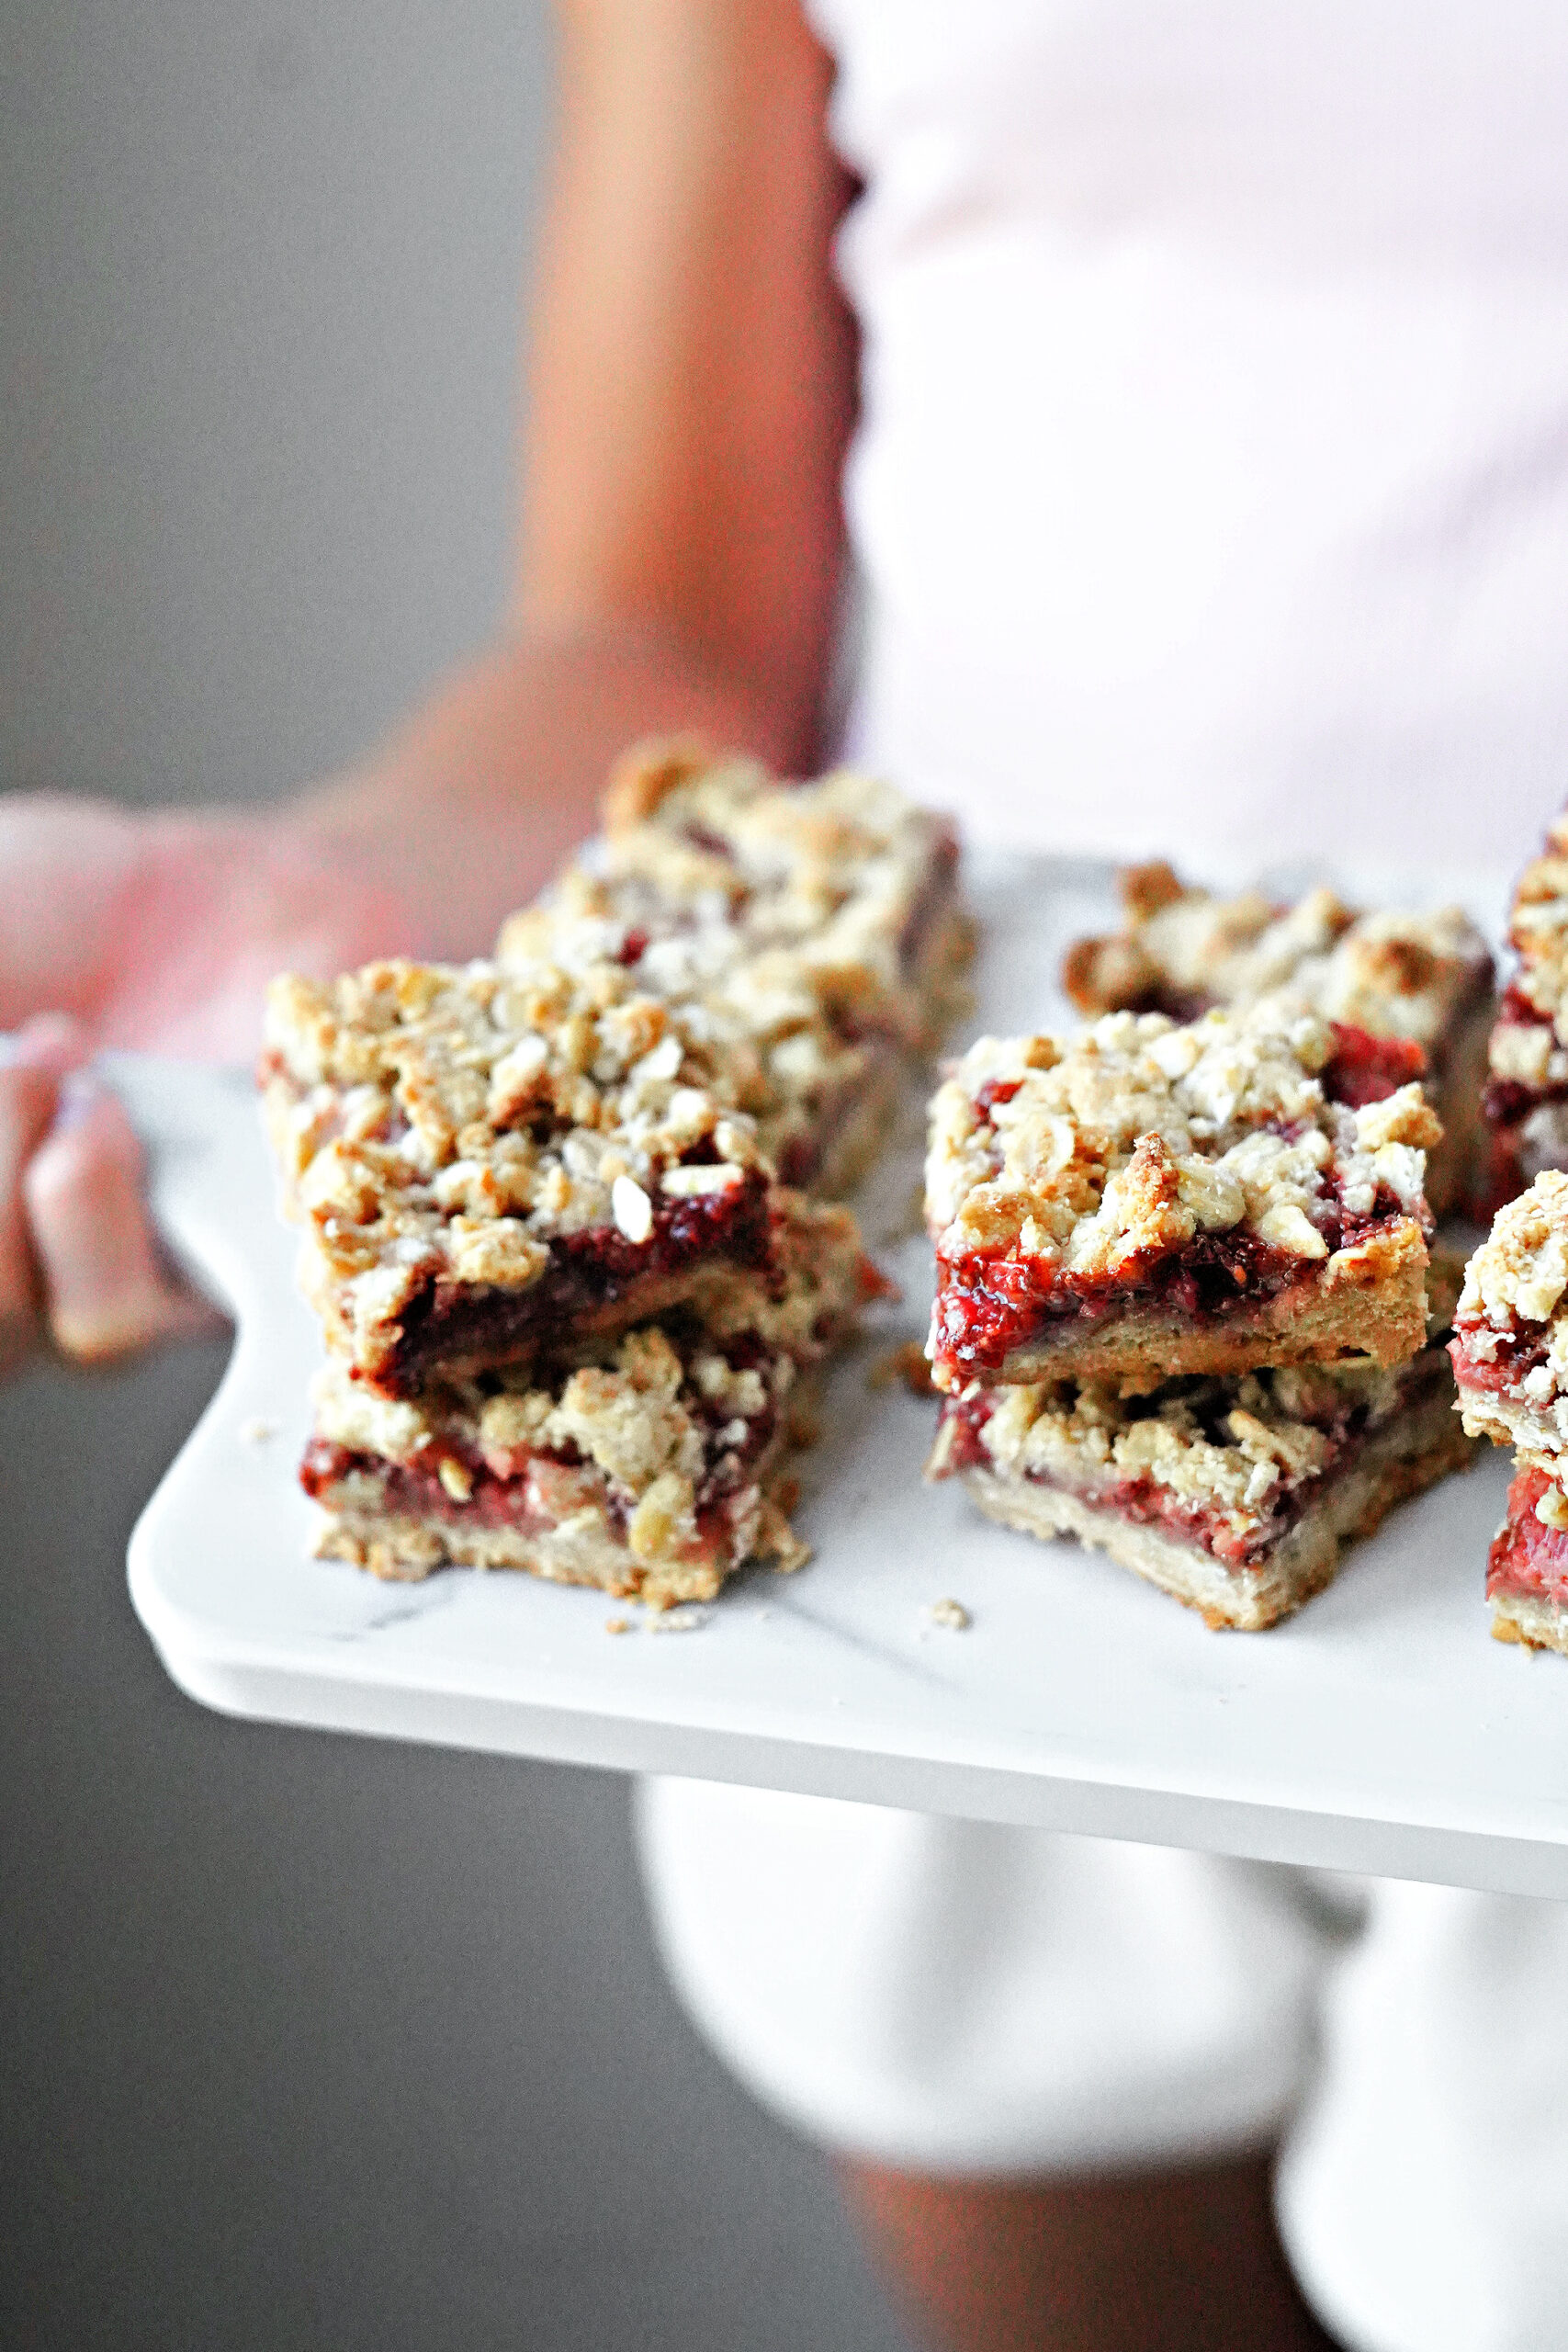
Fruit variations for the jam
We are just stepping into blueberry season, and I cannot wait to make these bars with blueberries! It should work with just about any summer fruit from blackberries and raspberries to peaches and cherries!
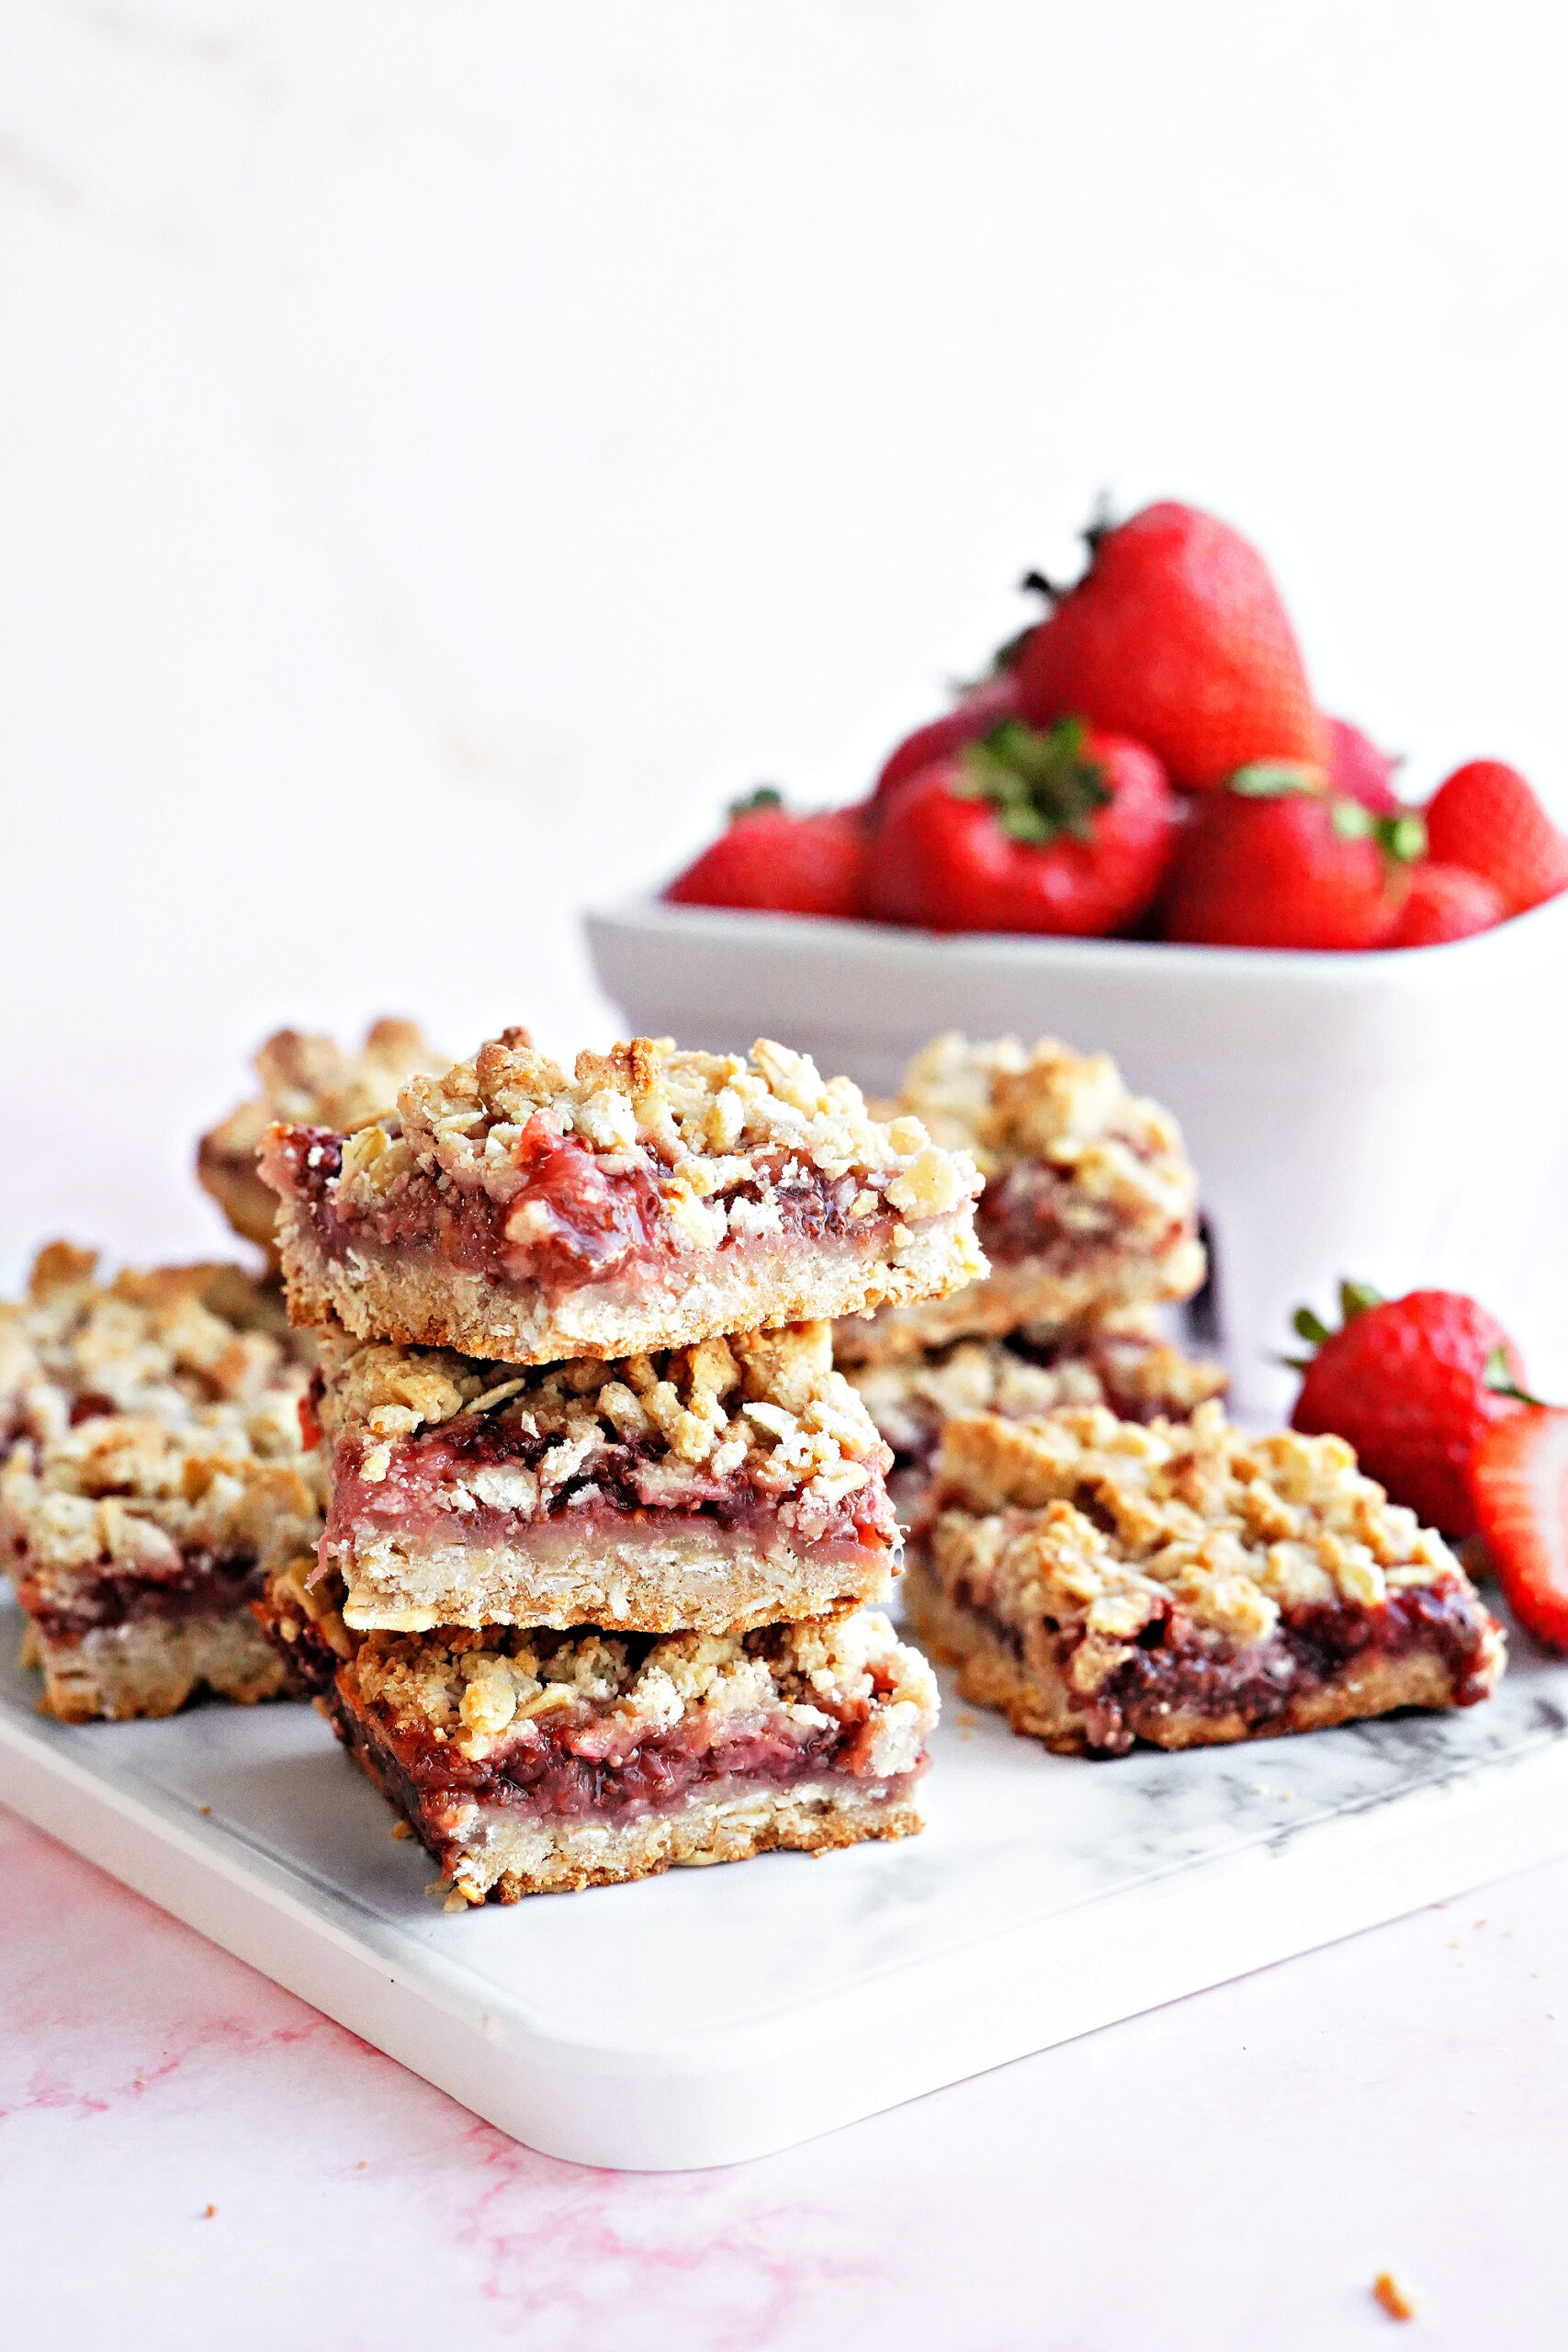
Flour variations for the crust
I am forever trying to get nutrient variety into my crew. Besides just helping create a great texture, using different flours with the oats offer different nutrients too. That said, if you cannot have almonds, simply swap the almond flour for more of the oats or buckwheat flour. If you don’t have buckwheat on hand, use more almond flour or oats. It is a pretty forgiving crust. (I do make high recommendations for trying buckwheat flour though! I use it in so many of my baked goods recipes, so you’ll have a chance to use it again, and it offers such a great nutrient profile!)
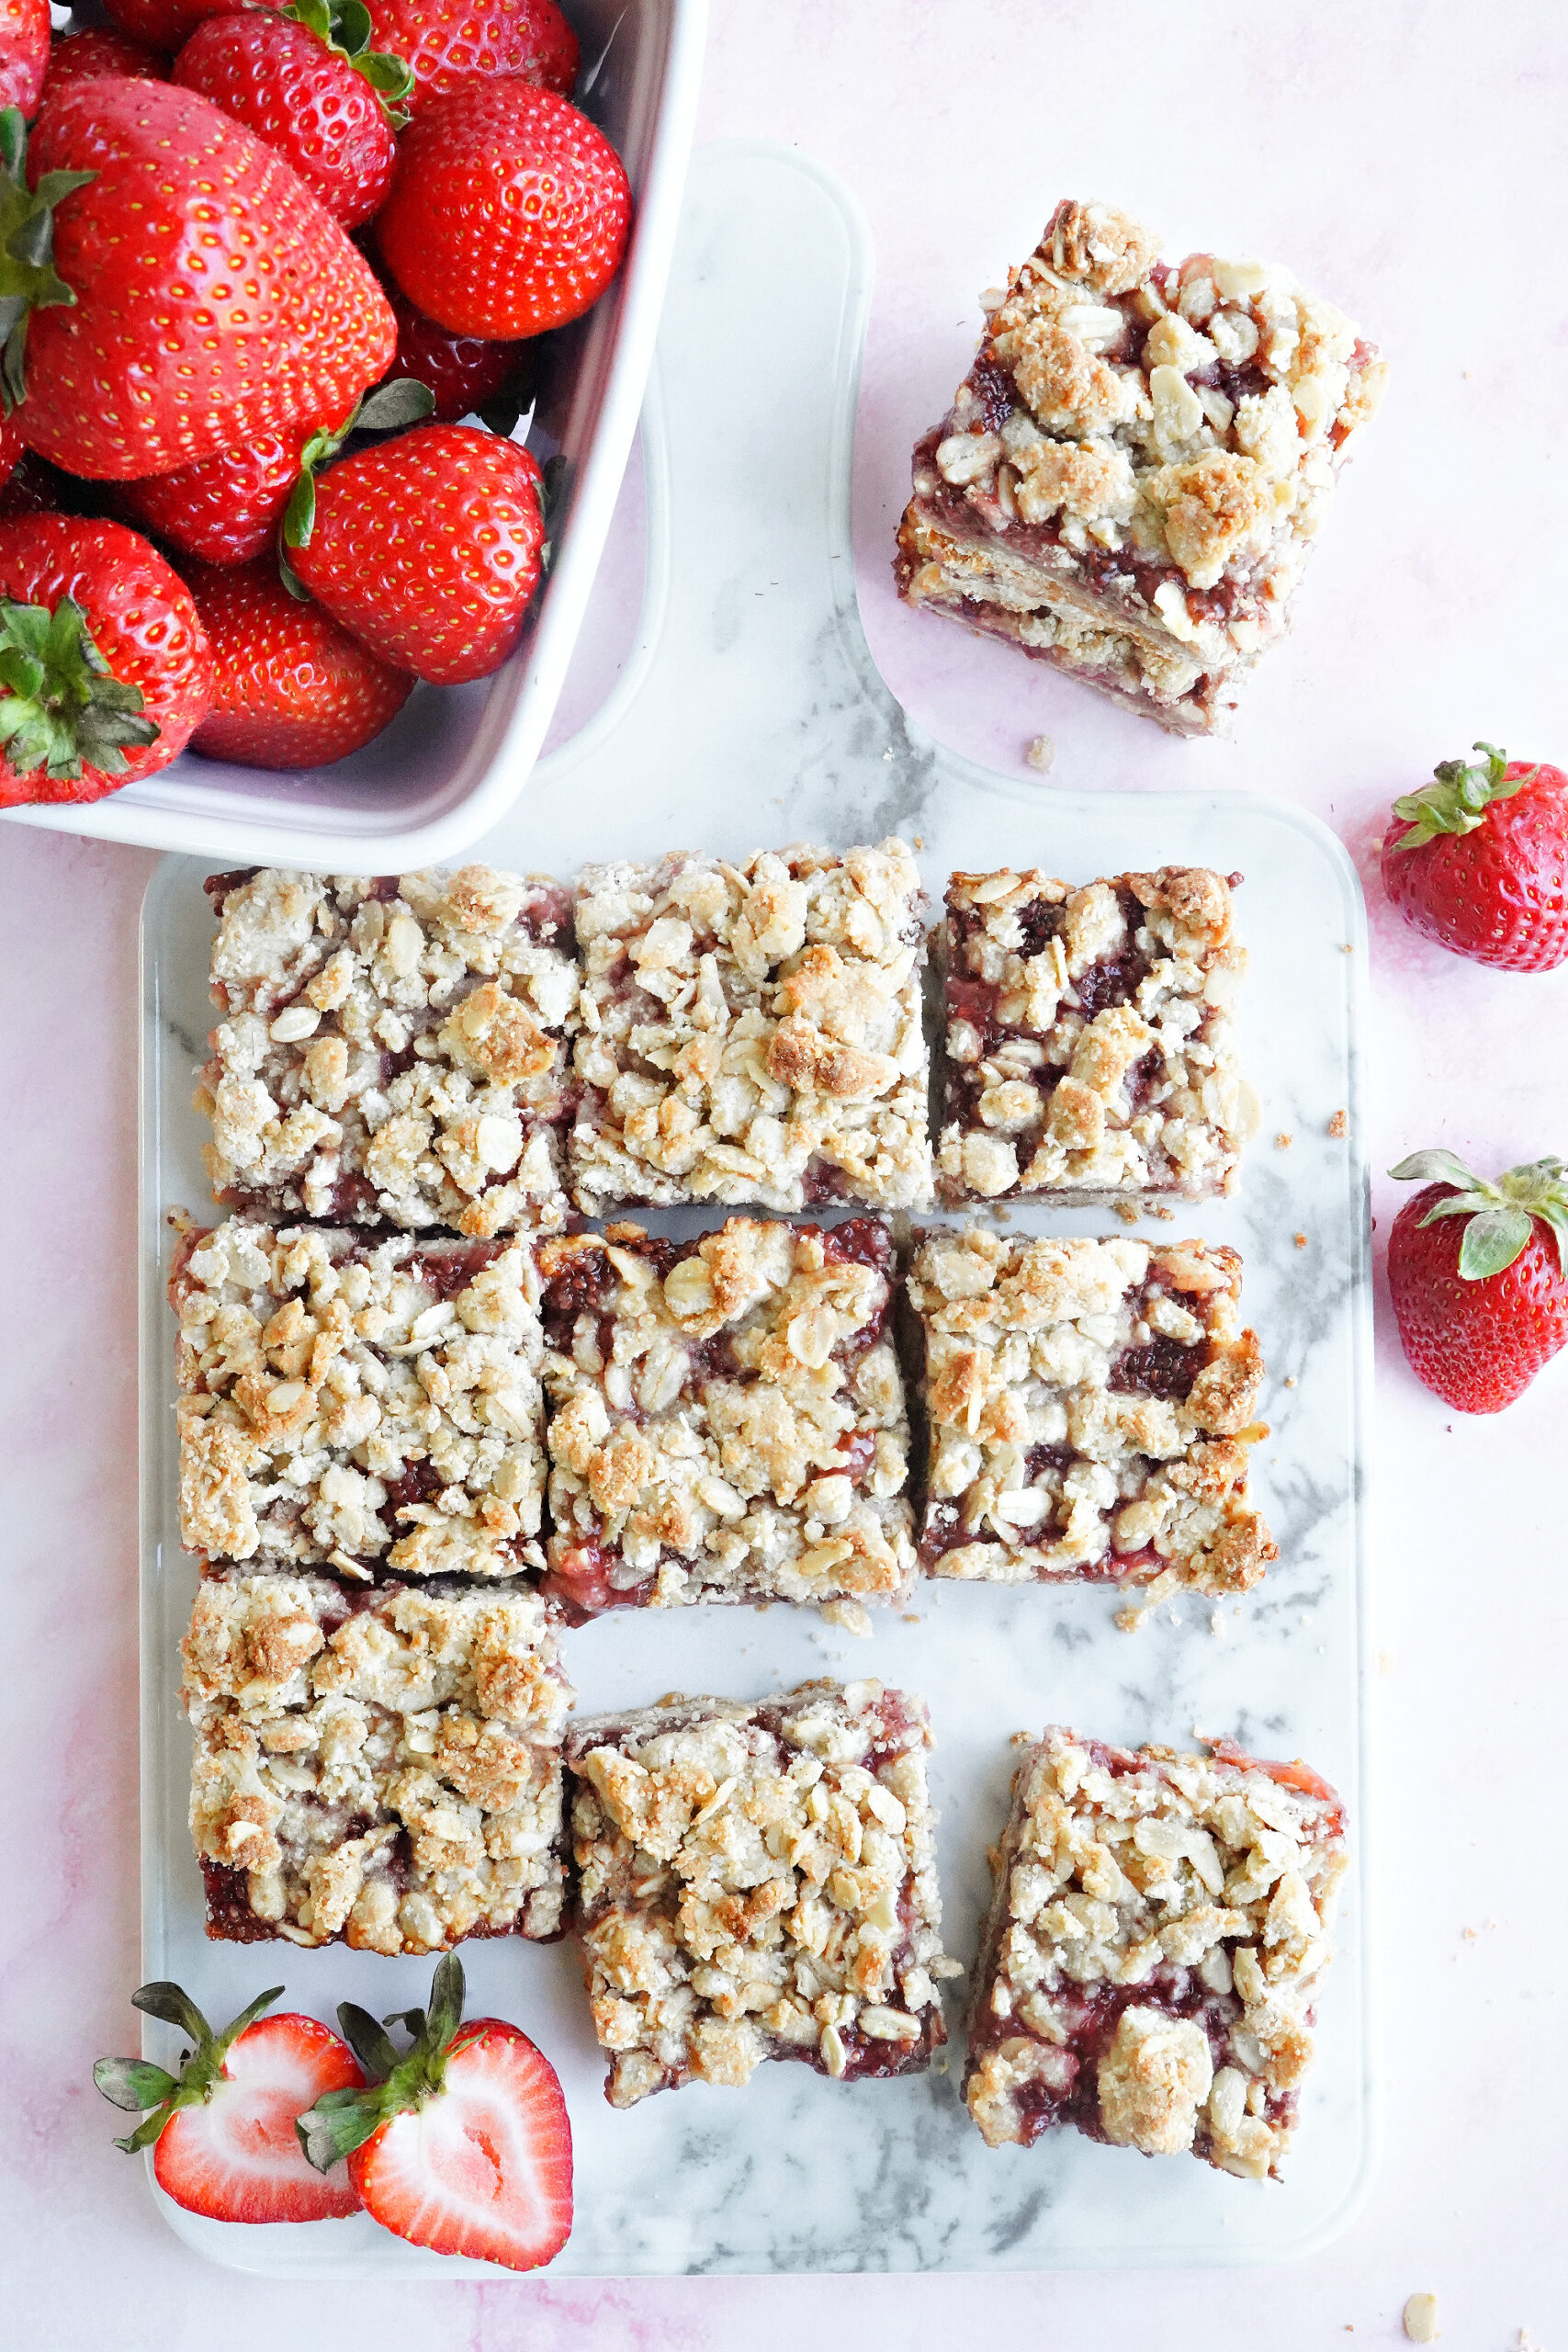
Chia Jam Strawberry Bars
Ingredients
For the Strawberry Chia Jam:
- 2 cups quartered strawberries
- 3-4 tbsp honey
- Juice of 1 lemon about 2 tablespoons
- 2 tbsp chia seeds
For the Crust & Crumble:
- 1 1/4 cups rolled oats
- 1 cup buckwheat flour
- 1/2 cup almond flour
- 1/2 tsp sea salt
- 1/3 cup coconut oil melted
- 1/2 cup honey
- 1 tbsp vanilla extract
Instructions
- Preheat the oven to 350 degrees. You'll need an 8×8 or 9×9 baking pan for this recipe. I like to use these silicone square baking pans because the bars just pop right out easily. If you have regular cake pans, you will need to line the bottom of the pan with parchment paper so the bars come out.
Make the Strawberry Chia Jam:
- Put all of the strawberry chia jam ingredients into a small sauce pan and bring to a simmer for 1 minute, stirring occasionally.
- Mash the strawberries with a potato masher or fork, and simmer for an additional 3 minutes or so, until the strawberries are very soft and mashed. The jam will not gel up until it is baked and cooled, so do not worry that it is on the runny side!
- Set the chia jam aside while you prepare the crust.
Make the Crust & Crumble
- Stir the flours and salt in a medium mixing bowl then add the melted coconut oil, honey, and vanilla extract, and stir to combine. The crust mixture should pinch together and hold.
Assemble the Strawberry Bars & Bake
- Scoop 1 3/4 cups to 2 cups of the crust mixture into your silicone baking pan or your prepared baking pan. Press the crust down to cover the entire bottom of the pan. You can use your hand or the back of a measuring cup.
- Pour the prepared strawberry chia jam over the crust. (The jam is runny – that is ok! It does not have to be cooled to do this!)
- Crumble the rest of the crust mixture over the top of the jam. If you are using a silicone baking pan, you'll want to put the pan onto a baking sheet to make transferring to the oven easier.
- Bake the strawberry bars at 350 degrees for 32-35 minutes, until the top is golden. The bars need to cool completely before removing from the pan and cutting. I like to pop them in the freezer or fridge to speed the process along! In fact, I think the bars cut cleaner when they are slightly frozen!
- Store the bars in an airtight container on the counter for 3 days, or in the refrigerator for 1 week. Alternatively, you could freeze the bars for 3 months. They thaw quickly, and could be a nice breakfast or lunchbox addition!